If you're looking for a way to reduce energy costs, solar street lights can be a great way to save. There are tons of areas where solar lights can be helpful, including commercial, public, and residential areas. For homeowners, solar streetlights can be a great way to enjoy the benefits of solar energy, such as lighting a driveway or lawn space while saving money on your electric bills.
Many utility companies offer cash incentives for installing solar lighting in commercial areas because they have realized how much savings it offers through reduced electrical costs and carbon footprint reduction. In addition, in public places such as parks, campgrounds, and parking lots, solar streetlights help to keep employees and customers safe.
However, it's a struggle for most homes and businesses to find ways to light up these areas and promote safety as budgets decrease and energy costs increase. This is why residential areas, governments, and companies are starting to rely on solar streetlights as a way to save energy and money. In this article, we'll cover everything you need to know.
How Much Energy and Money Is Normally Spent on Street Lights?
Unlike regular bulbs you might find in your home, streetlight bulbs cost significantly more. That's because they are made to last much longer, often up to five years. Plus, due to its high wattage and the number of walkways and roadways that need to be lit up, it can cost a company or home a ton of money to maintain. With the ever-increasing cost of materials, this price is only set to increase as time passes.
In addition, streetlights require a lot more electricity than typical home lighting fixtures. This means that you can expect your monthly energy bill for the space around your house or business to increase if it is not adequately lit at nighttime. This has become an issue for many homeowners and businesses as utility rates continue to rise across the country.
How Much Energy Can Solar Street Lights Save You?
At first glance, solar-powered streetlights seem like any other light bulb; however, this is false, especially when it relates to energy. Solar street lights use 60% less energy than traditional electric lamps. This means that homeowners and businesses can expect to see an immediate reduction in their monthly energy bills.
In fact, the solar-powered streetlight only requires a single 250-watt panel which decreases the costs associated with installation and maintenance. With fewer materials needed, this will also reduce labor when maintaining your property's lighting system compared to most other options out there.
Besides these benefits, there are some key differences that make them advantageous over regular bulbs:
Solar Street Lights operating costs are minimal when compared to the savings on your electric bill (saving more money)
Solar Street Lights are durable and aren't damaged by weather conditions like rain or high winds (reducing maintenance costs)
What Makes Solar Street Lights Different?
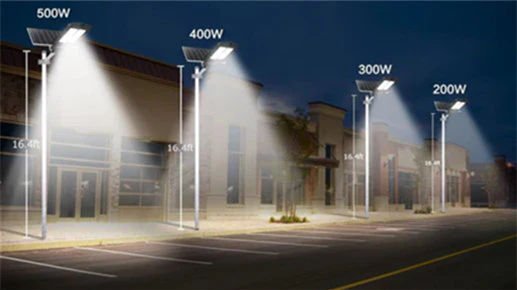
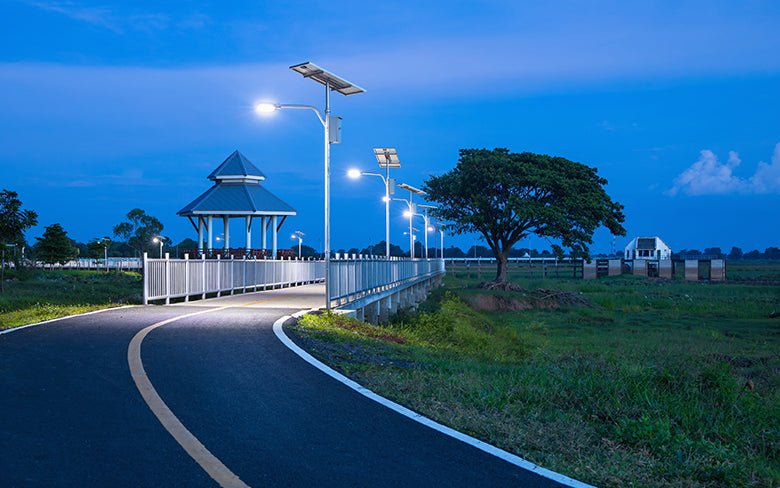
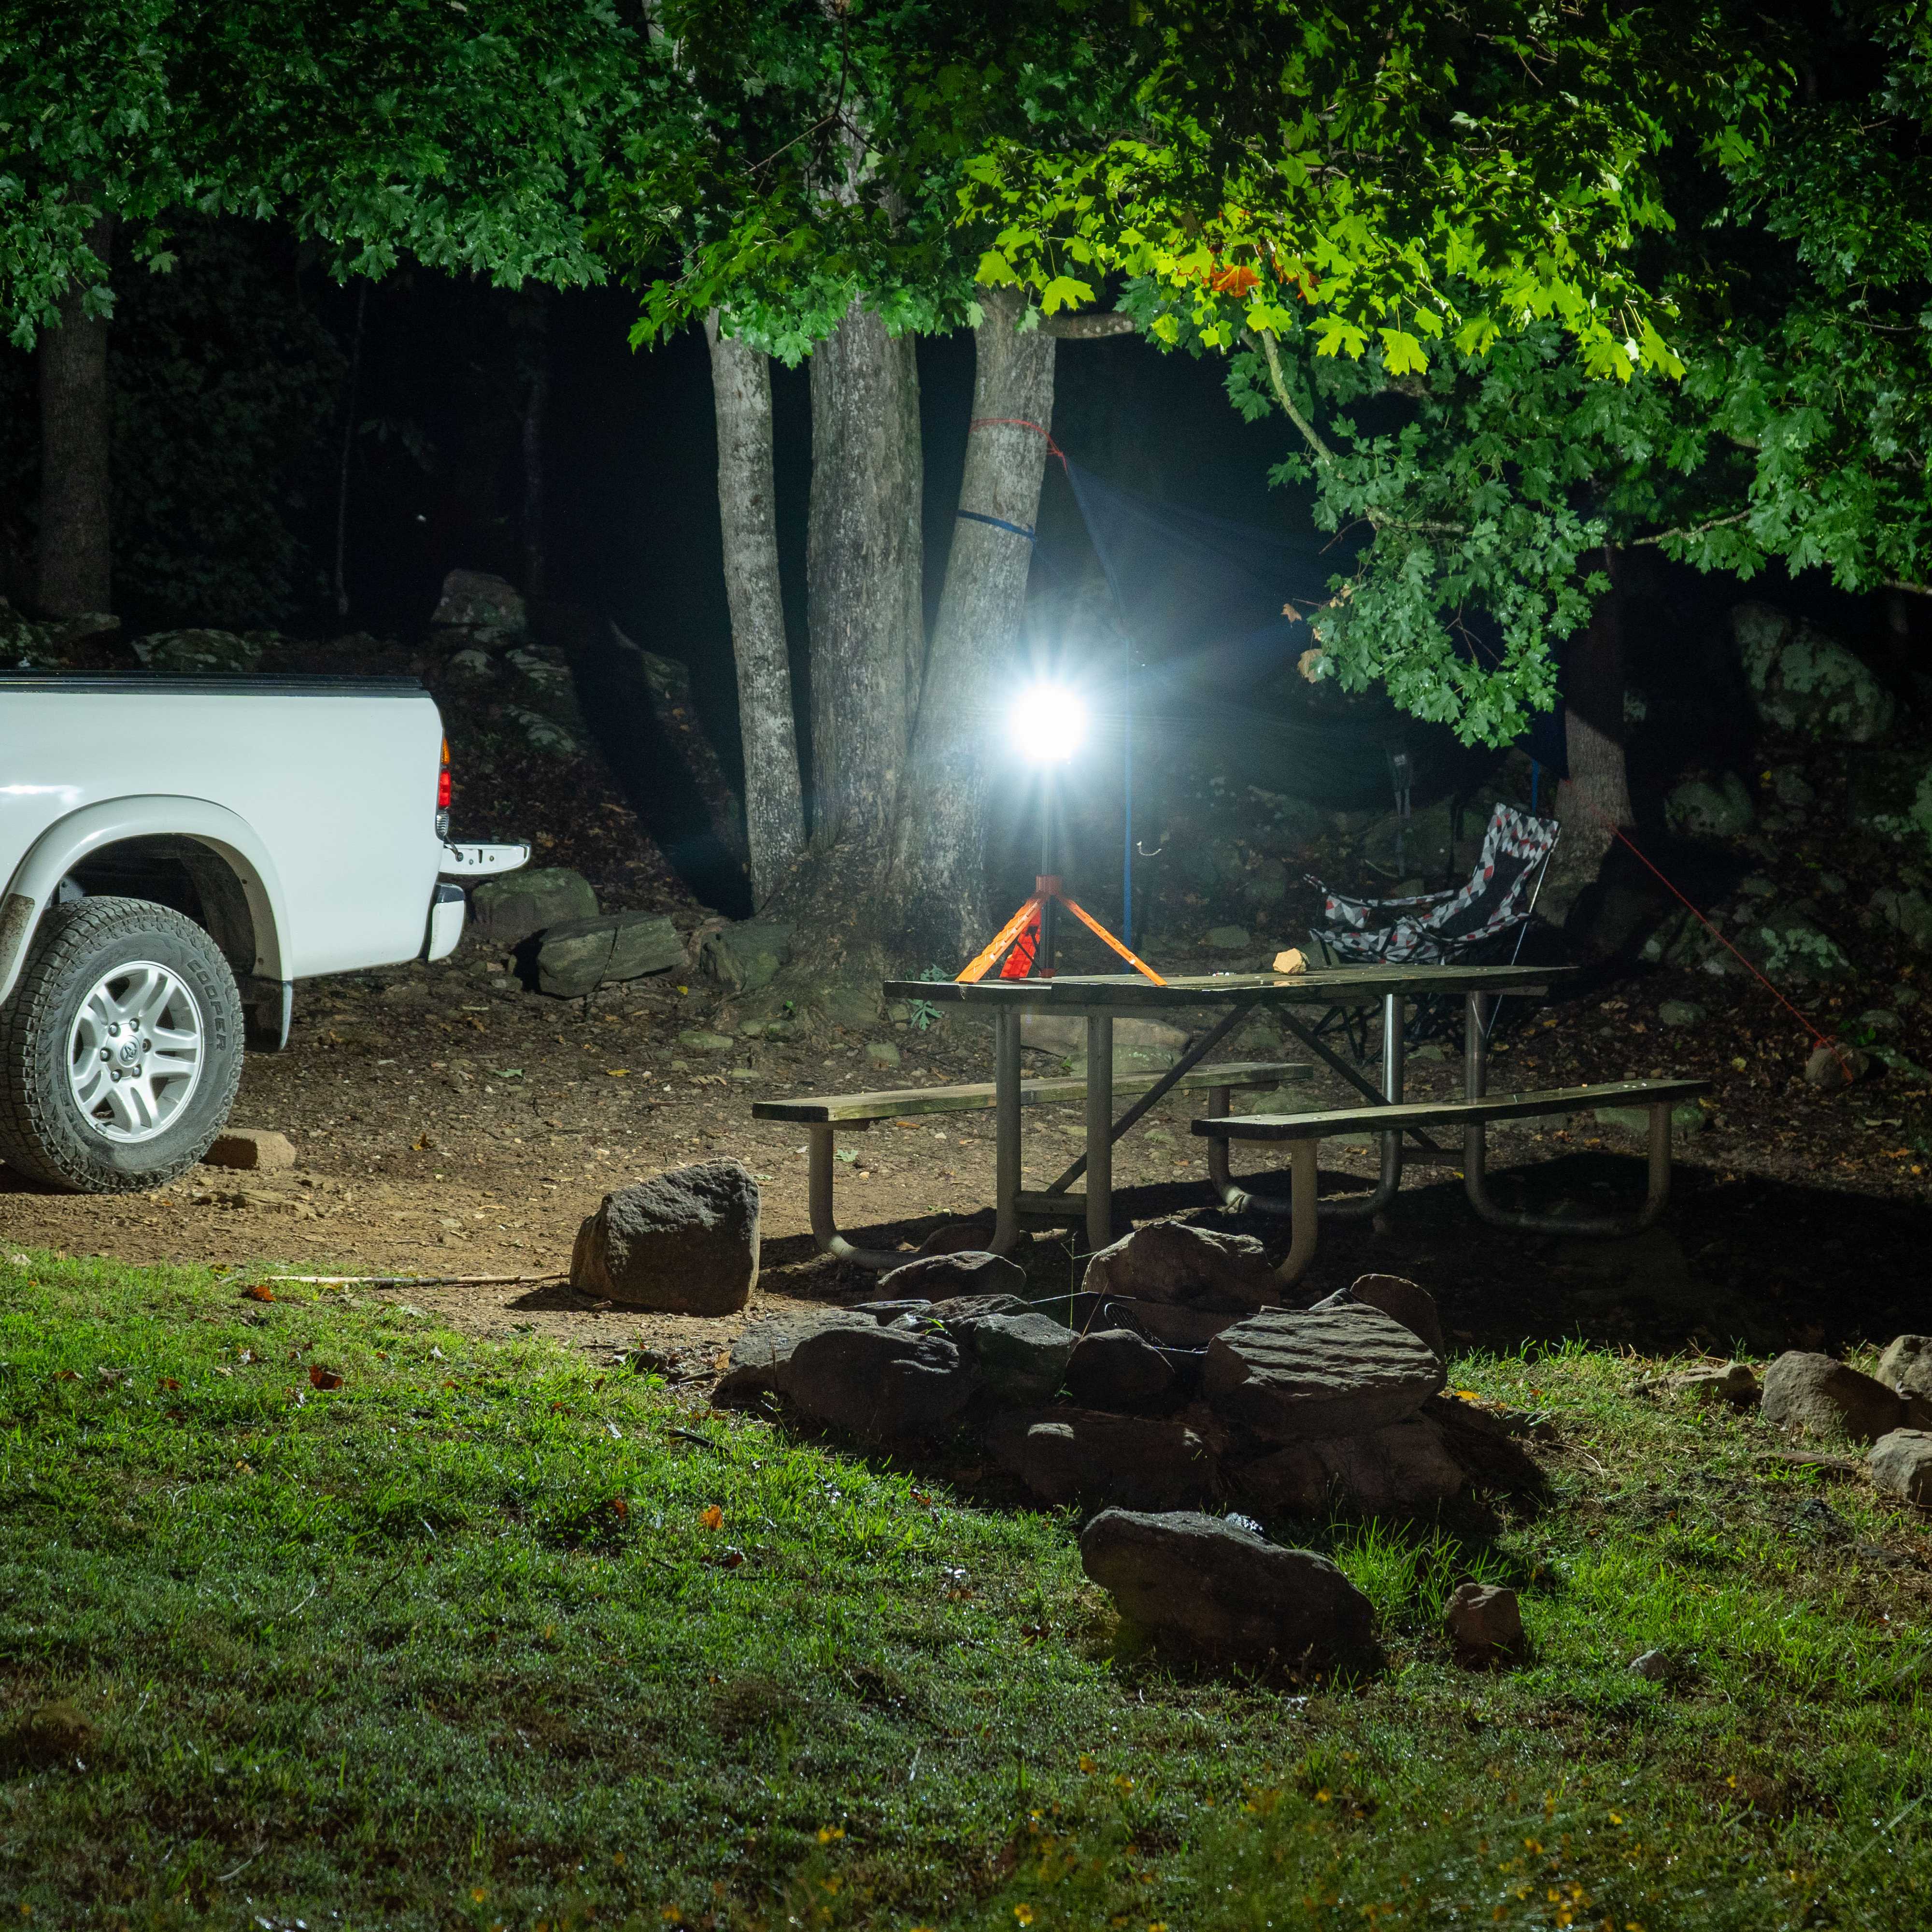
Although solar streetlights may not be quite as bright as traditional lighting, they can still light up a parking lot, pathway around your business or home, or even an entire block. In addition, these lamps typically work well in any dark area where you need ambient lighting without having someone trip over something if it's too dim. It also works great for areas that don't have access to electricity, such as camping sites and remote locations.
Plus, since these lamps only use solar power rather than electrical energy, there is no risk of fire from poor wiring or electrical surges. This helps keep the area around your home or business safer and saves you money on maintenance costs because they are not damaged by weather conditions like rain, snow, wind gusts, etc.
How To Install Solar Street Lights?
If you're ready to make the change to a solar street light, you might be wondering if this is a project you can take on yourself. The short answer is YES! The process is not only user-friendly but won't take up a ton of time to complete.
Regardless, once you finish the process, make sure to have an inspection completed by a qualified electrician for insurance and safety purchases.
Ready to get started? Here are the step-by-step instructions to install solar streetlights.
Collect Your Tools
The first thing you need to do is gather all of the tools and materials that are required for installation. You will need:
Solar Street Lights (of course!) including all parts such as the controller, battery, pole, and solar panel
Tools including screwdrivers, a hoisting mechanism, and a wrench.
Steel Cage
Wear Protective Clothing
Before you begin, make sure to wear protective clothing, including a mask, goggles, a hard hat, and gloves. Safety should always be your first priority! Also, make sure you're not wearing any bracelets, rings, watches, or other jewelry so that there is no chance of conducting electricity when working with the different types of wiring.
Locate A Suitable Area for Installation
Now it is time to find the right location for installation. Do you have enough space? Are there any obstacles in the way that might prevent proper installation? Most solar streetlights are installed on flat surfaces to ensure that there is no destabilization or erosion of your Solar Street Lights.
Prepare Your Wires and Create a Foundation
Next, you'll need to check with your user manual to prepare the wires. Typically, all negative and positive wires must connect, including the LED light, solar panel, controller, and battery. In addition, there are multiple wires that will need to be connected to each component.
From there, ensure that you have a foundation for your light. Depending on your budget and time constraints, this can either be built yourself or purchased through a production facility.
Prepare A Hole
Next, you'll need to dig a deep enough hole to store the solar battery and hold your light. This hole should be a minimum of 1-meter-wide hole that's around 60 centimeters deep.
Install The Foundation of The Pole
The foundation of your pole includes installing a steel cage that has four metal bolts and serves as the anchor of the pole set-up. Most suppliers will include a template that outlines where everything should be placed, so pay close attention when following these instructions. The only part you'll need to do manually is anchor the cage with cement at the bottom of the hole. Once installed, the gap can be filled back up with additional cement.
Place The Solar Battery
Next, you'll need to install the solar battery. It needs to be placed either in-ground or above ground in IP67 protective casings to ensure the batteries can make it through different temperature changes and protect them against theft or animals finding their way into it. Ensure that the solar controller is connected with the solar battery inside the pole. This allows the power to go through the battery and the wires throughout the pole to produce the light.
Prepare Your Solar Light and Panel
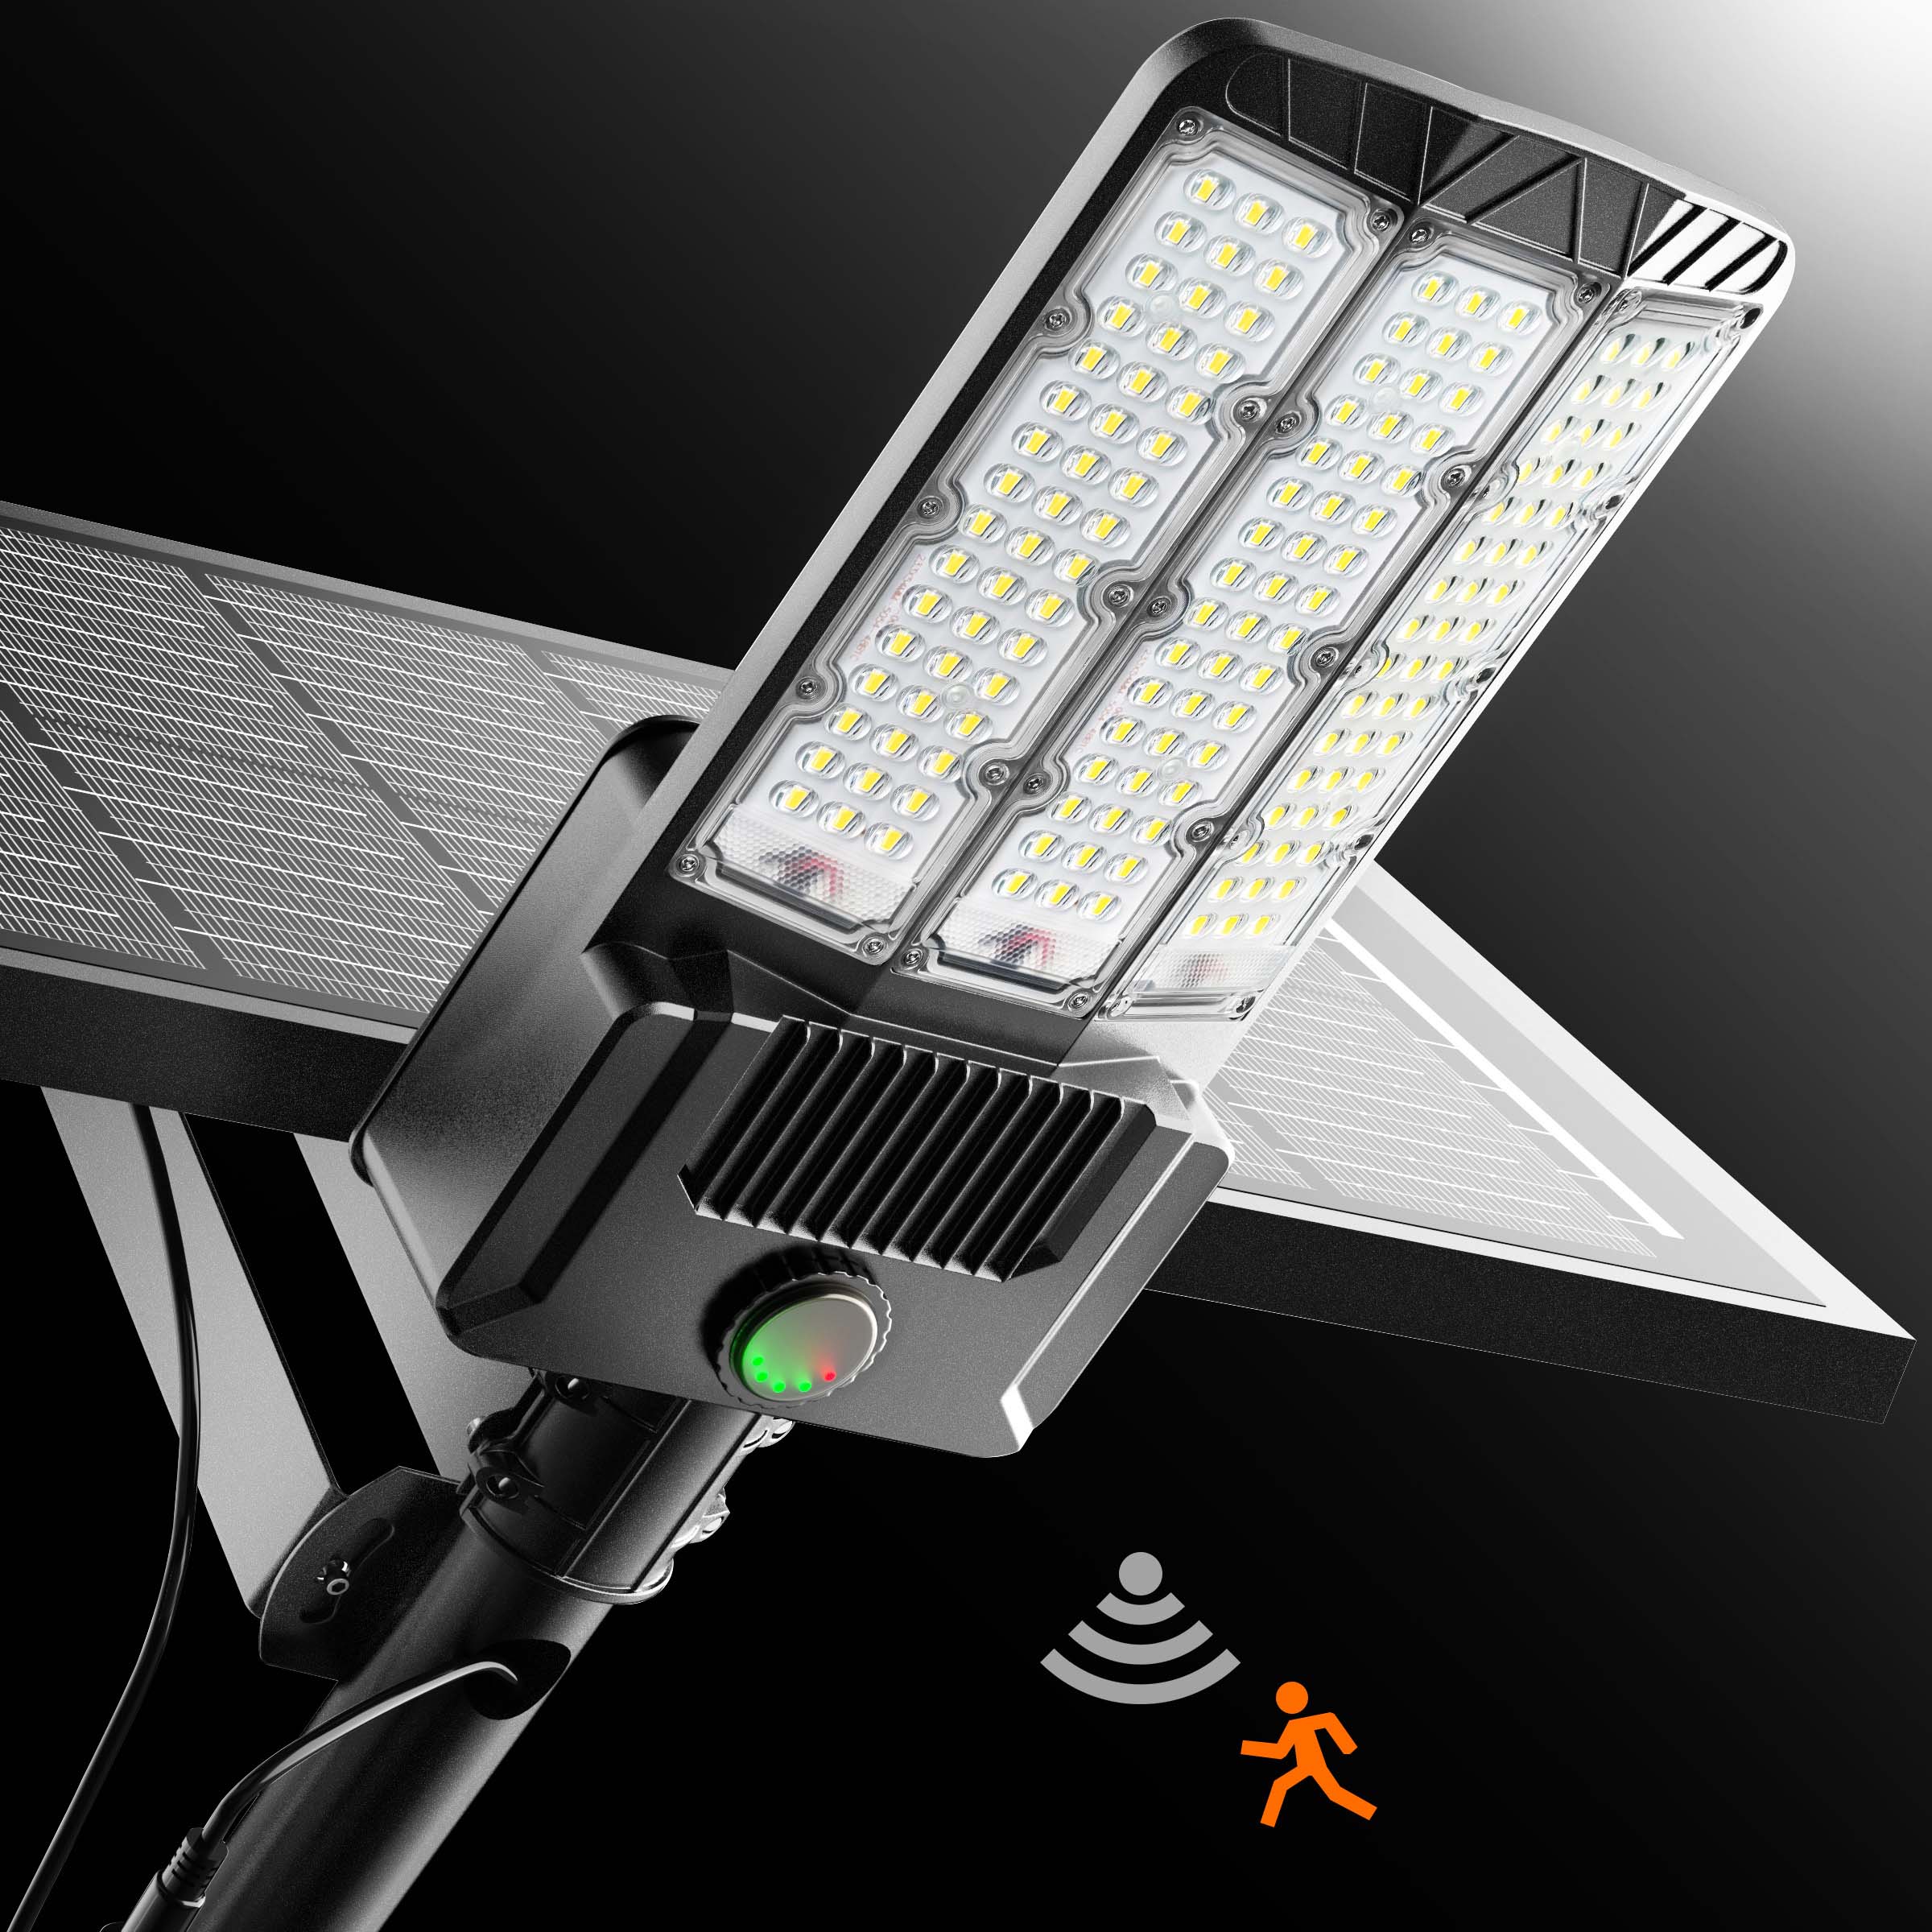
Next, it's time to put your solar light and panel together before securing them with bolts to the pole. Solar Panels are delicate, so you'll need to ensure you're using caution to protect them from any damage. Before standing up the pole, test your solar panel and lights by connecting the wires. Depending on the model you've chosen, it should automatically light up if it's dark outside or if it detects movement.
Install The Solar Controller
Next, you'll need to install the solar controller and connect it with your power mechanism. The solar light should already be connected, so now it is just a matter of connecting all wires correctly, as they will vary based on the model type you've purchased.
Erect The Solar Street Light Pole
Once it's all connected, you can erect your solar street light pole either with a couple of friends or by using a truck and crane. Once the pole is upright, you'll need to secure the steel cage with nuts and bolts.
Test Your Solar Street Light
Finally, you'll need to test your solar streetlight. Turn on the power switch and see if everything is working correctly. If not, you'll need to troubleshoot the problem with the manufacturer or read through the steps again to ensure you didn't miss anything important.
Once it lights up, you've successfully installed a solar streetlight that will shine bright for years to come. Now you can sit back and enjoy the cost savings it provides each month.
Choose Hykoont Light for Your Solar Street Lighting Needs
Solar streetlights are a great way to save energy without relying on a power grid. With just one solar light installed, you can reduce the energy you use by up to 60%. It's an easy investment that will give back in spades over time and pay for itself many times over.
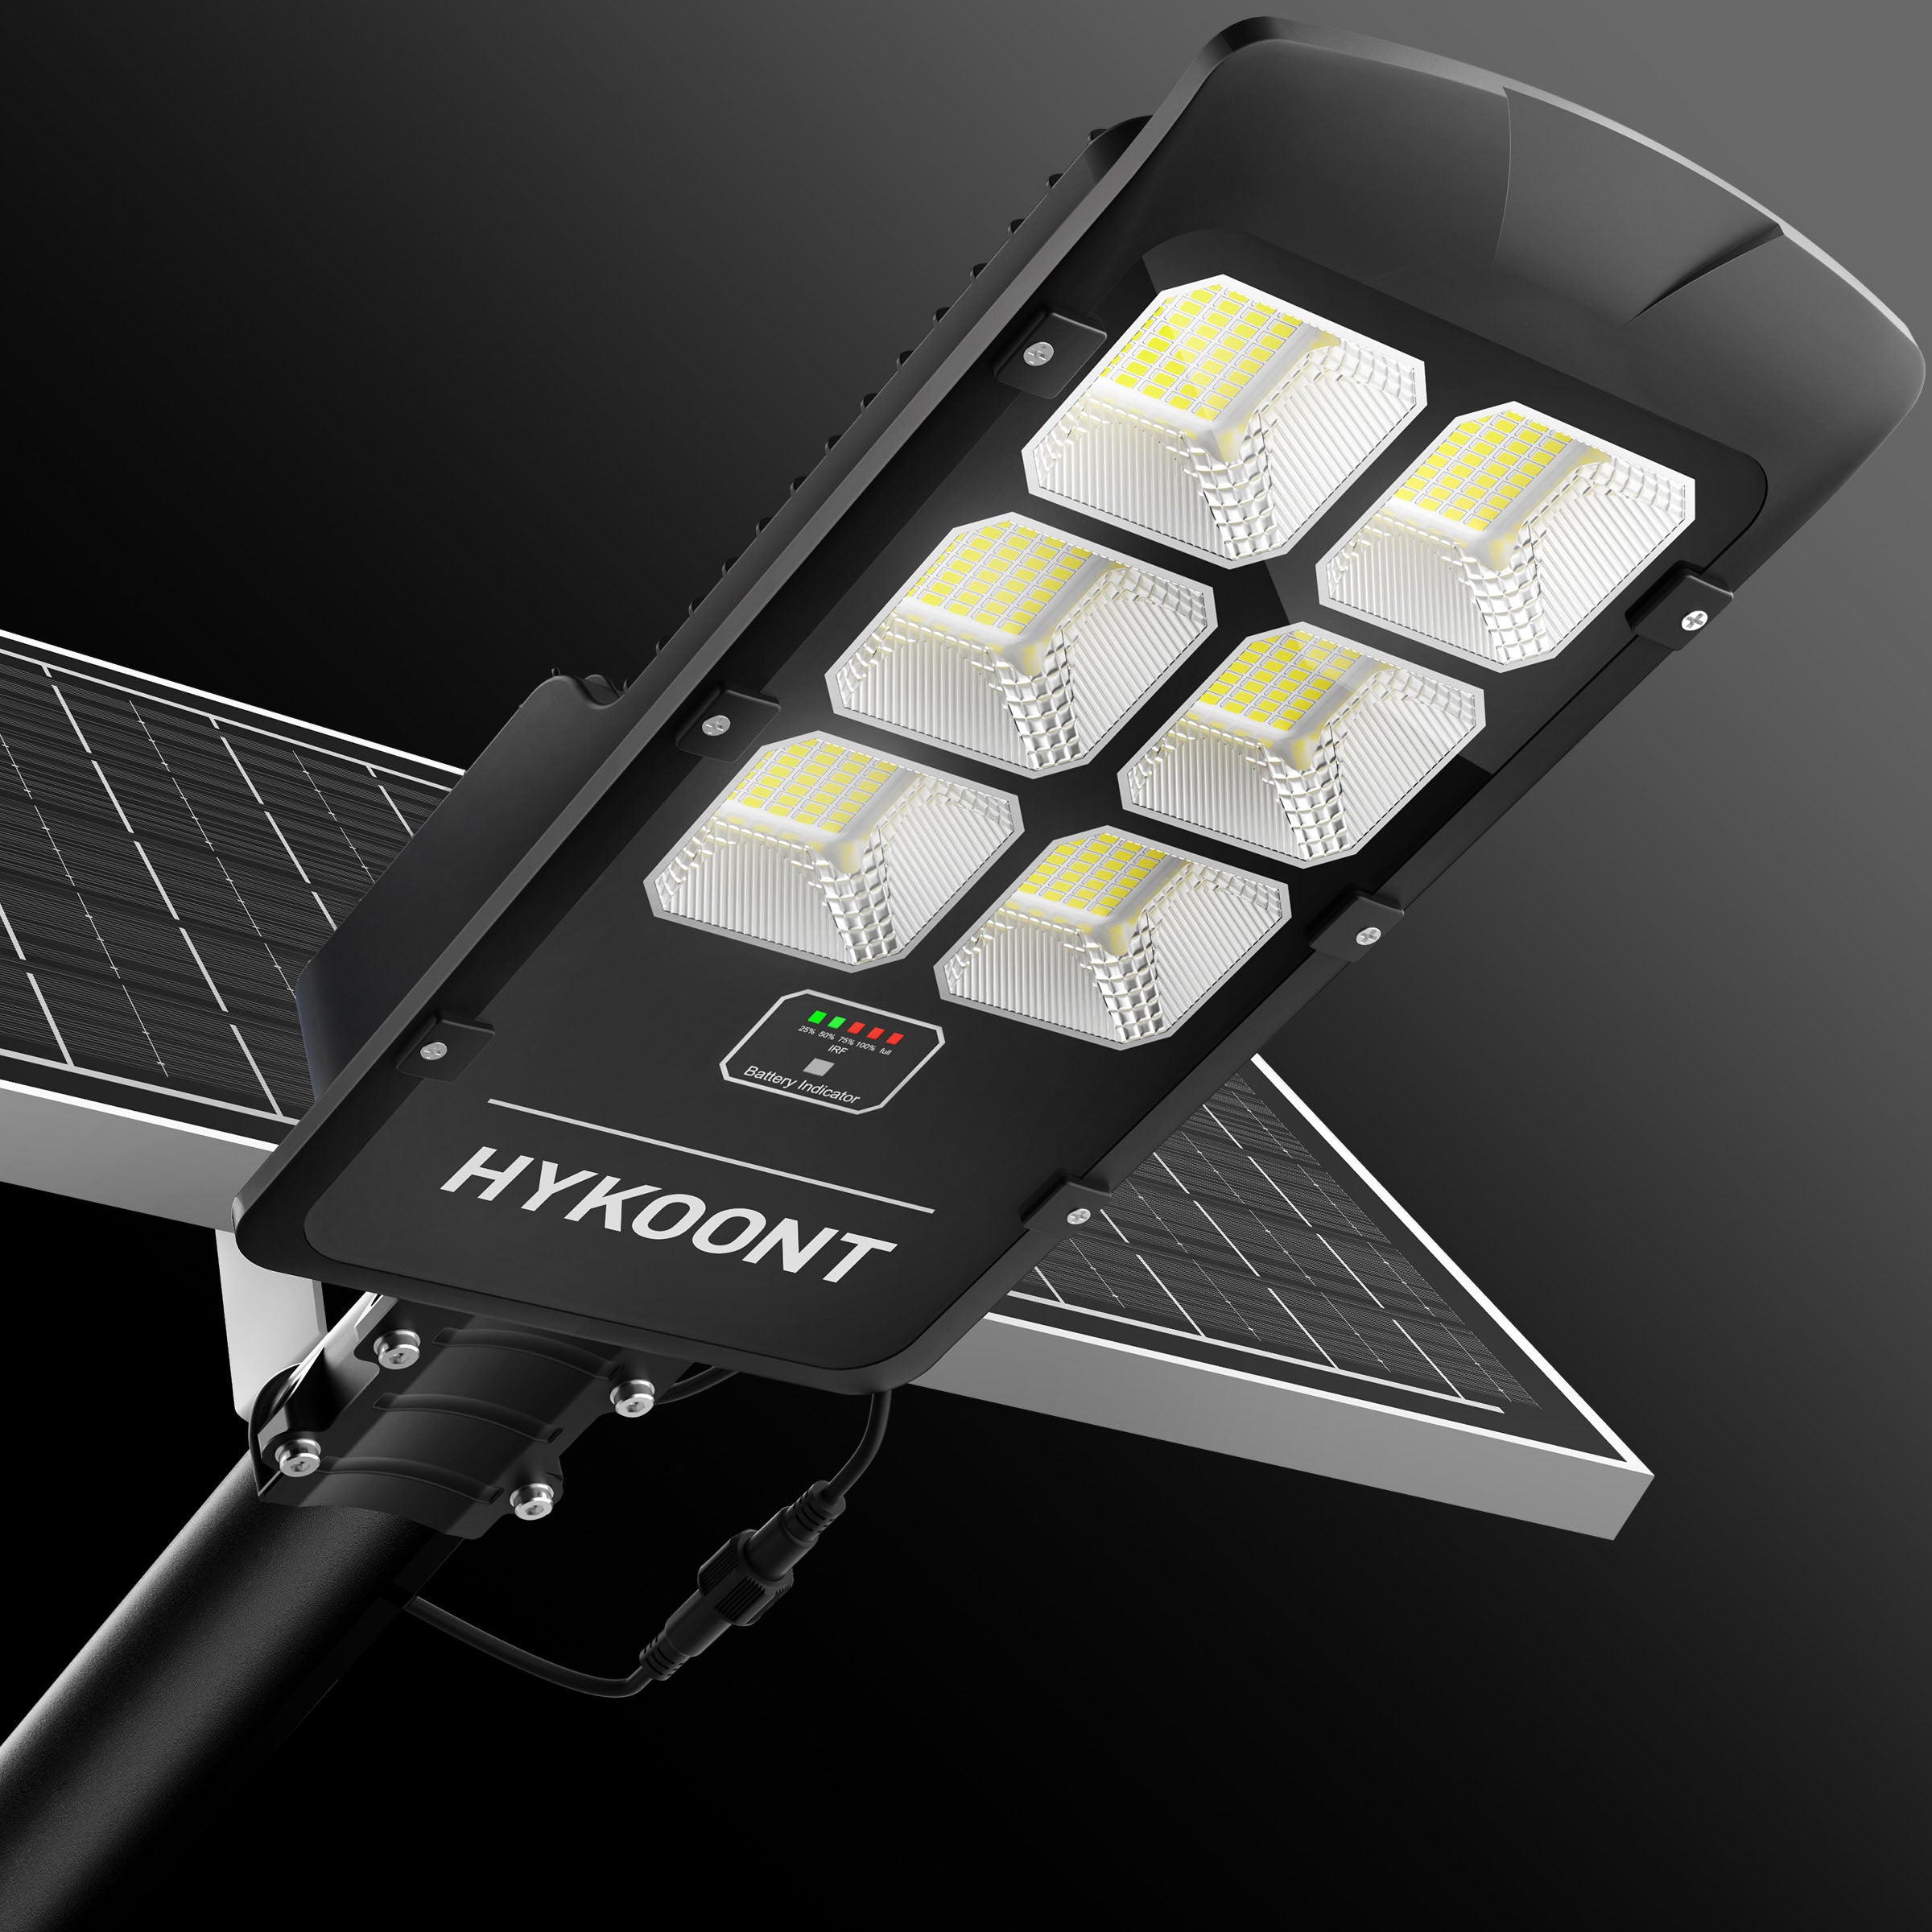
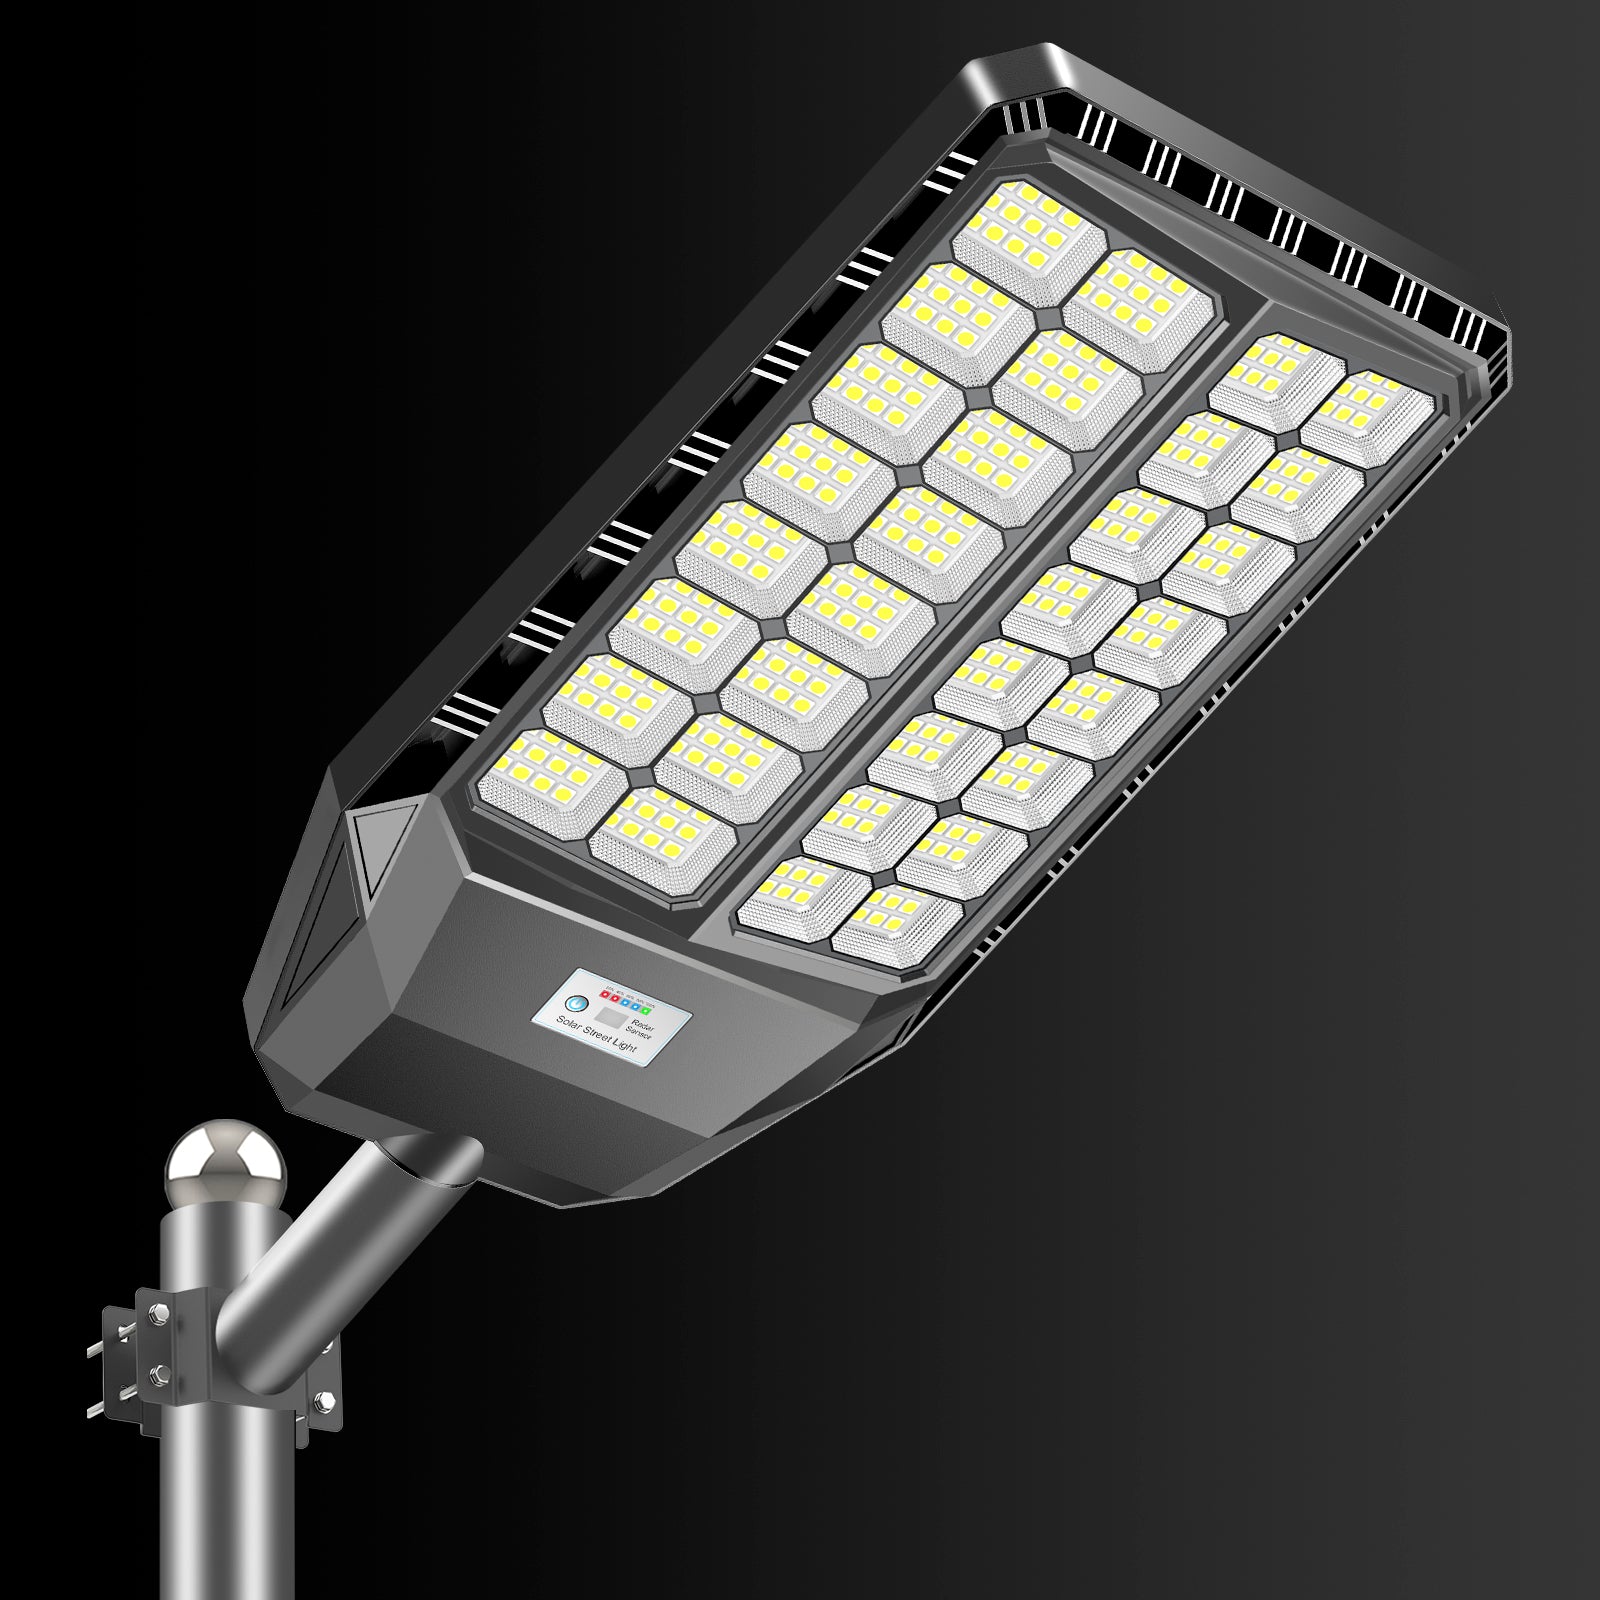
If you're looking for more information about how solar street lighting works or want help purchasing the perfect one for your business or residential home, check out Hykoont's full solar streetlights outdoor collection.


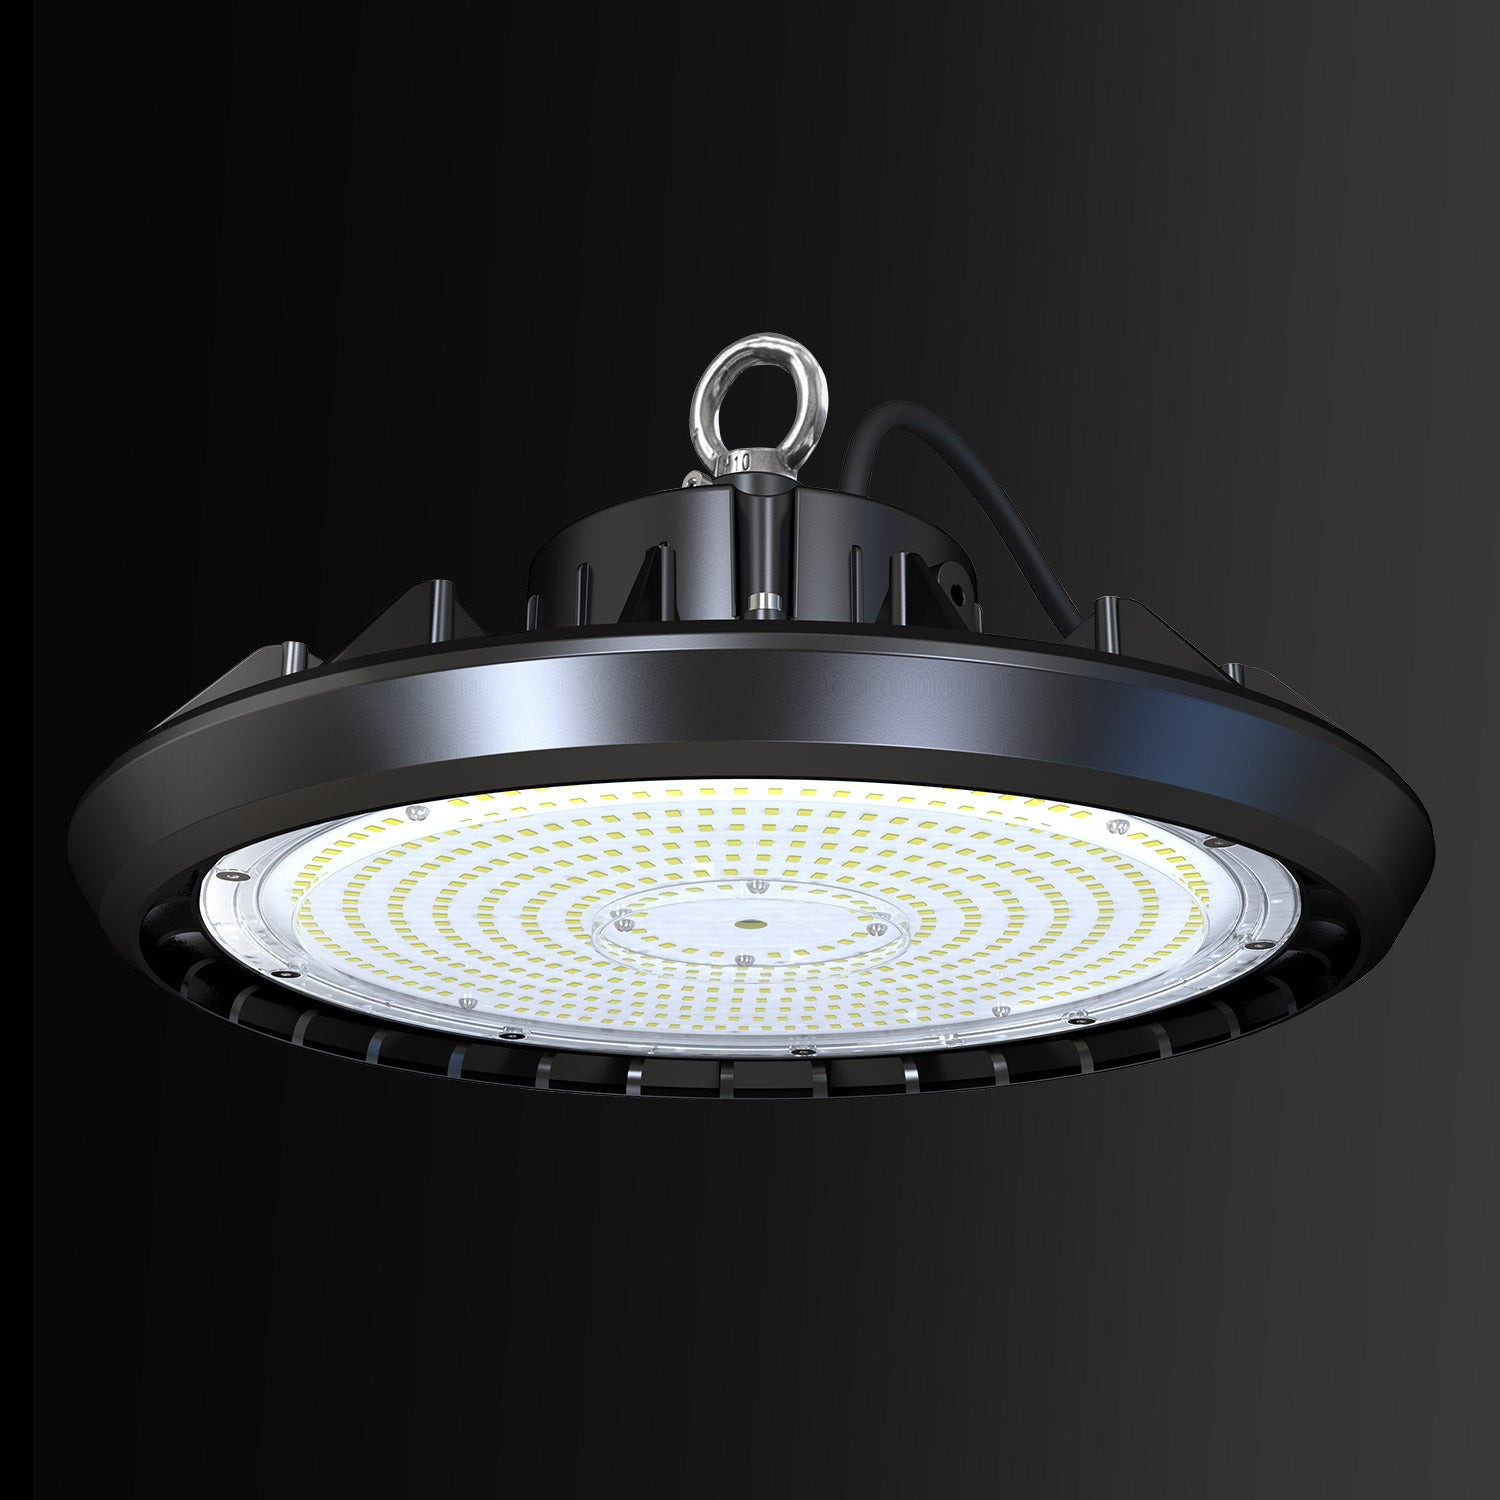


![[50%OFF] Hykoont GC377 UFO LED High Bay Lights UL DLC Certified 150/200 Watt, 4000-5000K, 150LM/W](http://hykoont.com/cdn/shop/files/GC377.jpg?v=1761637097&width=104)
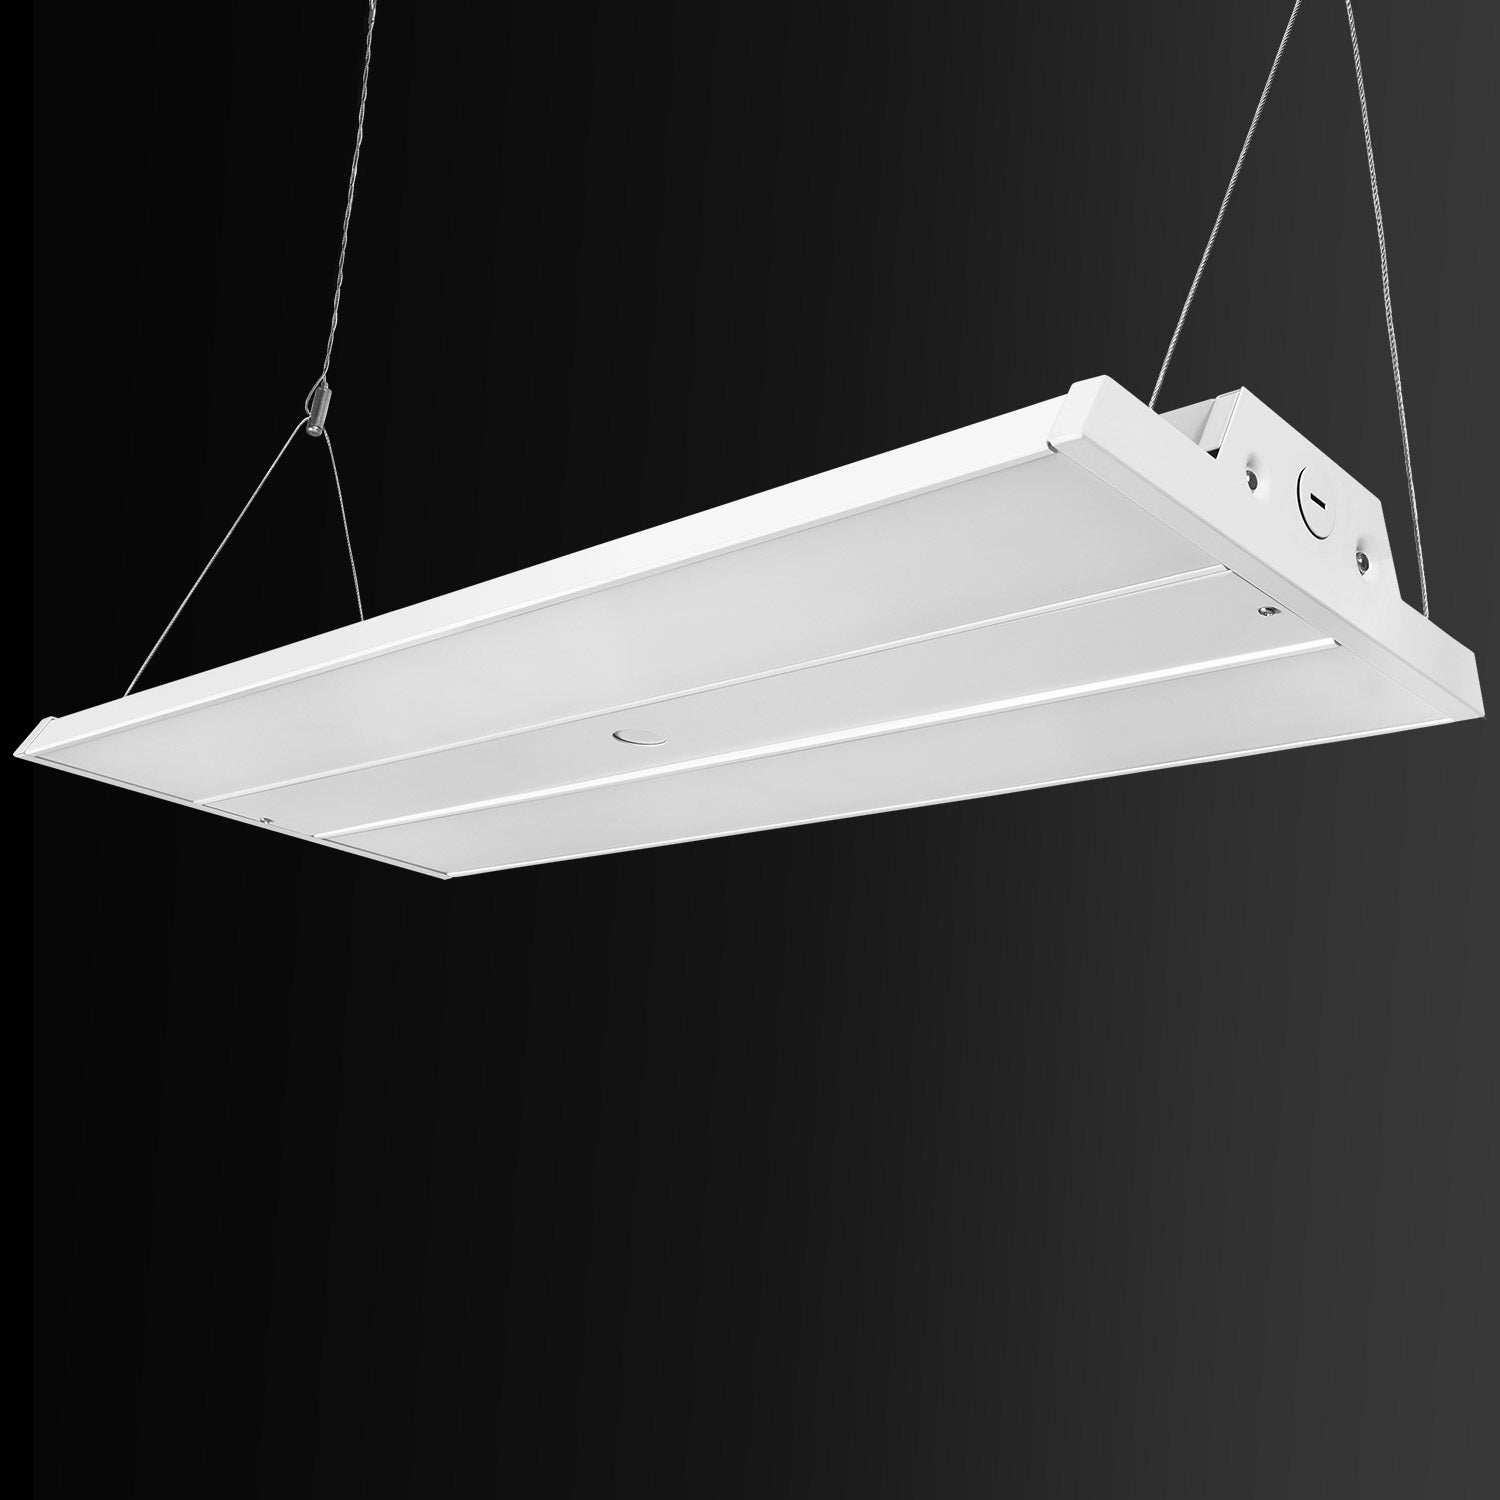
![[50%OFF] Hykoont GC376 150W 22500LM Linear LED High Bay Light](http://hykoont.com/cdn/shop/files/1_e625801f-b05c-4f69-af01-343e5ecc7676.jpg?v=1765273521&width=104)


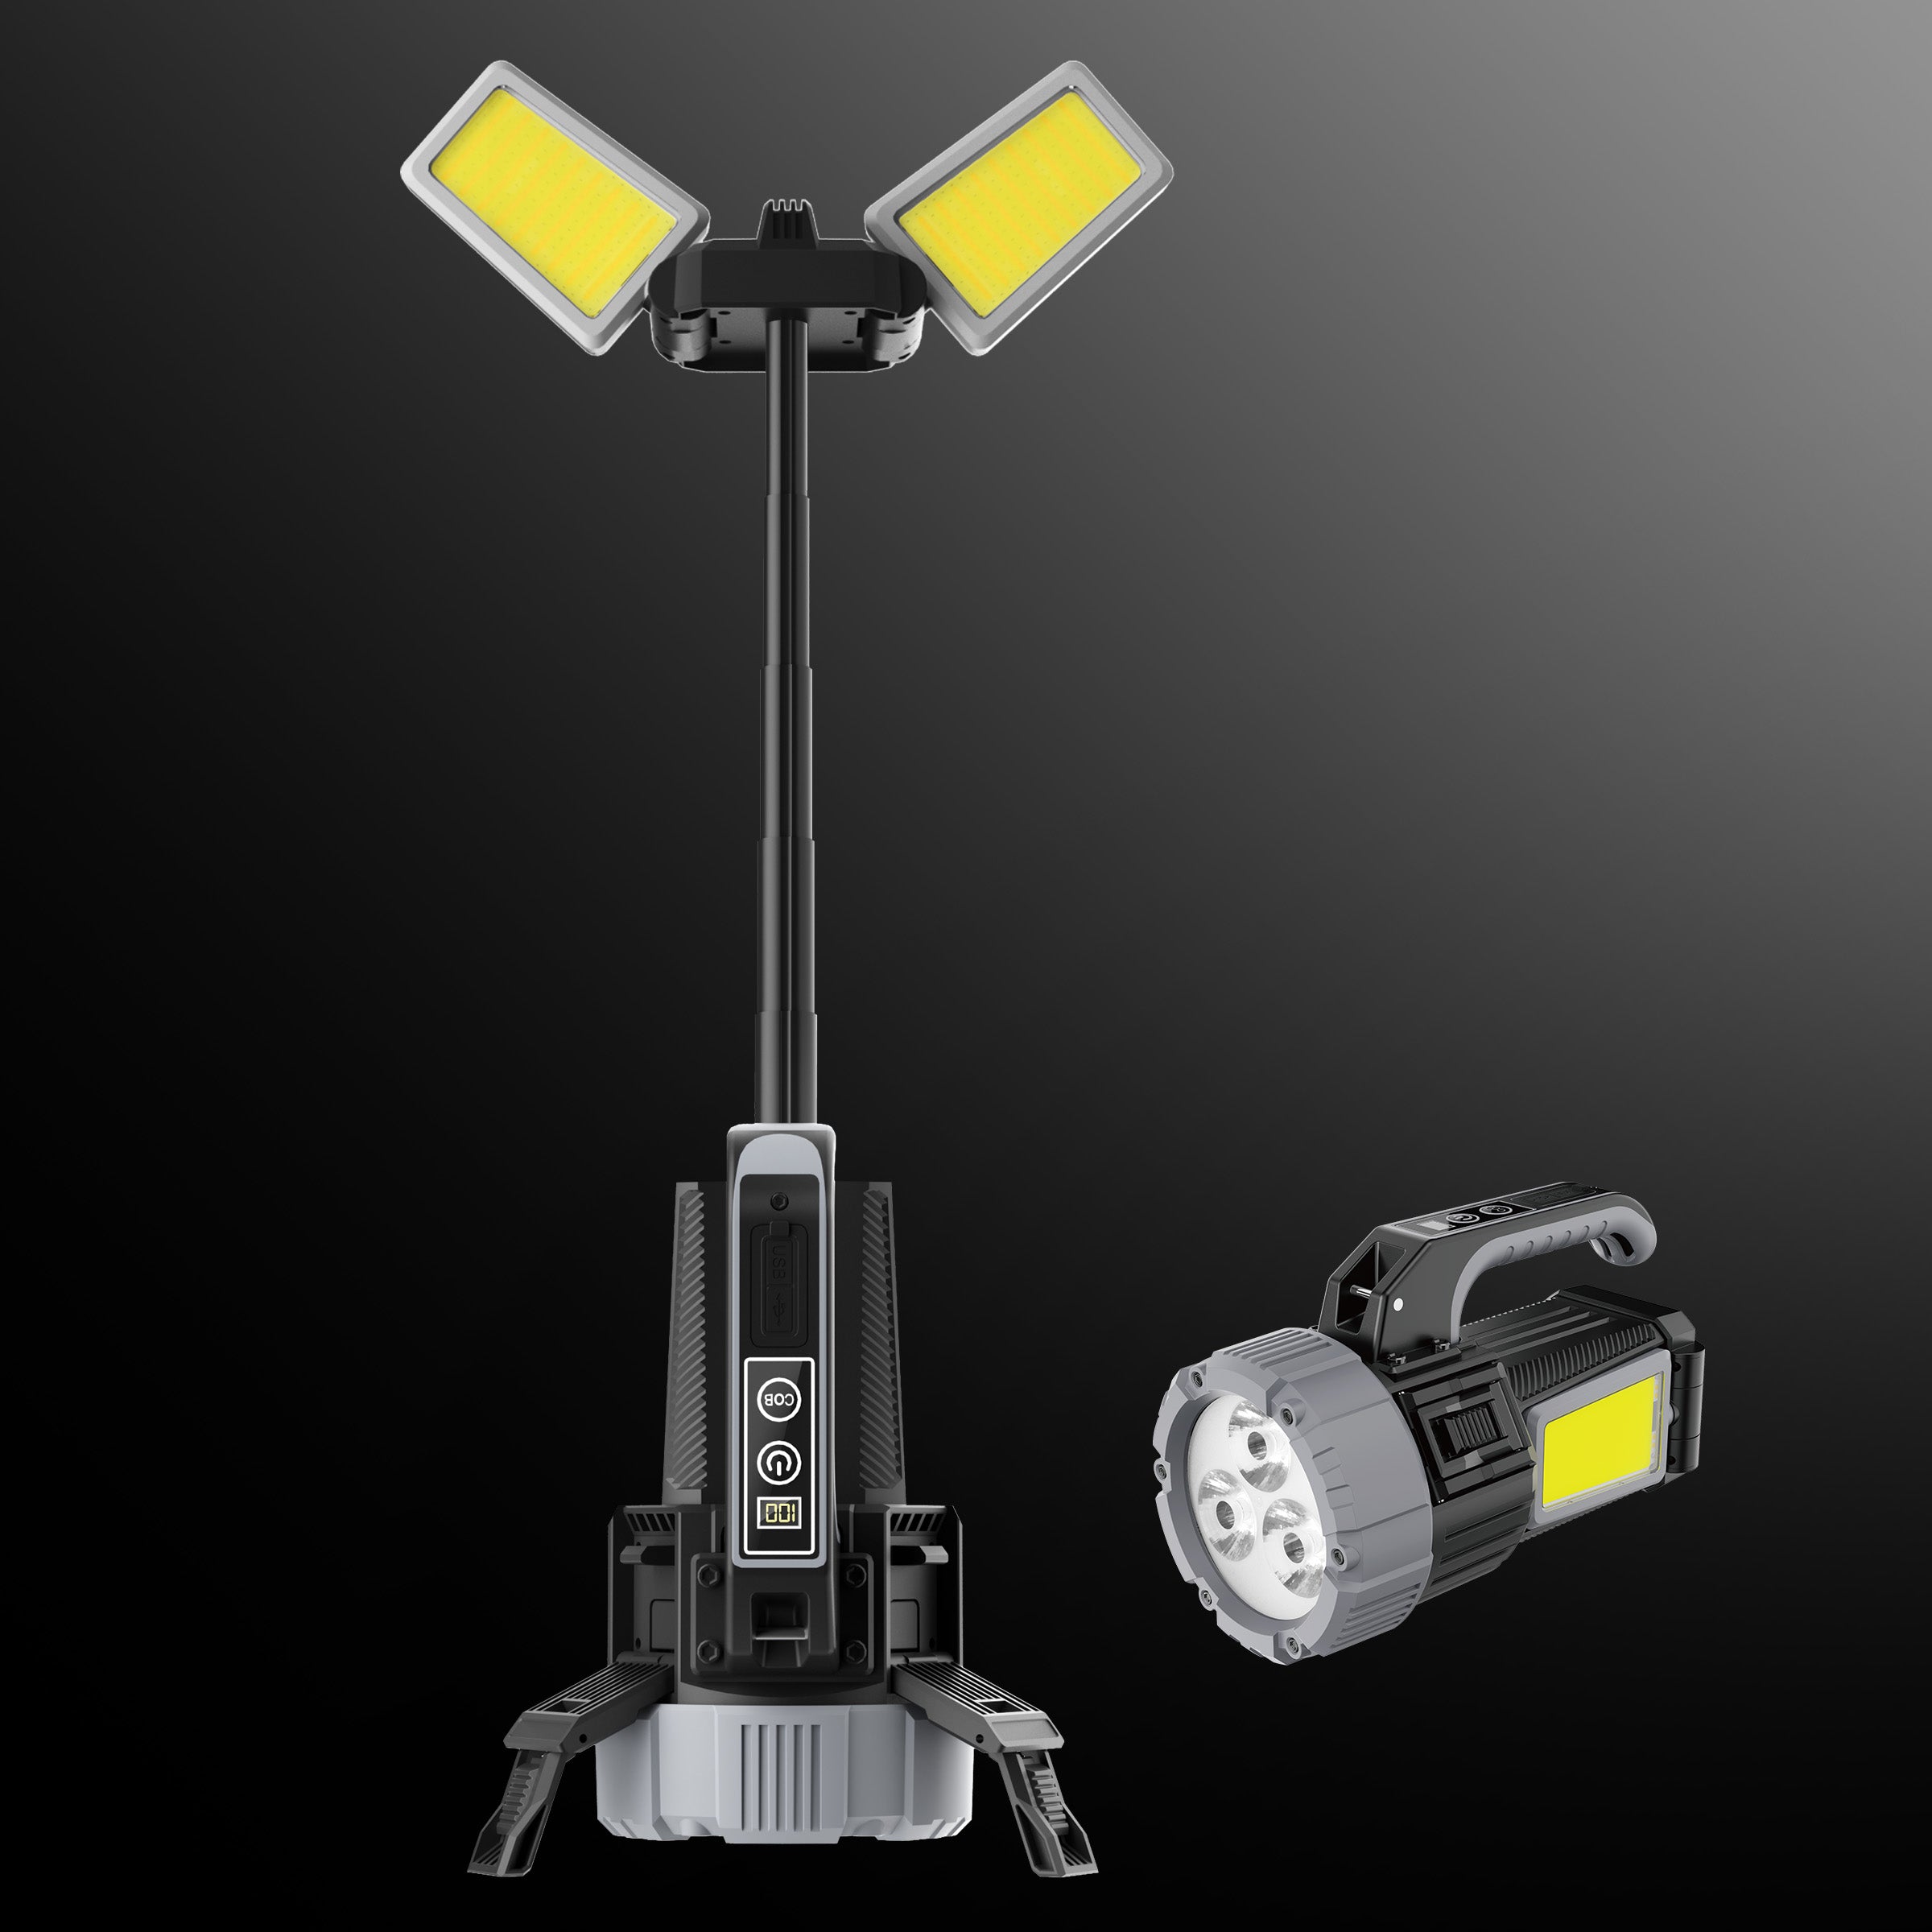
![[50%OFF] Hykoont LS018 Multi-Function 2 in 1 Flashlight Portable Extendable Adjustable Brightness CCT Bright](http://hykoont.com/cdn/shop/files/HYK-STDG18-2.jpg?v=1765273877&width=104)

Leave a comment
This site is protected by hCaptcha and the hCaptcha Privacy Policy and Terms of Service apply.