


Removing an old flush mount ceiling fan with light or modern ceiling fan with light can be a straightforward DIY project if you follow the proper steps and take the necessary precautions. Whether you're upgrading to a newer fan or simply want to replace an old one, it’s important to handle the process carefully to avoid any damage to the fan, ceiling, or wiring. Here's a step-by-step guide to help you remove your old flush mount ceiling fan with light.
Step 1: Turn Off the Power
The first and most important step is to turn off the power at the breaker box. You don't want to be working with live wires while removing the fan. Go to your home’s electrical panel and switch off the circuit that powers the fan and light. Double-check that the power is off by testing the fan and light switch to ensure nothing is working. This is a safety measure that prevents the risk of electrical shock.
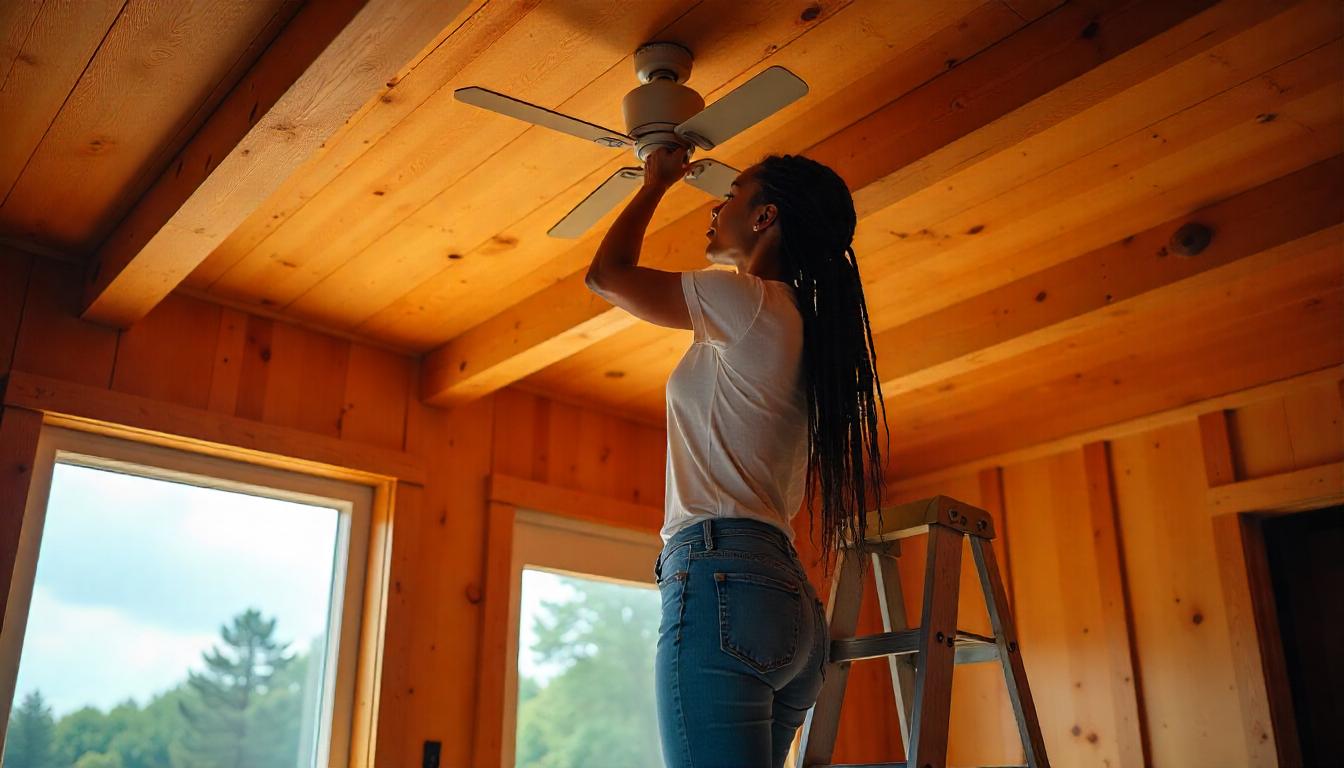
Step 2: Remove the Fan Blades
Before you can access the fan's mounting bracket, it's best to start by removing the fan blades. For most modern ceiling fans with light, the blades are detachable. Use a screwdriver to unscrew the screws holding the blades in place. Place the blades in a safe area to avoid scratching or damaging them. If you plan to reuse the fan blades, be sure to keep them in good condition for future use.

Step 3: Remove the Light Kit (if applicable)
If your flush mount ceiling fan with light has an integrated light kit, you’ll need to remove it next. Typically, light kits are secured with screws or clips. Use a screwdriver to detach the light kit from the rest of the fan assembly. Be sure to gently disconnect the wiring from the fan and light kit. You may need to unscrew the wire connectors to separate the wires.
Step 4: Disconnect the Wiring
Once the fan blades and light kit have been removed, you'll need to disconnect the wiring that powers the fan. First, carefully examine the wiring connections where the fan is attached to the ceiling box. You should see a set of wires—typically, black (hot), white (neutral), and green or bare (ground). Use a screwdriver or pliers to remove the wire nuts that are holding these wires together. Be sure to keep track of the wiring and note which wire corresponds to which connection, as this will be important if you're installing a new fan later.
Step 5: Remove the Mounting Bracket
After the wiring has been disconnected, you can move on to removing the mounting bracket that holds the fan in place. In the case of flush mount ceiling fans with light, the mounting bracket is typically attached directly to the ceiling. Use a screwdriver to loosen and remove the screws that hold the bracket in place. Once the screws are removed, gently pull the mounting bracket away from the ceiling box.
Step 6: Remove the Fan Motor
With the mounting bracket detached, you should be able to remove the fan motor. The motor of a modern ceiling fan with light is typically secured by a couple of screws. Use a screwdriver to remove any screws holding the motor to the mounting bracket. Once the screws are removed, carefully pull the fan motor down from the ceiling box. Depending on the fan’s size and weight, you may need a helper to assist in this step.
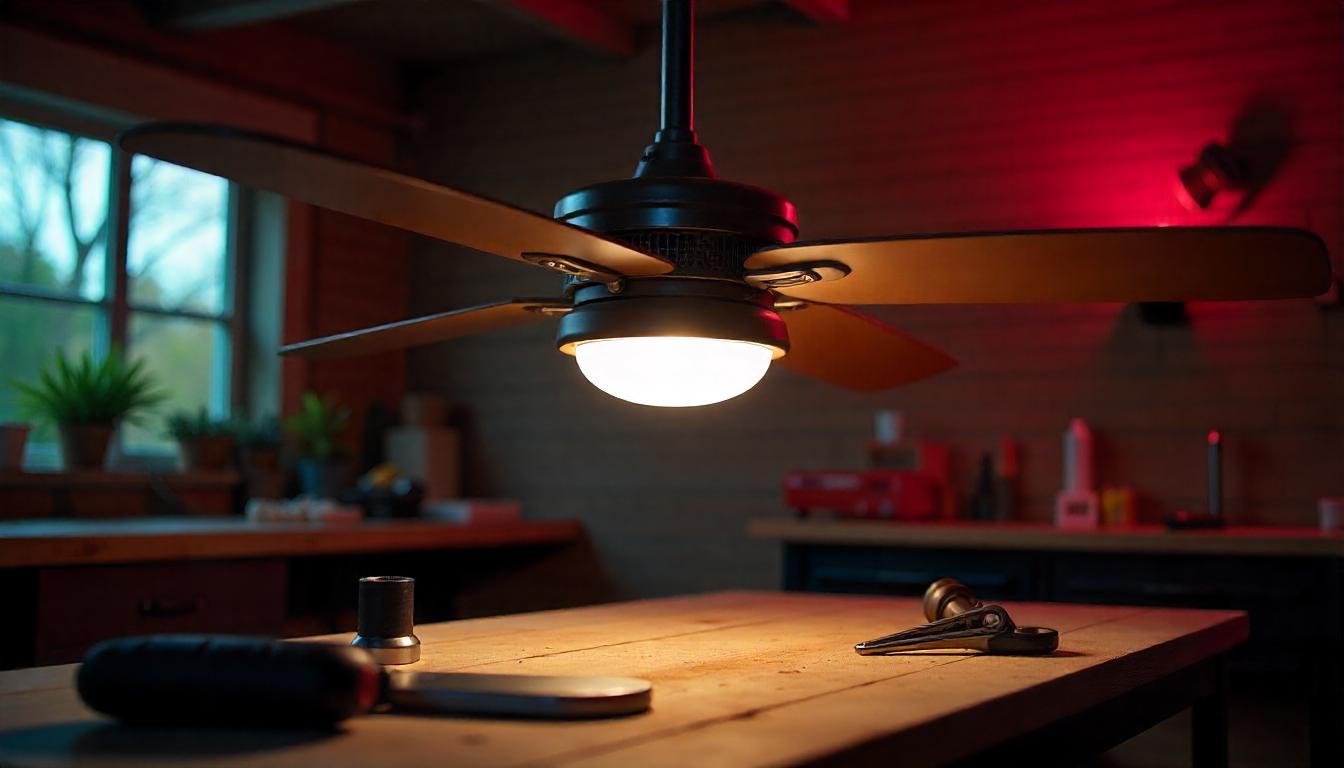
Step 7: Clean Up and Check for Damage
Once the fan motor is removed, take a moment to check the ceiling box and wires for any signs of damage or wear. If the fan has been in place for a long time, there could be some dust buildup or wear on the electrical components. Clean the area carefully to ensure a smooth installation for your new fan.
Step 8: Install the New Fan
With the old flush mount ceiling fan with light removed, you're now ready to install your new fan. Whether you're opting for a modern ceiling fan with light or another flush mount ceiling fan with light, follow the manufacturer’s installation instructions. Typically, you'll reverse the steps you used to remove the old fan—attaching the new fan to the mounting bracket, connecting the wiring, and then reattaching the fan blades and light kit.
Why Choose Hykoont Fans?
When it’s time to upgrade your flush mount ceiling fan with light, consider exploring options from Hykoont, a brand known for its stylish, energy-efficient ceiling fans. Whether you're installing a new modern ceiling fan with light or replacing an old one, Hykoont offers fans that combine quality, functionality, and design.
Hykoont’s modern ceiling fans with light come in various styles and sizes, ensuring that you can find the perfect fan for your home. Their flush mount ceiling fans with light are perfect for low ceilings, offering sleek, integrated lighting and strong airflow. Hykoont's fans are easy to install, energy-efficient, and designed to fit seamlessly into any modern space.
If you're upgrading your flush mount ceiling fan with light or just looking to install a new fan, consider Hykoont’s models for an optimal balance of style and performance.

Conclusion
Removing an old flush mount ceiling fan with light can be a manageable task if you take it step by step and follow safety precautions. Once the old fan is removed, you'll have the chance to upgrade to a new modern ceiling fan with light that fits your needs. Be sure to consider the right size and style for your space, and always prioritize ease of installation and efficient airflow. With the right tools and a bit of patience, you can enjoy a new, stylish fan that enhances both the comfort and aesthetics of your room.
If you're looking for a fan that combines style, efficiency, and ease of installation, consider checking out the wide range of Hykoont ceiling fans, including both flush mount ceiling fans with light and modern ceiling fans with light.

Leave a comment
This site is protected by hCaptcha and the hCaptcha Privacy Policy and Terms of Service apply.