









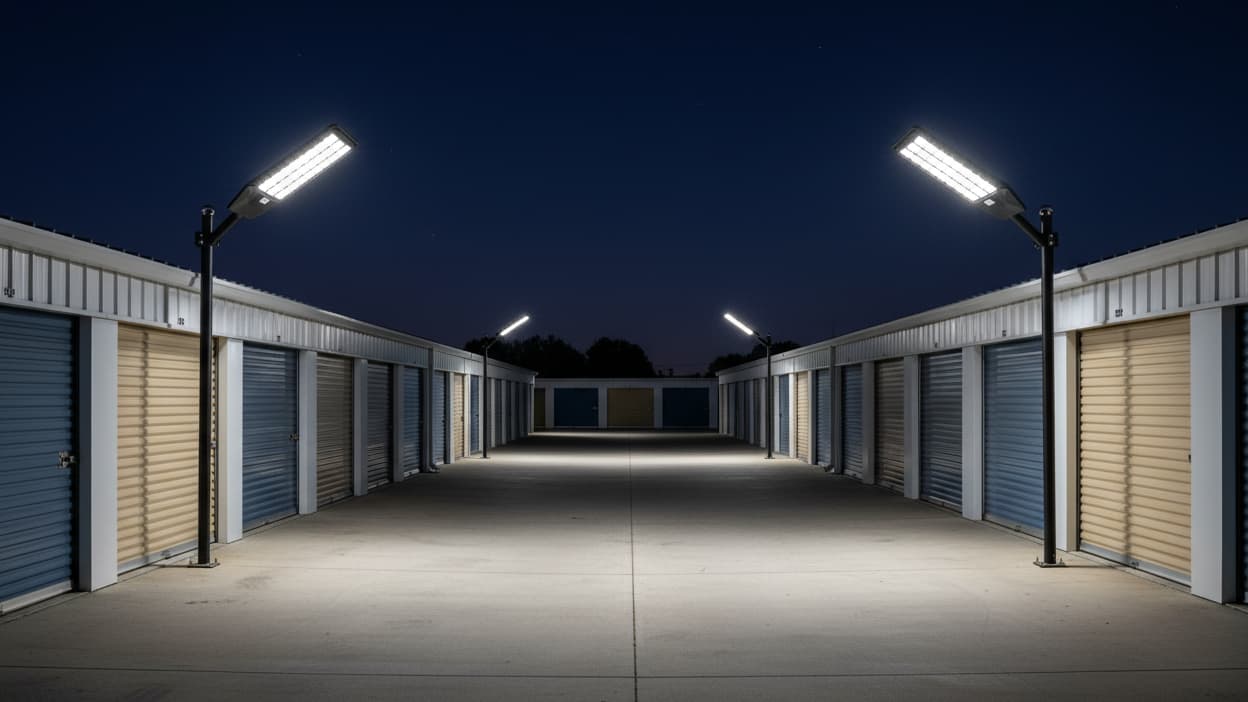
You pull into your driveway at 9 PM and it's pitch black. You're squinting at the ground, hoping you don't trip over the garden hose you left out last Tuesday. Your phone flashlight is doing its best, but honestly — this is ridiculous. You've lived here for years and the driveway has always been dark. You just... accepted it.
Here's the thing: you don't have to.
Most people assume that lighting a driveway means calling an electrician, digging trenches, pulling permits, and spending thousands of dollars before a single bulb turns on. That assumption is wrong — and it's keeping a lot of driveways dark that don't need to be.
Solar-powered driveway lights have gotten genuinely good. Not "good for solar" good. Just good. We're talking 10,000 to 50,000+ lumens, motion sensors, dusk-to-dawn automation, IP66 weatherproofing, and LiFePO4 batteries that last through cloudy weeks without dimming. The technology caught up. Most people just haven't noticed yet.
This guide is for anyone with a dark driveway and zero interest in hiring an electrician. We'll cover how these lights actually work, what specs matter, which TW series models fit which situations, and how to get them mounted and running in an afternoon.

Why People Think They Need an Electrician (And Why They Don't)
The mental model most homeowners have goes something like this: outdoor lighting = wiring = electrician = expensive. That's true for hardwired fixtures. It's completely irrelevant for solar.
A solar street light is a self-contained system. The panel charges the battery during the day. The battery powers the LED at night. There's no connection to your home's electrical system. No breaker box involvement. No conduit. No permit in most jurisdictions (always check local codes, but solar pole lights typically don't require electrical permits).
The only tools you usually need: a post hole digger or a surface mount bracket, a wrench, and maybe a ladder. That's it.
Compare that to the alternative. Running a new circuit from your panel to the end of a 200-foot driveway involves trenching (typically $5–$15 per linear foot), conduit, wire, a licensed electrician for the panel work, and an inspection. For a long rural driveway, you're looking at $3,000–$8,000 before you've bought a single fixture. And then you're paying for the electricity every month, forever.
Solar has a higher upfront cost per fixture than a basic wired light, but the total installed cost — including labor, trenching, and ongoing electricity — isn't even close.

→ Browse TW Series Solar Driveway Lights
How Solar Driveway Lights Actually Work
No jargon, just the basics.
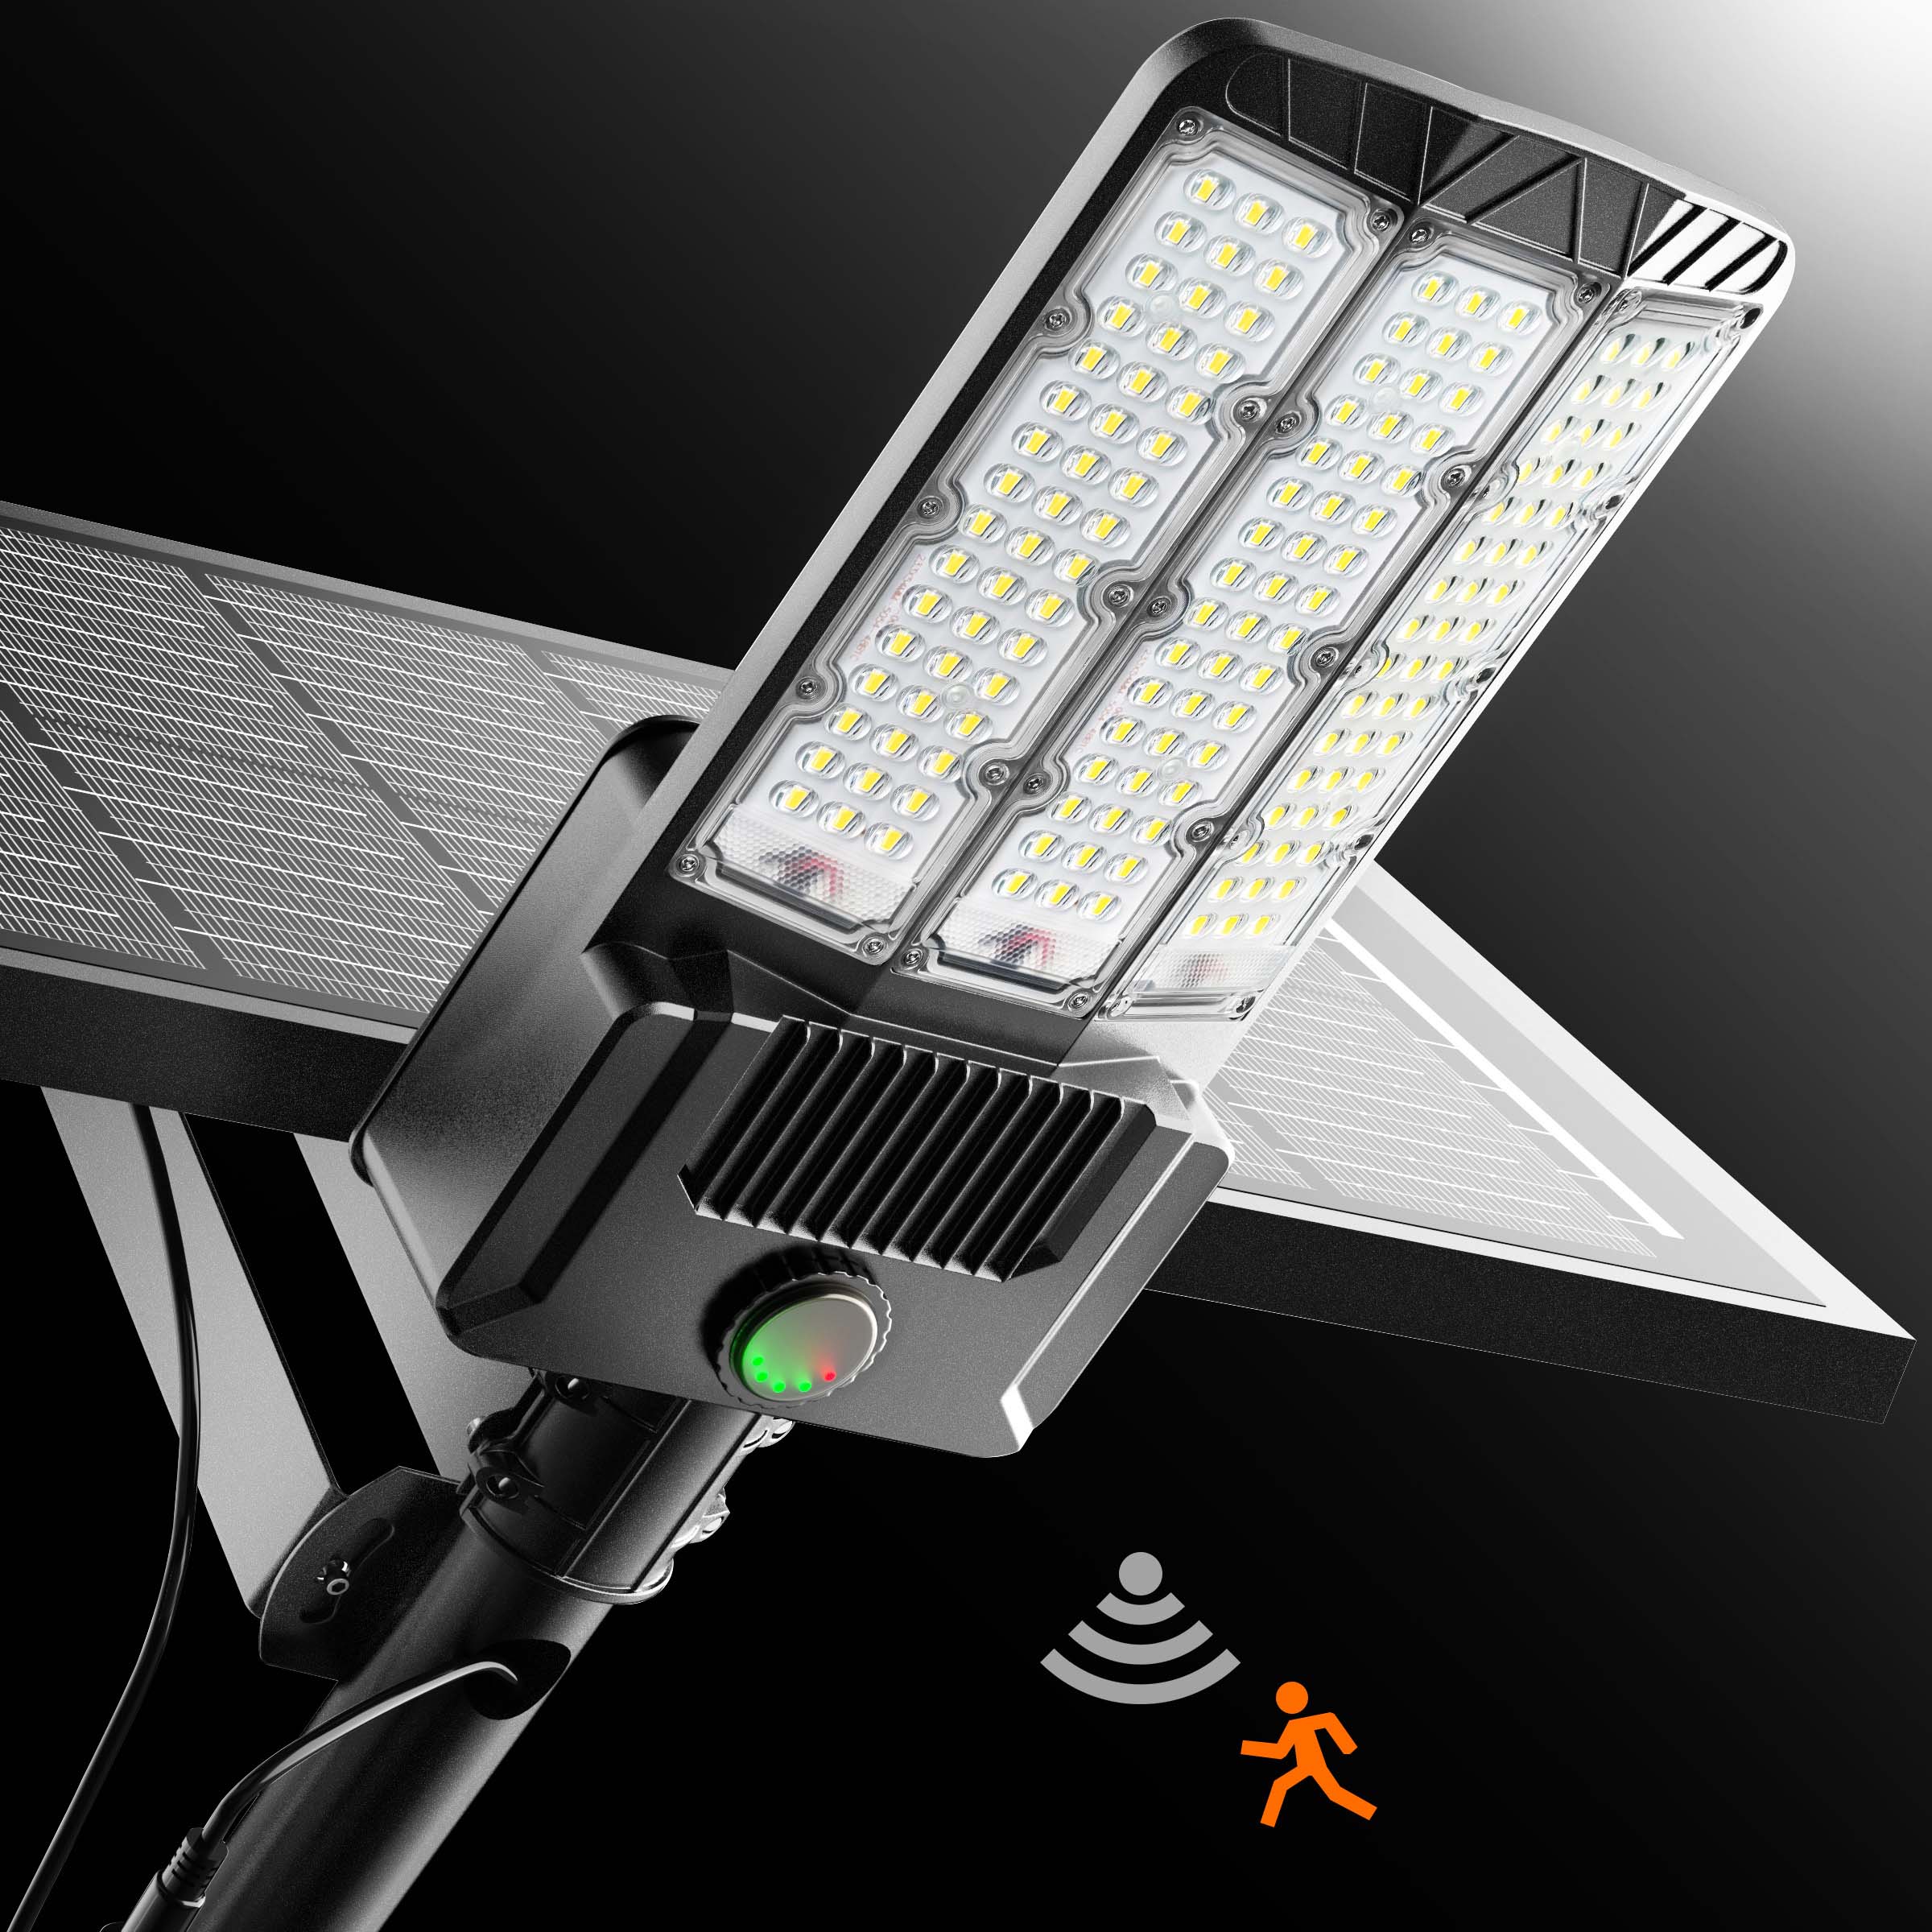
The solar panel sits on top of the fixture (or on a separate mount). During daylight hours, it converts sunlight into DC electricity and sends it to the battery. Monocrystalline panels — which is what the TW series uses — are more efficient than polycrystalline, meaning they charge faster and perform better on overcast days.
The battery stores that energy. LiFePO4 (lithium iron phosphate) batteries are the current standard for quality solar lights. They handle temperature extremes better than older lithium-ion chemistries, they don't degrade as fast with repeated charge cycles, and they're safer. A good LiFePO4 battery in a solar street light should last 5–8 years before needing replacement.
The MPPT controller manages the charging process. MPPT (Maximum Power Point Tracking) controllers are more efficient than PWM controllers — they extract more usable energy from the panel, especially in low-light conditions. This is one of those specs that separates quality fixtures from cheap ones.
The LED array is what actually lights your driveway. LEDs are measured in lumens (total light output) and color temperature (measured in Kelvin — lower is warmer/yellower, higher is cooler/bluer). For driveways, 5000K–6500K is typical because it provides good visibility and contrast.
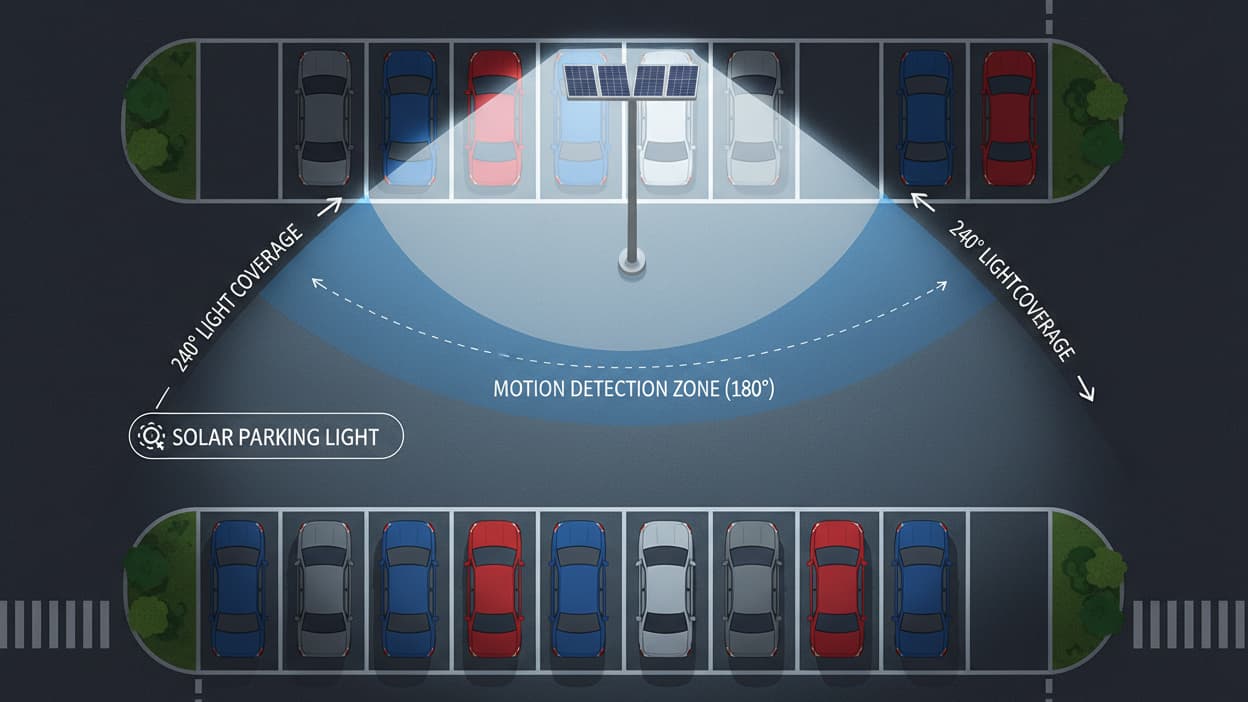
The motion sensor and controller let you set the light to stay on all night at a lower brightness, then blast to full power when it detects movement. This extends battery life significantly while still giving you full illumination when you actually need it.

What Specs Actually Matter for Driveway Lighting
There are a lot of numbers on solar light spec sheets. Here's what to pay attention to and what to ignore.
Lumens, not watts. Watts measure power consumption. Lumens measure actual light output. For a standard residential driveway (50–100 feet), you want at least 8,000–15,000 lumens per fixture. For longer driveways or wider coverage areas, go higher. The TW series ranges from about 10,000 lumens (TW016) up to 550,000 lumens (TW032 — that's for large commercial areas).
IP rating. IP66 means the fixture is dust-tight and protected against powerful water jets. That's the minimum you want for outdoor use. IP67 and IP68 add submersion protection, which is overkill for most driveways but doesn't hurt.
Battery capacity and backup days. Look for how many consecutive cloudy days the light can operate. Quality fixtures will specify this — typically 3–5 days. If a product doesn't mention it, that's a red flag.
Motion sensor range and angle. A 120° detection angle at 20–30 feet is standard. Some fixtures go wider. For a driveway, you want the sensor pointed toward the approach so the light triggers before you reach the dark zone, not after.
Mounting options. Most TW series lights can mount on a pole (sold separately or included) or directly to a wall or existing structure. If you have a fence post, a garage wall, or a utility pole at the end of your driveway, you may not need to dig anything.

The TW Series: Which Light Fits Your Driveway
Here are the models that make the most sense for residential driveway lighting, from entry-level to heavy-duty.
Best Budget Pick: Hykoont TW016 — $79.99

The TW016 is the entry point into the TW lineup, and it punches above its price. The lens optical design is what sets it apart from generic solar lights at this price — instead of scattering light in every direction, it focuses the beam where you actually need it: down and forward along the driveway surface.
At $79.99, this is the light you put at the end of a shorter driveway (under 60 feet) or use as a supplemental fixture alongside a larger unit. It's also a solid choice if you want to test solar performance in your specific location before committing to a bigger setup.
Best for: Short driveways, supplemental lighting, budget-conscious buyers testing solar for the first time.
Best Mid-Range: Hykoont TW020 — $89.00

The TW020 steps up to 200W equivalent output and is one of the most popular models for residential driveways in the 80–150 foot range. It's got the motion sensor, dusk-to-dawn automation, and the IP66 weatherproofing you'd expect, but the real upgrade over the TW016 is raw coverage area.
If your driveway curves, or if you want one fixture to cover a wider area (like a turnaround or parking pad at the end), the TW020 handles it without needing a second unit.
Best for: Medium-length driveways, curved approaches, single-fixture coverage of a parking area.
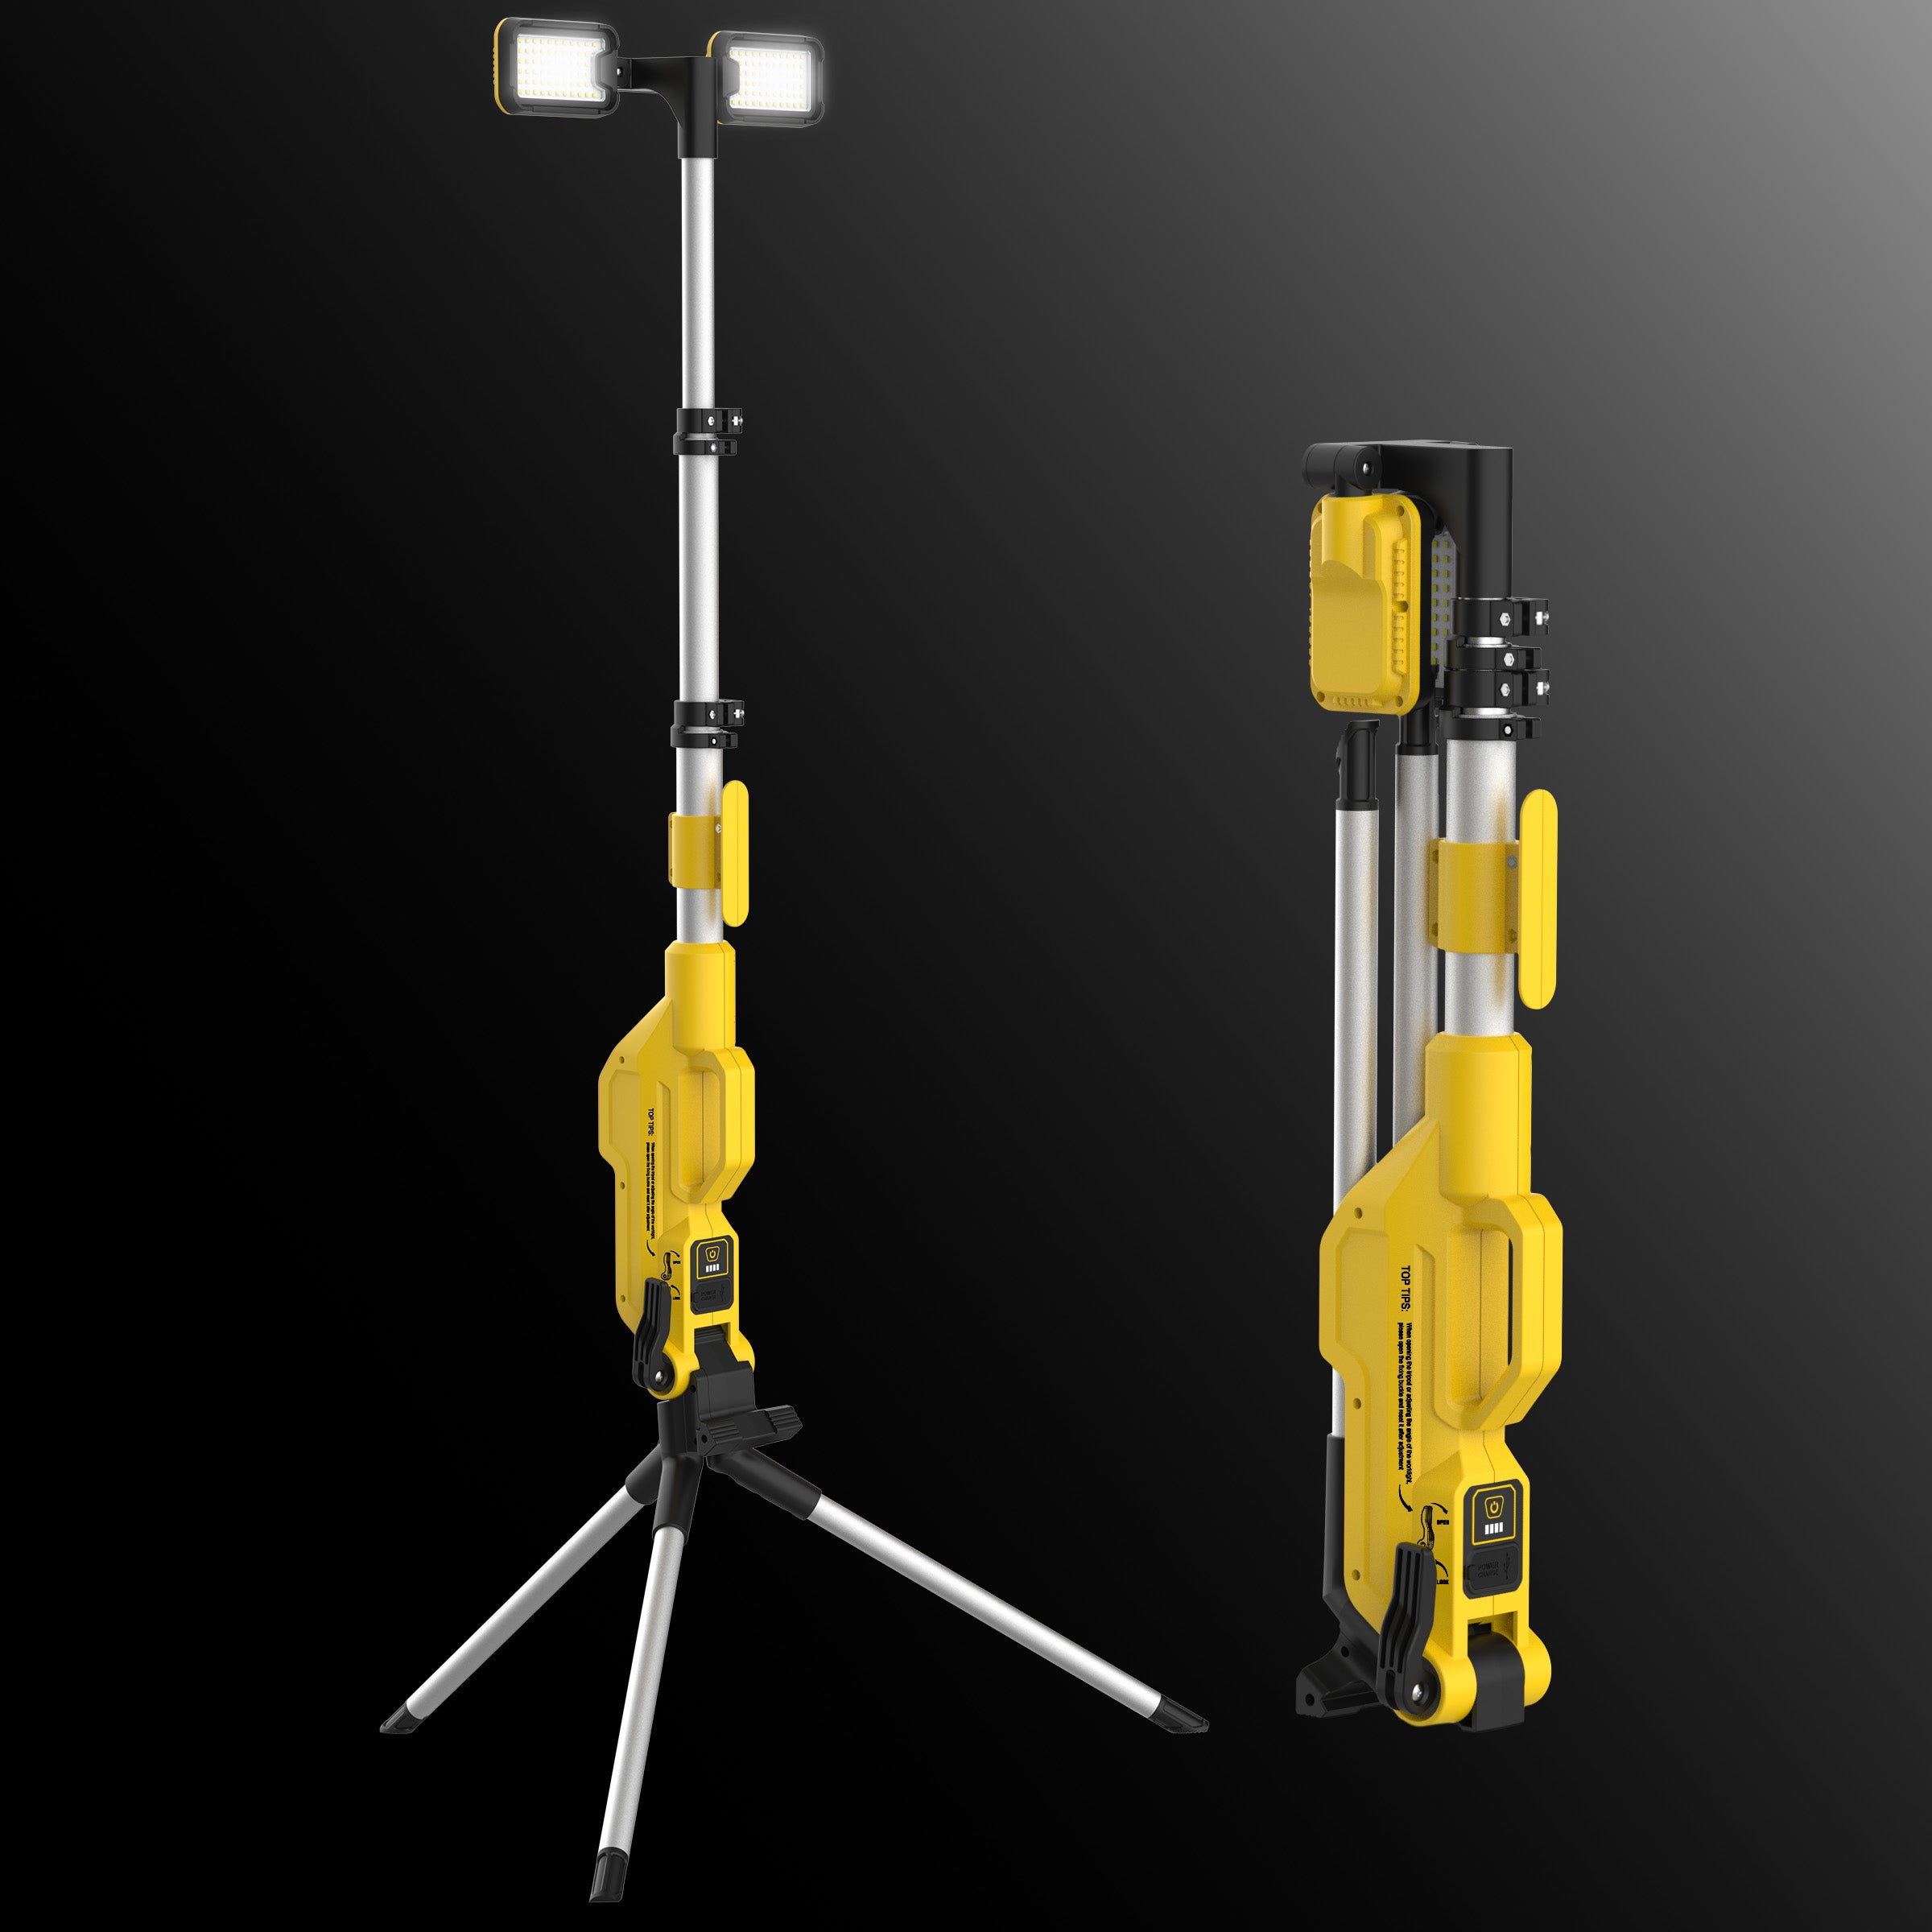
Best Versatile Option: Hykoont TW001 Dual-Lamp — from $49.99

The TW001's dual-lamp design is genuinely clever for driveways. Instead of one fixed beam, you get two adjustable lamp heads on a single pole. You can angle one down the driveway and one toward the entry gate, or split coverage across a wide turnaround. It's the most flexible mounting option in the lineup.
Starting at $49.99 for the base configuration and scaling up to $275 for the higher-output variant, the TW001 covers a wide range of needs. If you're not sure exactly what coverage pattern you need, the adjustable heads give you room to experiment after installation.
Best for: Driveways with a gate or entry feature, wide turnarounds, anyone who wants adjustable beam direction.
View TW001 Dual-Lamp — from $49.99 →
Best for Long Driveways: Hykoont TW024 — from $99.00

If your driveway is longer than 150 feet — or if you're lighting a rural property where the driveway is more of a private road — the TW024 is where you want to start. It's built for serious coverage, with output specs that put it in commercial territory while still being practical for residential installation.
The TW024 is also available in multi-pack configurations (up to $509 for a set), which makes sense if you're spacing multiple fixtures along a long approach. Spacing them every 80–100 feet gives you consistent illumination without dark gaps between fixtures.
Best for: Long rural driveways, private roads, properties where a single fixture won't cover the full approach.
Best High-Output: Hykoont TW030 — from $142.00

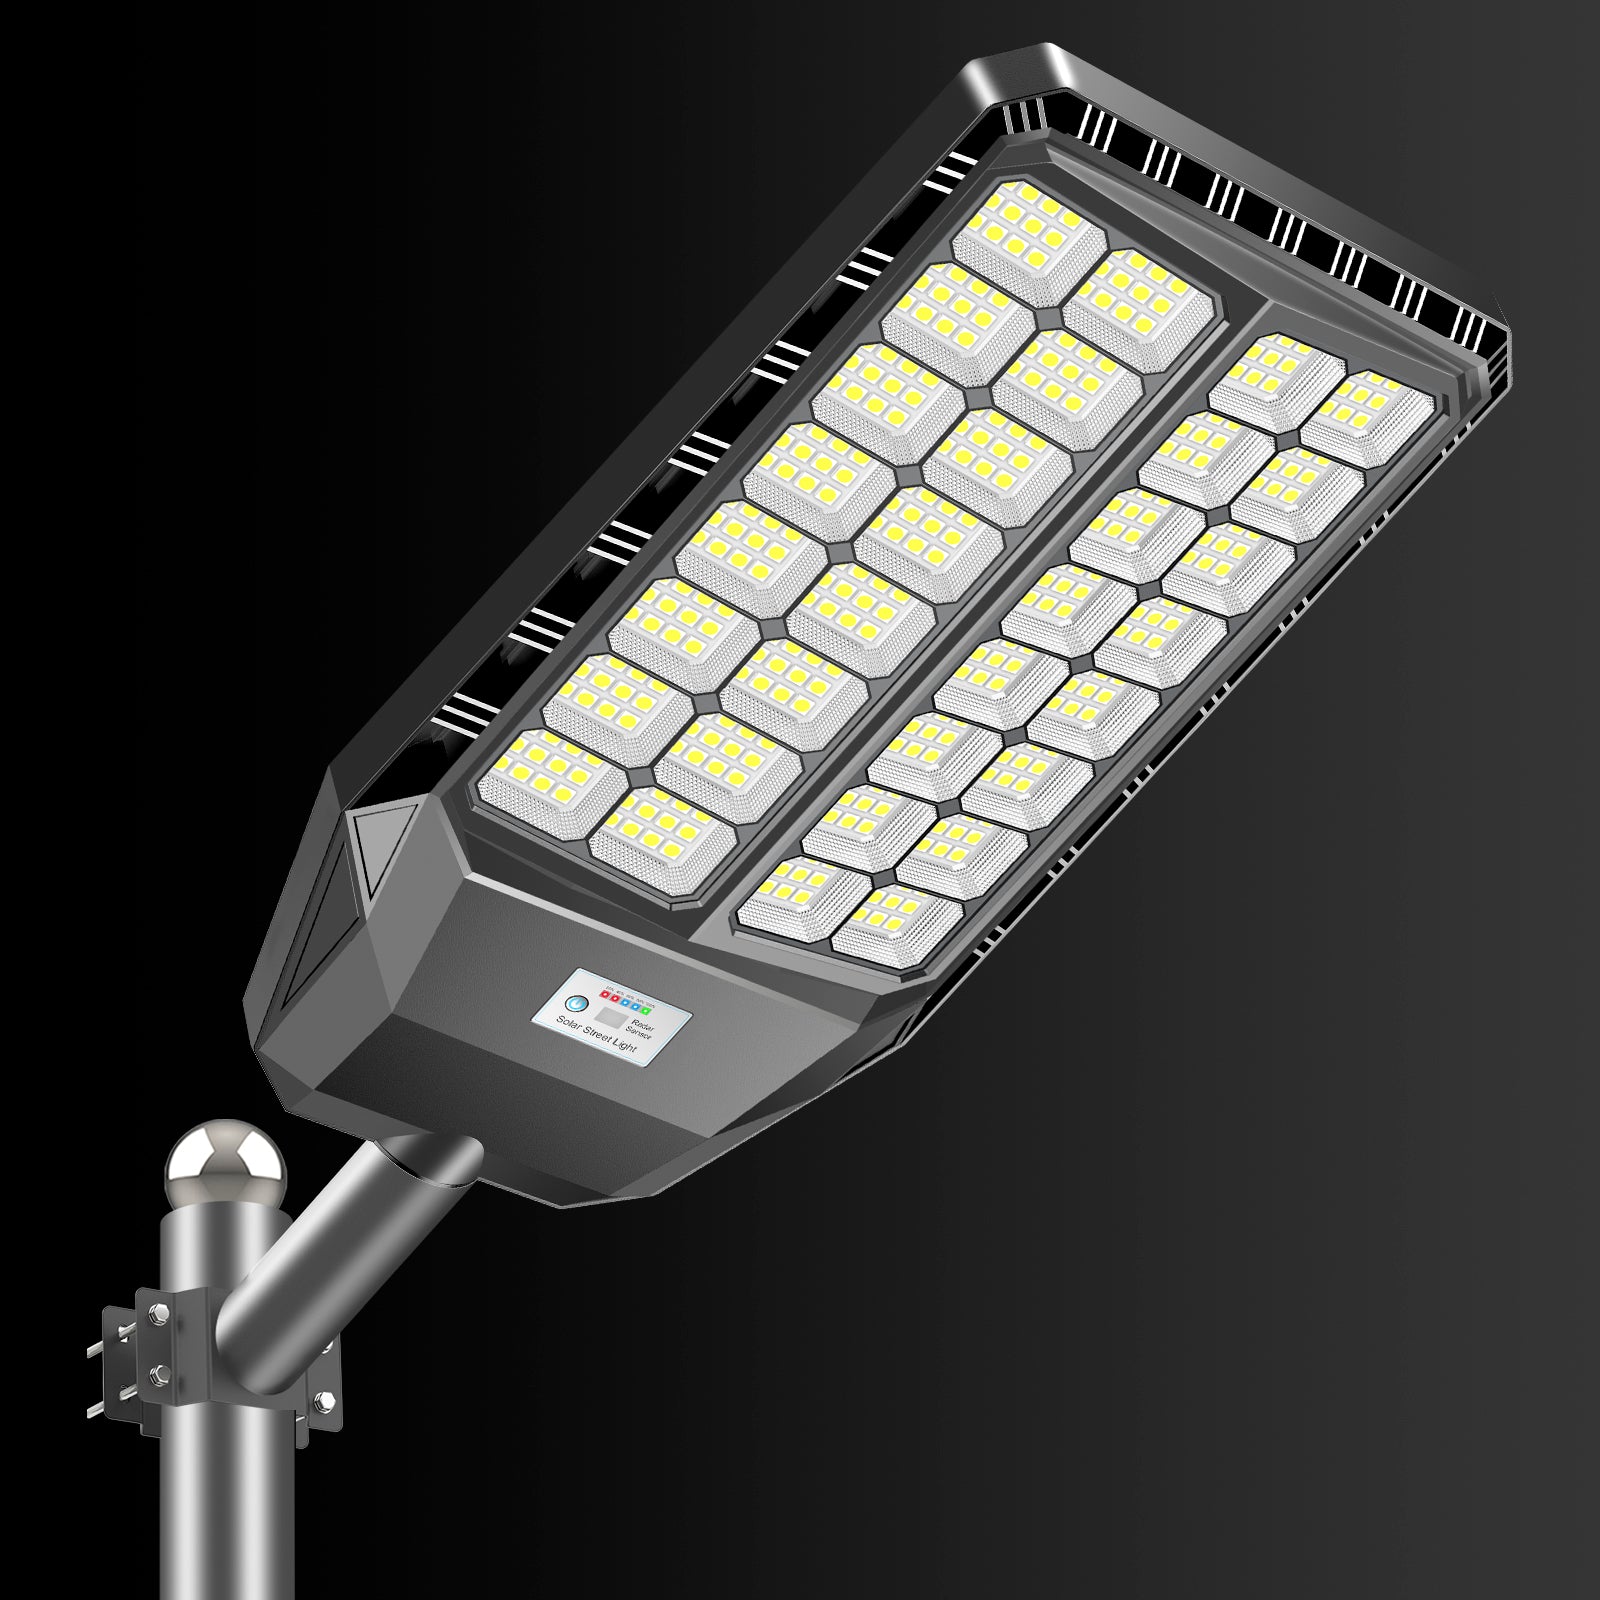
The TW030 is 300W equivalent output and 42,000 lumens. That's not a typo. For context, a typical residential streetlight runs around 3,000–5,000 lumens. The TW030 puts out roughly 8–10x that from a single fixture.
This is the light for people who want their driveway to look like daytime. It's also available in a 2-pack ($289) for long driveways where you want two fixtures spaced out. If you've got a large property, a long gravel driveway, or you just want serious illumination without compromise, this is the one.
Best for: Large properties, long driveways, anyone who wants maximum brightness and doesn't want to think about whether it's "enough."
→ See All TW Series Solar Lights & Current Pricing
How to Plan Your Driveway Lighting Layout
Before you order anything, walk your driveway at night with your phone flashlight and identify the dark zones. Where do you actually lose visibility? Where do you feel unsafe? That's where the lights go.
A few layout principles that work well:
Single long driveway: One high-output fixture (TW030 or TW024) at the midpoint, or two mid-range fixtures (TW020) spaced evenly. The goal is overlapping coverage so there are no dark gaps.
Curved driveway: Place fixtures at the apex of each curve. Curves are where visibility drops fastest, and that's where accidents happen. The TW001's adjustable heads are particularly useful here because you can angle the beam around the curve.
Entry gate or end of driveway: This is the highest-priority location. If you only install one light, put it here. The TW030 or TW036 at the gate gives you a landmark that's visible from the road and floods the entry area with light.
Long rural driveway (200+ feet): Space fixtures every 80–100 feet. Use the TW024 multi-pack or TW030 2-pack for cost efficiency. At this scale, you're essentially building a private road lighting system, and the economics of solar vs. wired become even more dramatic.

Installation: What It Actually Takes
Most people overthink this. Here's the realistic process for a pole-mounted TW series light:
Step 1: Choose your mounting location. You want the panel facing south (in the US) with no shade from trees or structures between 9 AM and 3 PM. That's the peak charging window. Even partial shade during those hours will noticeably reduce battery performance.
Step 2: Set the pole. If you're using a ground-mount pole, dig a hole about 2–3 feet deep (deeper in frost-prone areas), set the pole in concrete, and let it cure for 24 hours. If you're mounting to an existing structure — a fence post, a garage wall, a utility pole — you skip this step entirely.
Step 3: Attach the fixture. The TW series lights attach to the pole with a bracket and a few bolts. No wiring. No conduit. You're just bolting a fixture to a pole.
Step 4: Aim the panel and sensor. Panel faces south. Motion sensor faces the direction of approach. Some models let you adjust the panel angle separately from the fixture — use that to optimize charging without compromising light direction.
Step 5: Set your preferences. Most TW series lights have a remote control or a button interface to set brightness levels, motion sensitivity, and timing. Set it once and forget it.
Total time for someone who's done it once: about 45 minutes per fixture. First time, maybe 90 minutes. It's genuinely not complicated.

Common Mistakes That Kill Solar Light Performance
These are the things that make people think solar lights "don't work" when the real issue is installation or placement.
Shade during peak hours. This is the #1 killer. A tree that looks like it's not blocking the panel at noon might cast a shadow at 10 AM that cuts your daily charge by 30%. Walk around your installation site at different times of day before you commit to a location.
Panel facing the wrong direction. In the US, solar panels should face south. East or west-facing panels lose significant efficiency. North-facing panels are essentially non-functional for solar charging.
Setting brightness too high all night. Running at 100% brightness from dusk to dawn will drain the battery faster than it charges in winter months when days are short. Use the motion sensor mode — dim at 20–30% when no one's around, full brightness when triggered. This is how the lights are designed to be used.
Installing in December and judging performance in January. Solar lights perform best in summer and worst in winter. If you install in January in a northern state and the light dims after a few cloudy days, that's not a defect — that's physics. Give it a full seasonal cycle before drawing conclusions.
Ignoring the initial charge. Most manufacturers recommend charging the light for 1–3 days before first use. This conditions the battery and gives you accurate performance from day one.
Real Scenarios: Matching the Light to the Situation
Scenario 1: Suburban home, 60-foot straight driveway. One TW020 ($89) mounted on a 10-foot pole at the midpoint covers the full length. Add a TW016 ($79.99) at the garage end if you want extra brightness near the door. Total cost: under $170, installed in an afternoon.
Scenario 2: Rural property, 300-foot gravel driveway. Three TW024 fixtures ($99 each) spaced 100 feet apart, or a TW030 2-pack ($289) at the entry and midpoint with a TW020 at the far end. Total cost: $300–$400. Compare that to $5,000–$10,000 for wired lighting on a 300-foot run.
Scenario 3: Curved driveway with a gate. TW001 dual-lamp ($49.99–$275) at the gate for adjustable coverage around the curve, plus a TW020 at the midpoint. The dual-lamp design lets you aim one head down the straight section and one around the curve.
Scenario 4: Shared driveway or HOA property. The TW030 ($142) or TW036 ($185+) at the entry point makes a statement and provides enough light for multiple vehicles and pedestrians. High-output fixtures at shared entry points reduce the need for multiple smaller lights.
Frequently Asked Questions
Q: How many lumens do I need to light a driveway?
A: For a standard residential driveway (50–100 feet), 8,000–20,000 lumens per fixture is a good target. Longer driveways or wider coverage areas benefit from higher output. The TW020 at 200W equivalent handles most residential situations; the TW030 at 42,000 lumens is for large properties or anyone who wants maximum brightness.
Q: Will these lights work in cloudy weather?
A: Yes, but output is reduced. Monocrystalline panels (used in the TW series) still charge in diffuse light — they just charge more slowly. Quality fixtures with LiFePO4 batteries are rated for 3–5 consecutive cloudy days before dimming. In consistently overcast climates (Pacific Northwest, for example), you may want to size up to a higher-capacity model.
Q: Do I need a permit to install a solar driveway light?
A: In most US jurisdictions, solar pole lights don't require an electrical permit because they're not connected to the grid. However, some HOAs have rules about pole height or fixture appearance, and some municipalities have rules about light poles near the road. Check with your local building department and HOA before installing.
Q: How long do the batteries last?
A: LiFePO4 batteries in quality solar lights are rated for 2,000–3,000 charge cycles, which translates to roughly 5–8 years of daily use. Battery replacement is typically straightforward and costs a fraction of the original fixture price.
Q: Can I install these myself, or do I need a contractor?
A: You can absolutely install these yourself. The TW series lights require no electrical work — just pole mounting and bracket attachment. If you're comfortable with basic DIY tasks (drilling, using a level, mixing concrete for a post), you can handle this. Most installations take 1–2 hours per fixture.
Q: What happens if the light gets damaged by a car or storm?
A: The TW series fixtures are IP66 rated, meaning they're built for outdoor exposure including heavy rain and wind. Physical damage from impact (a car backing into a pole, for example) is a different matter — the fixture itself can be replaced without any electrical work. Just unbolt the old one and bolt on the new one.
Q: How do I know if my location gets enough sun for solar lights?
A: Most of the continental US gets enough sun for solar lights to work well. The Southwest gets the most (6–7 peak sun hours per day), the Southeast and Midwest get 4–5, and the Pacific Northwest and parts of New England get 3–4. Even at 3 peak sun hours, a quality solar light with a good battery will function reliably in motion-sensor mode.
Q: Can I use these lights for security as well as visibility?
A: Yes. The motion sensor function is actually a security feature — sudden bright light when someone approaches is a deterrent. The TW030 at 42,000 lumens triggered by motion is genuinely startling. If security is a priority, position the sensor to cover the approach from the road, not just the driveway itself.
Q: What's the difference between the TW series models?
A: Primarily output (lumens), battery capacity, and coverage area. The TW016 is the entry-level option for shorter driveways. The TW020 and TW024 cover medium to long driveways. The TW030 and TW036 are high-output fixtures for large properties or anyone who wants maximum brightness. The TW001 is unique for its dual adjustable lamp heads.
Q: Do these lights work in cold climates?
A: LiFePO4 batteries perform significantly better in cold weather than standard lithium-ion. They maintain capacity down to around -4°F (-20°C), whereas standard lithium-ion batteries start losing significant capacity below 32°F. For northern US states with harsh winters, LiFePO4 is the right chemistry — and it's what the TW series uses.
The Bottom Line
A dark driveway is a solved problem. The technology exists, it's affordable, and you can install it yourself in an afternoon. The only thing standing between you and a well-lit driveway is the outdated assumption that lighting requires an electrician.
Start with one fixture at the darkest point of your driveway. See how it performs. Then add more if you need them. The TW series gives you a range of options from $49.99 to $509 depending on your coverage needs, and every model is designed to work out of the box without any electrical knowledge.
Your driveway doesn't have to be dark. It just needs the right light.
→ Shop TW Series Solar Driveway Lights — Free Shipping on Orders $99+


Leave a comment
This site is protected by hCaptcha and the hCaptcha Privacy Policy and Terms of Service apply.