


Wall pack lights are a popular and practical lighting solution for the exteriors of buildings. They provide ample illumination, enhancing security and visibility. Installing wall pack lights can seem like a daunting task, but with the right tools and instructions, it can be done efficiently. This comprehensive guide will walk you through the steps necessary to install wall pack lights, ensuring your outdoor spaces are well-lit and secure.
Understanding Wall Pack Lights
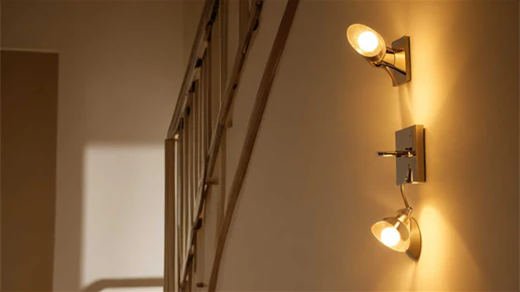
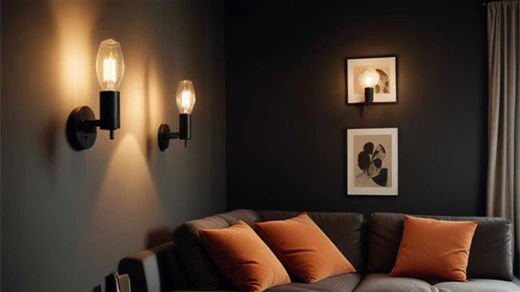
Wall pack lights are outdoor lighting fixtures typically mounted on the exterior walls of buildings. They are designed to cast a broad, even distribution of light over a wide area. Wall pack lights are commonly used in commercial, industrial, and residential settings to illuminate parking lots, walkways, building perimeters, and other outdoor spaces.
Types of Wall Pack Lights
-
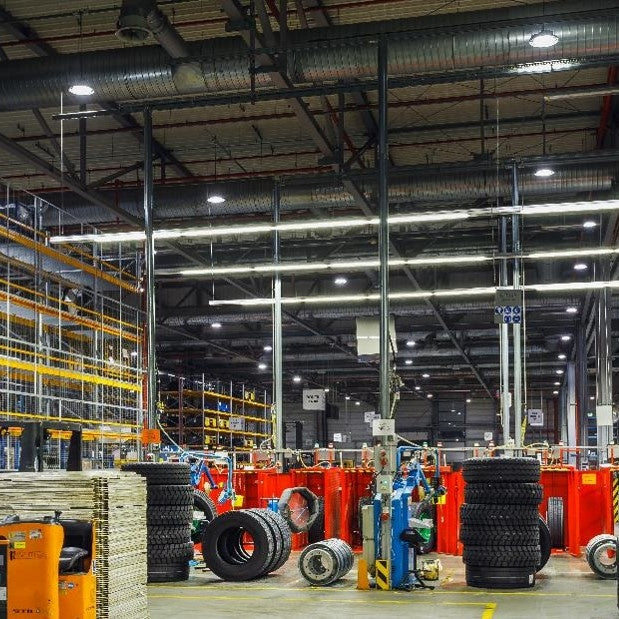
Traditional Wall Packs: These use high-intensity discharge (HID) bulbs, such as metal halide or high-pressure sodium lamps. They are known for their high brightness and wide coverage.
-
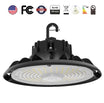
LED Wall Packs: These are more energy-efficient and have a longer lifespan compared to traditional wall packs. LED wall packs come in various styles, including full-cutoff designs that reduce light pollution.
-
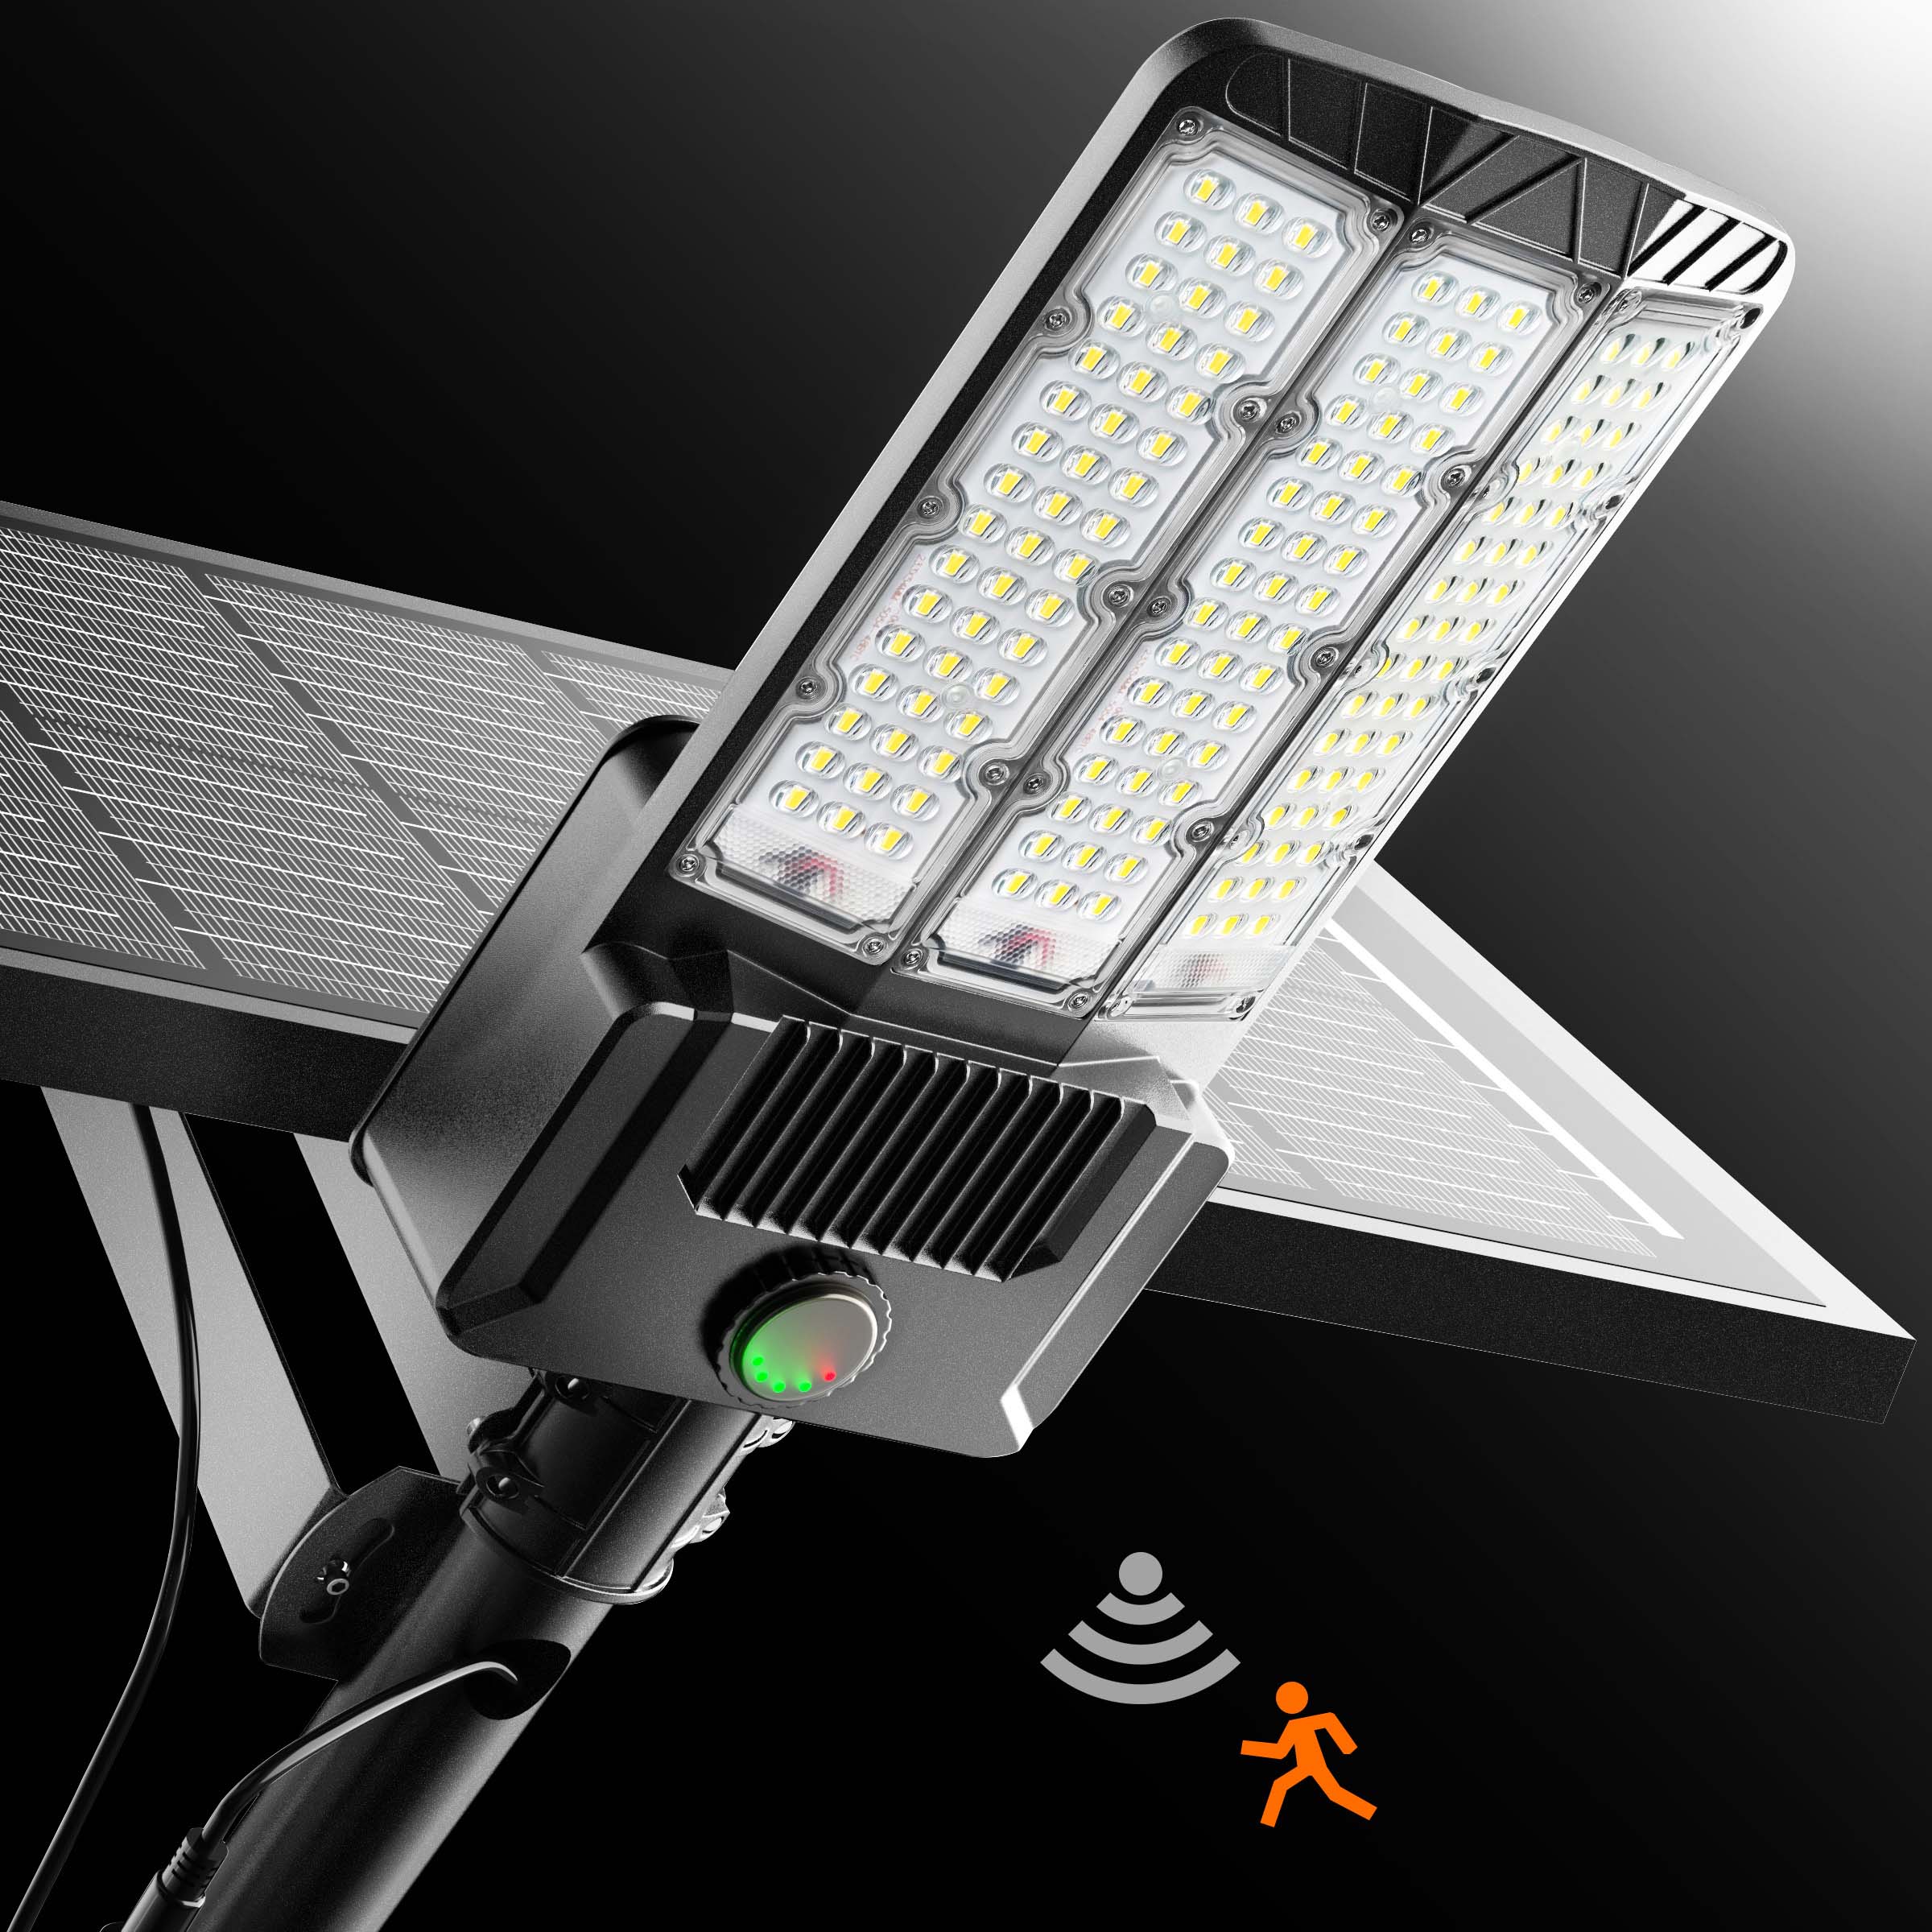
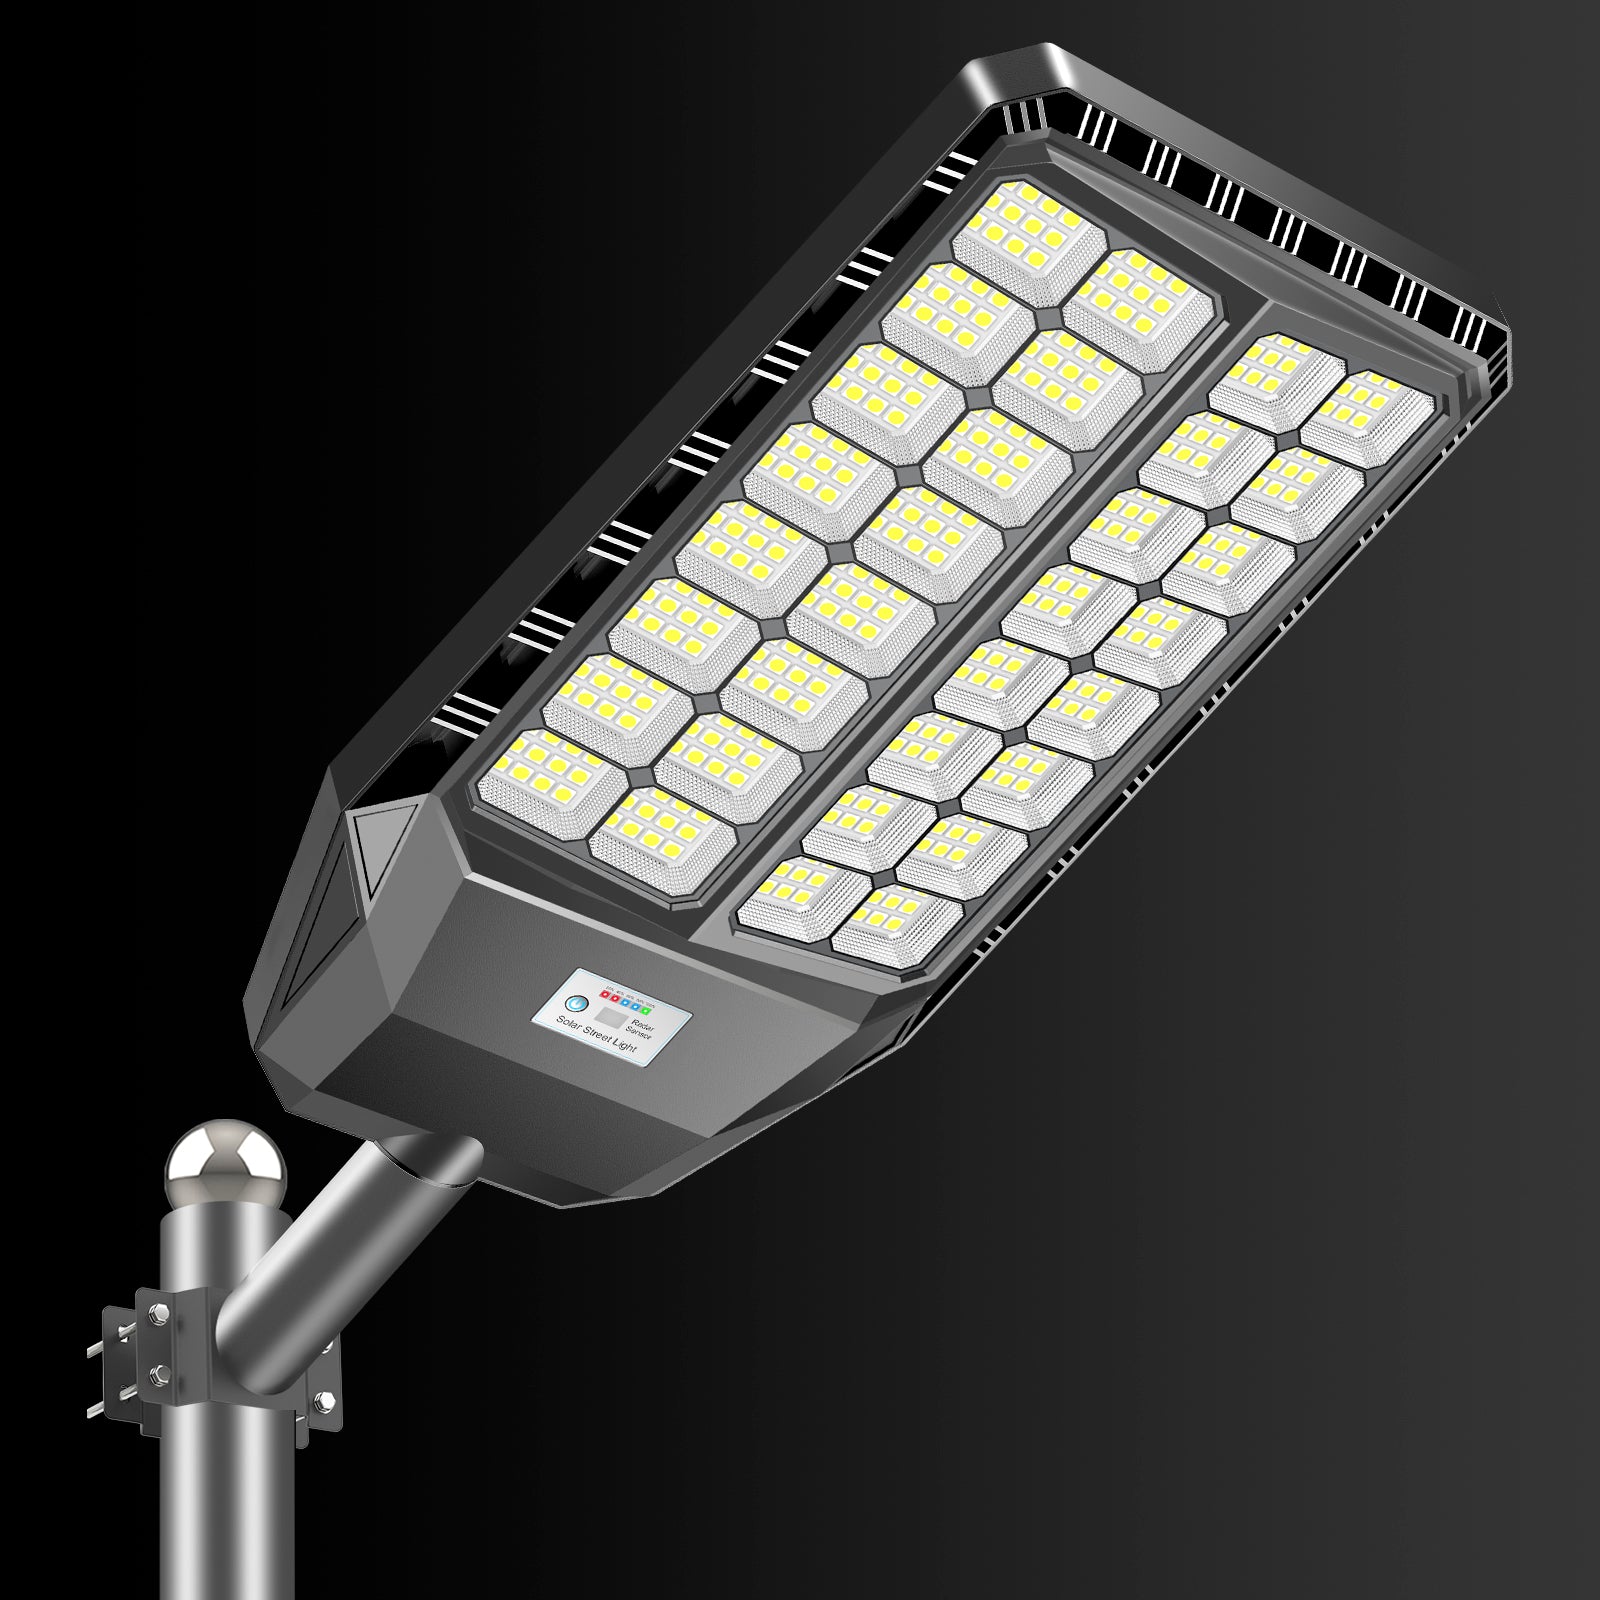
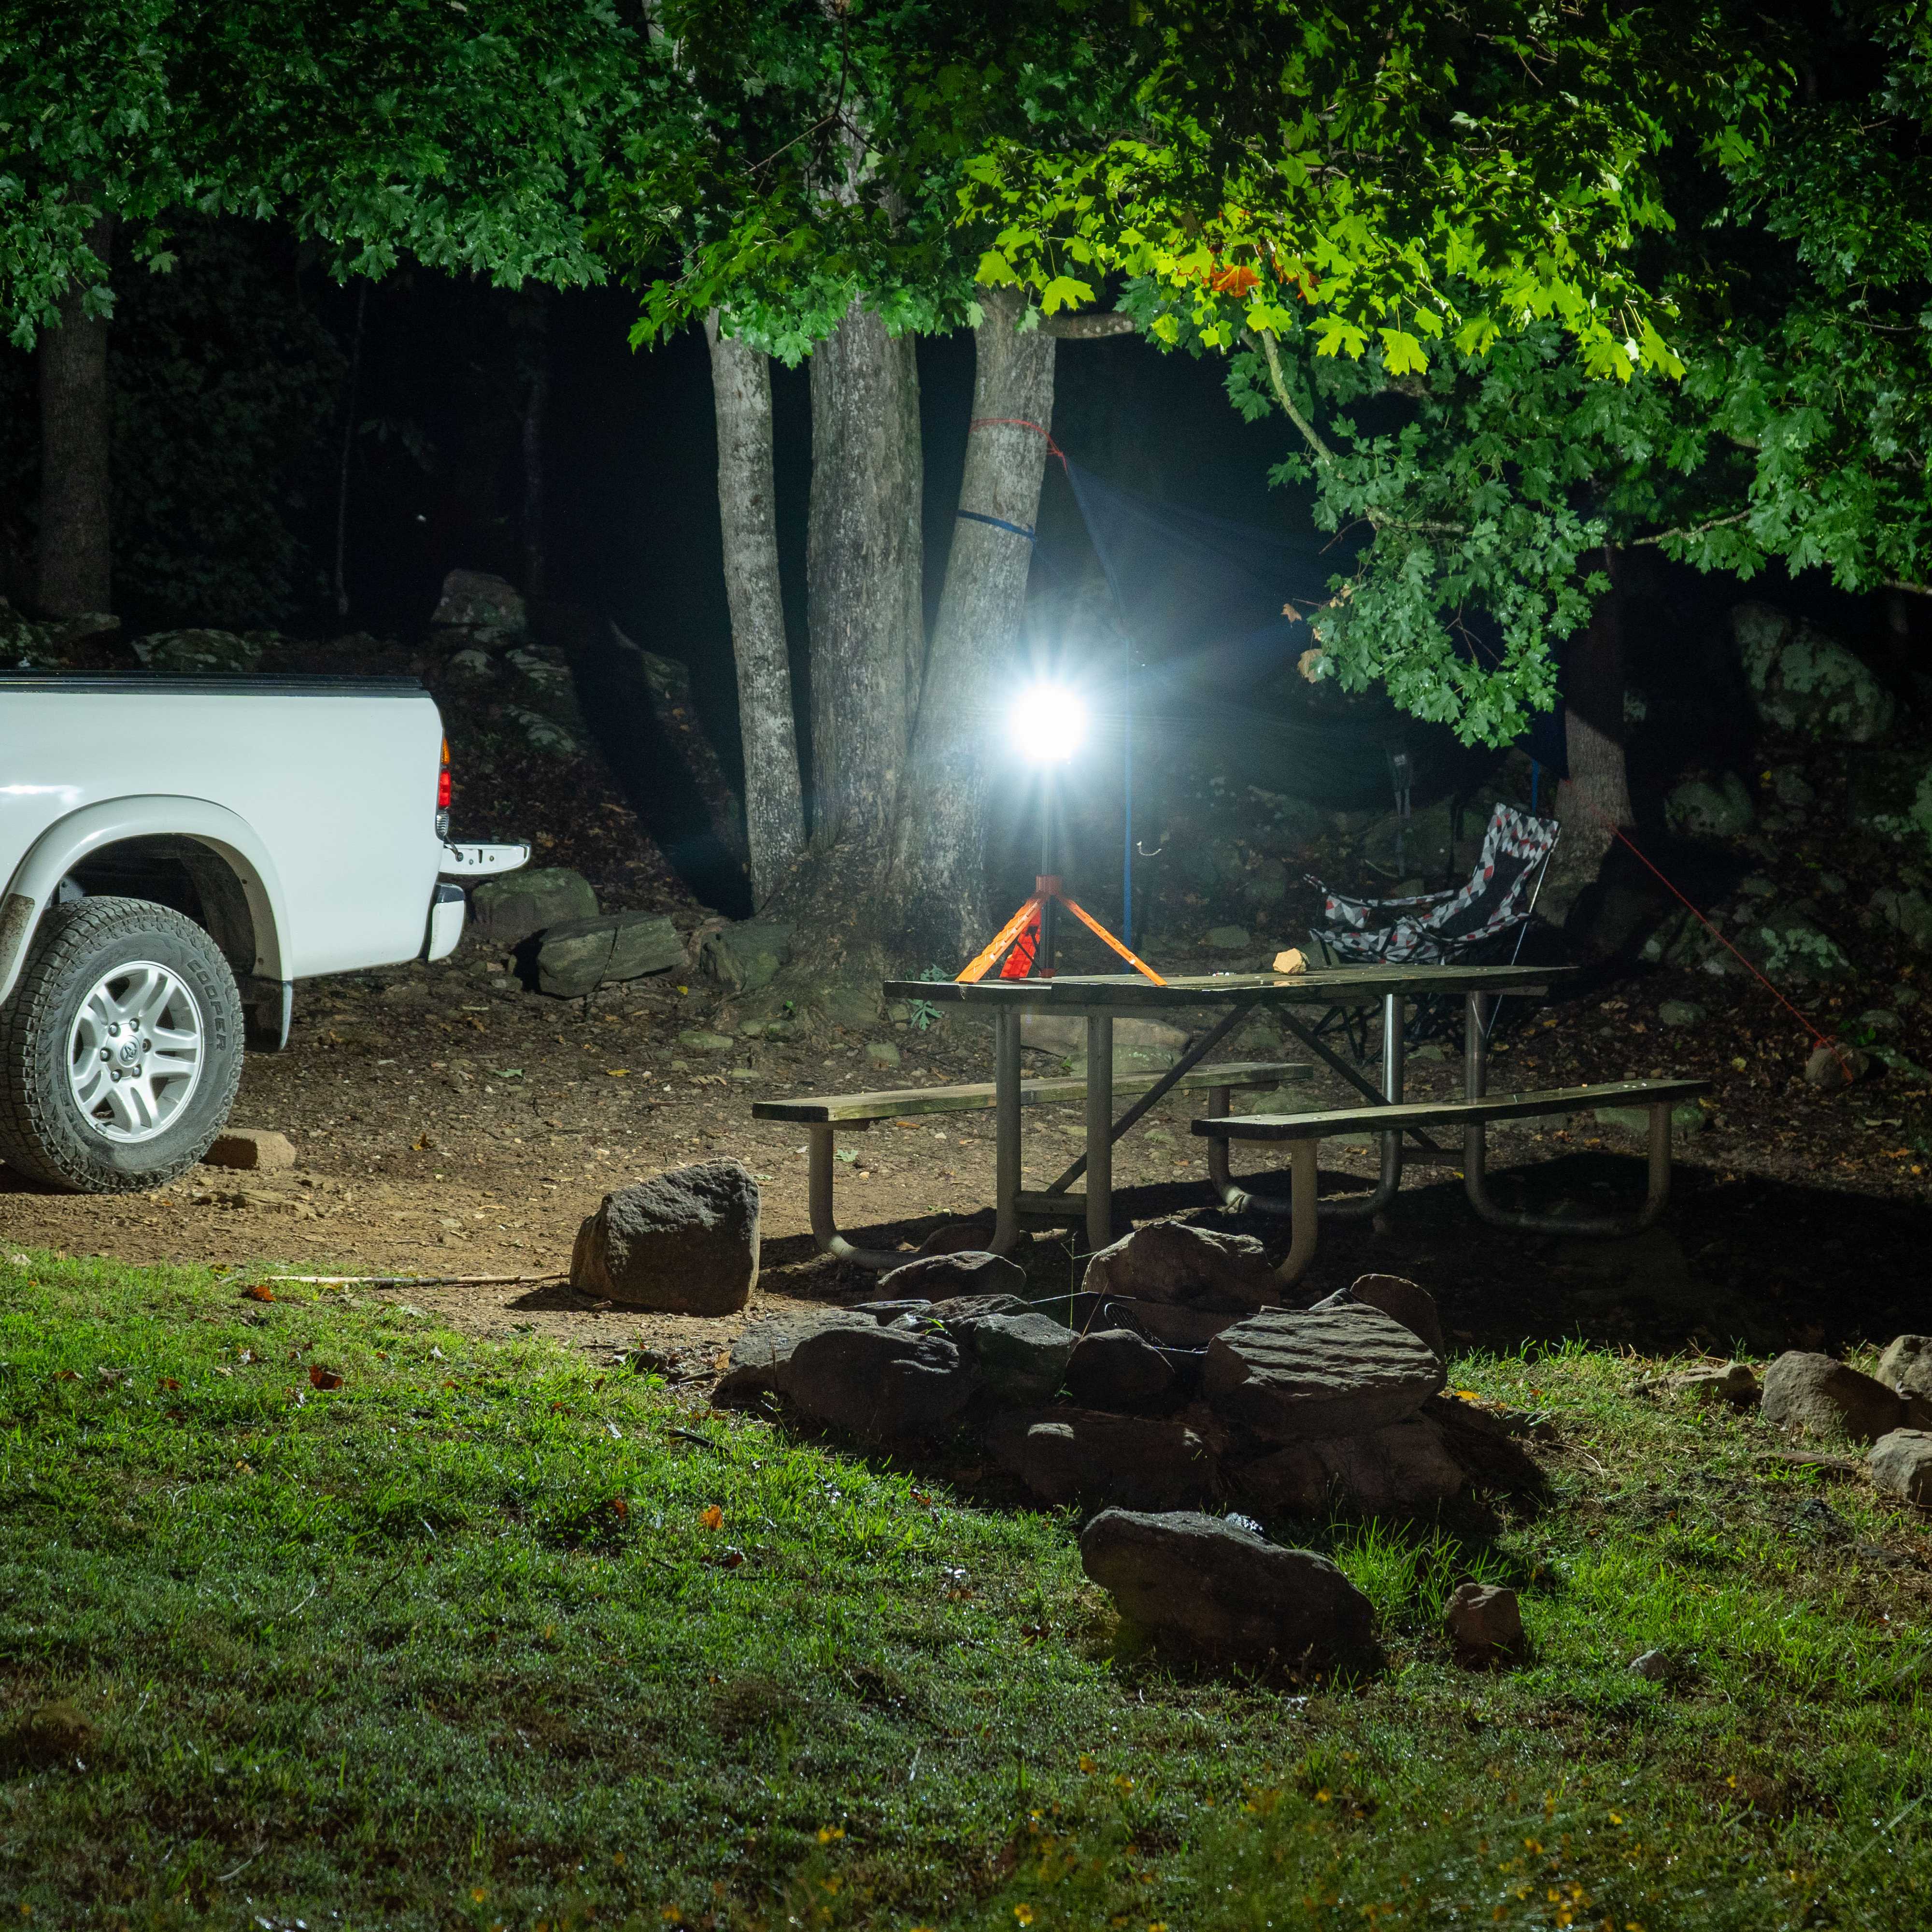
Solar Wall Packs: These lights use solar panels to charge during the day and provide illumination at night. They are ideal for areas without access to electrical wiring.
Tools and Materials Needed
Before starting the installation, gather the following tools and materials:
- Wall pack light fixture
- Mounting bracket (if not included with the fixture)
- Drill and appropriate drill bits
- Screwdriver set
- Wire cutters/strippers
- Electrical tape
- Wire nuts/connectors
- Level
- Measuring tape
- Pencil or marker
- Safety gear (gloves, safety glasses)
- Ladder or scaffolding (if needed)
Step-by-Step Installation Guide
Step 1: Plan the Installation
-
Determine the Location: Choose a suitable location for the wall pack light. It should be high enough to provide adequate coverage but within reach for maintenance. Ensure the wall surface is sturdy and can support the fixture.
-
Measure and Mark: Use the measuring tape to determine the exact placement of the light. Mark the spots where you will drill holes for the mounting bracket. Ensure the markings are level.
Step 2: Prepare the Electrical Connections
-
Turn Off the Power: Before working on any electrical connections, turn off the power at the circuit breaker. This ensures safety during the installation process.
-
Run the Wiring: If there is no existing wiring, you will need to run new electrical wiring to the location. This might require drilling holes through walls and routing the wire through conduits. Consult a professional electrician if you are unsure about this step.
-
Strip the Wires: Using wire cutters/strippers, strip about ½ inch of insulation from the ends of the wires.
Step 3: Install the Mounting Bracket
-
Drill the Holes: Using the drill and appropriate bits, drill holes at the marked spots on the wall.
-
Secure the Bracket: Attach the mounting bracket to the wall using screws and anchors if necessary. Ensure the bracket is level and securely fastened.
Step 4: Connect the Wiring
-
Match the Wires: Connect the wires from the wall pack light to the corresponding wires from the electrical source. Typically, this involves connecting black (hot) to black, white (neutral) to white, and green or bare (ground) to the grounding wire.
-
Secure the Connections: Use wire nuts or connectors to secure the connections. Wrap electrical tape around the wire nuts for extra security.
-
Tuck in the Wires: Carefully tuck the wires into the electrical box or wall cavity, ensuring no wires are pinched or exposed.
Step 5: Mount the Wall Pack Light
-
Attach the Fixture: Align the wall pack light with the mounting bracket and secure it using the provided screws. Make sure the fixture is level and tightly fastened.
-
Seal the Edges: If necessary, apply a weatherproof sealant around the edges of the fixture to prevent moisture from entering.
Step 6: Test the Light
-
Turn On the Power: Restore power at the circuit breaker and turn on the light switch to test the wall pack light.
-
Check for Proper Operation: Ensure the light turns on and operates correctly. If the light does not work, double-check the wiring connections and consult the troubleshooting guide in the light's manual.

Maintenance Tips
-
Regular Cleaning: Keep the lens and housing of the wall pack light clean to ensure maximum brightness. Use a soft cloth and mild detergent to clean the exterior.
-
Inspect for Damage: Periodically check the fixture for signs of damage or wear. Replace any damaged parts promptly.
-
Check Wiring: Inspect the wiring connections periodically to ensure they are secure and free from corrosion or damage.
Safety Considerations
- Always follow the manufacturer's instructions for installation and maintenance.
- If you are uncomfortable with electrical work, hire a licensed electrician.
- Use appropriate safety gear, such as gloves and safety glasses, to protect yourself during installation.
- Ensure the ladder or scaffolding is stable and secure before climbing.
Conclusion
Installing wall pack lights can significantly enhance the safety and aesthetics of your property. By following these steps, you can ensure a successful installation that provides reliable and efficient outdoor lighting. Whether you choose traditional, LED, or solar wall pack lights, proper installation and maintenance will ensure they serve you well for years to come.

Leave a comment
This site is protected by hCaptcha and the hCaptcha Privacy Policy and Terms of Service apply.