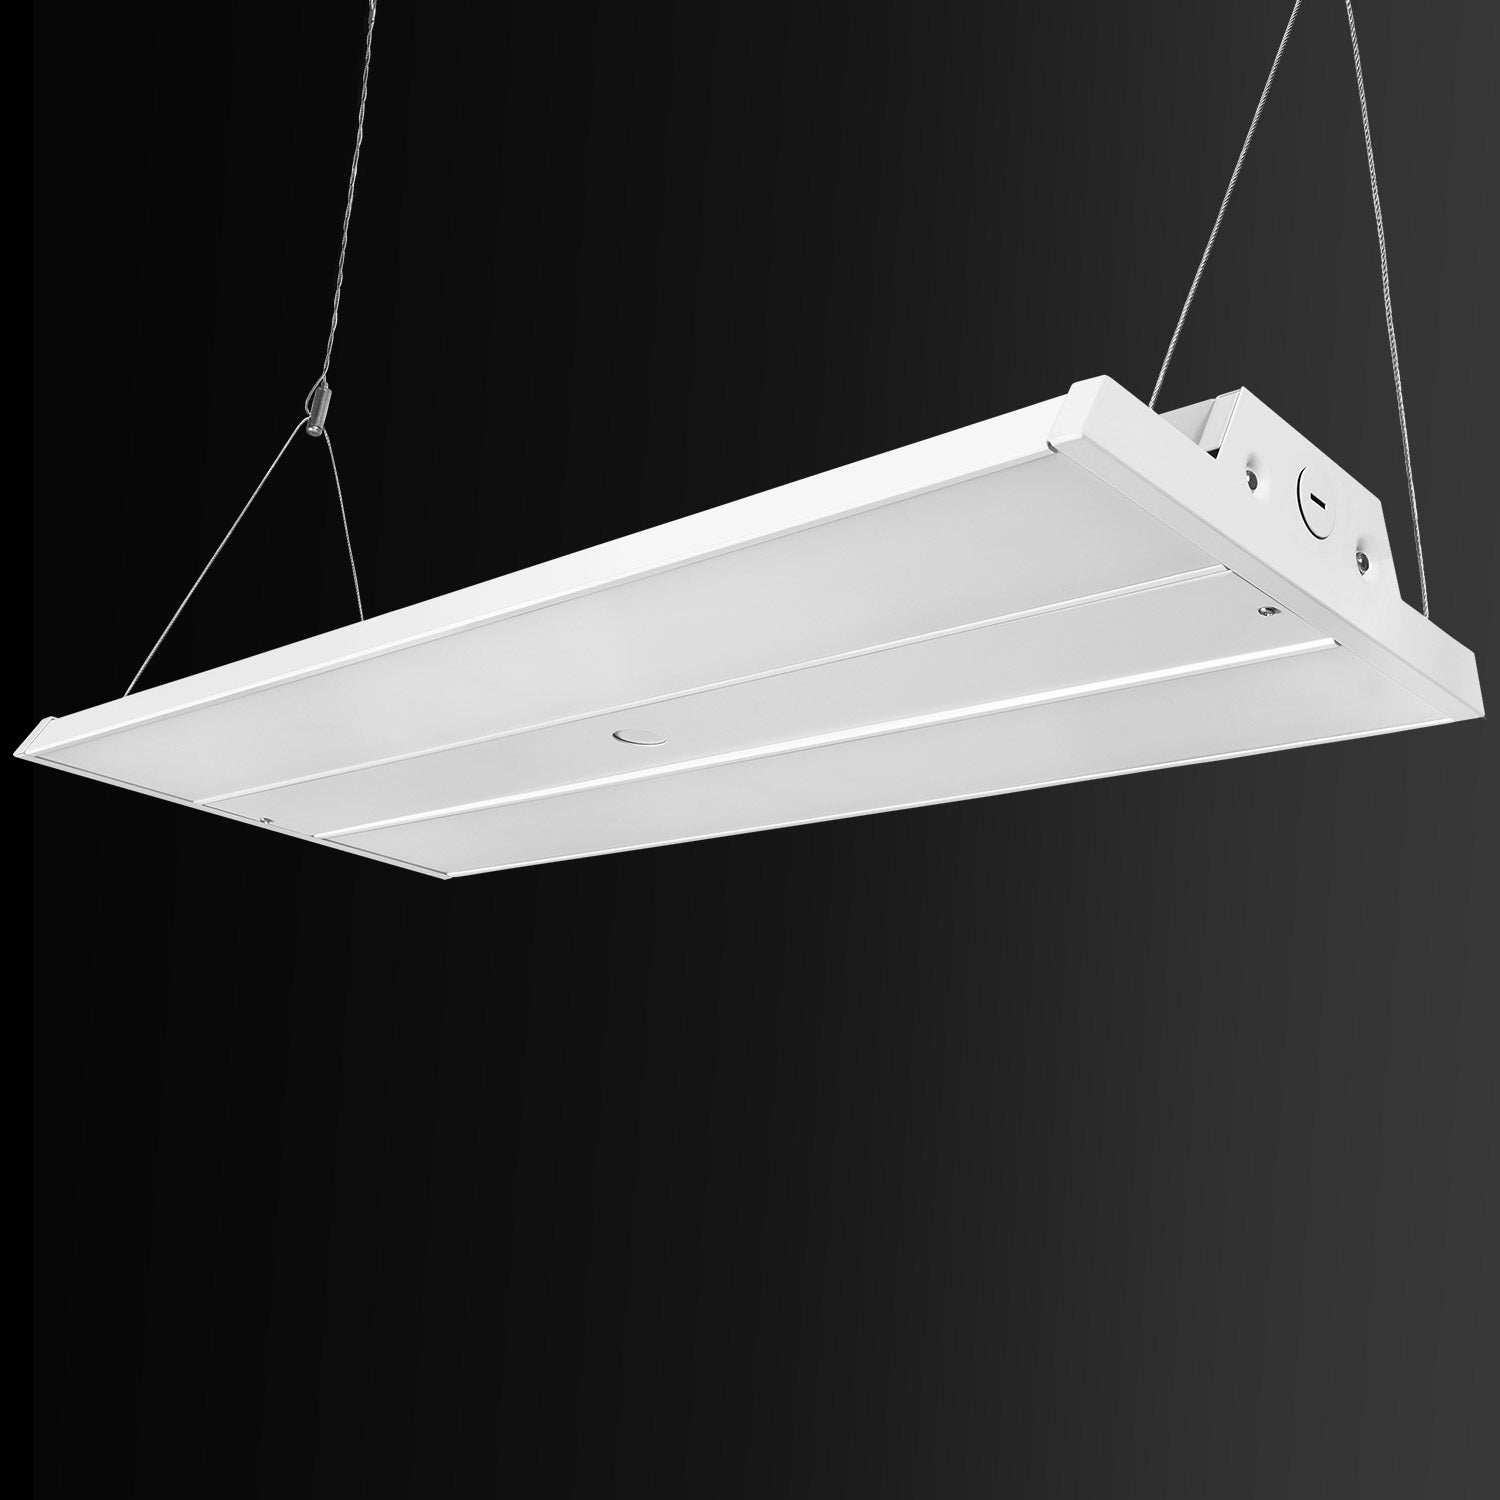
High bay lights are essential for illuminating large indoor spaces with high ceilings, such as warehouses, factories, and gyms. This guide focuses on installing plug-free versions, specifically UFO high bay lights, known for their efficiency and ease of installation. We'll delve into the step-by-step process, considerations, and tips to ensure a successful installation.
Understanding UFO High Bay Lights
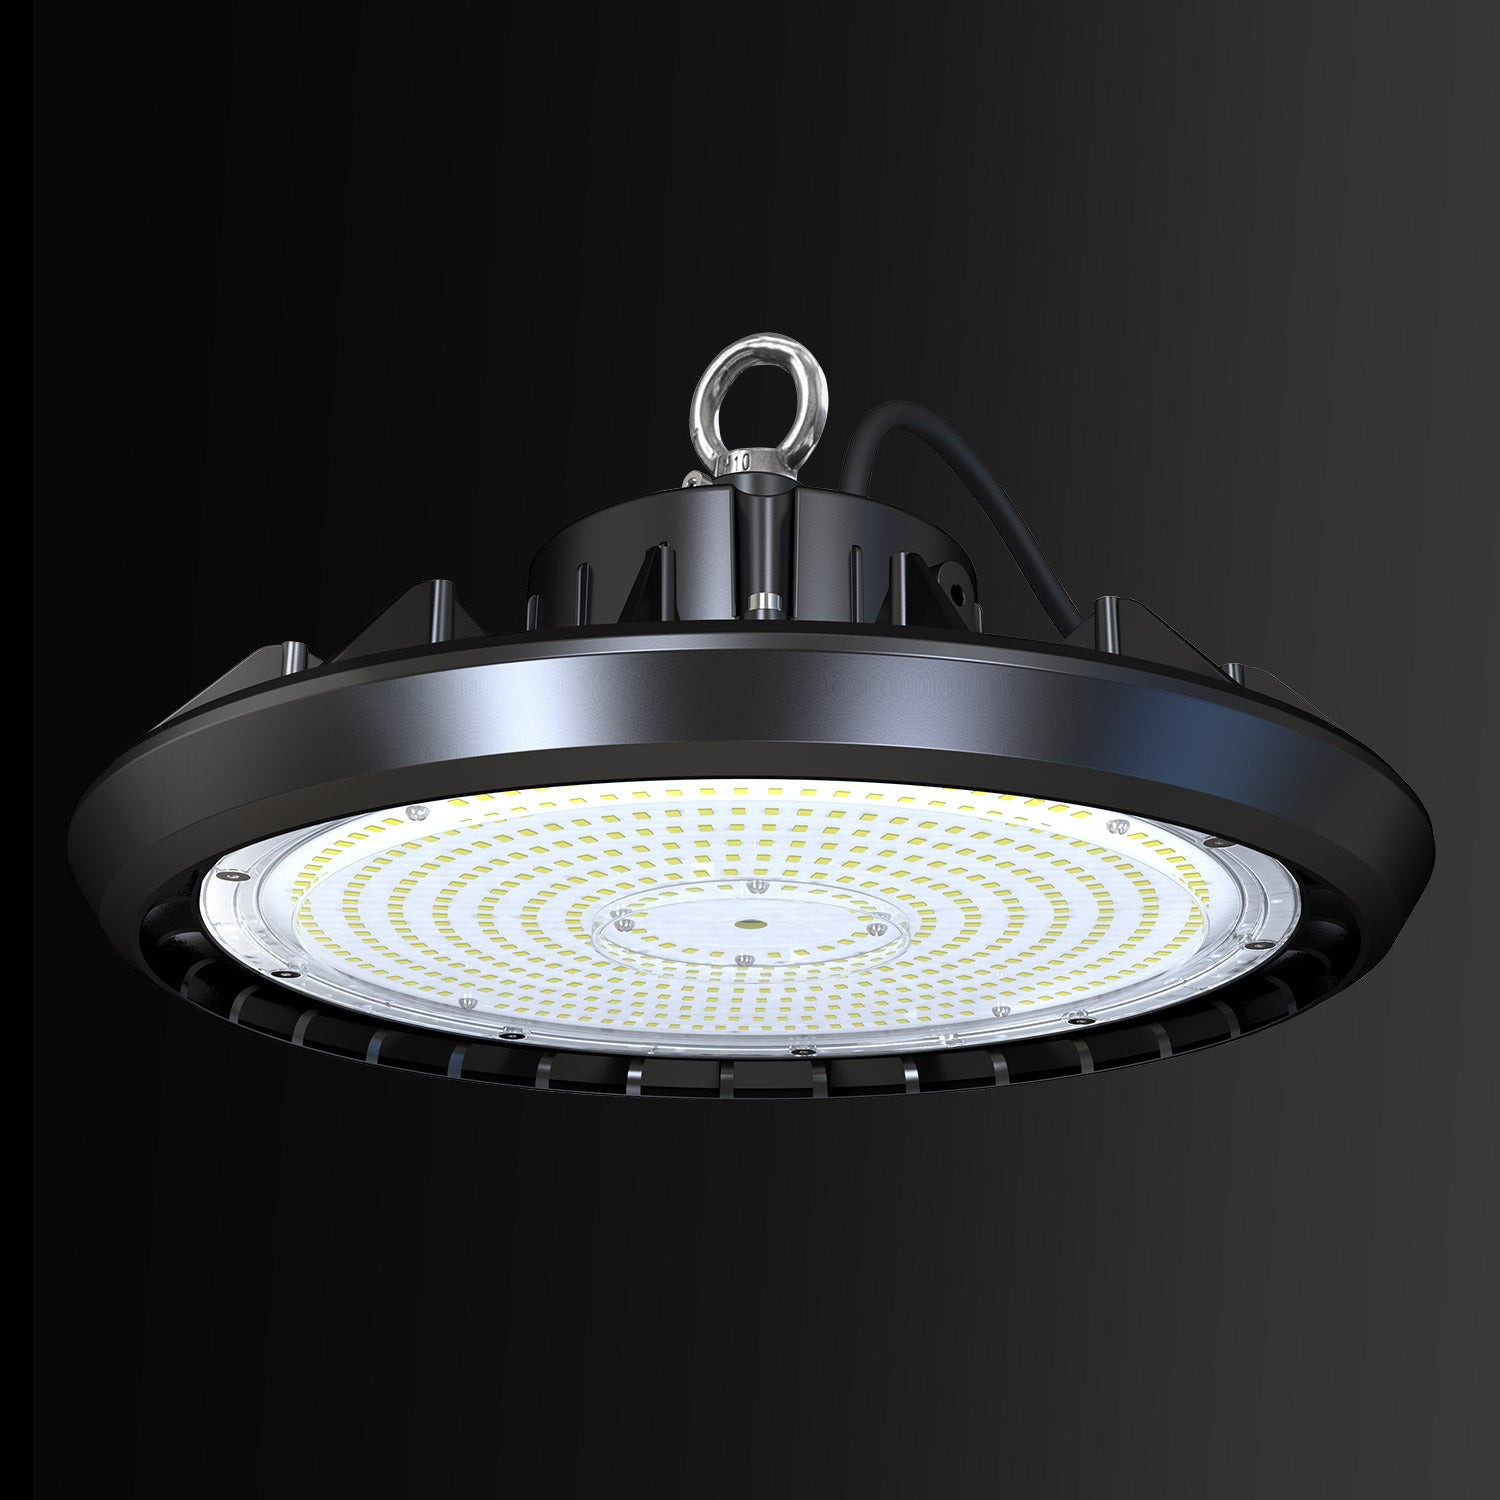
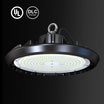
UFO high bay lights derive their name from their round, compact shape resembling a UFO. These lights are popular for their high efficiency, robust build, and versatility in various industrial and commercial settings. Hykoont offers a range of UFO LED High Bay Lights, including models like the 100/150/200 Watt, 4000-5000K color temperature, 150LM/W efficacy, and IP65 rating, ensuring durability and performance even in challenging environments.
Key Features of Hykoont UFO LED High Bay Lights
- Power Options: Available in 100/150/200 Watt variants, catering to different lighting requirements.
- Color Temperature: 4000-5000K, ideal for providing bright, clear illumination suitable for task-oriented environments.
- High Efficiency: 150LM/W efficacy ensures maximum light output with minimal energy consumption.
- IP65 Rating: Provides dust and water resistance, suitable for indoor spaces subject to moisture or dust.

Installation Process: Step-by-Step Guide
1. Preparation:
- Assess the mounting location and ensure it can support the weight and size of the high bay light.
- Gather necessary tools: ladder, screwdriver, wire strippers, safety goggles, and gloves.
2. Mounting the Bracket:
- Install the mounting bracket securely onto the ceiling using appropriate screws and anchors.
- Ensure the bracket is level and can support the weight of the high bay light.
3. Electrical Wiring:
- Turn off power at the breaker panel to the installation area.
- Connect the wires from the electrical box to the high bay light fixture, following manufacturer instructions and local electrical codes.
- Securely fasten wire connections with wire nuts and electrical tape.
4. Fixing the High Bay Light:
- Attach the UFO high bay light to the mounting bracket using provided hardware.
- Double-check connections and ensure the light fixture is stable and level.
5. Testing and Adjustment:
- Restore power and test the UFO high bay light to ensure proper functionality.
- Make any necessary adjustments to the angle or positioning to achieve optimal light distribution.
Considerations for Installation
- Ceiling Height: Adjust mounting height for optimal light coverage without glare or shadows.
- Safety: Adhere to safety protocols when working with electrical components and at heights.
- Maintenance: Plan for regular maintenance and cleaning to maintain light efficiency and longevity.
Benefits of Hykoont UFO LED High Bay Lights
- Energy Efficiency: Lower operating costs due to high efficiency and reduced energy consumption.
- Durability: IP65 rating ensures reliability in tough environments with resistance to dust and water.
- Versatility: Suitable for various applications including warehouses, gymnasiums, retail spaces, and manufacturing facilities.

Conclusion
Installing plug-free version high bay lights, particularly UFO high bay lights like those from Hykoont, is a straightforward process that enhances lighting quality and energy efficiency in industrial and commercial settings. By following this guide, you can achieve optimal installation results and maximize the benefits of modern LED lighting technology.
Explore Hykoont's range of UFO LED High Bay Lights today to upgrade your lighting solutions. Whether you need 100, 150, or 200 Watt options, our high bay lights deliver superior performance, durability, and energy savings. Contact us or visit our website to place your order and transform your workspace with efficient lighting solutions.





Leave a comment
This site is protected by hCaptcha and the hCaptcha Privacy Policy and Terms of Service apply.