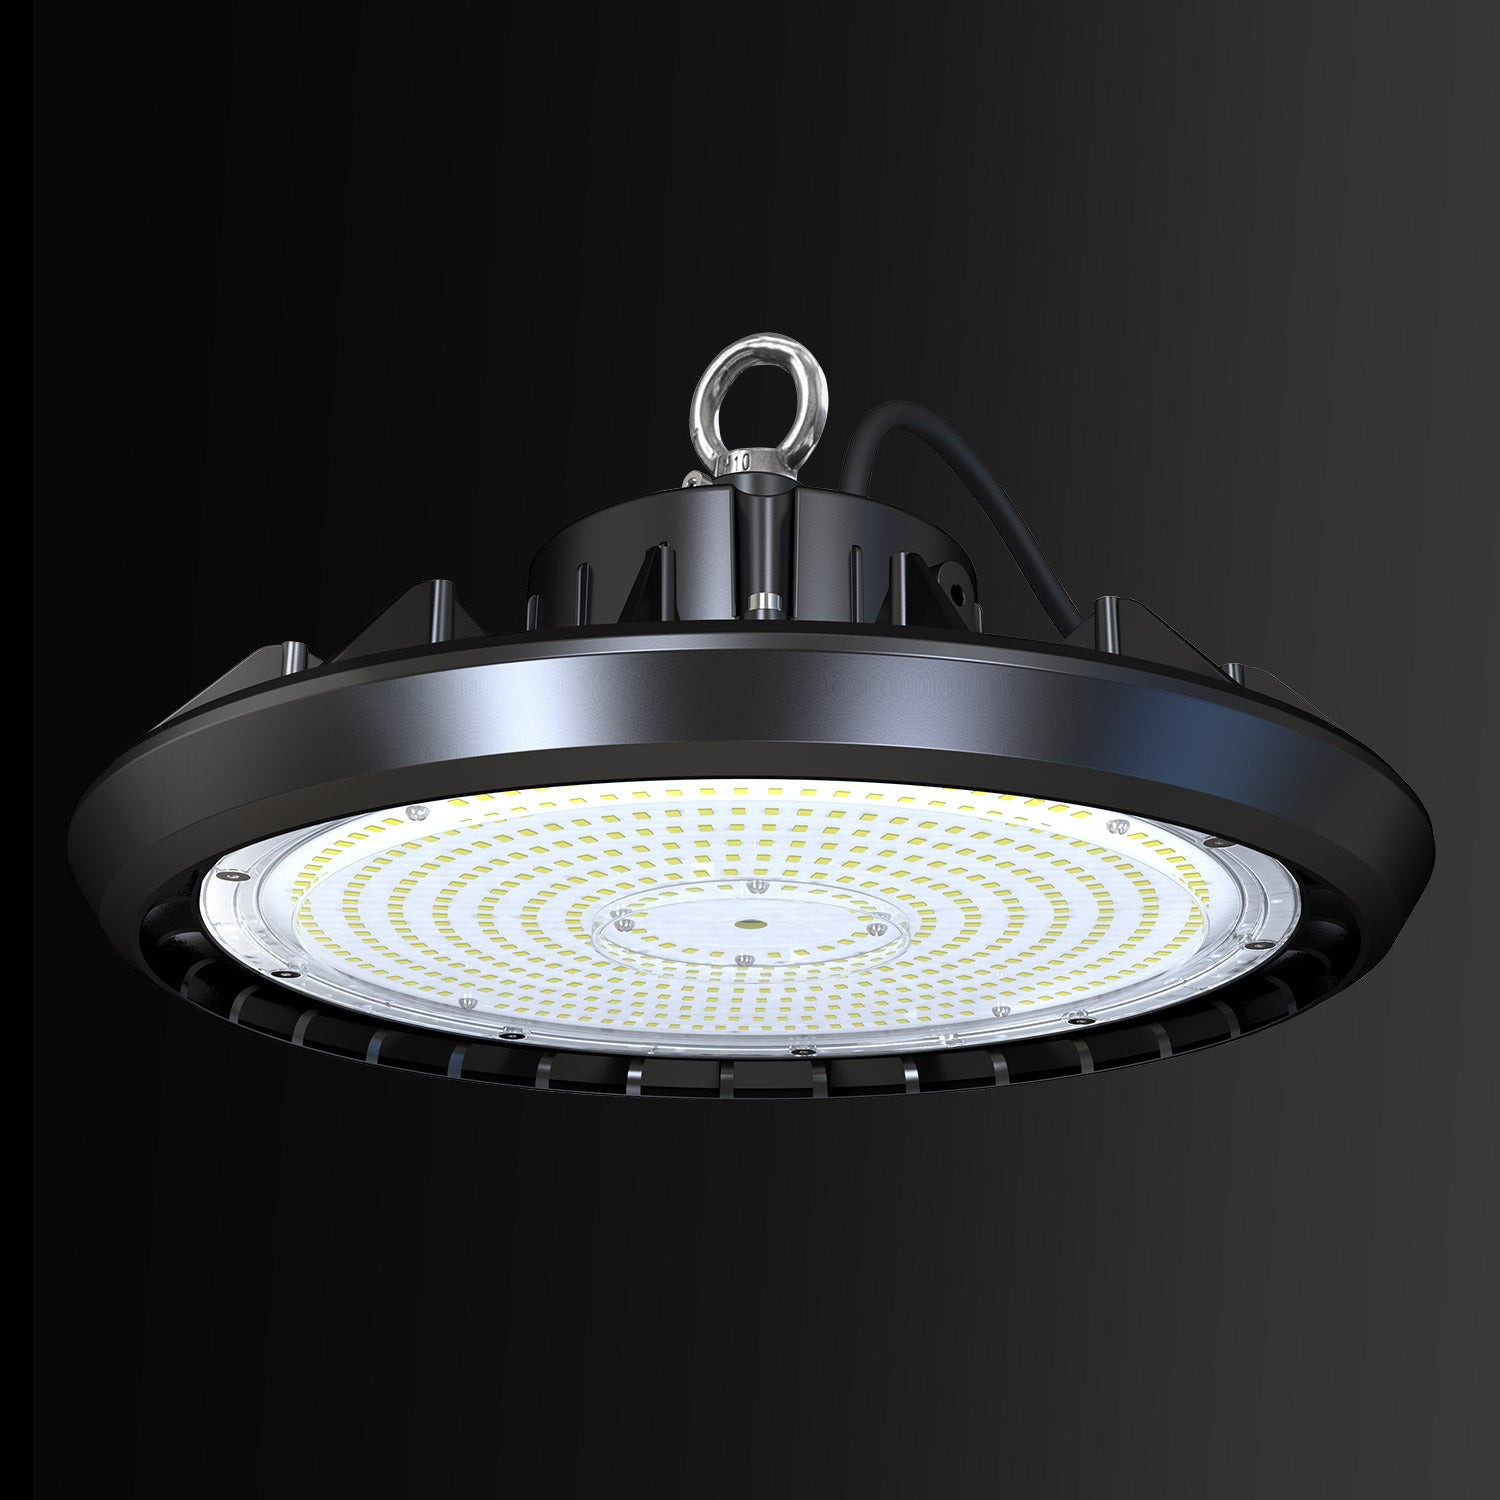
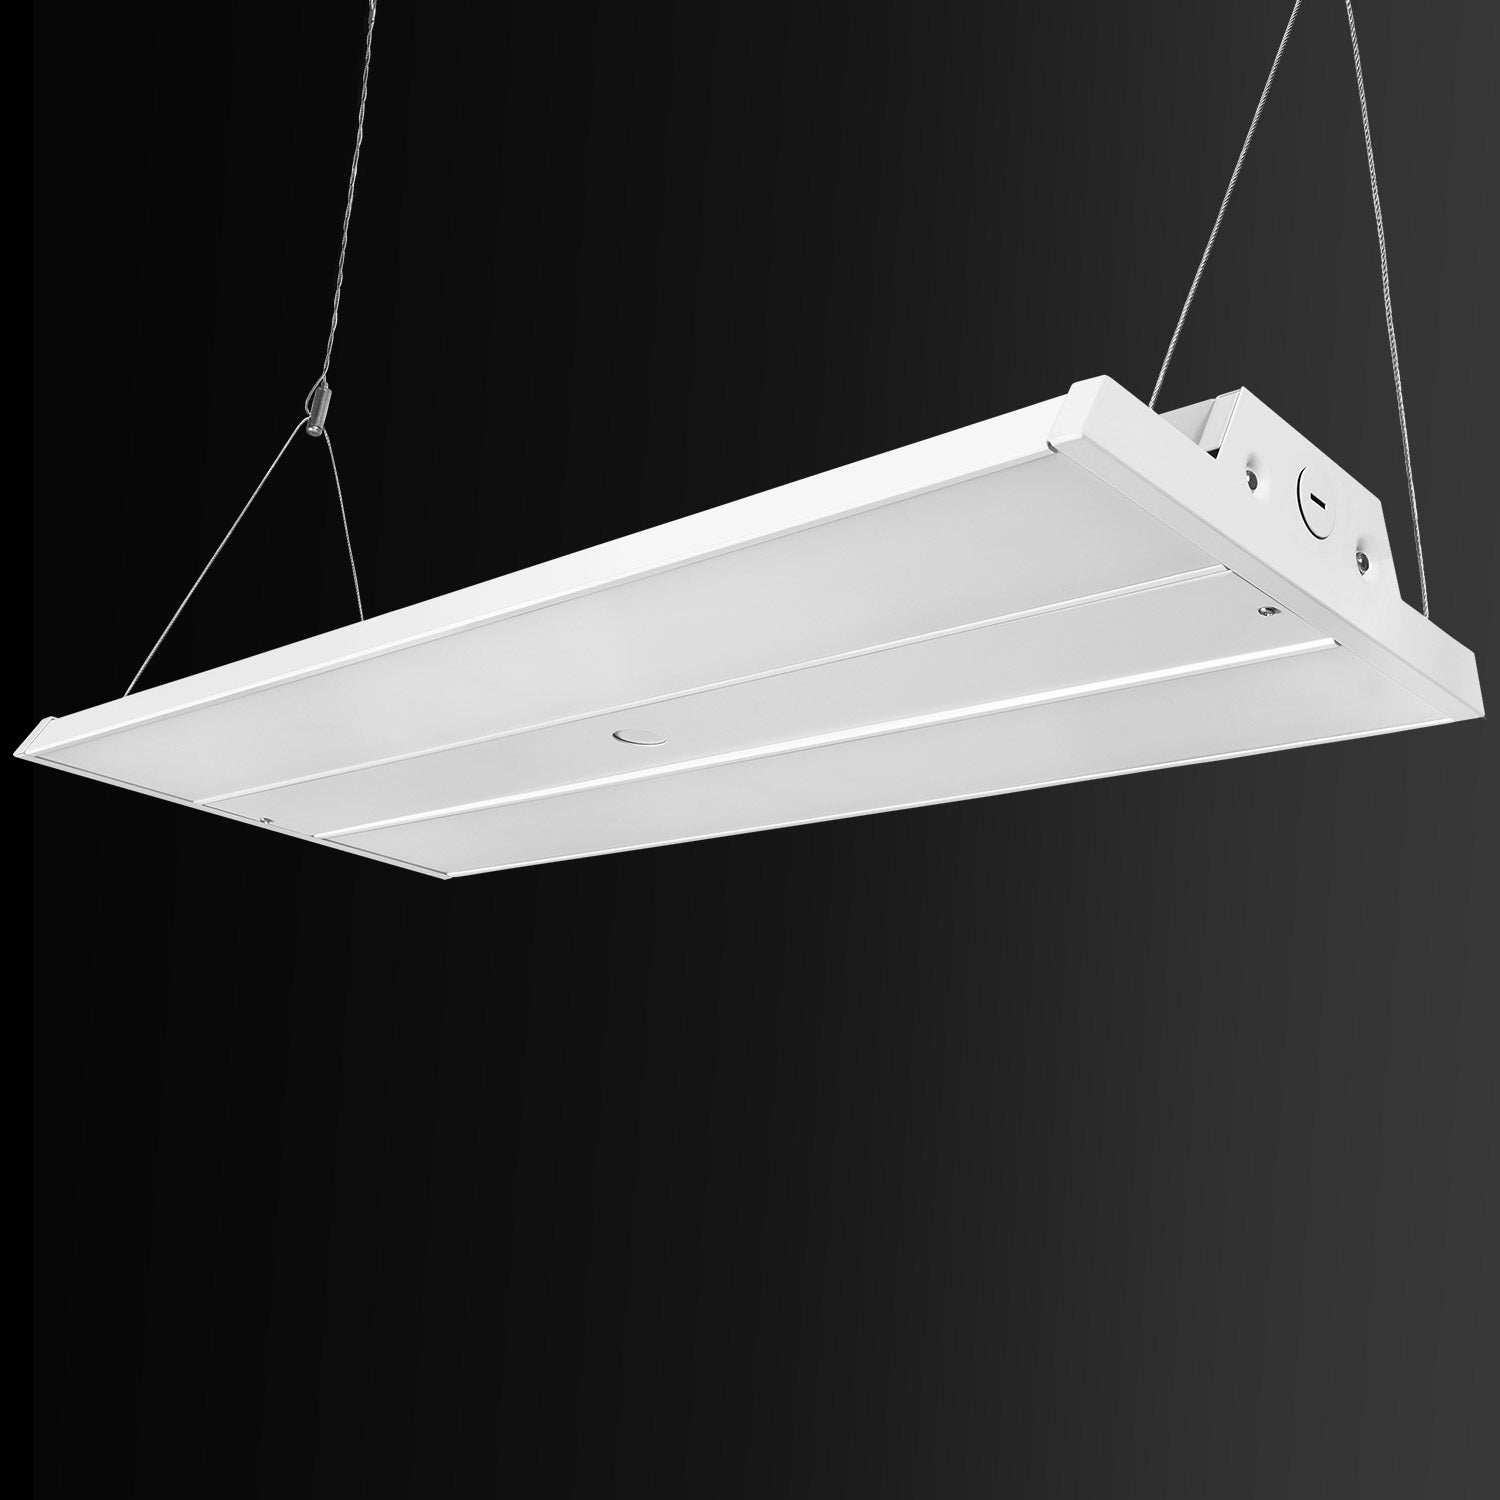
LED barn lights are not only energy-efficient but also provide excellent illumination for various outdoor spaces, including barns, farms, and rural properties. Installing these lights is a straightforward process that can enhance visibility and security around your property. In this comprehensive guide, we'll walk you through the steps to install LED barn lights effectively.
Preparation:
Before you begin installing your LED barn lights, gather the necessary tools and materials:
-
Tools:
- Drill with drill bits
- Screwdriver (typically Phillips or flathead)
- Wire cutters/strippers
- Ladder or step stool (depending on mounting height)
- Voltage tester (to ensure power is off)
-
Materials:
- LED barn light fixture
- Mounting hardware (screws, bolts, nuts)
- Electrical tape
- Wire connectors (if not included with fixture)
- Safety goggles (optional but recommended)

Step 1: Turn Off Power
Safety is paramount when working with electricity. Before starting any installation work, turn off the power to the circuit at the breaker box. Use a voltage tester to double-check that the power is off before proceeding.
Step 2: Choose Mounting Location
Select a suitable location to mount your LED barn light. Consider the following factors:
- Height: Mount the light high enough to illuminate the desired area adequately.
- Angle: Position the light to maximize coverage while minimizing glare.
- Accessibility: Ensure the location is easily accessible for maintenance and adjustments.
Step 3: Install Mounting Bracket
If your LED barn light comes with a mounting bracket, follow these steps:
-
Mark Holes: Hold the bracket against the mounting surface and mark the positions for drilling holes.
-
Drill Holes: Use a drill with an appropriate bit size to drill holes for the mounting screws or bolts.
-
Secure Bracket: Attach the mounting bracket securely to the surface using screws or bolts provided with the fixture. Ensure the bracket is level and stable.
Step 4: Connect Electrical Wires
Follow these steps to connect the LED barn light to your electrical wiring:
-
Prepare Wires: Strip about 1/2 inch of insulation from the ends of the fixture wires and the house wiring.
-
Connect Wires: Match the corresponding wires (black to black, white to white, and green or bare copper to ground). Use wire connectors to secure the connections. Wrap connections with electrical tape for added security.
-
Tuck Wires: Carefully tuck the connected wires into the junction box or housing, ensuring they are not pinched or exposed to weather elements.
Step 5: Mount LED Barn Light Fixture
Once the wiring is securely connected, proceed to mount the LED barn light fixture:
-
Align Fixture: Align the fixture with the mounting bracket or directly onto the surface where it will be installed.
-
Secure Fixture: Use the provided screws or bolts to secure the fixture to the mounting bracket or surface. Tighten them securely without over-tightening.
Step 6: Test and Adjust
Before completing the installation, perform a final check:
-
Turn on Power: Restore power to the circuit at the breaker box.
-
Test Fixture: Turn on the LED barn light to ensure it operates correctly. Check for proper illumination and any adjustments needed for angle or direction.
Step 7: Weatherproofing (Optional)
To enhance durability and weather resistance, consider weatherproofing measures:
- Apply silicone sealant around the fixture where it meets the mounting surface.
- Use outdoor-rated electrical tape to secure wire connections inside the fixture or junction box.
Step 8: Cleanup and Maintenance
After installation, clean up any debris and ensure all tools and materials are safely stored. Regularly inspect and clean your LED barn lights to maintain optimal performance and longevity.

Conclusion
Installing LED barn lights is a practical way to enhance visibility and security around your property while reducing energy costs. By following these step-by-step instructions, you can successfully install LED barn lights to illuminate your outdoor spaces effectively. Enjoy the benefits of efficient, durable lighting tailored to meet your specific needs.
This guide provides a comprehensive overview to help you install LED barn lights with confidence. Whether for a barn, farm, or other outdoor area, these lights can transform your property with bright, energy-efficient illumination.










Leave a comment
This site is protected by hCaptcha and the hCaptcha Privacy Policy and Terms of Service apply.