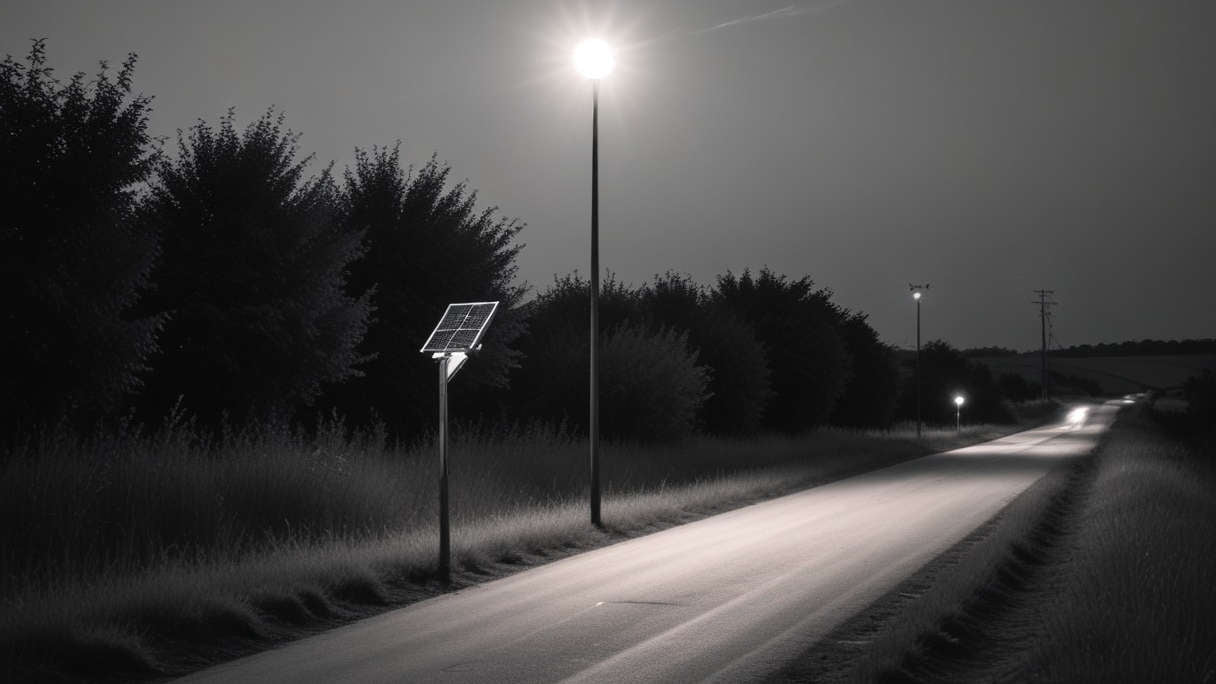
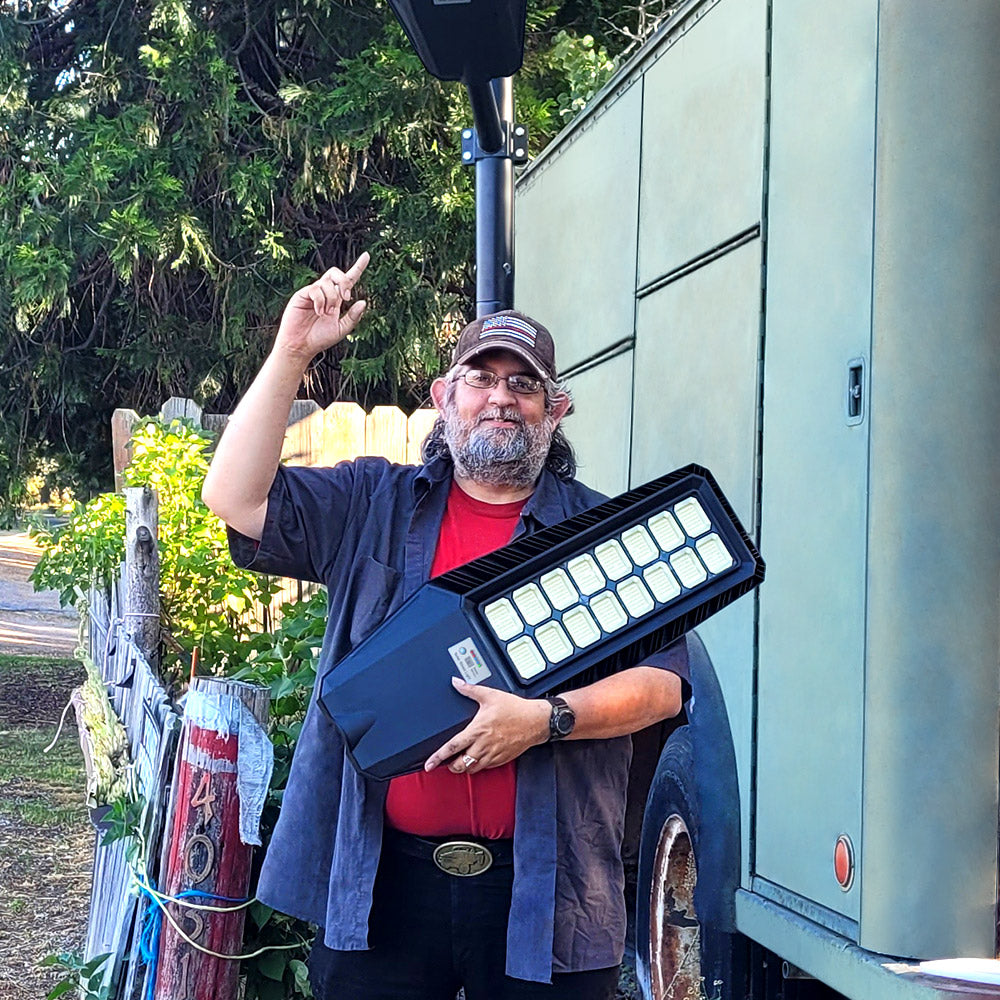
Solar street lights are an innovative and eco-friendly solution for outdoor lighting. These lights harness solar energy, reducing electricity bills and environmental impact. Integrated solar street lights combine solar panels, LED lights, a battery, and a controller into a single unit, making installation easier and more efficient. In this guide, we will cover everything you need to know about installing integrated solar street lights, from preparation to maintenance.
Introduction to Integrated Solar Street Lights
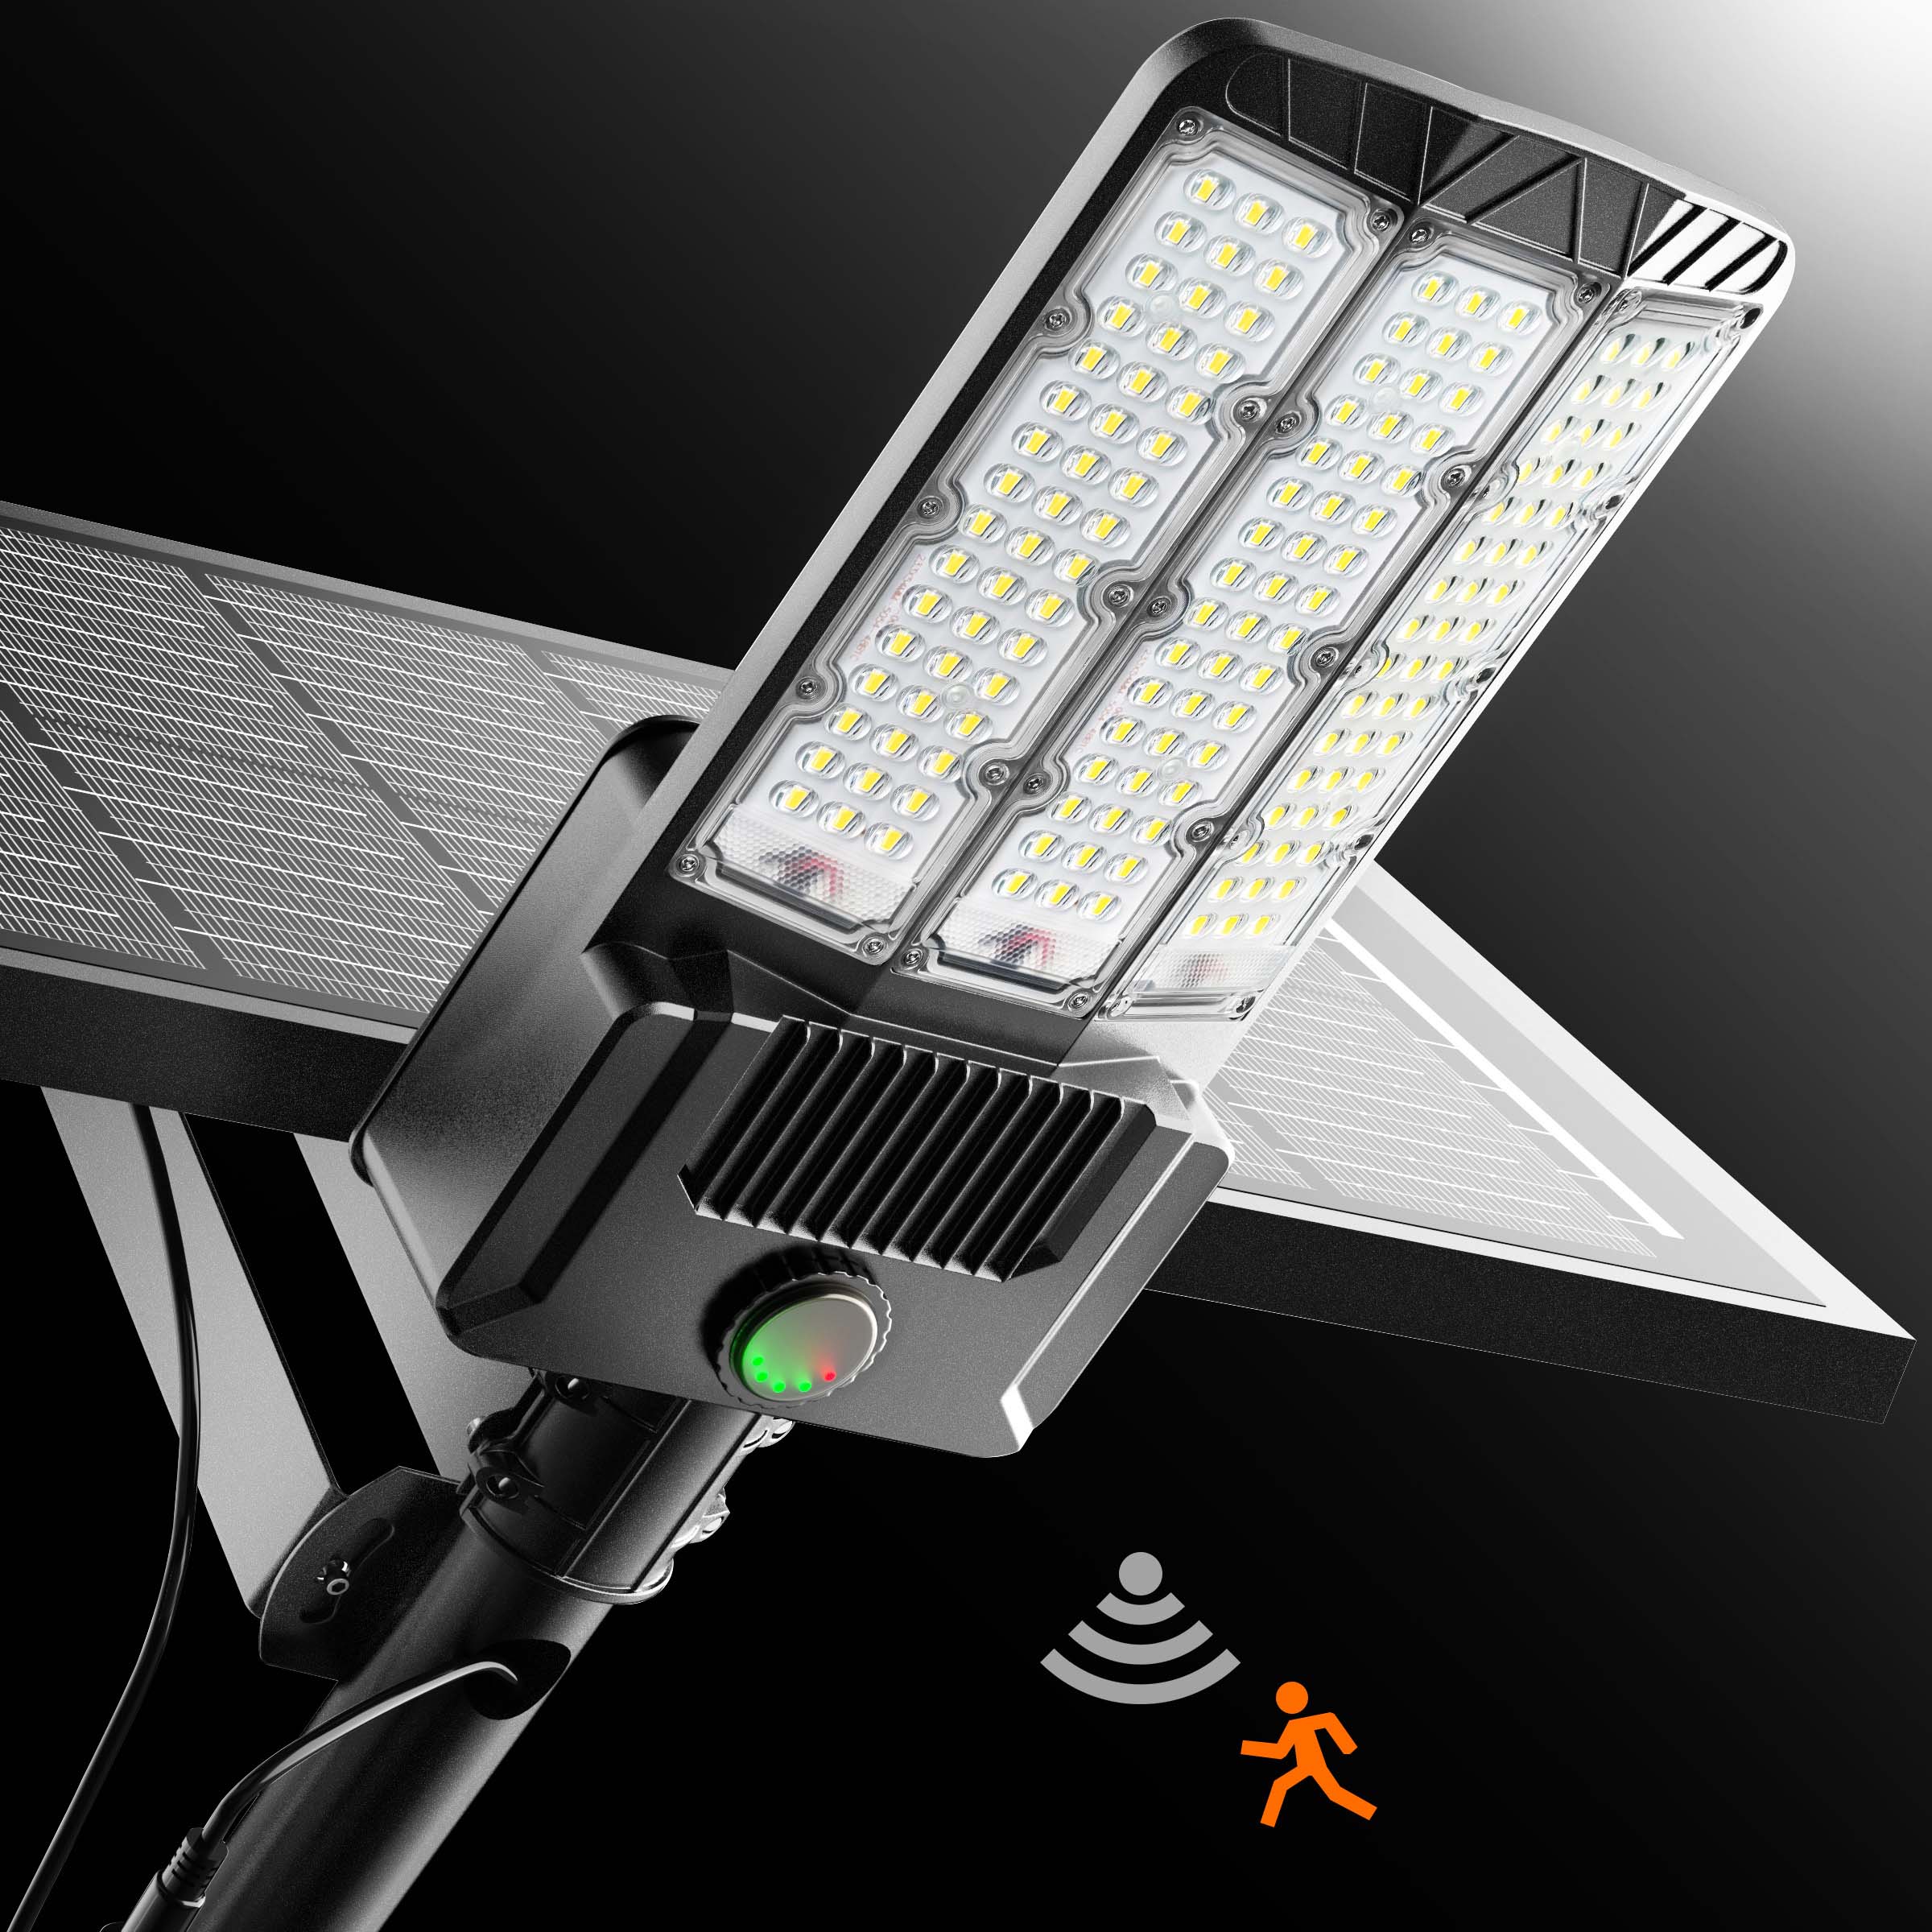
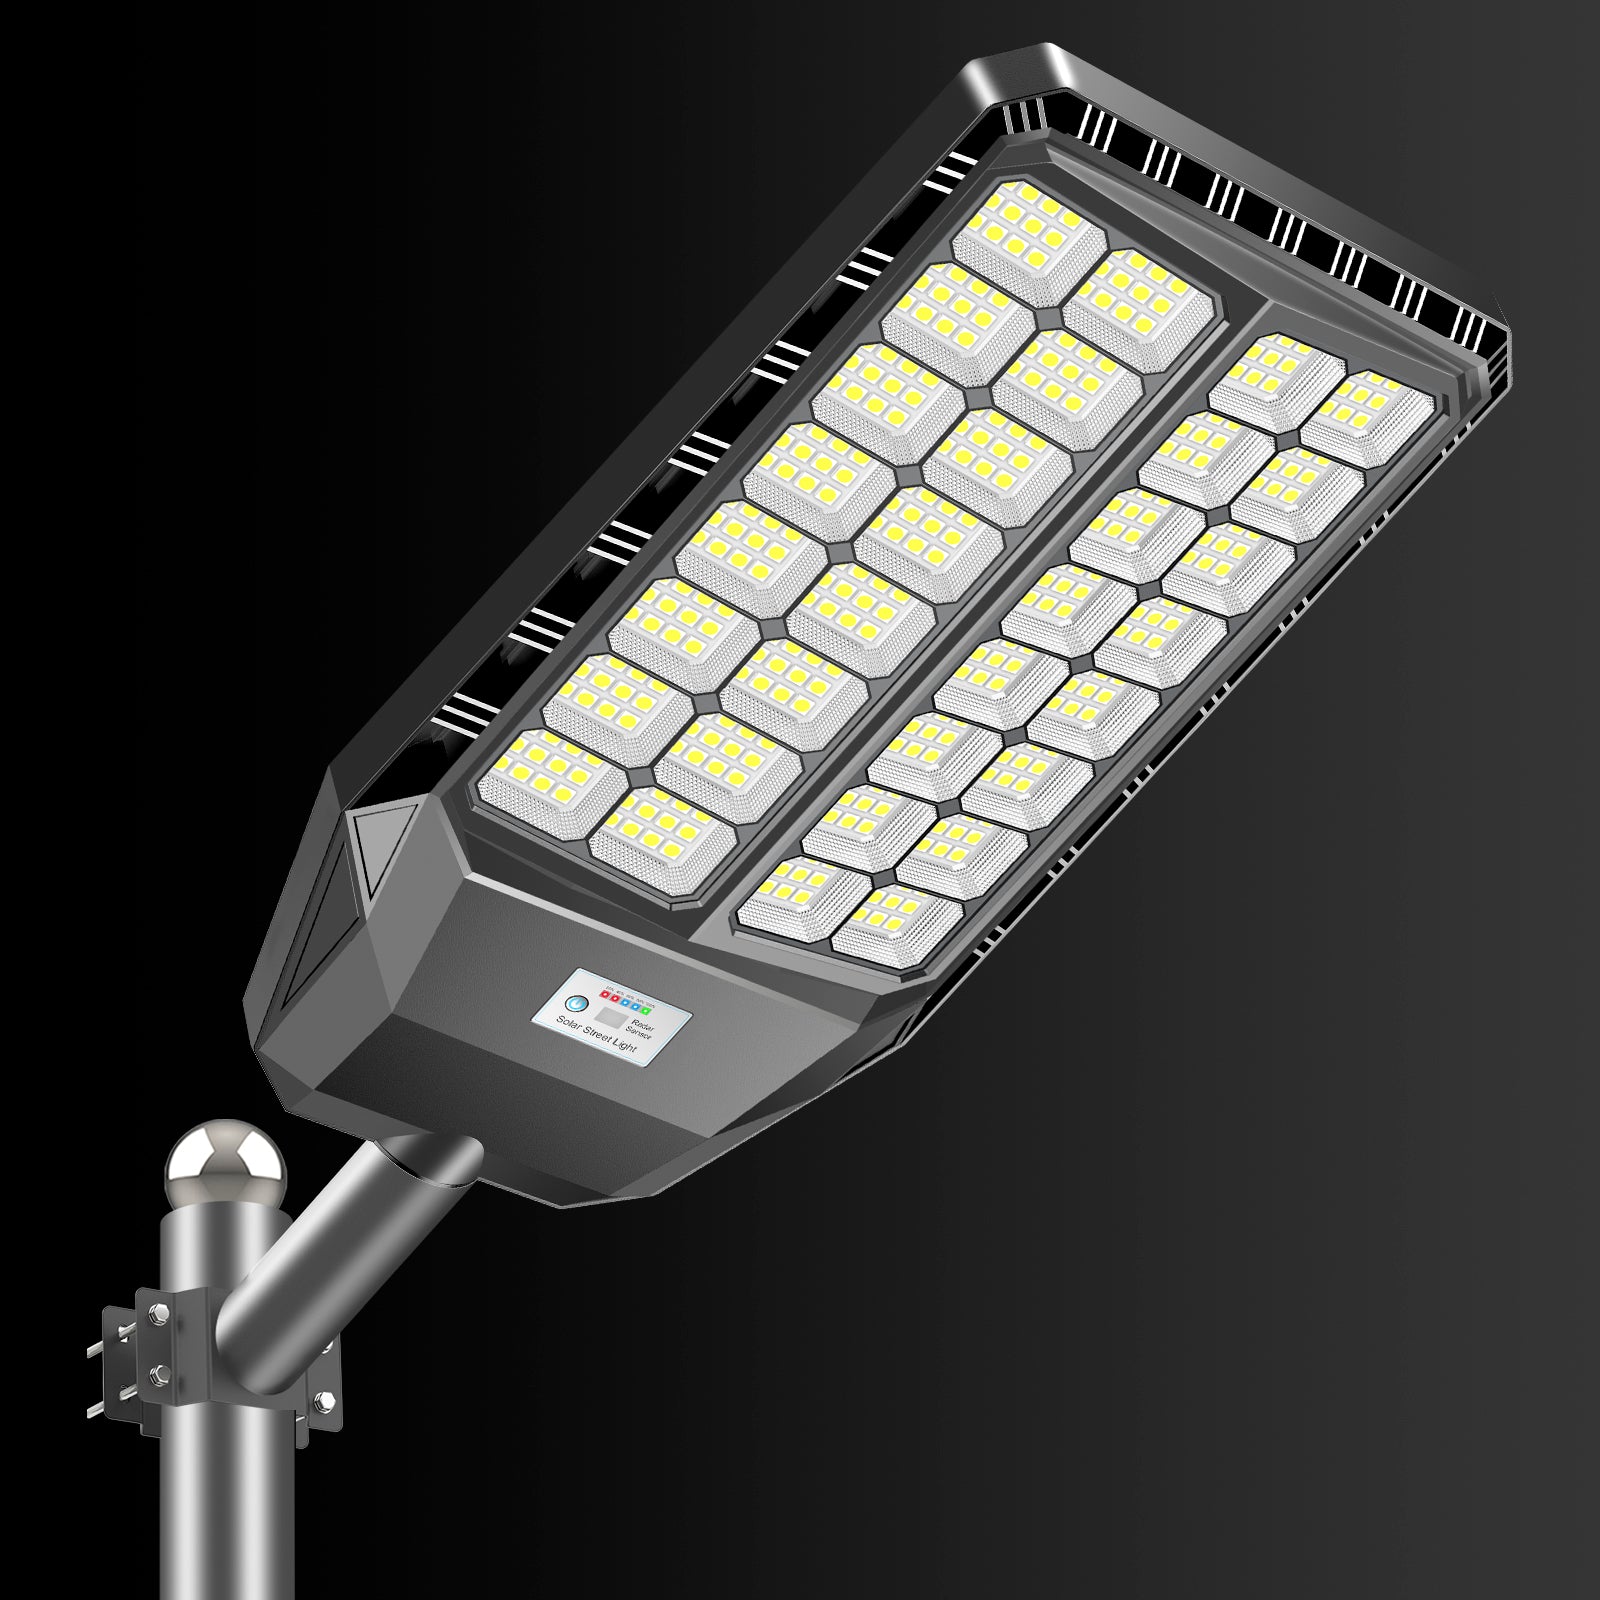
Integrated solar street lights are self-contained units that use solar panels to charge a battery during the day, which then powers an LED light at night. The components include:
- Solar Panel: Captures sunlight and converts it into electricity.
- LED Light: Provides illumination using the stored energy.
- Battery: Stores electricity generated by the solar panel.
- Controller: Manages the charging and discharging of the battery, and can also include additional features like motion sensors.
These lights are ideal for streets, parking lots, gardens, and other outdoor areas. They are cost-effective, require low maintenance, and are environmentally friendly.

Step-by-Step Installation Guide
1. Planning and Site Assessment
Evaluate the Location
Before installation, assess the site to ensure it is suitable for solar lighting. Consider the following factors:
- Sunlight Exposure: The site should receive ample sunlight throughout the day. Avoid areas shaded by trees, buildings, or other obstructions.
- Lighting Needs: Determine the required brightness and coverage area. This will help in selecting the appropriate model and number of lights.
Legal and Safety Considerations
- Permits: Check with local authorities if any permits are needed for installation.
- Safety: Ensure that the installation complies with local safety regulations.
2. Choosing the Right Integrated Solar Street Light
Lumens and Light Output
Lumens measure the total amount of visible light emitted by the LED. Higher lumens mean brighter light. Choose a light with appropriate lumens for the intended application.
Battery Capacity and Solar Panel Size
The battery capacity (measured in Ah) and solar panel size (measured in W) should match the lighting requirements and expected sunlight availability. Higher capacity and larger panels ensure longer lighting times and better performance on cloudy days.
Features and Controls
- Motion Sensors: Save energy by dimming the light when no motion is detected.
- Timers and Dimming Controls: Customize lighting schedules and intensity.

3. Installation Procedure
Tools and Materials Needed
- Integrated solar street light units
- Mounting pole or wall bracket
- Screws, bolts, and nuts
- Wrench and screwdriver
- Ladder or lift (if necessary)
- Level and measuring tape
Installation Steps
Step 1: Mounting the Pole or Bracket
- Select a sturdy pole or wall bracket that can support the weight of the solar street light. The height of the pole should provide adequate coverage.
- Install the pole or bracket firmly in the ground or on the wall using screws and bolts. Use a level to ensure it is straight.
Step 2: Assembling the Light Unit
- Attach the solar panel to the top of the light unit if not pre-assembled.
- Secure the light unit to the pole or bracket using the provided hardware. Ensure all connections are tight and stable.
Step 3: Positioning the Solar Panel
- Orient the solar panel to face the sun, typically towards the south in the northern hemisphere and north in the southern hemisphere. Adjust the tilt angle to maximize sun exposure.
Step 4: Wiring and Connections
- Connect the solar panel to the battery and the LED light according to the manufacturer’s instructions. Most integrated units have plug-and-play connectors.
- Check the connections to ensure they are secure and waterproof.
Step 5: Testing the Light
- Test the light during the day by covering the solar panel to simulate nighttime. The light should turn on automatically.
- Adjust settings such as timers and motion sensors as needed.

4. Maintenance and Troubleshooting
Regular Maintenance
- Clean the solar panels regularly to remove dust and debris, which can reduce efficiency.
- Check the battery periodically. Replace it if performance decreases significantly.
- Inspect the light unit for any damage or corrosion and address any issues promptly.
Troubleshooting Common Issues
- Light not turning on: Check the battery charge and solar panel connections. Ensure the solar panel is receiving enough sunlight.
- Dim light output: Clean the solar panel and check the battery health. Adjust the panel's position if necessary.
- Intermittent operation: Verify all connections and inspect the controller for faults.
5. Benefits of Integrated Solar Street Lights
Environmental Impact
- Renewable Energy: Uses solar power, reducing reliance on fossil fuels.
- Zero Emissions: No greenhouse gas emissions during operation.
Economic Benefits
- Cost Savings: Eliminates electricity bills for street lighting.
- Low Maintenance: Fewer maintenance requirements compared to traditional street lights.
Versatility and Convenience
- Easy Installation: No need for extensive wiring or trenching.
- Remote Locations: Ideal for areas without access to the electrical grid.
Conclusion
Installing integrated solar street lights is a practical and sustainable solution for outdoor lighting needs. By carefully planning the installation, selecting the right products, and following the proper procedures, you can ensure efficient and long-lasting performance. Regular maintenance will keep the lights functioning optimally, providing reliable illumination while reducing environmental impact and operational costs. With their numerous benefits, integrated solar street lights are a smart choice for any community or organization looking to enhance their outdoor spaces sustainably.






![[50%OFF] Hykoont LS018 Multi-Function 2 in 1 Flashlight Portable Extendable Adjustable Brightness CCT Bright](http://hykoont.com/cdn/shop/files/HYK-STDG18-2.jpg?v=1765273877&width=104)

Leave a comment
This site is protected by hCaptcha and the hCaptcha Privacy Policy and Terms of Service apply.