


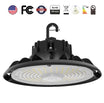


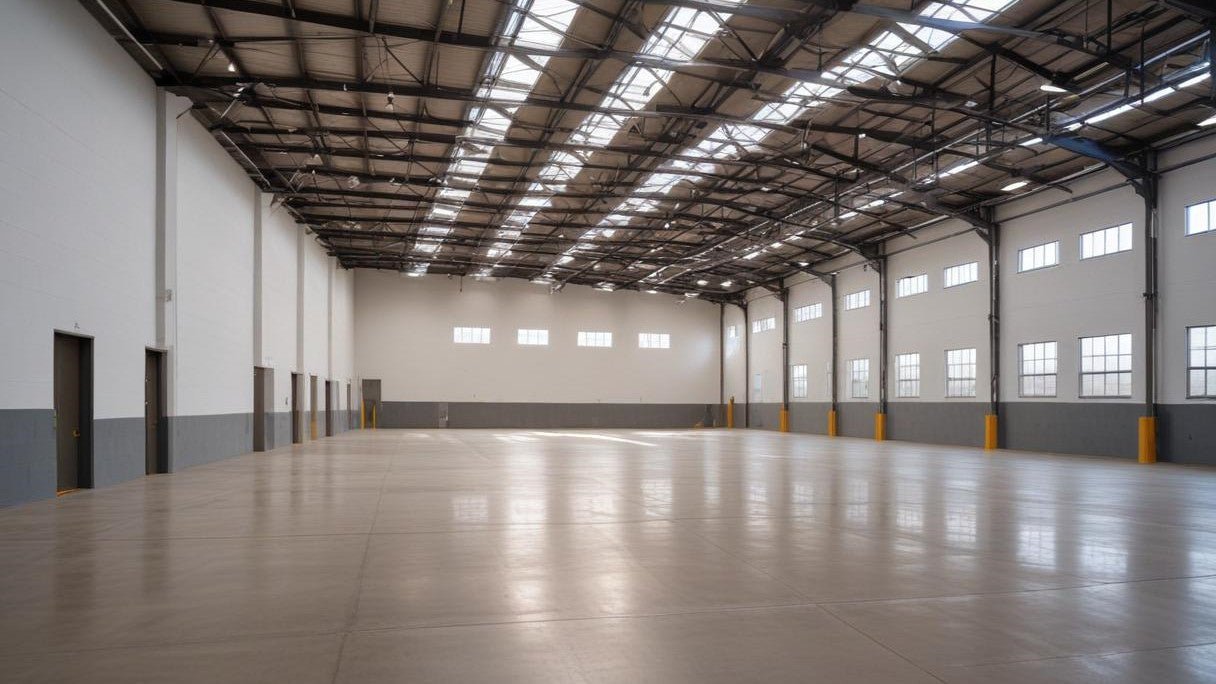
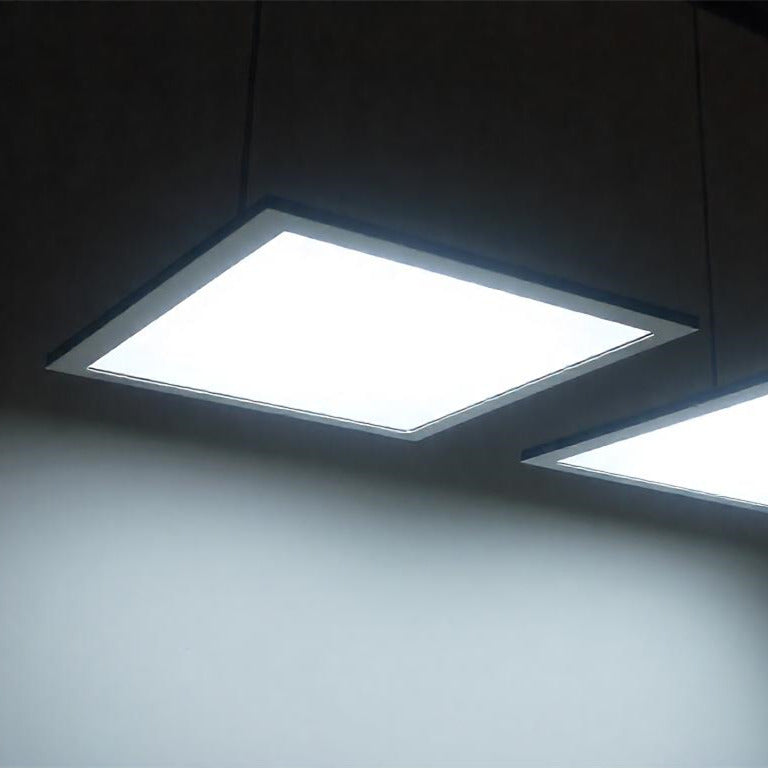
Installing LED high bay lighting is an excellent way to illuminate large spaces with high ceilings, such as warehouses, factories, gymnasiums, and big retail stores. Proper installation ensures efficient lighting, enhances safety, and maximizes energy savings. This guide will walk you through the steps to hang high bay LED lights, ensuring optimal performance and longevity.
Understanding LED High Bay Lighting
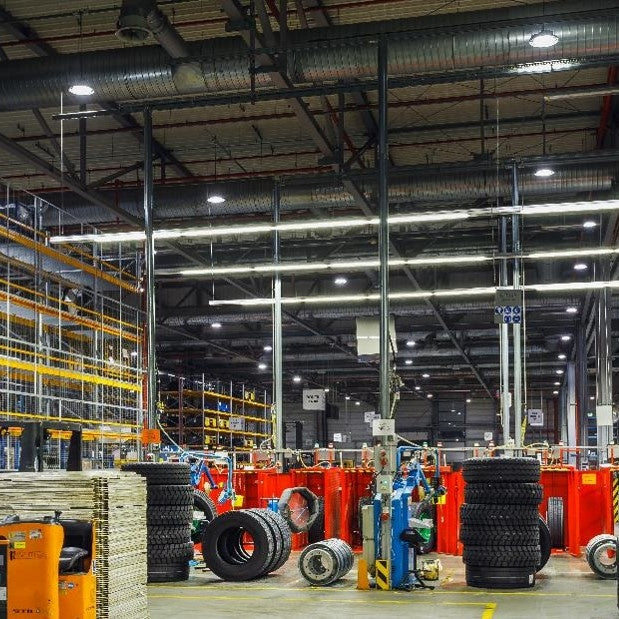
LED high bay lighting is designed for spaces with ceilings typically 20 feet or higher. These lights provide bright, uniform illumination, are energy-efficient, and have a long lifespan compared to traditional lighting options. Before starting the installation, it's essential to plan and prepare adequately to ensure a smooth process.
Tools and Materials Needed
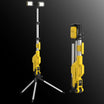
- LED High Bay Lights
2. Mounting Hardware (chains, hooks, brackets, or pendants)
3. Ladders or Scaffolding
4.Measuring Tape
5. Electrical Tools (wire cutters, strippers, screwdrivers)
6. Protective Gear (gloves, safety glasses)
7. Electrical Box and Conduits (if necessary)
8. Power Drill and Bits
9. Voltage Tester
Steps to Hang High Bay LED Lights
- Planning and Layout
Before you begin, it's crucial to plan the layout of your LED high bay lighting. Determine the number and placement of fixtures based on the size and purpose of the space. Consider factors like ceiling height, beam angle, and lumen output to ensure even lighting distribution.for example, Hykoont high bay light is UL and DLC 5.1 certified, ensuring it meets the highest standards of safety, performance, and reliability in the industry.
- Ceiling Height: Higher ceilings may require more powerful lights or closer spacing.
- Beam Angle: Choose the beam angle that best suits your space; narrower angles are better for higher ceilings.
- Lumen Output: Ensure the lights have enough lumens to provide adequate brightness.
- Turn Off Power
Safety first! Turn off the power supply to the area where you will be working. Use a voltage tester to confirm that there is no electrical current flowing through the wires.
- Mark the Mounting Points
Use a measuring tape to mark the exact spots on the ceiling where you will mount the LED high bay lights. Ensure that the spacing between the lights is consistent and aligns with your lighting plan.
- Install Mounting Hardware
Depending on the type of LED high bay lighting and ceiling structure, choose appropriate mounting hardware. There are several mounting options:
- Chain or Cable Mounting: Attach chains or cables to the ceiling and then connect them to the mounting hooks on the LED high bay light. This method is flexible and allows for easy height adjustments.
- Hook Mounting: Secure hooks to the ceiling and hang the lights directly from these hooks. This method is straightforward and suitable for many high bay lights.
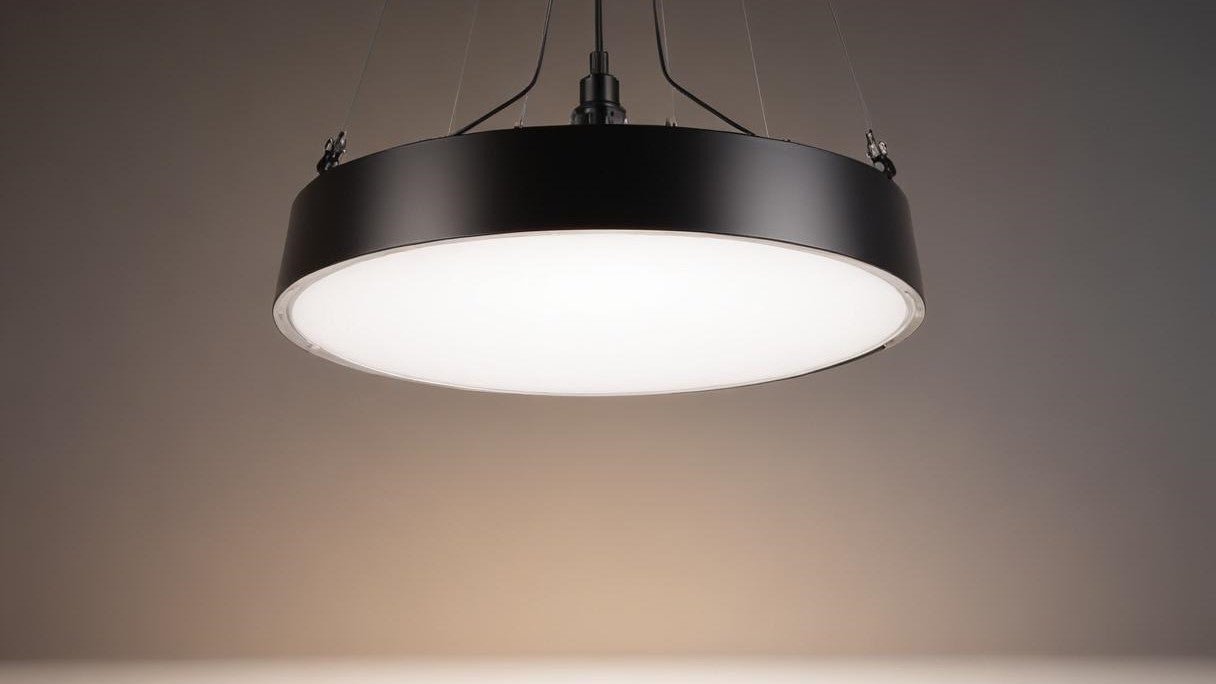
- Pendant Mounting: Use a pendant mount kit to suspend the lights from the ceiling. This method is ideal for precise positioning and is often used in commercial settings.
- Bracket Mounting: Attach brackets to the ceiling and fix the lights onto these brackets. This provides a stable and secure installation.

- Wiring the Lights
Carefully connect the electrical wires from the LED high bay light to the power supply. Follow these steps:
- Strip the Wires: Use wire strippers to remove the insulation from the ends of the wires.
- Connect the Wires: Match the wires from the light fixture to the power supply wires—typically, black (live), white (neutral), and green or bare (ground). Twist the corresponding wires together and secure them with wire connectors.
- Secure the Connections: Wrap electrical tape around the wire connectors for added safety and to prevent any accidental disconnections.
- Enclose the Wires: Place the connected wires into an electrical box or conduit to protect them from damage.
- Mount the Lights
Carefully lift and attach the LED high bay light to the pre-installed mounting hardware. Ensure that the light is securely fastened and stable.
- Test the Lights
Once all the lights are installed and wired, turn the power back on and test the LED high bay lighting. Check for proper illumination and ensure that all fixtures are functioning correctly.
Tips for Optimal Installation
- Even Spacing: Ensure even spacing between the lights to avoid dark spots or overly bright areas.
- Adjustable Mounting: If possible, use adjustable mounting options to fine-tune the height and angle of the lights for optimal coverage.
- Professional Assistance: If you're not comfortable with electrical work, consider hiring a professional electrician to ensure safe and compliant installation.
Conclusion
Hanging LED high bay lighting can significantly enhance the illumination of large spaces with high ceilings. By following these steps and considering factors like ceiling height, beam angle, and lumen output, you can ensure a successful installation that maximizes the benefits of LED high bay lighting. Proper planning, safety precautions, and attention to detail will result in a well-lit, energy-efficient environment.
Leave a comment
This site is protected by hCaptcha and the hCaptcha Privacy Policy and Terms of Service apply.