Outdoor solar lights are a convenient and eco-friendly way to illuminate your yard, pathway, or garden. However, they can sometimes stop working or fail to perform as expected. If you're facing issues with your solar lights, don't worry! This guide will help you troubleshoot and optimize their performance to ensure they shine brightly every night.
1. Proper Installation and Initial Setup
When setting up your solar lights for the first time, it’s crucial to follow the proper steps to ensure they work correctly.
Remove Protective Covers
New solar lights often come with a plastic tab or protective film on the battery or solar panel. These need to be removed before the lights can start charging.
Charge the Solar Lights
Place the lights in direct sunlight for 6–8 hours to fully charge the built-in rechargeable batteries. If the lights haven’t been used for a while, they may require a couple of days of charging to regain their full capacity.
Turn on the Power
Most solar lights feature an on/off switch. Make sure this is set to "ON" before installation. Some lights also have different modes for brightness or timing, so check and configure these settings accordingly.
2. Positioning the Solar Lights for Optimal Performance
Proper placement is essential for solar lights to absorb enough sunlight during the day and work effectively at night.
Choose a Sunny Spot
Place your solar lights in an area where they can receive at least 6–8 hours of direct sunlight daily. Avoid locations with heavy shade from trees, buildings, or other structures.
Clean the Solar Panel Regularly
Dirt, dust, or debris can block sunlight from reaching the solar panel, reducing its efficiency. Wipe the panel with a damp cloth every two weeks to keep it clean and functioning optimally.

3. Check and Replace the Batteries
One of the most common reasons solar lights stop working is battery issues.
Test the Batteries
Rechargeable batteries in solar lights degrade over time. If your lights are dim or not turning on, test the batteries by replacing them with new ones of the same type (e.g., NiMH or lithium-ion).
Ensure Correct Installation
Check that the batteries are installed correctly, with the positive and negative terminals properly aligned. Also, inspect the battery compartment for corrosion and clean it if necessary.
4. Test the Light Sensor Functionality
Solar lights are equipped with light sensors that detect darkness to turn on the lights automatically.
Simulate Night Conditions
Cover the solar panel with your hand or a cloth to block out light. If the light turns on, the sensor is working properly.
Check for External Light Interference
Sometimes, artificial light sources such as streetlights or porch lights can interfere with the sensor, preventing the solar lights from turning on. Try relocating the lights to a darker spot to resolve this issue.
5. Inspect for Physical Damage
Outdoor lights are exposed to various weather conditions, which can lead to wear and tear.
Examine the Components
Look for cracks in the solar panel, damaged bulbs, or broken wires. If any part is visibly damaged, it may need repair or replacement.
Clean the Light Casing
A dirty or fogged light casing can reduce brightness. Clean it gently with warm water and a soft cloth. Avoid using abrasive cleaners that might scratch the surface.
6. Address Weather-Related Issues
Extreme weather conditions can impact the performance of your solar lights.
Remove Snow and Debris
In winter, snow or ice can cover the solar panel, preventing it from charging. Similarly, leaves or dirt after a storm can block sunlight. Clear the panels regularly to maintain efficiency.
Protect Against Cold Temperatures
Cold weather can affect battery performance. If you live in an area with harsh winters, consider storing your solar lights indoors until spring.

7. Reset or Upgrade the Solar Lights
If none of the above steps work, you may need to reset the lights or consider upgrading to a newer model.
Reset the System
Some solar lights come with a reset button. Refer to the user manual for instructions on how to reset your lights to their factory settings.
Upgrade to Modern Solar Lights
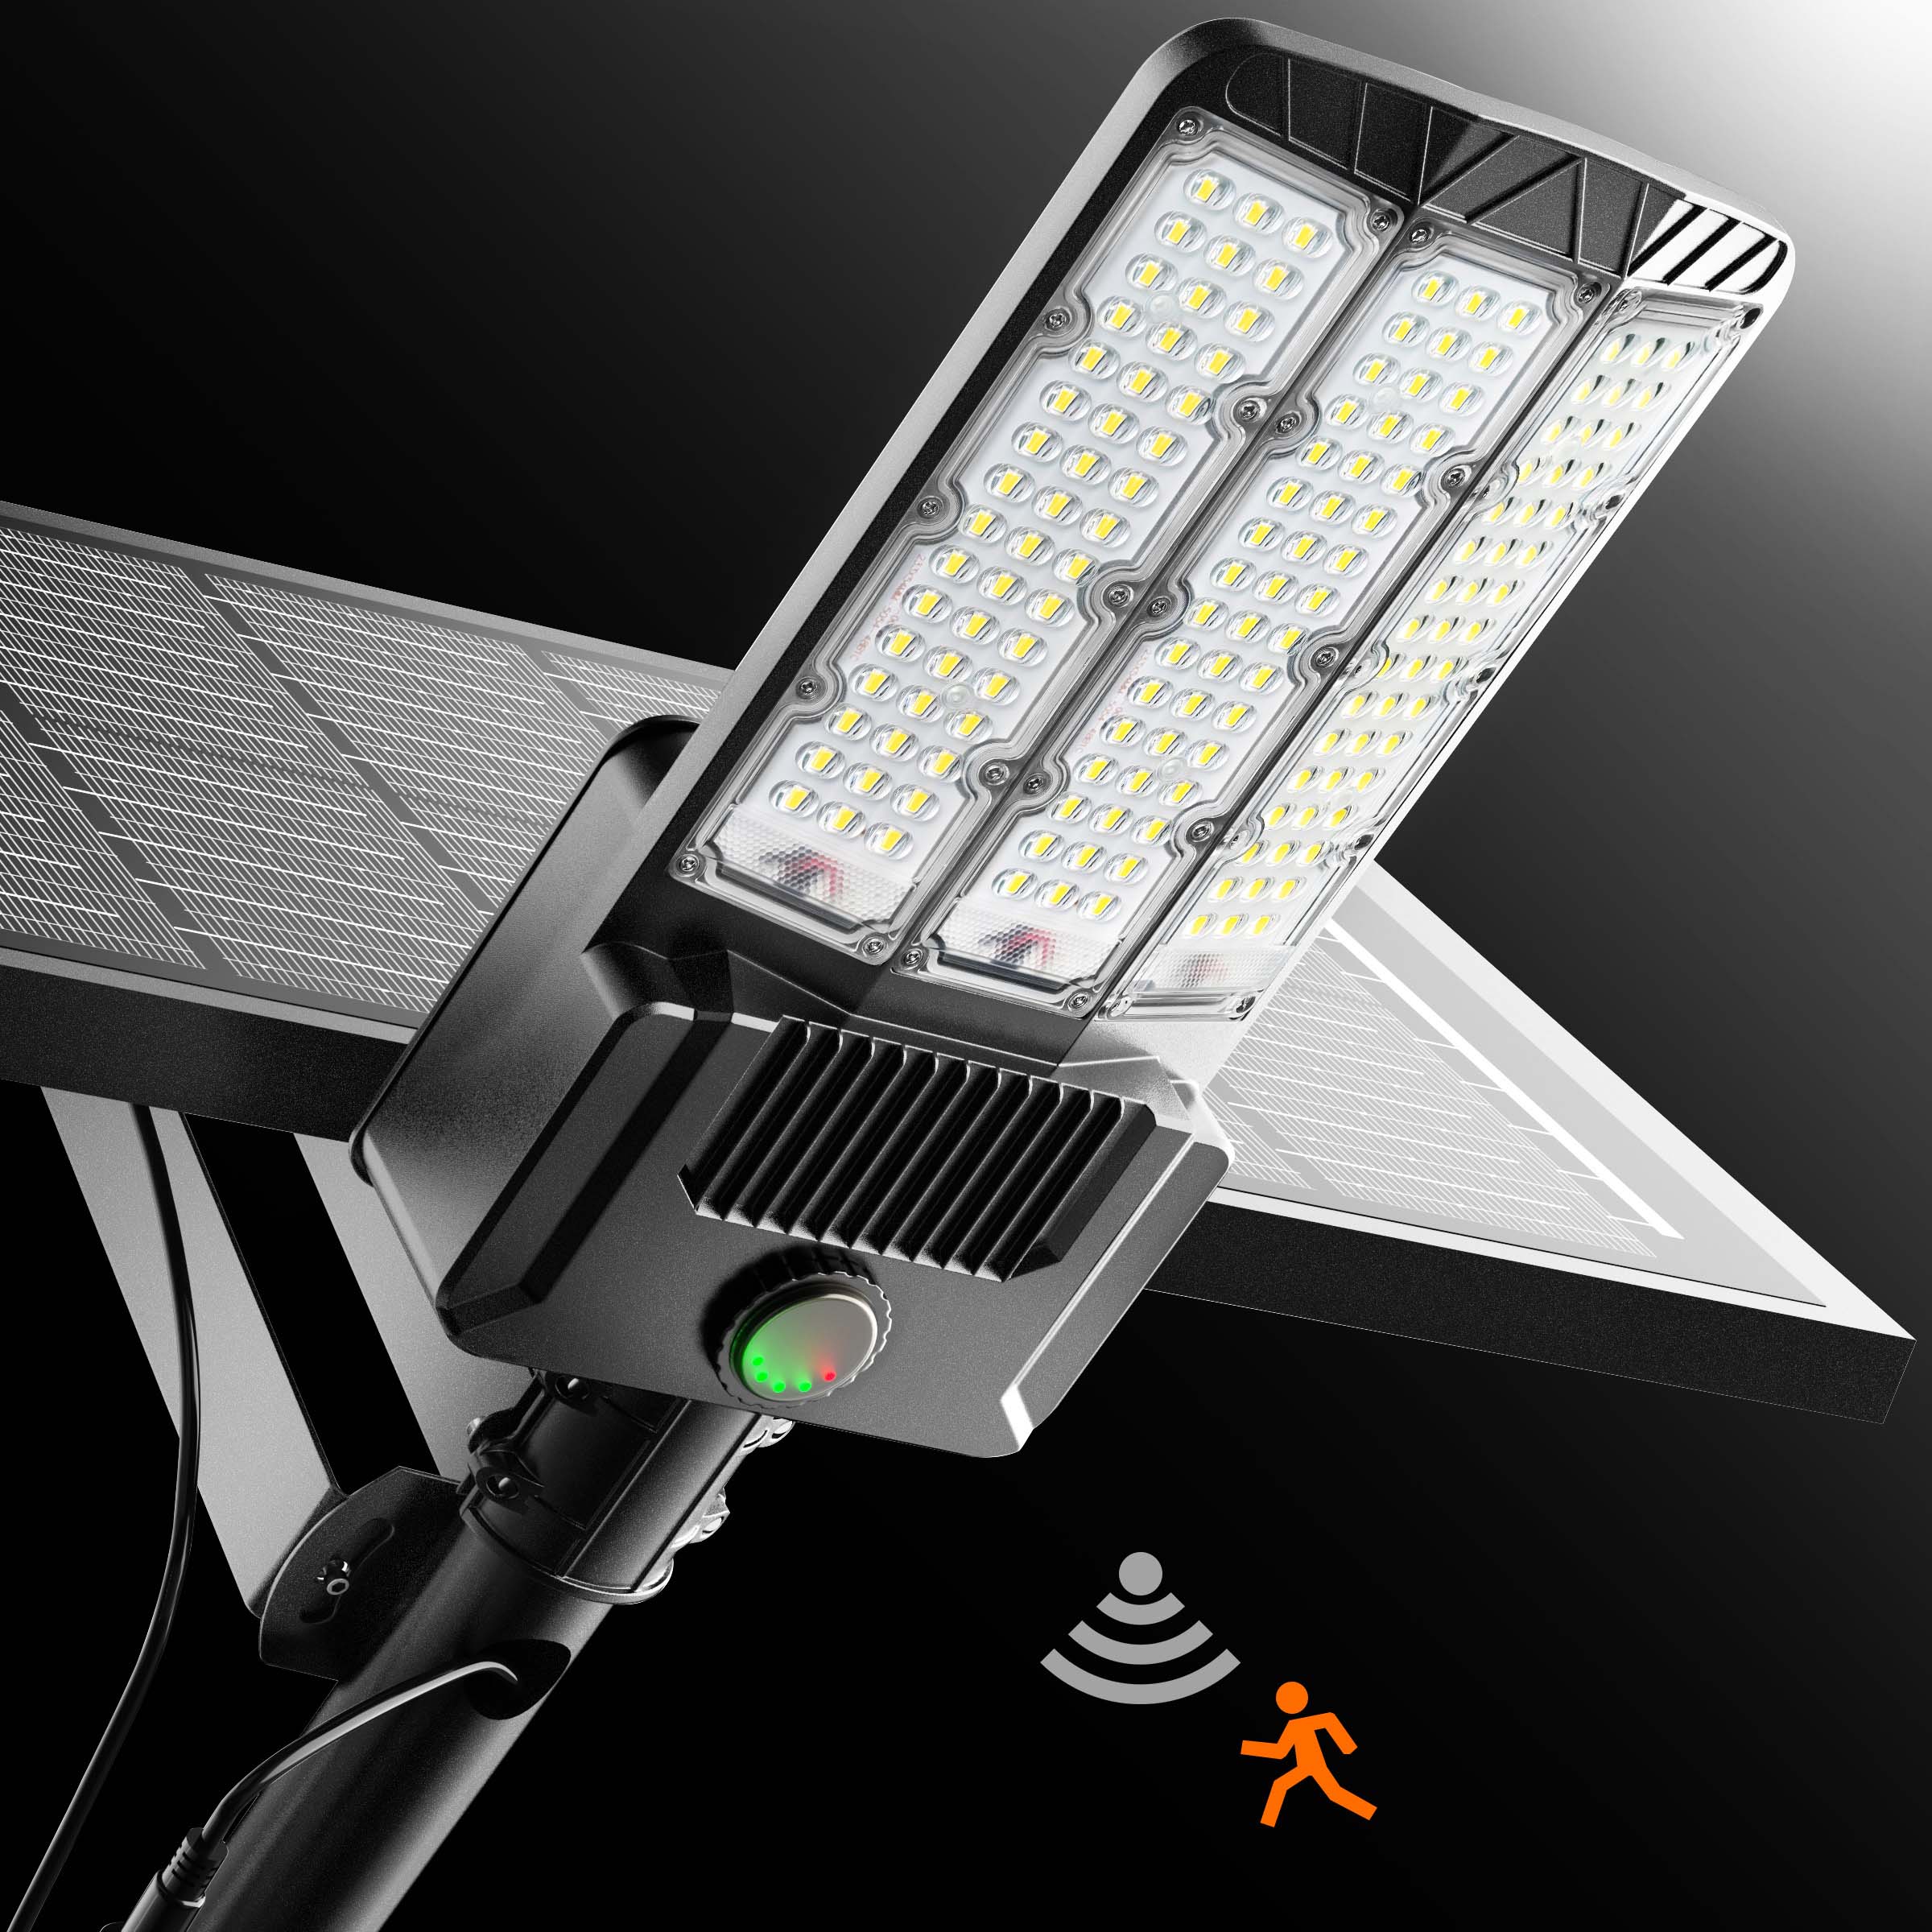
If your lights are outdated, upgrading to a newer model with improved solar panels and longer-lasting batteries can enhance performance and reliability. Modern lights also come with advanced features like motion sensors and adjustable brightness levels.
Key Maintenance Tips for Solar Lights
- Regular Cleaning: Keep both the solar panel and the light housing clean to maximize light absorption and output.
- Battery Replacement: Replace batteries every 1–2 years for consistent performance.
- Weatherproofing: Ensure the lights are sealed properly to prevent water damage.
Why Choose Solar Lights?
Solar lights are a cost-effective and environmentally friendly lighting solution. They don’t require any wiring, making them easy to install and move. Plus, with advancements in solar technology, modern solar lights offer brighter illumination and longer operating times.
Conclusion
By following these steps, you can troubleshoot and optimize your outdoor solar lights to ensure they work flawlessly. From proper installation to regular maintenance, a little effort goes a long way in keeping your lights shining bright.
Have you faced any challenges with your solar lights? Share your experiences and tips in the comments below!
Keywords: outdoor solar lights, solar panel maintenance, rechargeable batteries, troubleshooting solar lights, solar-powered lighting.






![[50%OFF] Hykoont LS018 Multi-Function 2 in 1 Flashlight Portable Extendable Adjustable Brightness CCT Bright](http://hykoont.com/cdn/shop/files/HYK-STDG18-2.jpg?v=1765273877&width=104)




Leave a comment
This site is protected by hCaptcha and the hCaptcha Privacy Policy and Terms of Service apply.