


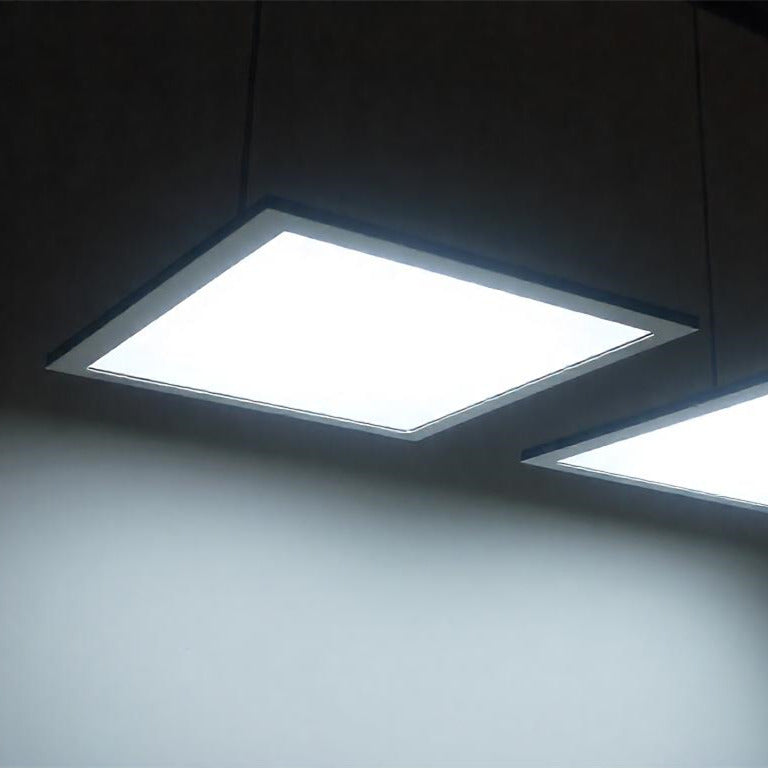
Recessed lights are a popular choice for providing discreet and stylish illumination in homes and commercial spaces. However, like any electrical fixture, they can occasionally encounter issues such as breakage or malfunction. Knowing how to troubleshoot and fix broken recessed lights is essential for maintaining a well-lit environment and ensuring safety.
Fixing Broken Recessed Lights
Step 1: Safety Precautions
Before attempting to fix a broken recessed light, it's crucial to prioritize safety. Follow these safety precautions:
- Turn off the power: Locate the circuit breaker or fuse box and switch off the power supply to the affected recessed light. Use a voltage tester to ensure that the power is indeed off before proceeding.
- Allow the fixture to cool: If the recessed light was recently in use, allow it to cool down before attempting any repairs to avoid burns or injuries.
- Wear protective gear: Wear insulated gloves and safety goggles to protect yourself from electrical hazards and debris.
Step 2: Identify the Issue
Assess the nature of the problem with the recessed light to determine the appropriate course of action. Common issues include:
- Bulb Replacement: If the light bulb has burned out or is flickering, simply replace it with a new one of the correct wattage and type.
- Loose Connection: Check for loose or faulty wiring connections within the fixture or junction box.
- Faulty Trim or Housing: Inspect the trim and housing for signs of damage or misalignment that may be affecting the light's performance.
Step 3: Replace the Bulb
If the issue is simply a burnt-out or flickering bulb, follow these steps to replace it:
- Allow the fixture to cool completely.
- Carefully remove the old bulb by twisting it counterclockwise.
- Insert the new bulb into the socket and twist it clockwise until it is securely in place.
- Test the light to ensure that the new bulb is functioning properly.
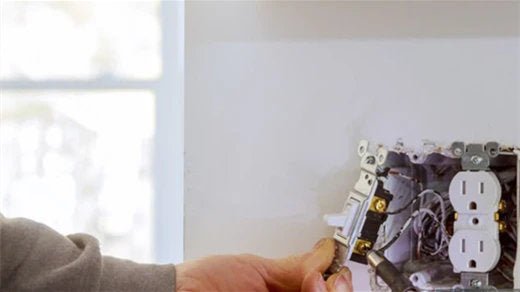
Step 4: Check Wiring Connections
If the problem persists after replacing the bulb, inspect the wiring connections within the fixture or junction box. Follow these steps to check and tighten any loose connections:
- Turn off the power to the fixture at the circuit breaker.
- Remove the trim and lens cover to access the wiring.
- Inspect the wire connections for any signs of damage, corrosion, or looseness.
- Use a screwdriver to tighten any loose wire nuts or terminal screws.
- Carefully reassemble the fixture and test the light again.
Step 5: Replace Damaged Components
If the issue cannot be resolved by replacing the bulb or tightening connections, it may be necessary to replace damaged components such as the trim, housing, or socket. Follow these steps to replace damaged components:
- Turn off the power to the fixture at the circuit breaker.
- Remove the trim and lens cover to access the interior of the fixture.
- Disconnect the wiring from the damaged component.
- Remove the damaged component from the fixture and replace it with a new one of the same type and specifications.
- Reconnect the wiring and reassemble the fixture.
- Test the light to ensure that the issue has been resolved.
Step 6: Call a Professional
If you are unable to diagnose or fix the issue with the recessed light on your own, it may be necessary to call a qualified electrician for assistance. Attempting complex electrical repairs without the proper knowledge and experience can be dangerous and may result in further damage or injury.
Part 2: Removing Recessed Lights
Step 1: Turn Off Power
As with any electrical work, the first step in removing a recessed light is to turn off the power to the fixture at the circuit breaker or fuse box. Use a voltage tester to confirm that the power is off before proceeding.
Step 2: Remove Trim and Bulb
Start by removing the trim and bulb from the recessed light fixture. Depending on the type of trim, this may involve unscrewing retaining clips or screws or simply pulling the trim away from the ceiling.
Step 3: Disconnect Wiring
After removing the trim and bulb, locate the junction box or wiring connections within the fixture. Carefully disconnect the wiring by loosening wire nuts or terminal screws and separating the wires.
Step 4: Remove Fixture Housing
Once the wiring is disconnected, you can remove the fixture housing from the ceiling. Depending on the installation method, this may involve unscrewing mounting screws or twisting the housing counterclockwise to release it from the mounting bracket.
Step 5: Patch Ceiling (Optional)
If you do not plan to install a new recessed light in the same location, you may want to patch the hole in the ceiling left by the removed fixture. This can be done using drywall patching compound and sandpaper to create a smooth surface.
Step 6: Install Cover Plate (Optional)
If you are not replacing the recessed light with another fixture, you can cover the hole in the ceiling with a cover plate or medallion. This can be attached using adhesive or screws, depending on the type of cover plate.
Conclusion
By following the step-by-step procedures outlined in this guide and prioritizing safety at all times, you can address common issues with recessed lights and perform necessary repairs or replacements with confidence.


Leave a comment
This site is protected by hCaptcha and the hCaptcha Privacy Policy and Terms of Service apply.