


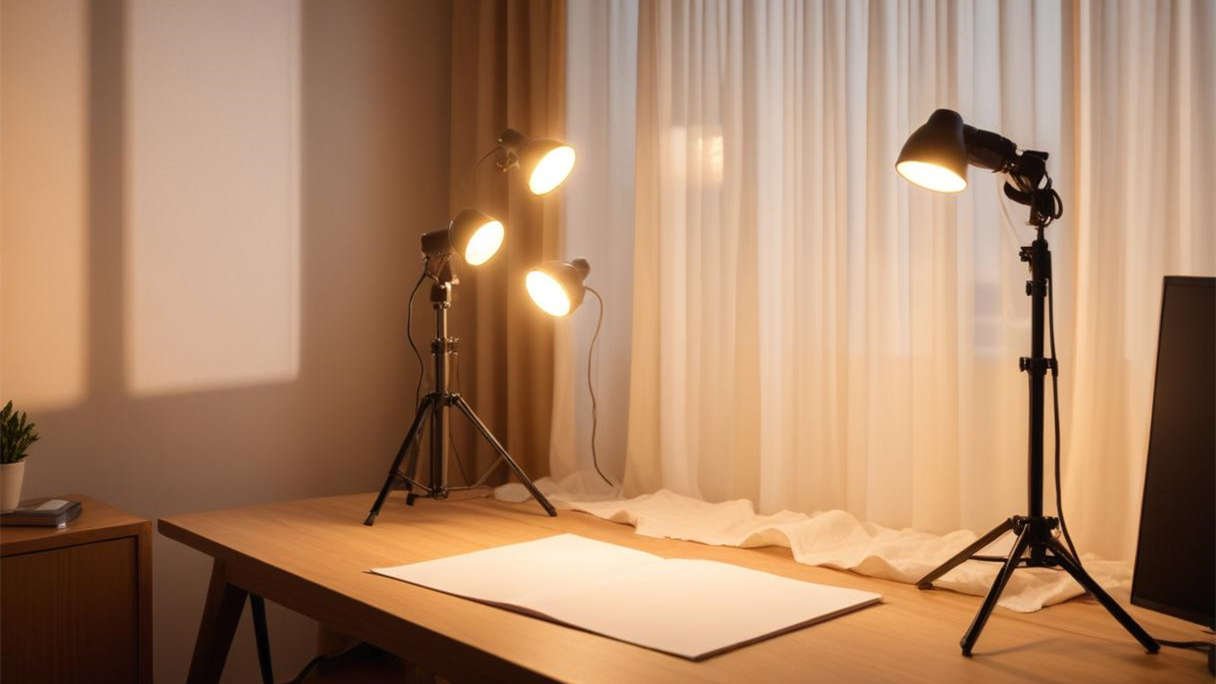
Wall lights, also known as sconces, are an excellent way to add both functionality and style to any room. They can create a cozy ambiance, provide task lighting, or enhance the aesthetic appeal of your home. Installing wall lights might seem daunting, but with the right tools and instructions, you can do it yourself. This guide will walk you through the process of attaching wall lights to the wall, ensuring a safe and professional finish.
Understanding the Basics
Before diving into the installation process, it's essential to understand the basics of wall lights and the considerations for their placement.
Types of Wall Lights
- Hardwired Wall Lights: These lights are directly connected to your home's electrical wiring and require a more involved installation process.
- Plug-in Wall Lights: These lights are easier to install since they simply plug into an existing outlet.
Placement Considerations
- Height: Generally, wall lights should be installed about 60-72 inches from the floor, but this can vary depending on the room's layout and the purpose of the light.
- Spacing: If installing multiple sconces, ensure they are evenly spaced for a balanced look. A common guideline is to place them 6-8 feet apart.
- Purpose: Consider the function of the wall lights. Task lighting, accent lighting, or ambient lighting will determine their placement.

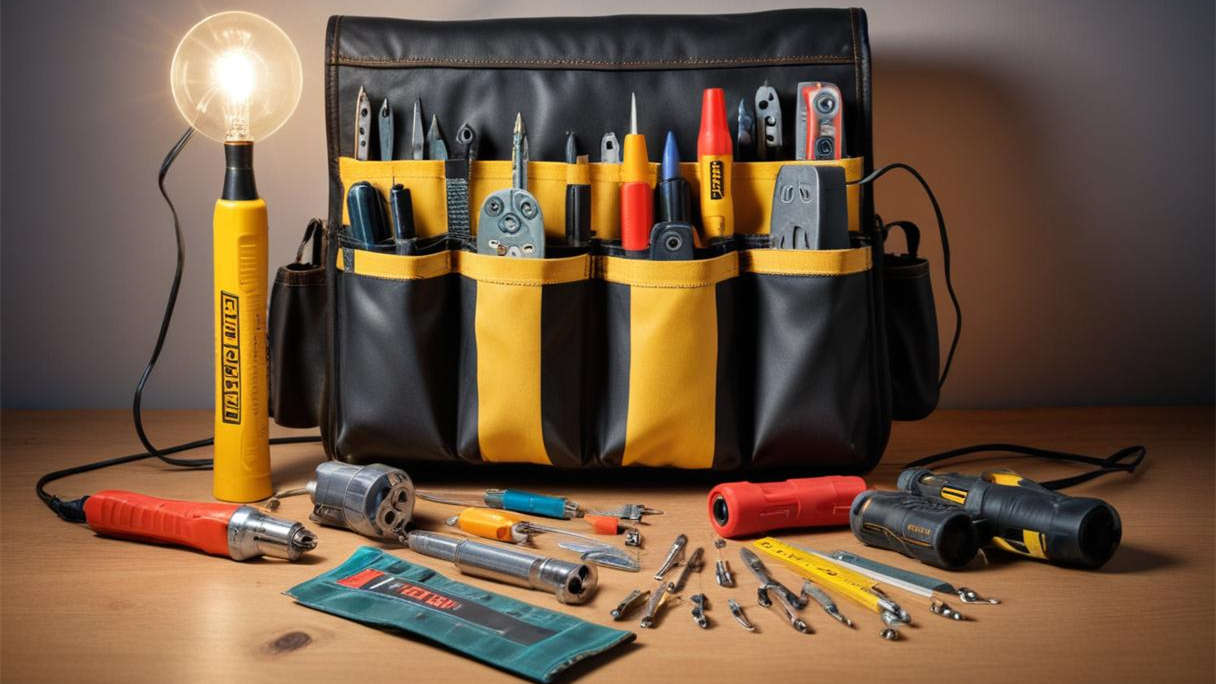
Tools and Materials Needed
Before starting, gather the necessary tools and materials:
- Wall lights
- Screwdriver
- Drill
- Measuring tape
- Level
- Stud finder
- Electrical tester
- Wire strippers
- Wire nuts
- Mounting hardware (typically included with the wall lights)
- Electrical tape
- Pencil
Step-by-Step Installation Guide
Step 1: Turn Off the Power
Safety first! Ensure that the power to the circuit you will be working on is turned off at the breaker box. Use an electrical tester to double-check that the power is off.
Step 2: Mark the Placement
Use a pencil to mark the desired location of your wall lights on the wall. Use a level to ensure that the marks are even. If installing multiple lights, measure the distance between them to ensure consistent spacing.
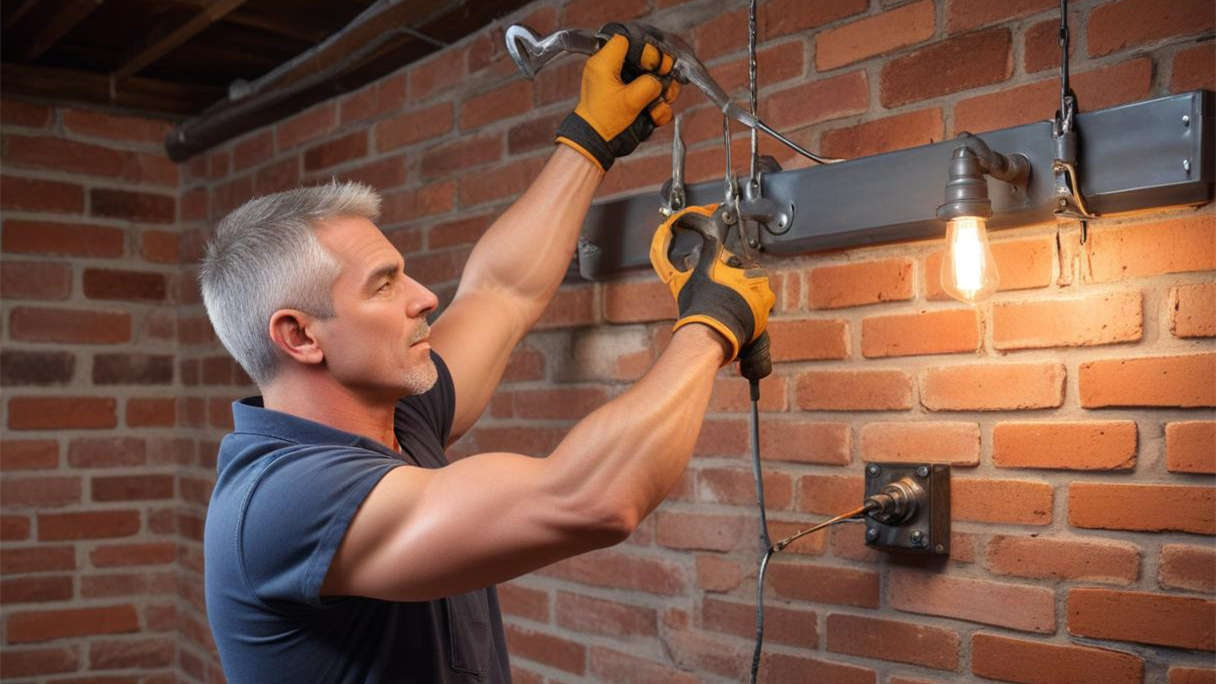
Step 3: Locate the Studs
Using a stud finder, locate the studs in the wall where you plan to mount the lights. Mark the edges of the studs with a pencil. Mounting your wall lights to studs provides a more secure installation.
Step 4: Prepare the Mounting Plate
Most wall lights come with a mounting plate. Attach the mounting plate to the wall using screws. If you cannot mount the plate to a stud, use wall anchors to ensure the plate is securely attached.
Step 5: Wiring the Light
Hardwired Wall Lights:
- Prepare the Wires: Strip about 1/2 inch of insulation from the ends of the wires coming from the wall and the light fixture.
- Connect the Wires: Connect the black (or red) wire from the light to the black wire from the wall, the white wire from the light to the white wire from the wall, and the green or bare wire from the light to the ground wire from the wall. Use wire nuts to secure the connections and wrap them with electrical tape for added safety.
- Secure the Connections: Gently push the connected wires into the electrical box.
Plug-in Wall Lights:
- Mount the Bracket: Attach the mounting bracket to the wall using screws or wall anchors.
- Hang the Light: Attach the light fixture to the mounting bracket according to the manufacturer's instructions.
- Plug In: Plug the light into an electrical outlet and secure the cord as needed.
Step 6: Attach the Fixture
Once the wiring is complete, attach the light fixture to the mounting plate. This often involves aligning the fixture with the mounting plate and securing it with screws. Ensure that the fixture is level before fully tightening the screws.
Step 7: Install the Bulbs and Shades
Install the appropriate bulbs into your wall lights. Attach any shades or covers that came with the fixture. Make sure everything is securely in place.
Step 8: Turn On the Power
Return to the breaker box and turn the power back on. Test the wall lights to ensure they are working correctly.

Safety Tips and Considerations
- Consult a Professional: If you are unsure about any part of the installation process, consult a licensed electrician. Electrical work can be dangerous if not done correctly.
- Use the Right Tools: Ensure you have the appropriate tools for the job to avoid damage to the wall or light fixture.
- Follow Instructions: Always follow the manufacturer's instructions that come with your wall lights.
Conclusion
Attaching wall lights to the wall can transform the look and feel of your home. Whether you're installing them for functional purposes or as a design element, following this comprehensive guide will help you achieve a professional and safe installation. Remember to prioritize safety, use the right tools, and consult a professional if needed. With patience and careful attention to detail, you can enjoy the enhanced ambiance and functionality that wall lights bring to your space.
Leave a comment
This site is protected by hCaptcha and the hCaptcha Privacy Policy and Terms of Service apply.