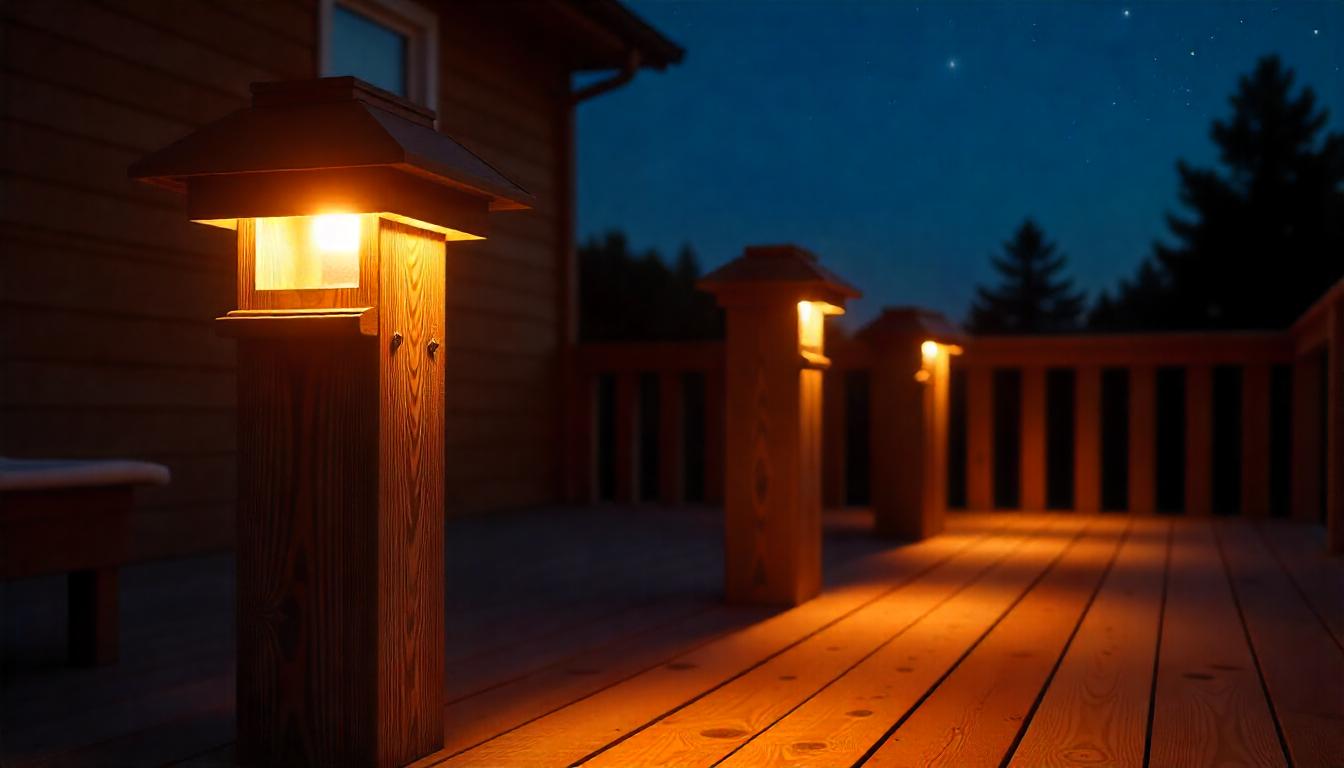
Installing deck lights on a post is a great way to enhance the ambiance and safety of your outdoor space. Whether you’re using solar-powered deck lights or hardwired LED options, the process can be quite straightforward with the right tools and a bit of guidance. Below is a step-by-step guide to help you install deck lights on a post.
Materials You Will Need:
- Deck lights (solar or hardwired)
- Drill with appropriate drill bits
- Screwdriver or power drill
- Mounting screws (usually provided with the lights)
- Level
- Tape measure
- Electrical wiring (if installing hardwired lights)
- Junction box (if needed for hardwired lights)
- Silicone sealant (optional, for extra weatherproofing)
Step 1: Choose the Right Deck Lights
Before you begin installation, select the appropriate deck lights for your posts. Some popular options include:
- Solar Deck Lights: These lights are easy to install because they don’t require electrical wiring. They rely on solar panels to charge during the day and automatically turn on at night.
- Hardwired LED Deck Lights: These require installation into the electrical system of your home or an outdoor circuit, and they usually provide more consistent and powerful lighting.
Step 2: Mark the Placement
Determine where you want to place the deck lights on the post. Usually, they are installed on the top or the side of the post, depending on the style of the light. For the best effect, place them evenly around the deck to provide uniform illumination.
- Use a tape measure to find the right height for the lights.
- Mark the spot where you plan to drill holes or attach the lights. If you’re installing multiple lights, ensure they are evenly spaced.

Step 3: Prepare the Area
Make sure the posts are clean and dry before installing any lights. If you're installing hardwired lights, check that the wiring route is clear.
- For solar lights, ensure that the top of the post has enough direct sunlight to charge the solar panel.
- For hardwired lights, ensure that you have access to an electrical outlet or are prepared to run electrical wires to the junction box.
Step 4: Drill Holes for the Lights
If your lights require screws or mounting brackets, use a drill to create holes for installation. The size of the hole will depend on the size of the screws or bolts that come with your lights.
- For solar lights, the holes may be small enough to accommodate the provided screws.
- For hardwired lights, you might need to drill larger holes to accommodate the wiring and junction boxes.
Step 5: Install the Lights
Once the holes are drilled and the area is prepared, you can begin attaching the lights to the post.
For Solar Lights:
- Attach the Light: Position the solar light on top or along the post according to your markings. Secure it with screws or double-sided tape (if provided).
- Position the Solar Panel: Make sure the solar panel faces upward and is not obstructed by surrounding objects to maximize sunlight exposure during the day.
For Hardwired Lights:
- Run the Wiring: If you’re installing hardwired lights, carefully run the electrical wire from the power source to the light’s location. Ensure the wiring is properly insulated and protected from the elements. You might need to install a junction box or conduit to house the wires and protect them from the weather.
- Connect the Wiring: Once the wiring is in place, connect the wires to the light fixture, ensuring that they are securely fastened. You may need wire connectors or a screwdriver to tighten the connections.
- Seal the Connections: Use silicone sealant or electrical tape to cover any exposed wire connections, ensuring the electrical components are weatherproof.
Step 6: Test the Lights
After installation, test the lights to ensure they’re functioning correctly.
- For solar lights, ensure the solar panel is receiving enough sunlight during the day and that the lights turn on at night.
- For hardwired lights, check the connections and ensure the lights are operating as expected.

Step 7: Make Adjustments
If necessary, adjust the positioning of the lights to improve the coverage or ensure that the solar panels receive adequate sunlight. For hardwired lights, make sure the wiring is neatly tucked away and not exposed to the elements.
Additional Tips:
- Weatherproofing: Ensure that all lights, especially hardwired lights, are properly sealed to protect against water damage and other weather-related issues.
- Use a Level: When installing the lights, particularly on the side of a post, using a level can ensure the light is aligned properly.
- Check for Obstructions: Be mindful of trees, bushes, or other objects that might block sunlight from reaching your solar lights or interfere with wiring for hardwired lights.
Conclusion:
Installing deck lights on a post is a simple yet effective way to improve the ambiance of your outdoor space while enhancing safety. Whether you choose solar lights for their easy installation or hardwired lights for a more permanent setup, following these steps will help you achieve a beautiful and functional lighting solution.







![[50%OFF] Hykoont LS018 Multi-Function 2 in 1 Flashlight Portable Extendable Adjustable Brightness CCT Bright](http://hykoont.com/cdn/shop/files/HYK-STDG18-2.jpg?v=1765273877&width=104)


Leave a comment
This site is protected by hCaptcha and the hCaptcha Privacy Policy and Terms of Service apply.