


Changing a wall bulb might seem like a simple task, but doing it correctly ensures safety and maintains the longevity of your lighting fixture. Whether your wall lamp has a traditional bulb or a more modern LED, knowing the proper steps is crucial. This guide will walk you through the process of safely and effectively changing a wall bulb, with tips on handling different types of bulbs and fixtures.
Step 1: Turn Off the Power
Safety should always be your first priority when changing a wall bulb. Before you begin, turn off the power to the wall lamp. This can be done by flipping the switch that controls the light or, for added safety, turning off the circuit breaker that supplies power to the lamp. Ensuring the power is off reduces the risk of electric shock.
Step 2: Let the Wall Bulb Cool Down
If the wall bulb was recently in use, give it some time to cool down. Bulbs can become extremely hot when they’ve been on for a while, and trying to remove a hot bulb could result in burns. Wait a few minutes until the wall bulb is cool to the touch before proceeding.
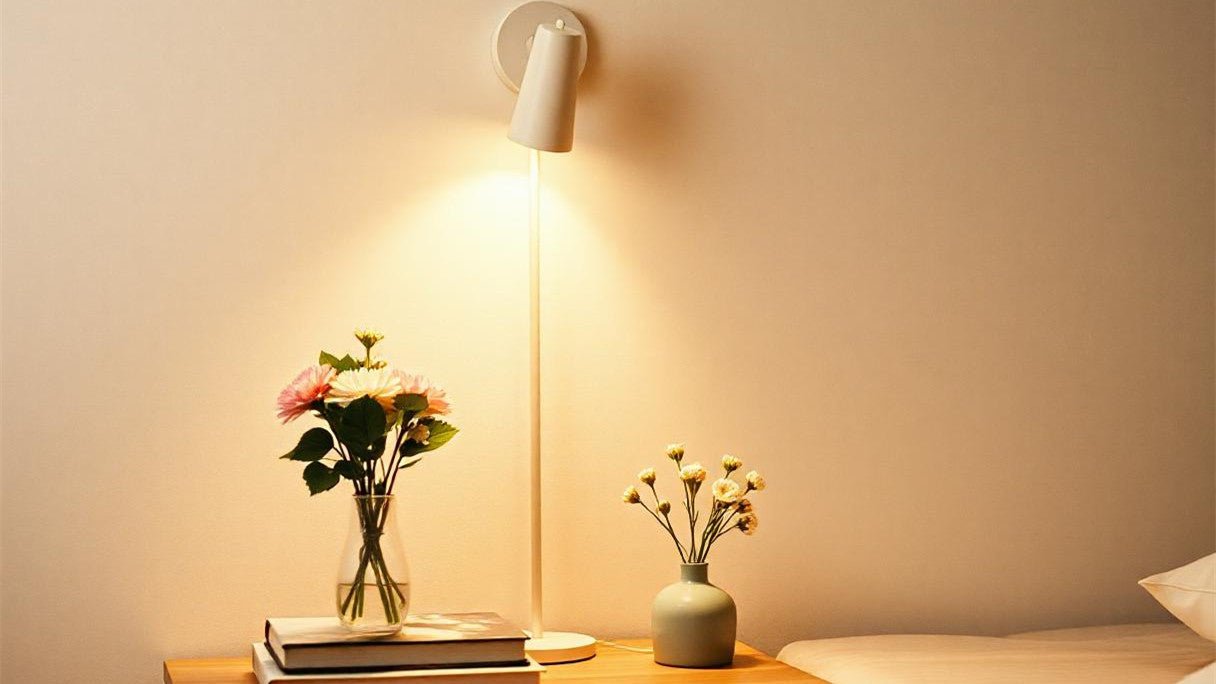
Step 3: Remove the Lampshade or Cover
Most wall lamps have a lampshade or cover that needs to be removed before you can access the wall bulb. Depending on the design, this may involve unscrewing small screws, loosening clips, or simply lifting the cover off. Be gentle to avoid damaging any parts. If your wall lamp has a delicate or intricate cover, handle it carefully and set it aside in a safe place while you work.
Step 4: Unscrew the Old Wall Bulb
Once the cover is removed, you can unscrew the old wall bulb. Grip the bulb gently but firmly, and turn it counterclockwise until it comes loose from the socket. If the bulb is stuck, avoid using excessive force, as this can break the bulb. Instead, try wiggling it slightly to loosen it, or use a cloth for a better grip. For stubborn or hard-to-reach wall bulbs, you can use a bulb removal tool.
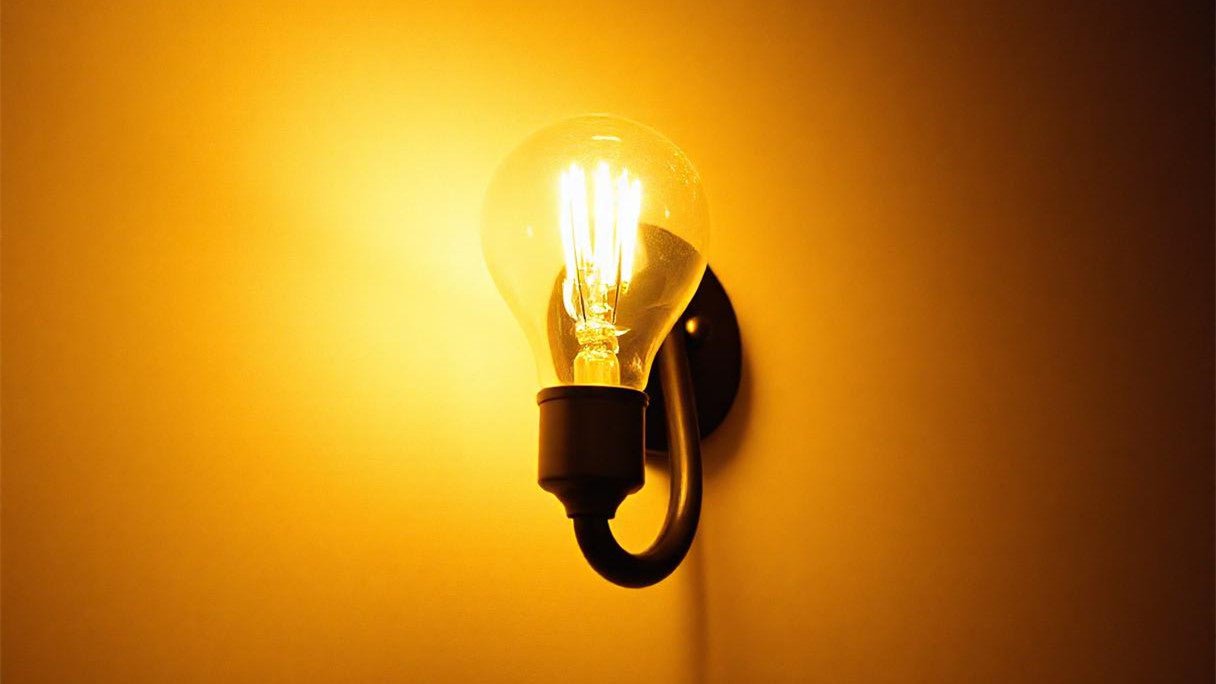
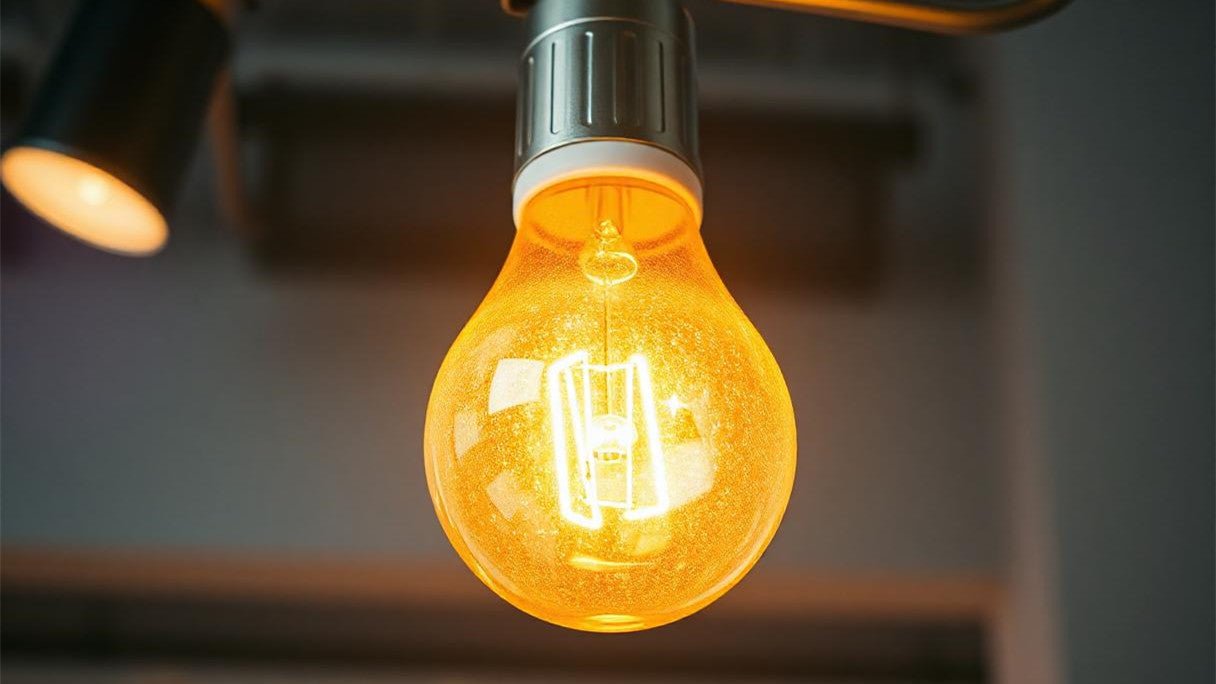
Step 5: Choose the Right Replacement Wall Bulb
Selecting the correct replacement wall bulb is essential for both the performance of your wall lamp and the safety of your home. Check the old bulb or the fixture for specifications such as wattage, voltage, and bulb type (e.g., LED, incandescent, CFL). Using a bulb with the wrong specifications can cause damage to the fixture or create a fire hazard. If you’re switching to an energy-efficient LED wall bulb, make sure it’s compatible with the fixture.

Step 6: Install the New Wall Bulb
After choosing the right replacement, it’s time to install the new wall bulb. Align the base of the bulb with the socket and turn it clockwise until it’s securely in place. Don’t overtighten, as this can damage the socket or the bulb. If you’re installing a bayonet-style wall bulb, insert the pins into the slots and twist the bulb to lock it in place.
Step 7: Replace the Lampshade or Cover
With the new wall bulb securely installed, you can now replace the lampshade or cover. Carefully reattach it, ensuring that all screws or clips are tightened and that the cover is properly aligned. A poorly attached cover can lead to uneven lighting or even cause the cover to fall, so double-check your work before moving on.
Step 8: Turn the Power Back On and Test the Wall Bulb
Finally, restore power to the wall lamp by turning the switch back on or resetting the circuit breaker. Test the new wall bulb by flipping the switch. The bulb should light up immediately, providing the desired brightness and functionality. If the wall bulb doesn’t light up, double-check the installation, ensure the bulb is the correct type, and verify that the fixture is receiving power.
Tips for Maintaining Your Wall Lamp and Bulbs
Regular Cleaning: Dust and dirt can accumulate on both the wall bulb and the fixture, reducing brightness and efficiency. Regularly clean your wall lamps to maintain optimal lighting.
Use Energy-Efficient Bulbs: Consider switching to LED wall bulbs, which last longer and consume less energy than traditional incandescent bulbs.
Inspect for Damage: During bulb changes, inspect the fixture for any signs of wear or damage. This can prevent future problems and ensure the longevity of your wall lamp.
Conclusion
Changing a wall bulb is a straightforward task, but doing it correctly ensures safety and prolongs the life of your wall lamp. By following these steps—turning off the power, letting the bulb cool, removing the cover, unscrewing the old bulb, choosing the right replacement, installing the new bulb, and testing it—you can easily and safely change any wall bulb. Remember to maintain your wall lamps regularly to enjoy bright and efficient lighting for years to come.
Leave a comment
This site is protected by hCaptcha and the hCaptcha Privacy Policy and Terms of Service apply.