


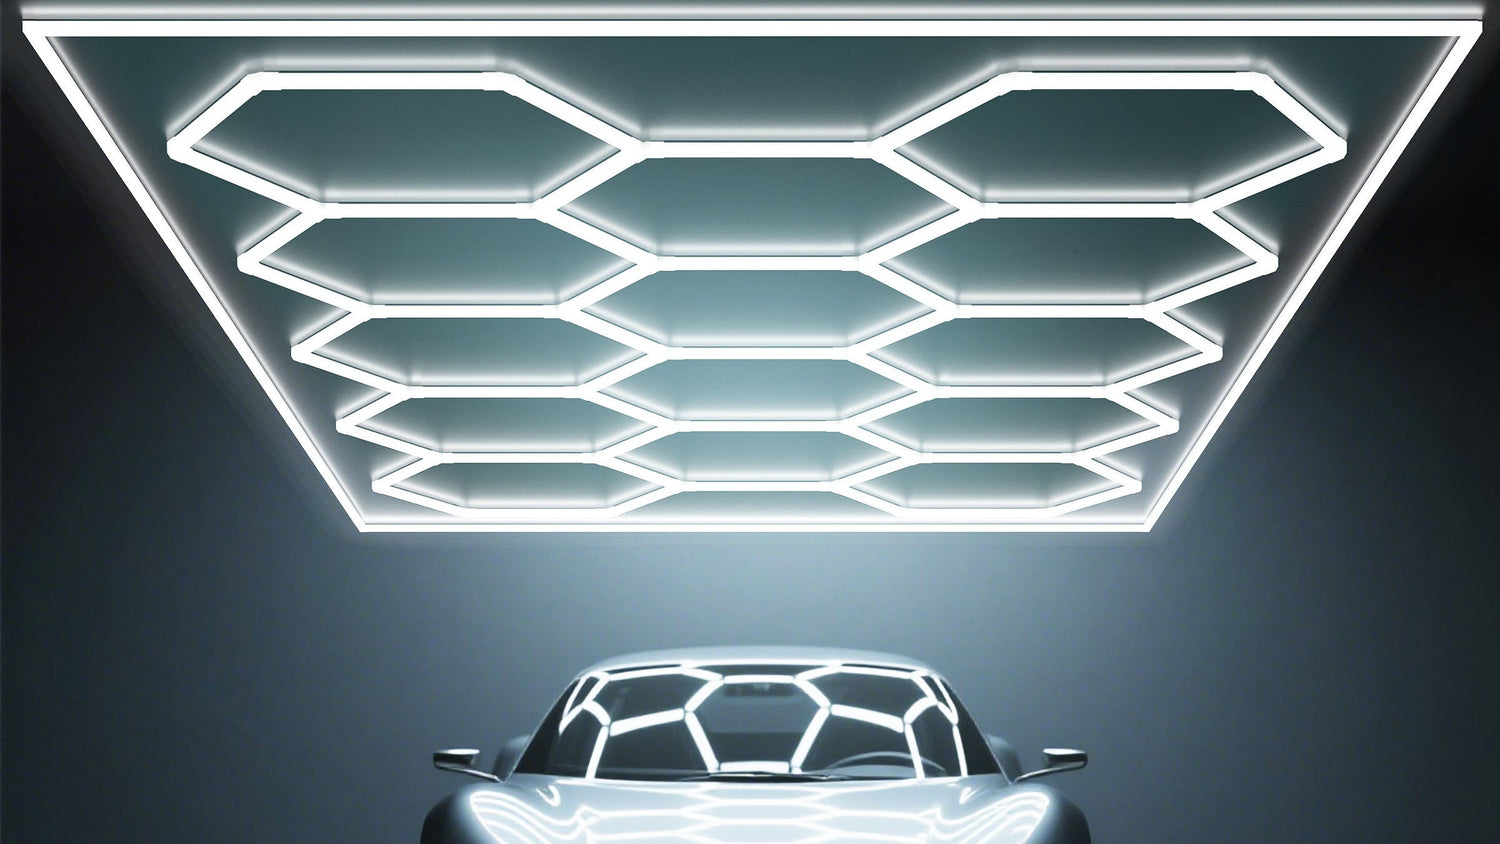
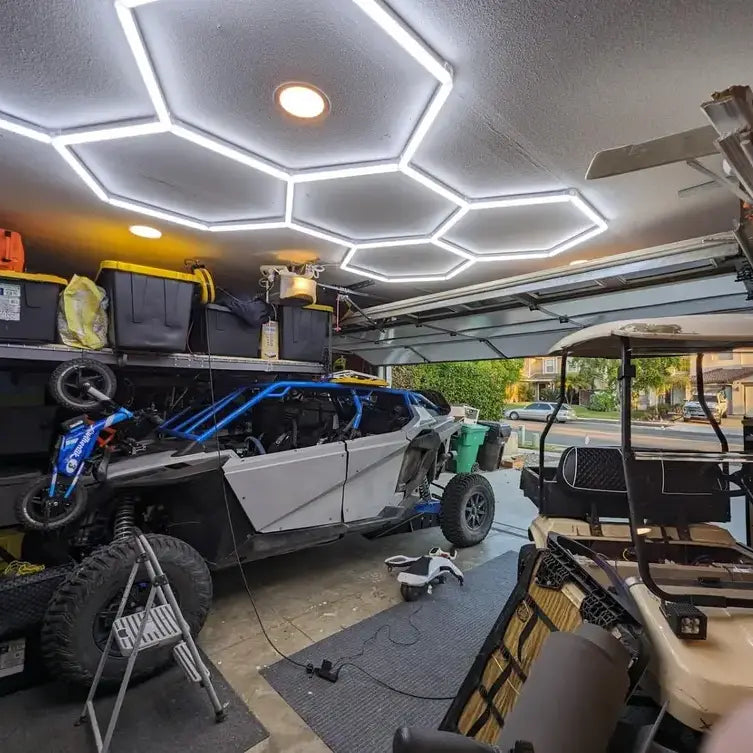
Tired of your dim, uninspiring garage lighting? The Hykoont 14 Grid LED Hexagon Garage Lights offer a revolutionary way to brighten your space while adding a modern, customizable touch. With 700W output and 73,920 lumens of crisp 6500K daylight, these hexagonal LED panels don't just illuminate - they transform your garage into a visually striking, highly functional environment.
This comprehensive guide will walk you through designing and installing your perfect hexagonal lighting layout, whether you're creating a workshop, home gym, or simply upgrading your parking area.
Why Choose Hexagonal Lighting?
Before we dive into installation, let's examine why hexagon lights outperform traditional options:
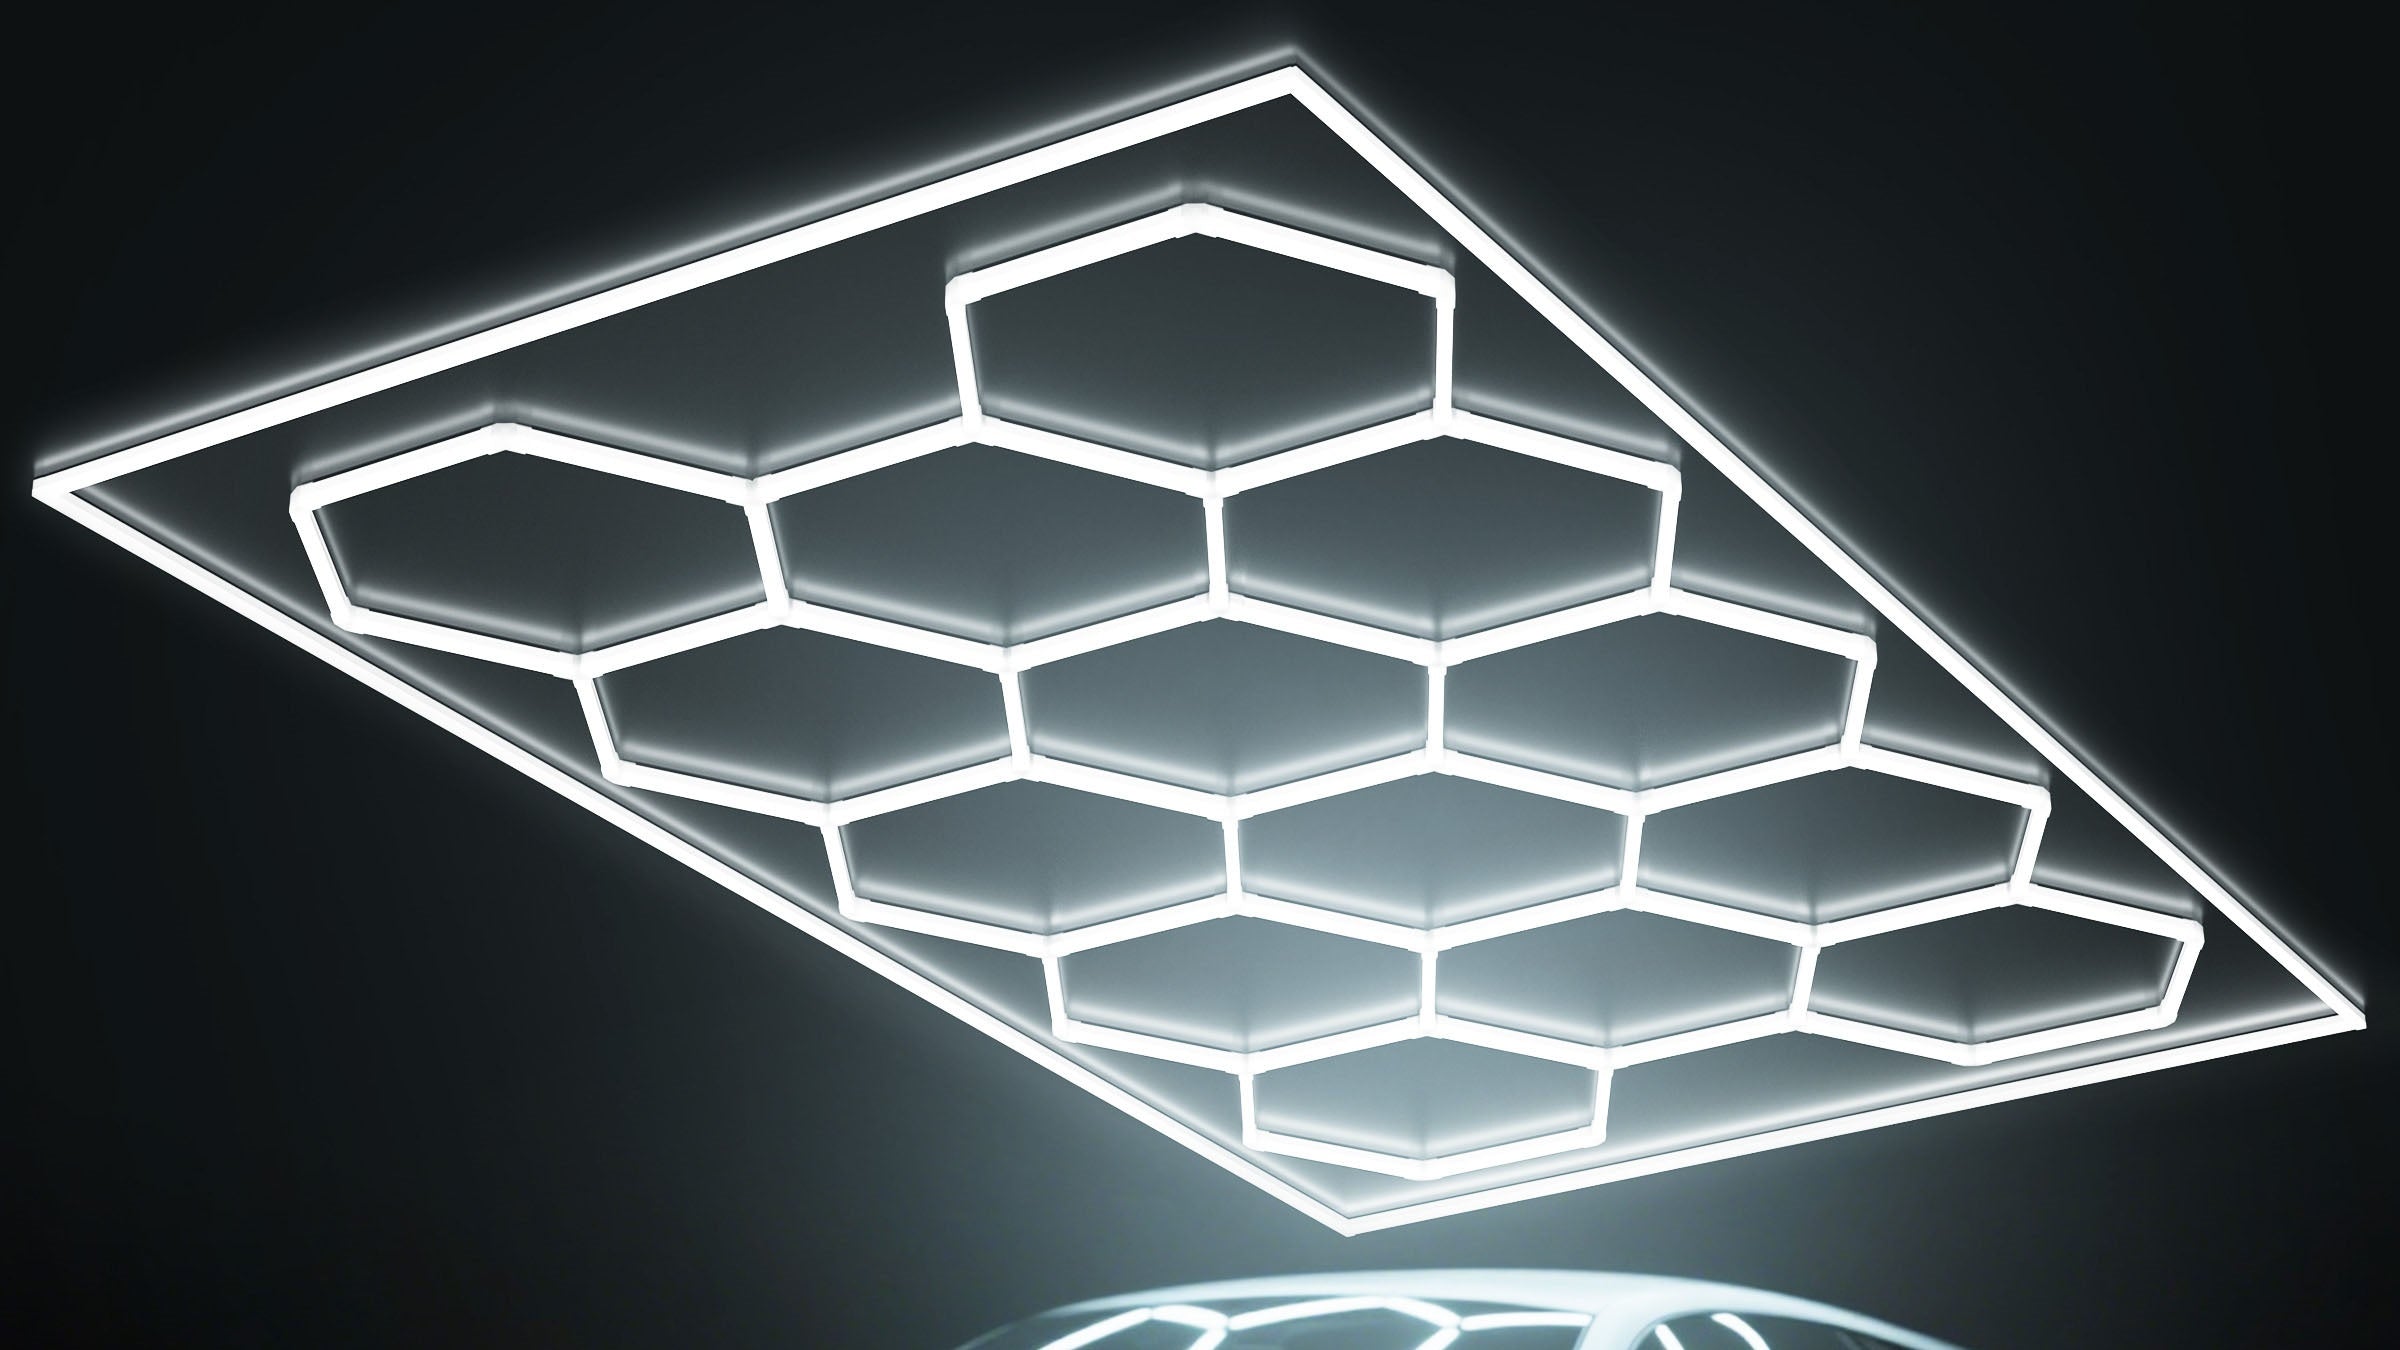
Superior Light Distribution: The honeycomb pattern eliminates dark spots better than rectangular panels
Creative Flexibility: Combine modules to form stars, beehives, or abstract patterns
Space Optimization: Hexagons provide 10% more coverage area than square layouts
Visual Appeal: Adds architectural interest to utilitarian spaces
Step 1: Planning Your Layout
Understanding Connector Types
Your kit includes two crucial components:
120° V Connectors (2-way)
Ideal for straight lines and angular designs
Creates sharp directional lighting
120° Y Connectors (3-way)
Forms the classic honeycomb pattern
Provides omnidirectional illumination
Pro Tip: Sketch your design on grid paper first - each hexagon side equals one LED tube.

Popular Configuration Examples
| Layout Type | Connectors Needed | Best For |
|---|---|---|
| Classic Honeycomb | Primarily Y-connectors | Even garage-wide lighting |
| Radiating Sunburst | Alternating V/Y | Focused workshop areas |
| Geometric Border | Mostly V-connectors | Perimeter accent lighting |
| Hybrid Pattern | Custom mix | Multi-purpose spaces |
Step 2: Installation Process
Tools You'll Need
Laser level (crucial for alignment)
Drywall anchors (for hard ceilings)
Cable ties (included)
Voltage tester
Cordless drill
Mounting Options
Option A: Hard Ceiling Installation
Mark your pattern using chalk lines
Pre-drill pilot holes every 24" along design
Secure base plates with included screws
Snap LED tubes into connectors
Option B: Suspended Grid System
Clip mounting brackets to T-bar grid
Space brackets 18-24" apart
Assemble hexagons on ground first
Lift completed sections into place
Safety Check: Always confirm power is off at breaker before wiring!
Step 3: Avoiding Common Mistakes
Through analyzing 50+ customer installations, we've identified these frequent issues:
Mistake 1: Inconsistent Spacing
Solution: Use cardboard cutouts as spacers during installation
Mistake 2: Overloading Circuits
Solution: Limit to 15 panels per 20A circuit
Mistake 3: Poor Wire Management
Solution: Route cables through center of hexagons before final mounting
Real-World Applications
Case Study: 3-Car Garage Workshop
Before:
Flickering fluorescent tubes
42 fc average illumination
Glare on car paint
After Hykoont Installation:
78 fc uniform lighting
Hexagon pattern reduced shadows by 60%
Energy use dropped 35%
Maintenance & Upgrades
Extend your system's lifespan with:
Annual connector inspections
Occasional lens cleaning (mild soap + microfiber)
Future expansion tips:
Add dimmer for mood lighting
Incorporate color-changing modules
Conclusion
The Hykoont hexagonal system turns lighting installation from a chore into a creative project. By following this guide, you'll achieve professional-grade results that combine stunning aesthetics with unmatched functionality.


Leave a comment
This site is protected by hCaptcha and the hCaptcha Privacy Policy and Terms of Service apply.