In this tutorial, we'll walk you through the process of determining the type of bulb your floodlight uses, understanding the compatibility of LED floodlight bulbs, and providing a step-by-step tutorial for a hassle-free replacement. Whether you're looking to upgrade to energy-efficient LED technology or simply need to replace a burnt-out bulb, this guide has you covered.
Section 1: Identifying Your Bulb Type
To begin, it's essential to identify the type of bulb your floodlight uses. Follow these steps:
1.1. Turn Off Power
Ensure the power to the floodlight is switched off to avoid any electrical hazards.
1.2. Remove the Existing Bulb
Carefully unscrew and remove the existing bulb from the floodlight fixture. Note down the specifications written on the bulb or check the user manual for information.
1.3. Check Bulb Type
Look for indicators such as wattage, voltage, and bulb base type (e.g., E26, PAR30) to determine the correct replacement.

Section 2: Understanding LED Flood Light Bulbs
Now that you know your floodlight's bulb specifications, it's time to explore LED flood light bulbs and their benefits.
2.1. Advantages of LED Flood Lights:
Energy Efficiency: LED bulbs consume less energy than traditional bulbs, resulting in lower electricity bills.
Longevity: LED bulbs have a longer lifespan, reducing the frequency of replacements.
Durability: LEDs are solid-state lights, making them more robust and resistant to shocks and vibrations.
2.2. Compatibility Considerations:
Wattage and Lumens: Ensure the LED bulb's wattage and lumens match or exceed those of the existing bulb for equivalent brightness.
Dimmability: Check if your floodlight supports dimmable LED bulbs, and choose accordingly.
Color Temperature: Select a color temperature (measured in Kelvin) that suits your preference, such as warm white (3000K) or daylight (5000K).
Section 3: Purchasing the Right LED Flood Light Bulb
3.1. Refer to Manufacturer Recommendations:
Consult the manufacturer's guidelines or website for recommended LED flood light bulb replacements.
3.2. Visit a Local Retailer or Online Store:
Head to a local hardware store or browse online marketplaces to find the right LED bulb for your floodlight.
3.3. Consider Brand and Quality:
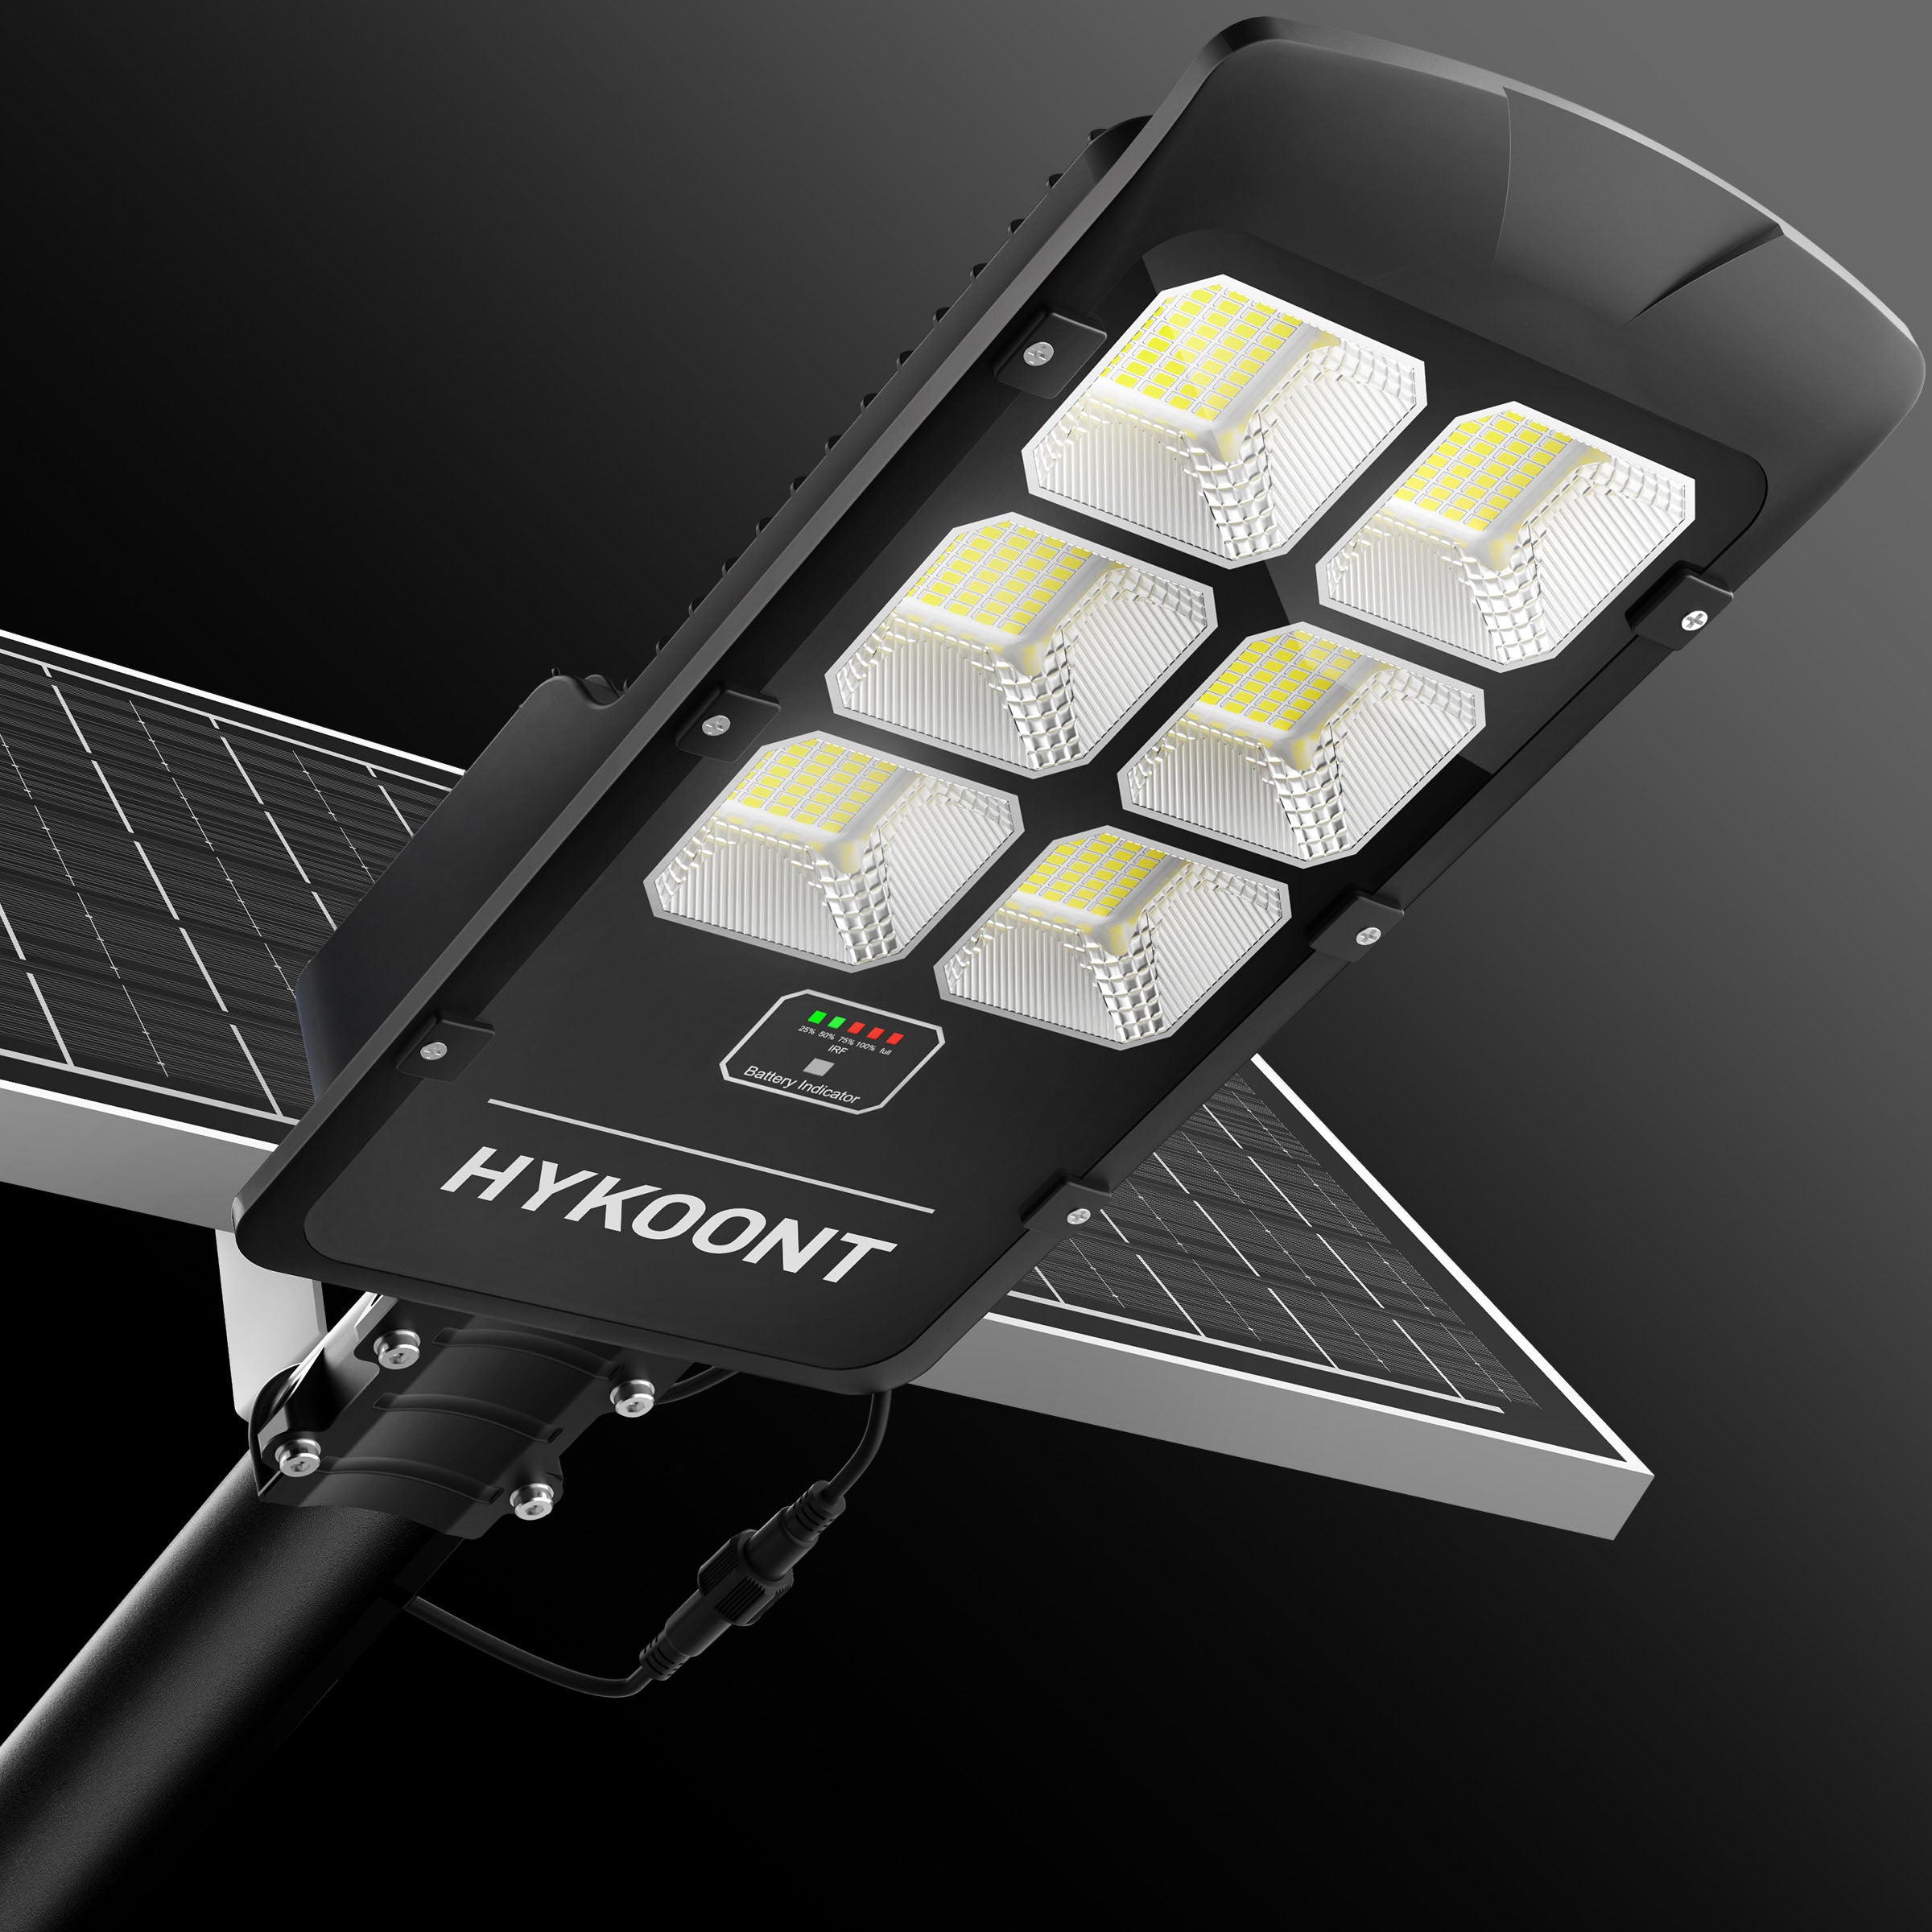
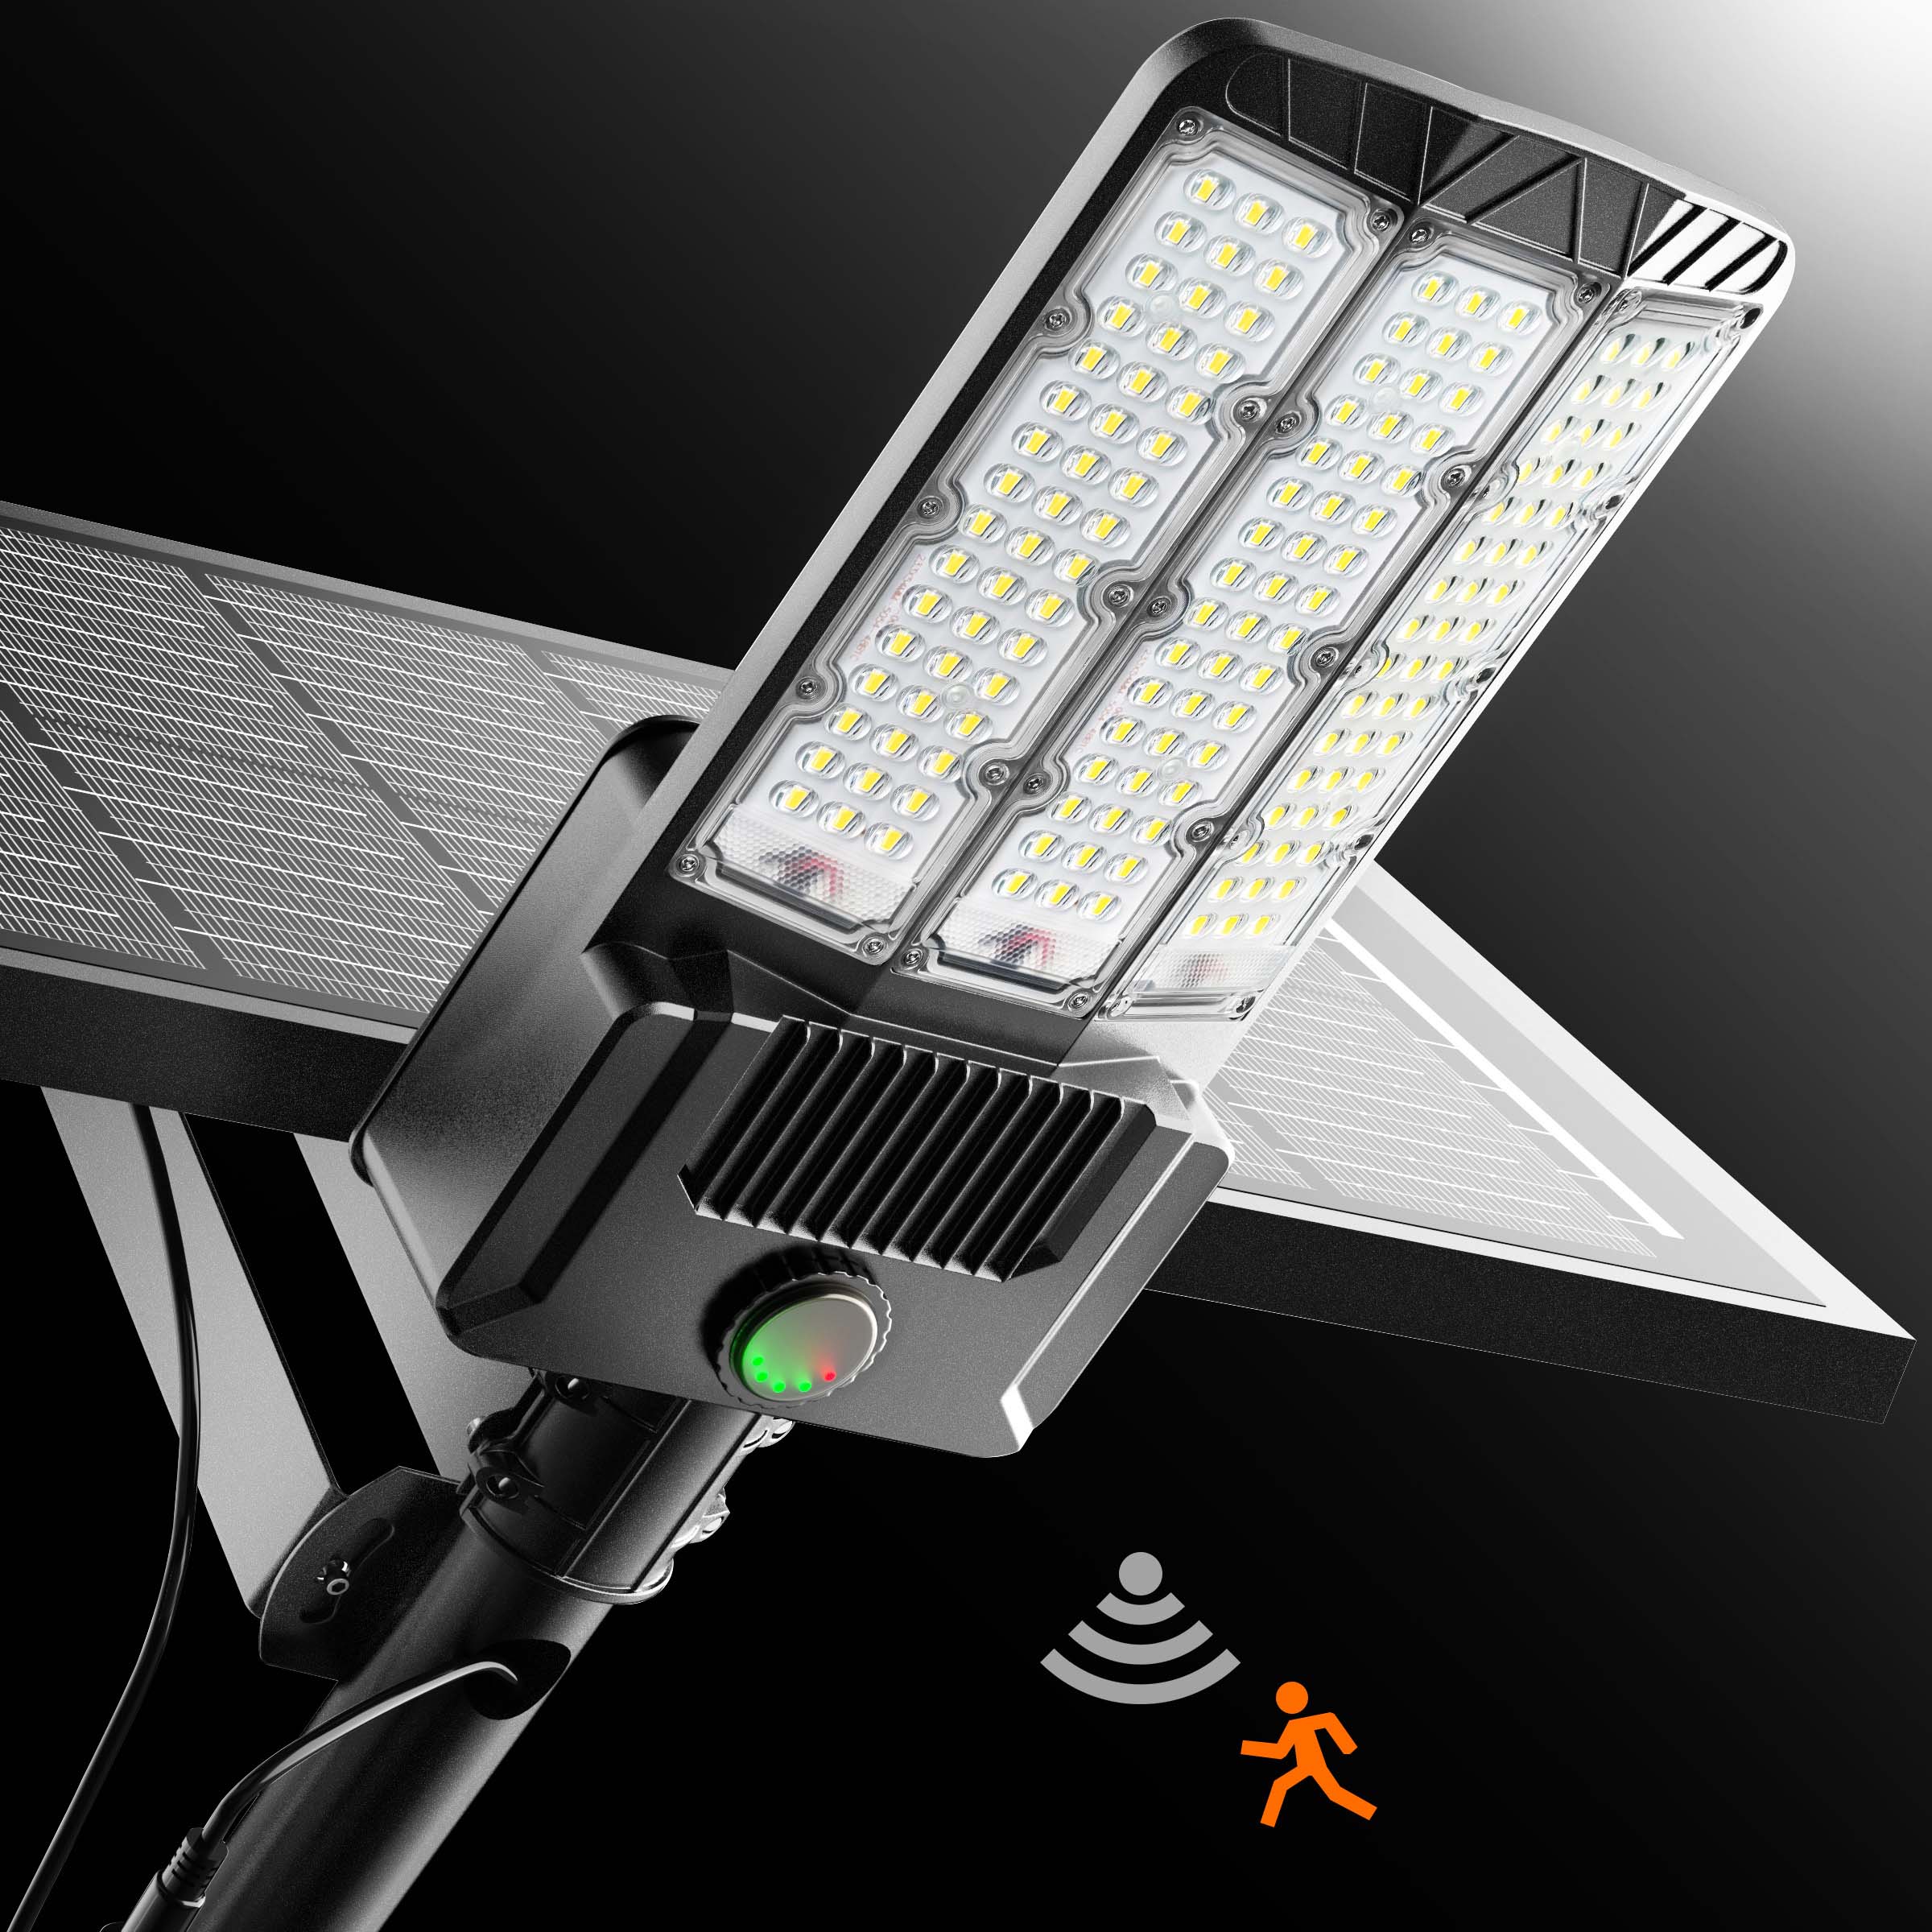
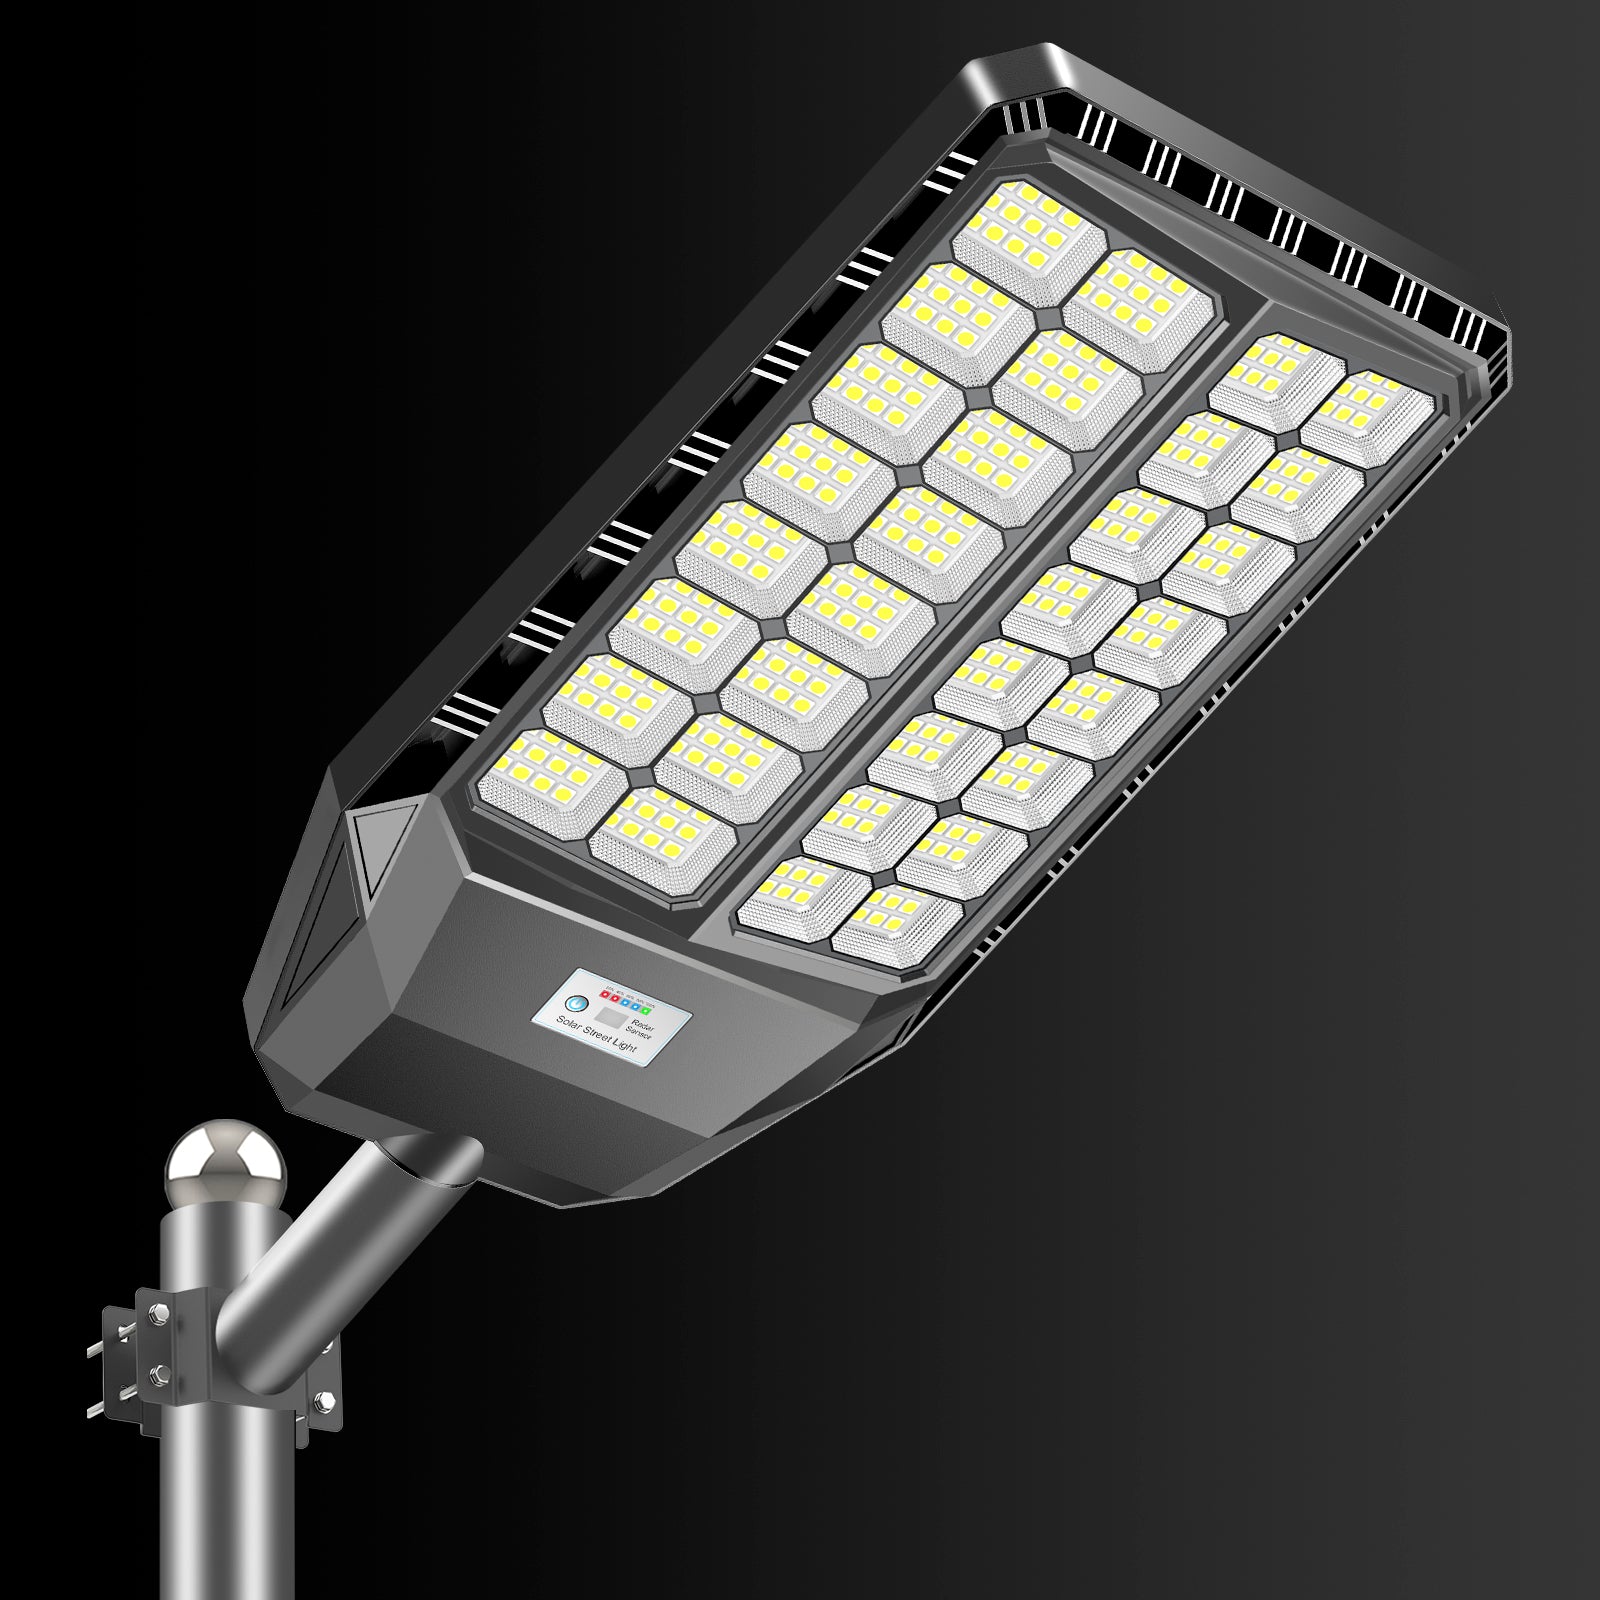
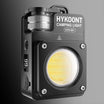
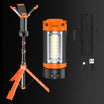
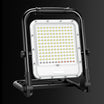
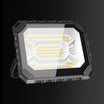
Opt for reputable brands and check customer reviews to ensure the quality and reliability of the LED bulbs. When considering the best options for outdoor lighting, the Hykoont outdoor LED flood lights stand out for their robust and durable materials. These lights utilize SMD LED chips, which provide higher luminous efficiency and enhanced brightness.

Section 4: Step-by-Step Tutorial - Replacing the LED Flood Light Bulb
Now that you have the right LED flood light bulb, let's go through the step-by-step process of replacing it.
4.1. Ensure Safety:
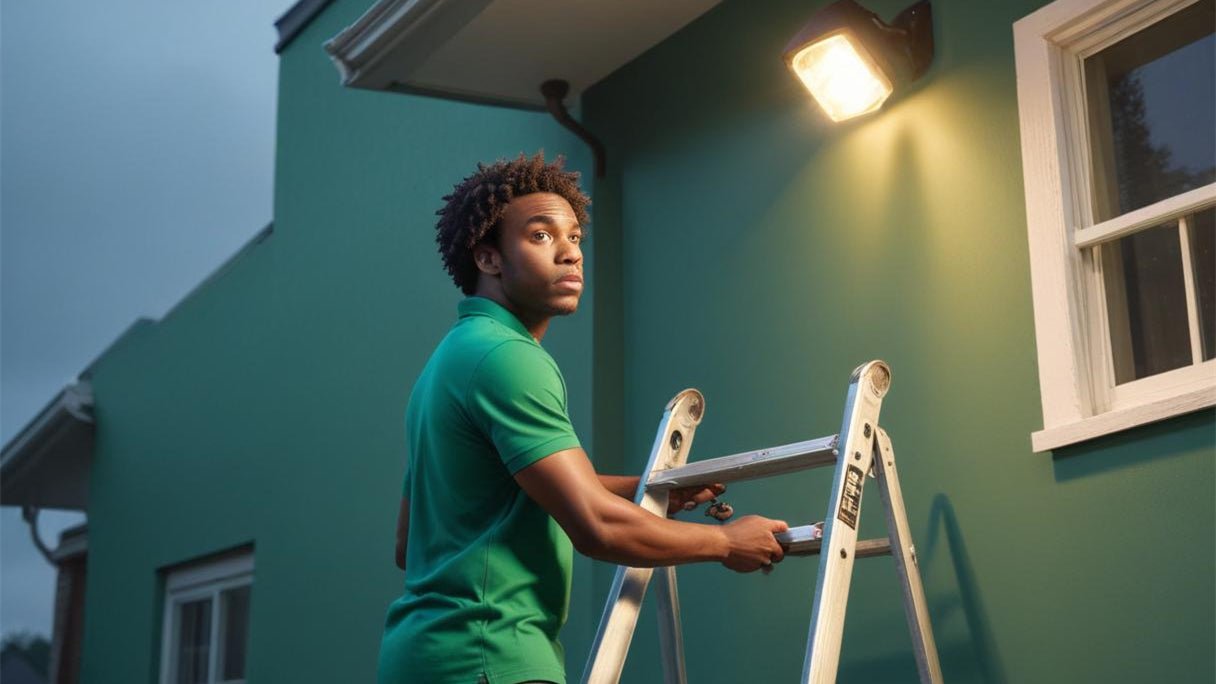
Before initiating the replacement process, prioritize safety by turning off the power to the floodlight at the main electrical panel. This step is crucial to prevent electrical shocks or accidents.
Wear appropriate safety gear, including gloves and safety glasses, to protect yourself from any potential hazards during the replacement.
4.2. Remove Old Bulb:
Gently unscrew and remove the existing bulb from the floodlight fixture. Hold the bulb by its base and turn it counterclockwise until it comes free.
Place the old bulb aside, taking care not to break it, as some bulbs may contain hazardous materials.
Inspect the socket for any signs of damage or corrosion. If you notice any issues, it's advisable to address them before installing the new LED bulb.
4.3. Install the New LED Bulb:
Take the new LED flood light bulb and align its base with the socket. Insert the bulb into the socket and turn it clockwise until it is securely in place.
Avoid overtightening, as this could damage the bulb or the socket. Make sure the bulb is snugly fitted to ensure proper electrical contact.
If the LED bulb has a directional beam (e.g., spot or flood), position it according to your lighting preferences before tightening.
4.4. Power On:
Once the new LED bulb is securely installed, return to the main electrical panel and switch the power back on.
Test the new LED bulb by turning on the floodlight. Ensure that it illuminates without flickering or any unusual behavior.
If the LED bulb fails to light up, double-check the installation, ensuring the bulb is correctly seated and the power is restored.
Take a moment to appreciate the improved efficiency and brightness provided by the new LED flood light bulb.

Section 5: Troubleshooting Tips
5.1. Bulb Flickering or Not Turning On:
If the LED bulb flickers or doesn't turn on, it may indicate compatibility issues with a dimmer switch. Check if your floodlight supports dimmable LED bulbs. If it does, ensure the dimmer is compatible with LED technology.
Confirm that the LED bulb is seated correctly in the socket. If issues persist, consider consulting with a professional electrician.
5.2. Inadequate Brightness:
If the brightness is insufficient, verify that the LED bulb's lumens match or exceed the recommended brightness for your floodlight. Choosing a higher lumen output may provide the desired illumination.
Ensure no obstructions or dirt on the bulb could reduce its light output.
5.3. Color Mismatch:
If there is a color temperature mismatch, check the Kelvin rating of the LED bulb. Select a bulb with a color temperature that aligns with your desired lighting ambiance.
Experiment with different color temperatures until you find the one that suits your preferences.

6. Conclusion:
Congratulations on successfully replacing your LED flood light bulb! Enjoy the enhanced energy efficiency, durability, and longevity that LED flood light bulbs bring to your outdoor lighting. The Hykoont waterproof outdoor LED flood lights stand out for their robust and durable materials. These lights utilize SMD LED chips, providing higher luminous efficiency and enhanced brightness. If you have any further questions or concerns, feel free to consult us!







Leave a comment
This site is protected by hCaptcha and the hCaptcha Privacy Policy and Terms of Service apply.