


Let's be honest: most garages are lit like a storage unit, not a workspace. A single overhead bulb, maybe a shop light dangling from a hook — and you're squinting at your brake rotor wondering if that's a crack or just a shadow.
If you do any kind of serious auto work — detailing, paint correction, mechanical inspection, or even just changing your own oil — lighting isn't a luxury. It's the difference between catching a problem and missing it entirely.
This guide is for people who actually use their garage. We'll walk through what specs matter, what's marketing fluff, and which lights are worth the money for real car work in 2026.
Why "Bright Enough" Isn't Good Enough for Auto Work
Here's something most lighting guides skip: lumens alone don't tell the whole story. You can have a 50,000-lumen fixture that still leaves your wheel wells in shadow because the light source is a single point overhead.
For car inspection and detailing, you need three things working together:
- High lumen output — enough raw brightness to flood the entire bay
- Wide, even distribution — no hot spots, no dark corners
- Accurate color rendering (CRI 90+) — so paint defects, rust, and fluid leaks show up as they actually are
Miss any one of these and you're working blind in some part of your inspection. That's how you miss a hairline crack in a rotor, a slow coolant seep, or a paint chip hiding under a panel gap.

The Shadow Problem — and Why It Matters More Than You Think
Shadows in a garage aren't just annoying. They're genuinely dangerous for mechanical work and expensive for detailing.
Think about where shadows form in a typical garage:
- Under the car (wheel wells, undercarriage, exhaust)
- Inside the engine bay (especially with a deep V8 or diesel)
- Along body panel edges and door jambs
- Behind suspension components
A single overhead fixture — even a bright one — creates directional light. Anything below the light plane casts a shadow. That's physics.
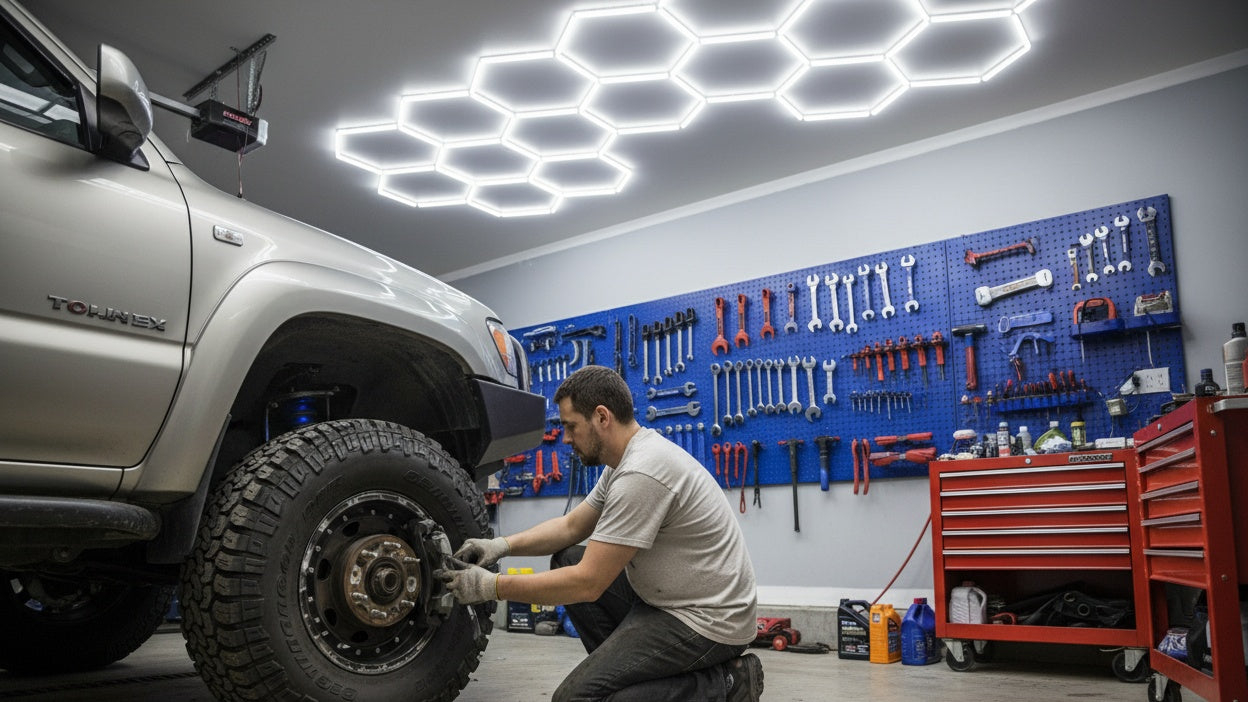
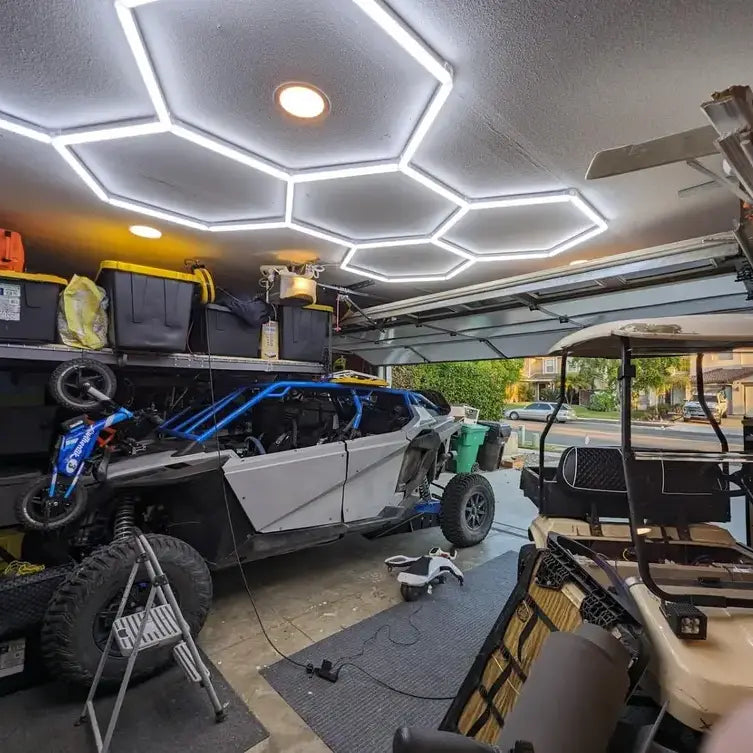
The fix isn't just "more lumens." It's multi-point, wide-angle light distribution that wraps around objects instead of casting hard shadows behind them. That's exactly what hexagon grid lighting systems do — and why they've become the go-to for serious home garages and professional detailing shops.

What to Look for in Garage Lights for Car Work
1. Lumens Per Square Foot
For general garage use, 50 lumens per square foot is the baseline. For detailed auto work, you want 100–150 lumens per square foot. A standard 2-car garage is roughly 400–500 sq ft, so you're looking at 40,000–75,000 lumens total for serious inspection work.
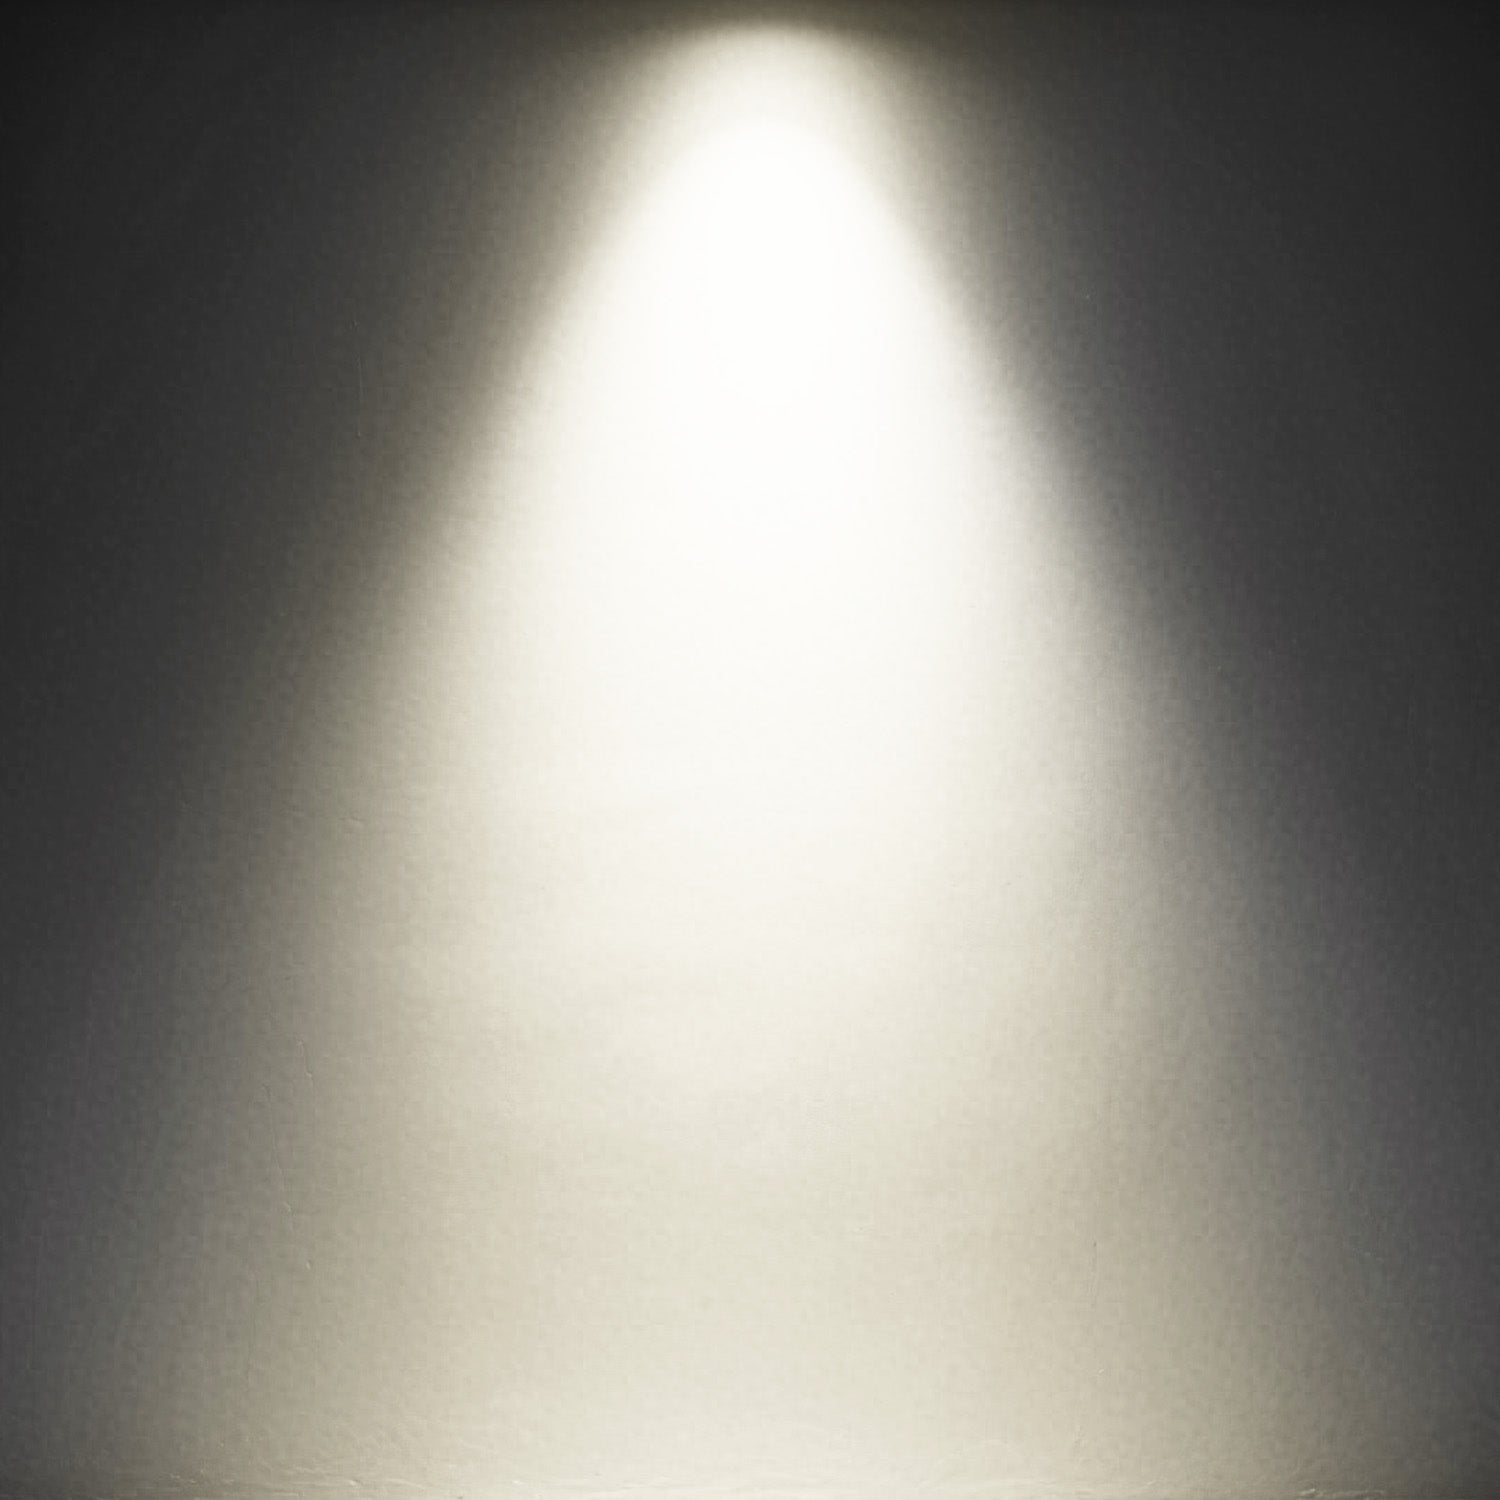
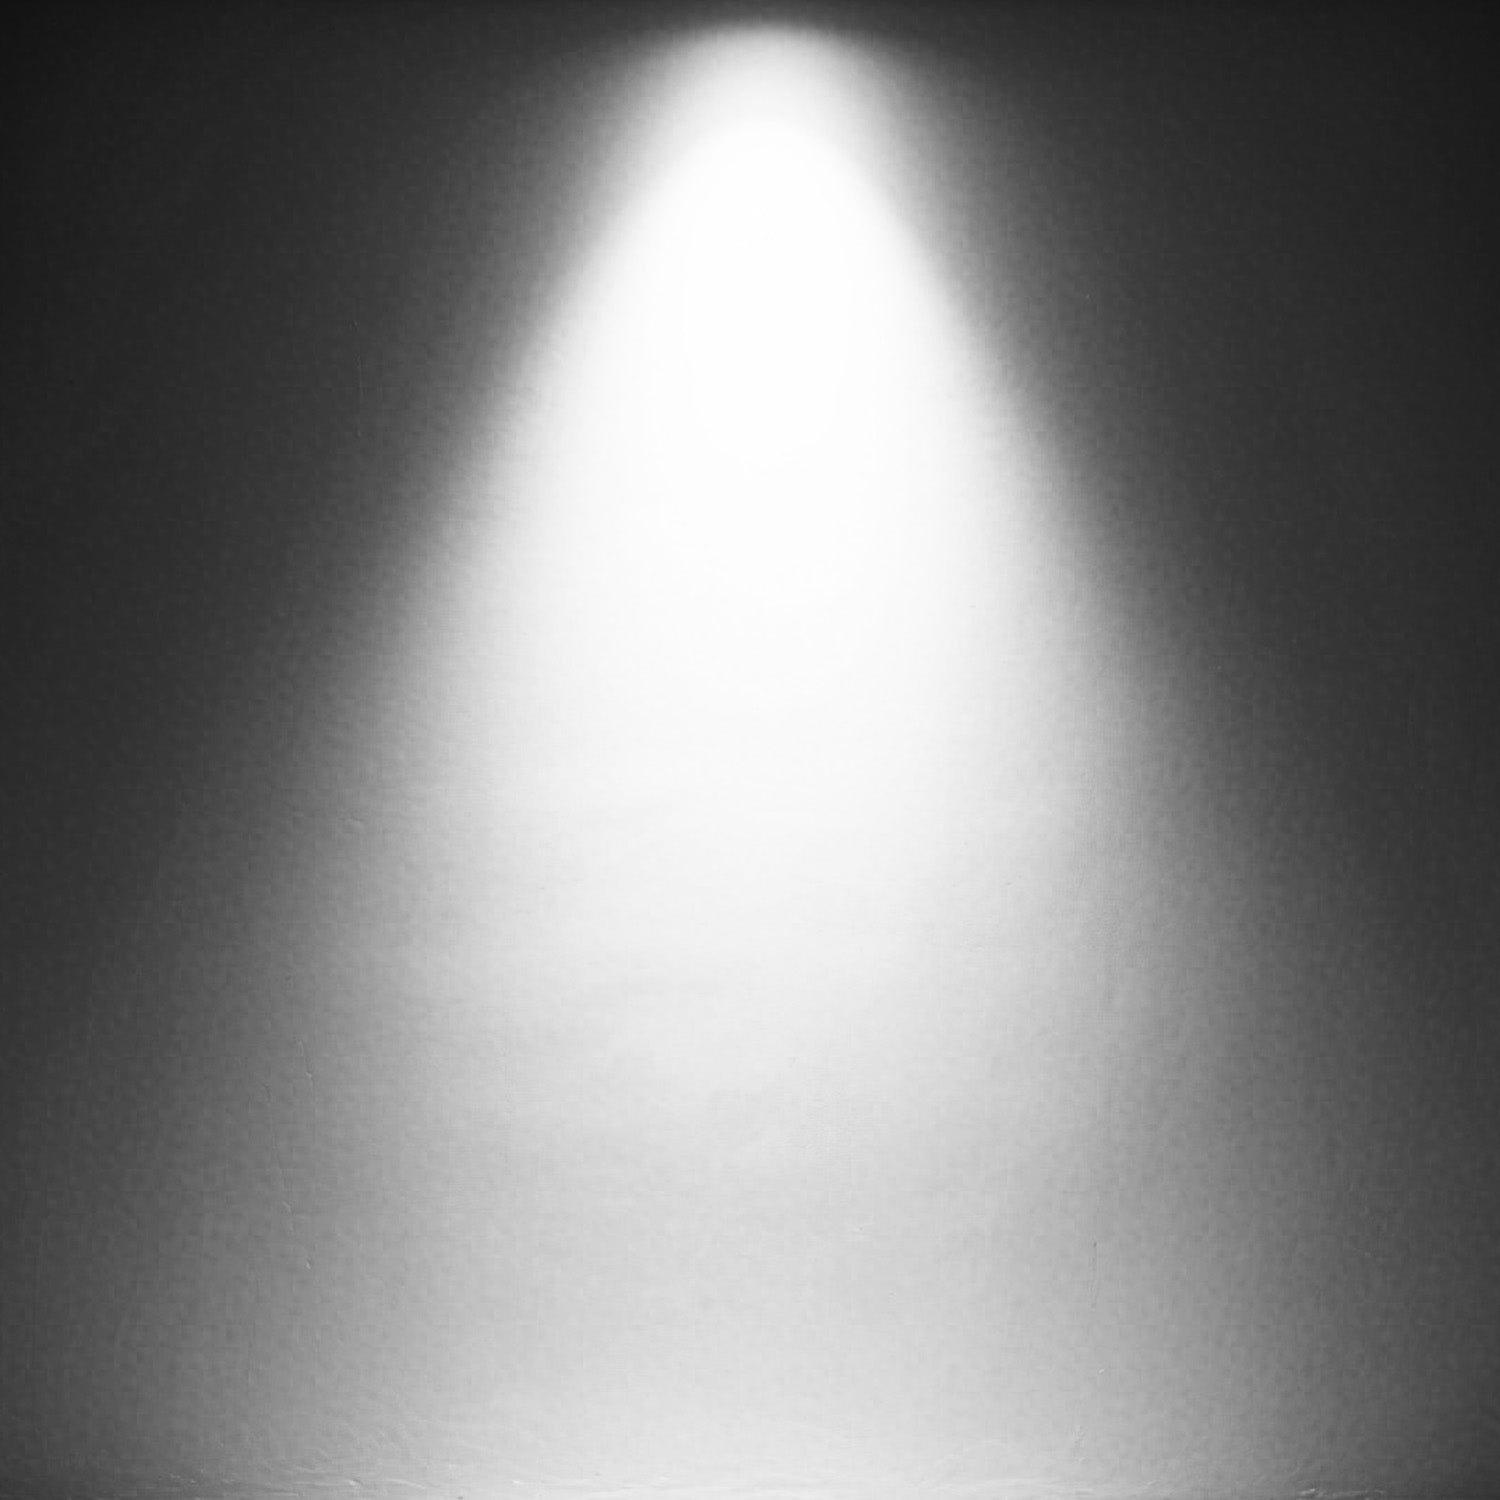
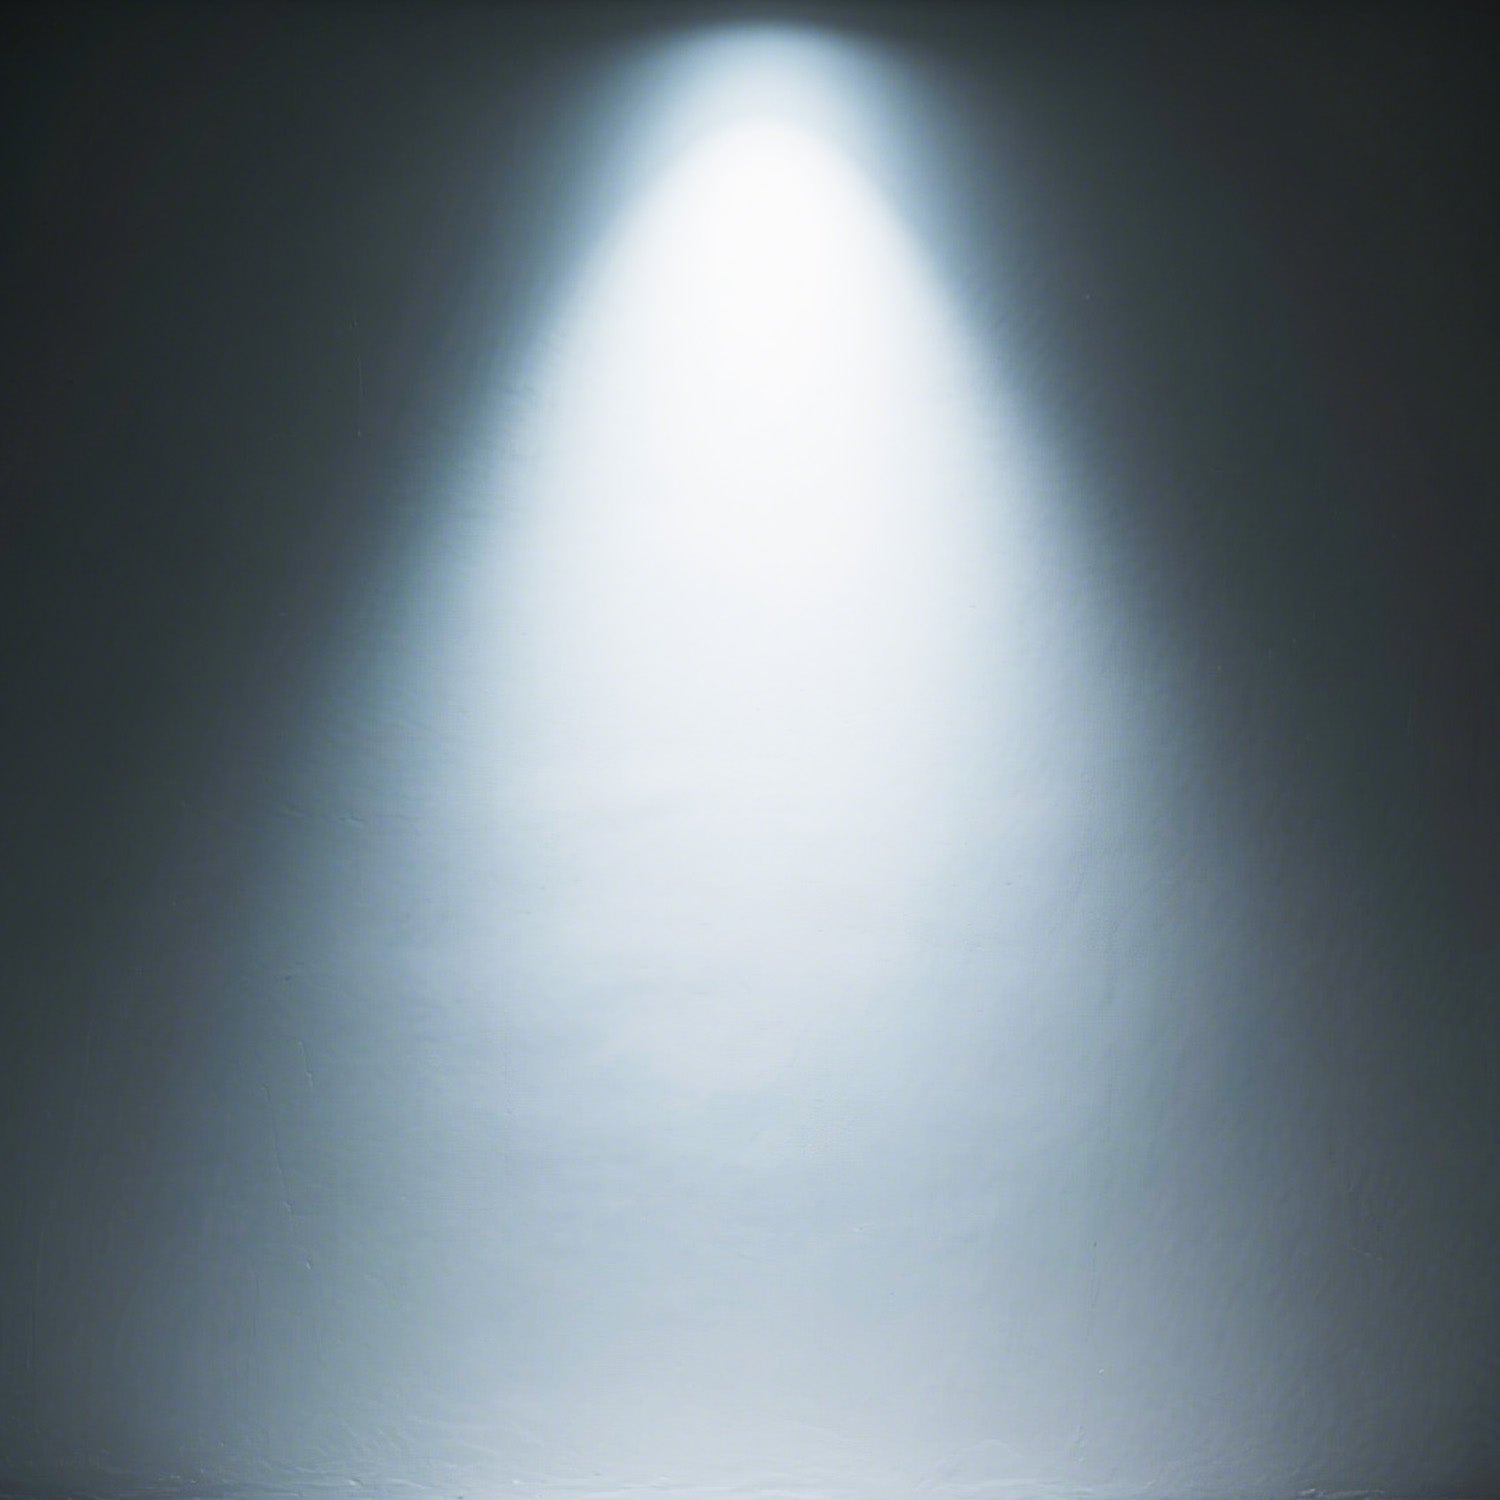
2. Color Temperature: 5000K–6500K
Daylight-range color temperature (5000K–6500K) is what you want for auto work. It mimics natural sunlight, which means:
- Paint colors look accurate (critical for color-matching touch-ups)
- Rust and corrosion show their true color
- Fluid leaks (oil, coolant, brake fluid) are easier to spot
- Swirl marks and paint defects pop under detailing inspection
Warm white (3000K) looks cozy in a living room. In a garage, it makes everything look slightly yellow and hides surface defects.
3. CRI (Color Rendering Index)
CRI measures how accurately a light source renders colors compared to natural sunlight (CRI 100). For auto work, aim for CRI 80 minimum, CRI 90+ preferred. Lower CRI lights can make a silver car look white, or hide a green coolant leak against a gray engine block.
4. Coverage Pattern
This is where fixture design matters. A single linear shop light throws a narrow beam. Hexagon grid systems — especially multi-panel configurations — distribute light in multiple directions simultaneously, dramatically reducing shadow formation.
5. Glare Control
Counterintuitively, too much direct glare makes inspection harder. You want bright, diffused light — not a light source that makes you squint when you look up. Frosted or diffused panels help here.

The Hexagon Grid Advantage for Garage Detailing
If you've spent any time in a professional detailing shop or a high-end home garage build, you've probably noticed the hexagon light panels on the ceiling. They're not just for aesthetics (though they do look sharp).
The geometry of hexagon panels allows them to tile seamlessly across a ceiling, creating a continuous light surface rather than isolated fixtures with gaps between them. The result is remarkably even illumination — the kind that makes paint correction work actually possible without a dedicated inspection light in every hand.
They're also modular. Start with a 5-panel setup for a single-car bay, expand to 11 or 14 panels for a full 2-car garage. You're not locked into a fixed configuration.
Hykoont Garage Lights: Real Specs, Real Prices
Here are the actual products we carry that are built for serious garage work — not just ambient lighting.
1. Hykoont 47,840LM LED Hexagon Garage Lights — 5-Grid or 11-Grid
Price: $99.00

This is the entry point into hexagon grid lighting — and it punches well above its price. The 11-grid configuration delivers 47,840 lumens across a wide, even spread that's genuinely impressive for a single-car or tight two-car bay.
What works for auto work:
- 6500K daylight color temperature — excellent for paint inspection
- Modular design: start with 5 panels, add more later
- Wide beam angle reduces shadow formation under hood and along body panels
- Easy ceiling mount — no electrician required for most installs
At $99, this is one of the most cost-effective ways to get real detailing-grade light into a home garage. If you're doing paint correction, this is where to start.
→ Shop Hexagon Lights (5 & 11 Grid) — $99
2. Hykoont 14-Grid + Frame 700W 73,920LM LED Hexagon Garage Lights
Price: $99.00 — Buy a 14-Grid, Get a Free 5-Grid

This is the serious setup. 73,920 lumens from a 14-grid configuration with a structural frame — this is what a professional detailing bay looks like. The included frame makes ceiling installation cleaner and more rigid, and the free 5-grid bonus means you can light a secondary area (a workbench, a storage bay, a lift area) without additional cost.
Why this works for full-bay inspection:
- 73,920 lumens is enough to flood a 2-car garage at 150+ lumens per sq ft
- The 14-panel spread creates a near-continuous ceiling light surface
- Frame mounting keeps panels aligned and prevents sagging over time
- Free 5-grid adds flexibility for a second zone
- 700W equivalent output at LED efficiency
If you're doing paint correction, ceramic coating prep, or full mechanical inspections on multiple vehicles, this is the configuration that eliminates the "I need to grab a flashlight" problem entirely.
→ Shop 14-Grid + Free 5-Grid Bundle — $99
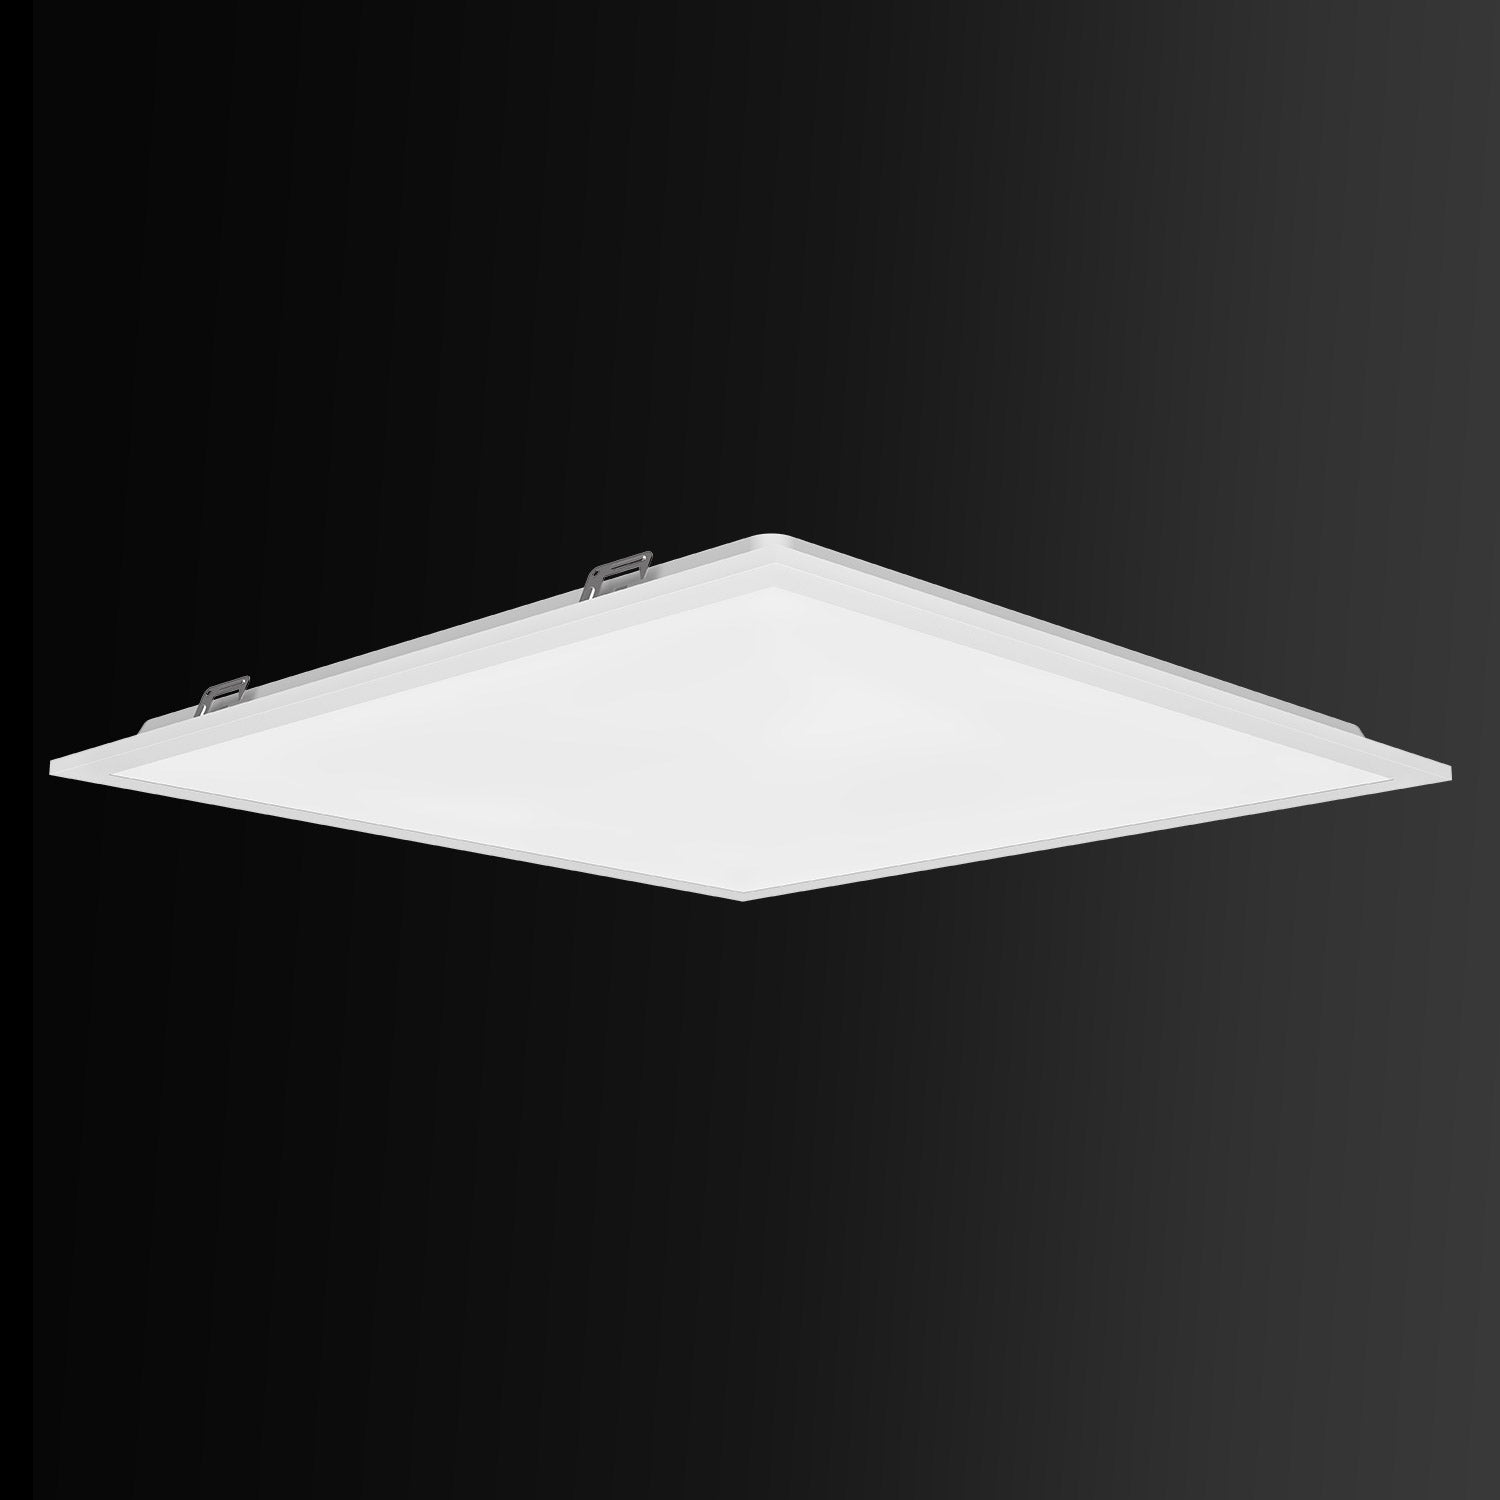
3. Hykoont GP04 Series Tunable LED Garage Canopy Light
Price: $139.00

The GP04 is a different animal — a tunable canopy-style fixture that lets you dial in color temperature on the fly. That's actually more useful for auto work than it sounds.
Why tunable color temperature matters:
- Use 6500K (cool daylight) for paint inspection and detailing — maximum defect visibility
- Drop to 4000K–5000K for general mechanical work — easier on the eyes during long sessions
- Warm down to 3000K for photography or video of finished work — better color balance on camera
If you document your builds, shoot before/after detailing content, or just want flexibility without buying multiple fixtures, the GP04's tunability is genuinely useful. The canopy form factor also works well in garages with lower ceilings where a hanging hexagon grid isn't practical.
→ Shop GP04 Tunable Canopy Light — $139
How to Plan Your Garage Lighting Layout
Before you buy anything, spend 10 minutes on layout. Here's a simple framework:
Step 1: Measure Your Bay
Standard single-car bay: ~10' x 20' = 200 sq ft
Standard two-car bay: ~20' x 20' = 400 sq ft
Deep single bay (truck/SUV): ~12' x 24' = 288 sq ft
Step 2: Calculate Target Lumens
For general garage use: sq ft × 50 lumens
For auto work and detailing: sq ft × 100–150 lumens
Example: 400 sq ft two-car garage for detailing = 40,000–60,000 lumens minimum
Step 3: Choose Your Configuration
- Single-car bay, general work: 5-grid hexagon (start here, expand later)
- Single-car bay, detailing: 11-grid hexagon
- Two-car bay, full inspection: 14-grid + 5-grid bonus (the bundle deal)
- Low ceiling or supplemental: GP04 canopy, wall-mounted or surface-mounted
Step 4: Plan Your Mounting Points
Hexagon grids mount to ceiling joists. Most garages have joists at 16" or 24" on center. The modular frames make it easier to hit multiple joists across a large grid. If you're not sure about your ceiling structure, a stud finder and 20 minutes of prep will save you a lot of headache on install day.

Installation: What's Actually Involved
Most people overthink garage light installation. Here's the honest breakdown:
What you need:
- A ladder (8' minimum for standard 9' ceilings)
- A drill and appropriate anchors for your ceiling type
- A wire connector or junction box if hardwiring
- About 2–3 hours for a full hexagon grid install
Plug-in vs. hardwired: Most hexagon systems come with a standard plug, which means you can be up and running in under an hour if you have an outlet near your ceiling. Hardwiring gives a cleaner look and is worth it if you're doing a permanent setup — but it's not required.
Daisy-chaining: Hexagon panels typically connect to each other with short cables, so you're running one power connection to the whole grid, not individual wires to each panel. Much simpler than it looks.
Real-World Use Cases: Who Actually Needs This Level of Lighting?
The Home Detailer
You're doing paint correction, clay bar work, or ceramic coating application. You need to see every swirl mark, every water spot, every panel edge. Overhead hexagon lighting at 6500K is the closest thing to a professional detailing booth you can get in a home garage. The 11-grid or 14-grid setup is what you want here.
The DIY Mechanic
You're doing your own brakes, suspension, oil changes, and the occasional engine job. You need to see into wheel wells, under the car, and inside the engine bay without a flashlight in every hand. High-lumen, wide-distribution lighting cuts your job time and reduces mistakes. The 5-grid is a solid start; the 11-grid is better.
The Pre-Purchase Inspector
You're buying used cars and want to do a thorough inspection before committing. Good lighting reveals rust, accident repair, fluid leaks, and paint overspray that you'd completely miss under a dim overhead bulb. This is one of the highest-ROI uses of good garage lighting — one caught problem pays for the lights.
The Photographer/Content Creator
You're shooting car content — builds, reviews, detailing before/afters. The GP04's tunable color temperature is your friend here. Dial in the right Kelvin for your camera's white balance and get consistent, professional-looking shots without a separate photography lighting setup.
The Small Shop Owner
You're running a small detailing operation, a mobile mechanic setup, or a specialty repair shop out of a commercial bay. The 14-grid bundle gives you professional-grade illumination at a fraction of what commercial lighting typically costs. And the free 5-grid bonus covers a secondary work area.
Energy Cost: What Does It Actually Cost to Run These Lights?
LED efficiency means the operating cost is lower than you'd expect. Here's a quick breakdown based on average US electricity rates (~$0.16/kWh in 2026):
| Fixture | Actual Wattage | Cost/Hour | Cost/Month (4 hrs/day) |
|---|---|---|---|
| 5-Grid Hexagon | ~150W | $0.024 | ~$2.88 |
| 11-Grid Hexagon | ~300W | $0.048 | ~$5.76 |
| 14-Grid + 5-Grid | ~700W total | $0.112 | ~$13.44 |
| GP04 Canopy | ~100W | $0.016 | ~$1.92 |
Even the largest setup costs less than $15/month to run at typical garage usage. Compare that to the cost of missing a brake issue or a paint defect — the math is easy.
Comparing Hexagon Grid vs. Traditional Shop Lights
| Feature | Hexagon Grid | Traditional Shop Light |
|---|---|---|
| Shadow formation | Minimal (multi-directional) | High (single-direction) |
| Coverage evenness | Excellent | Moderate (hot spots) |
| Scalability | Modular, add panels | Add more fixtures |
| Aesthetics | Clean, professional | Industrial/utilitarian |
| Install complexity | Moderate (1 power run) | Simple (chain/plug) |
| Cost per lumen | Very competitive | Low upfront, less efficient |
Quick Picks by Use Case
- Best for paint correction & detailing: 14-Grid + Free 5-Grid Bundle ($99) — maximum lumen coverage, near-zero shadows
- Best starter setup: 5/11-Grid Hexagon ($99) — scalable, affordable, solid for single-bay work
- Best for content creators & photographers: GP04 Tunable Canopy ($139) — adjustable color temp for camera-accurate shots
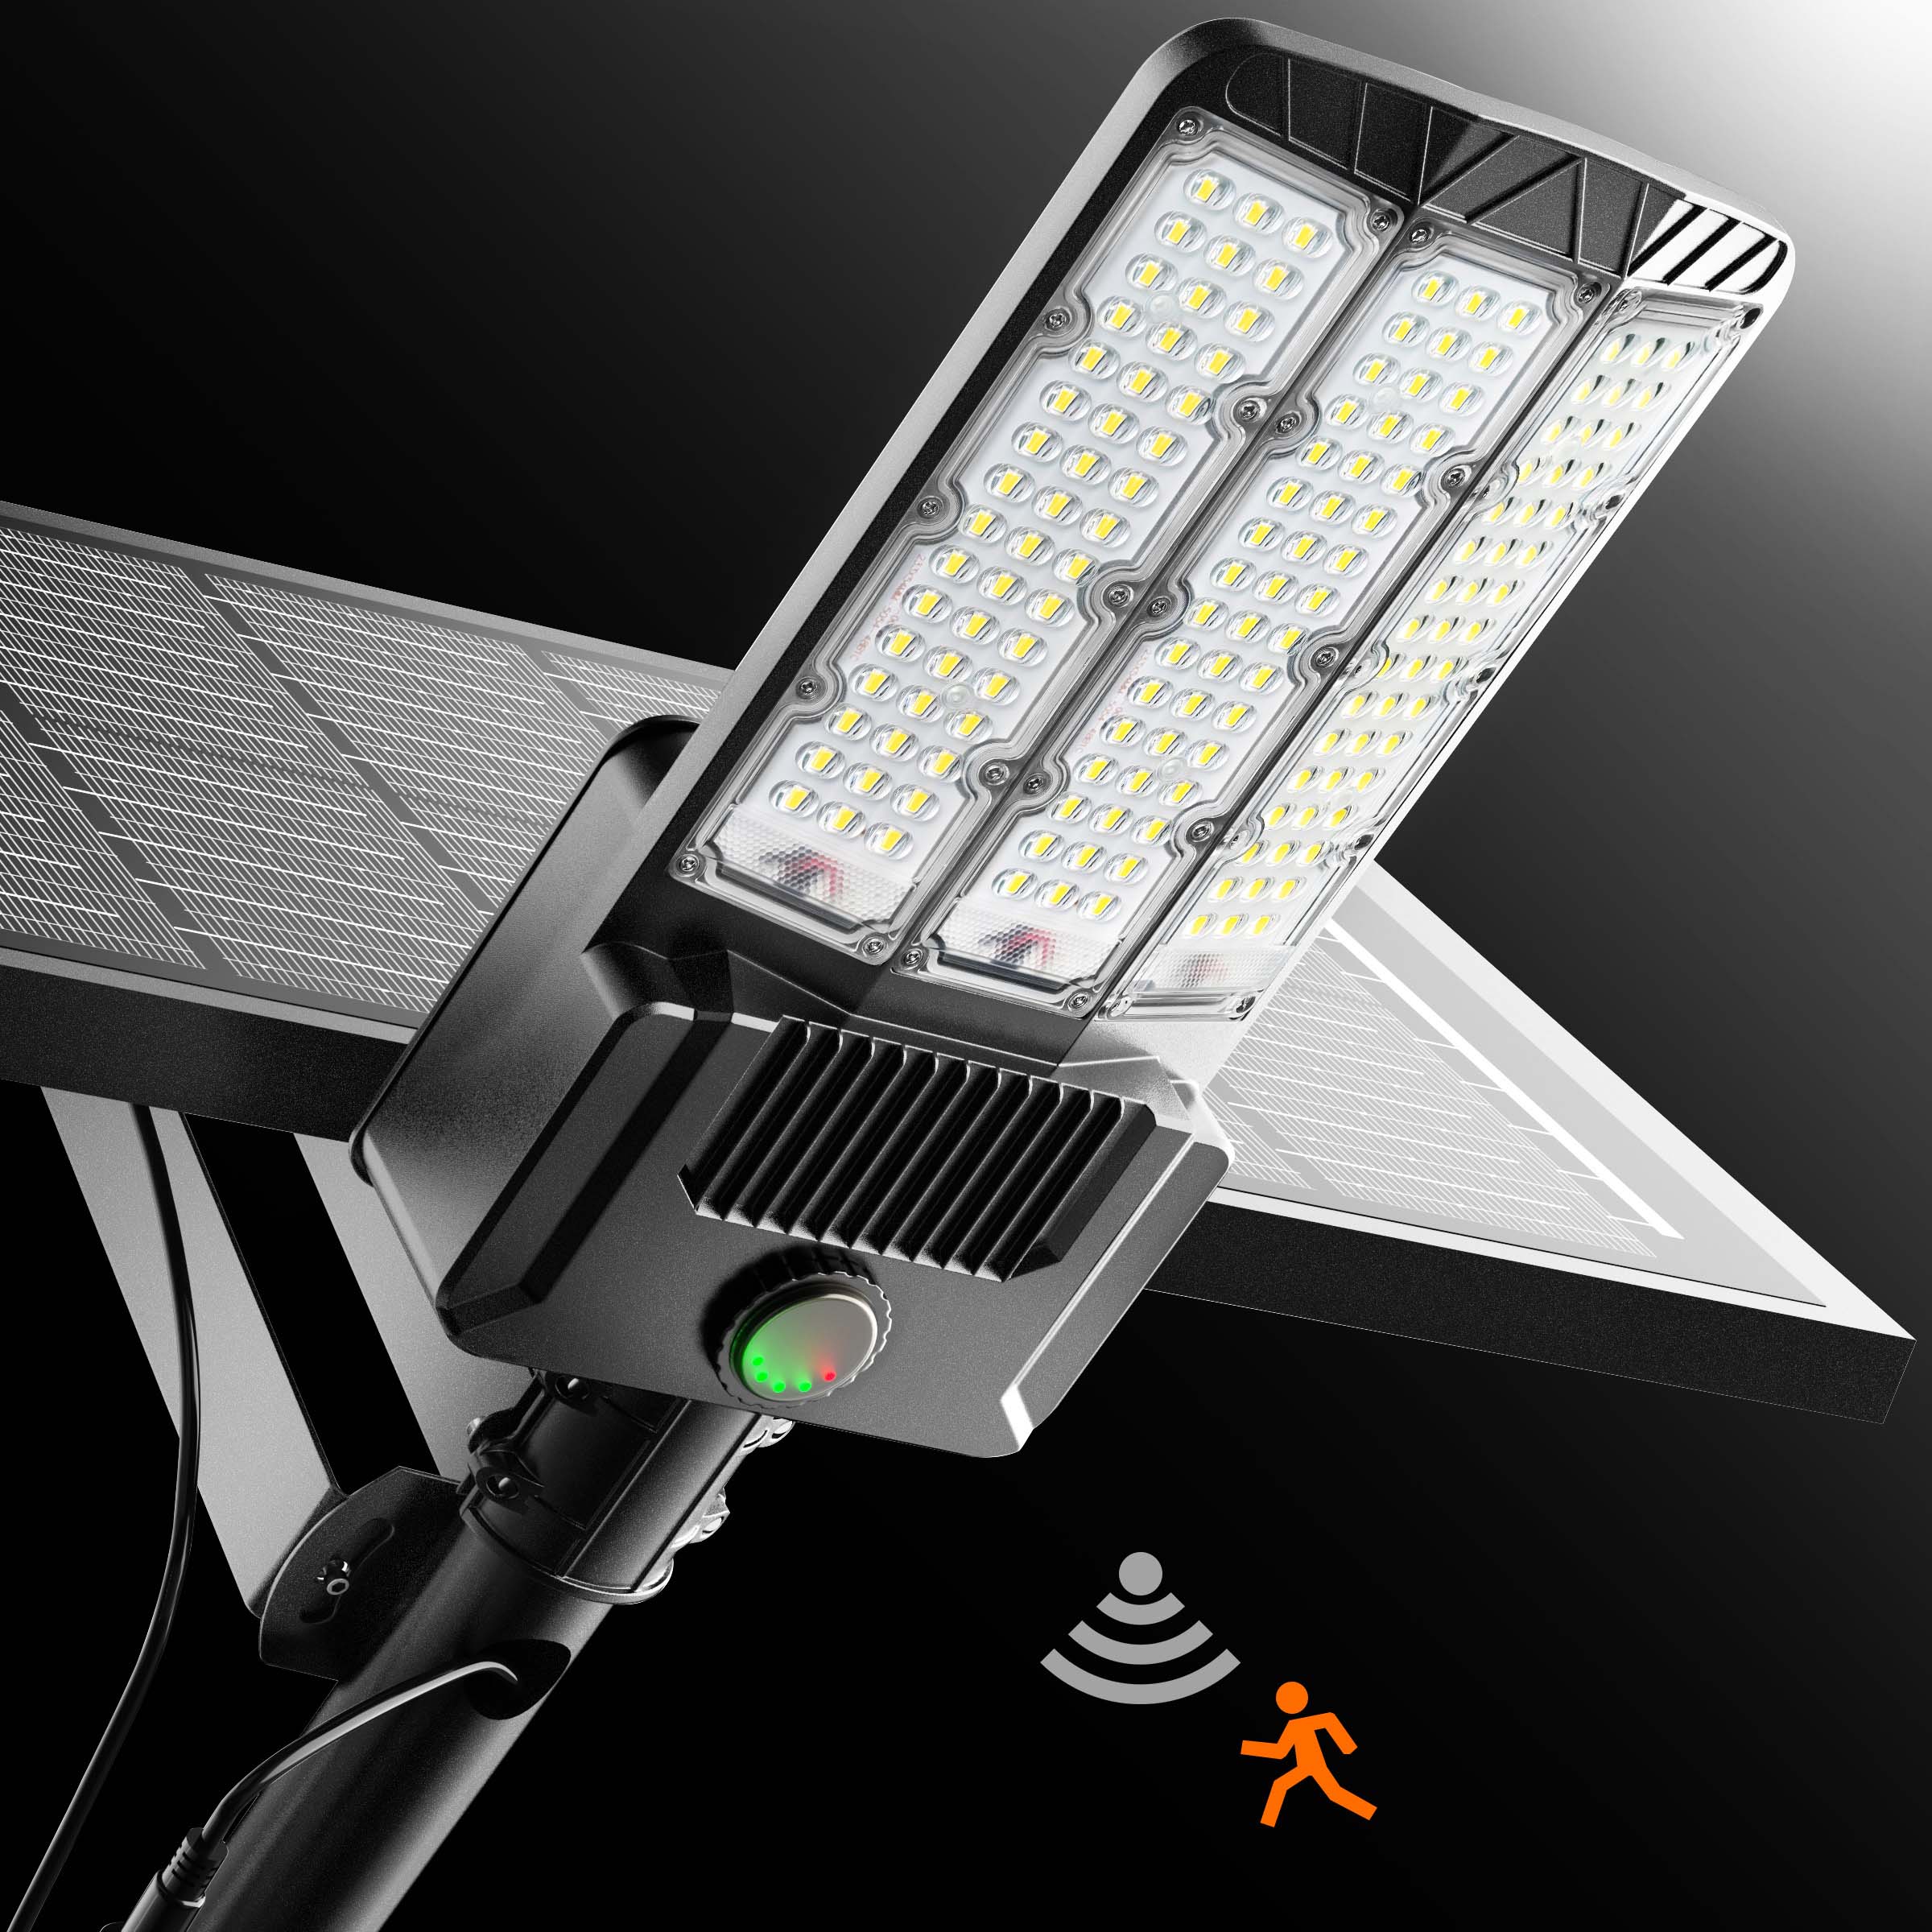
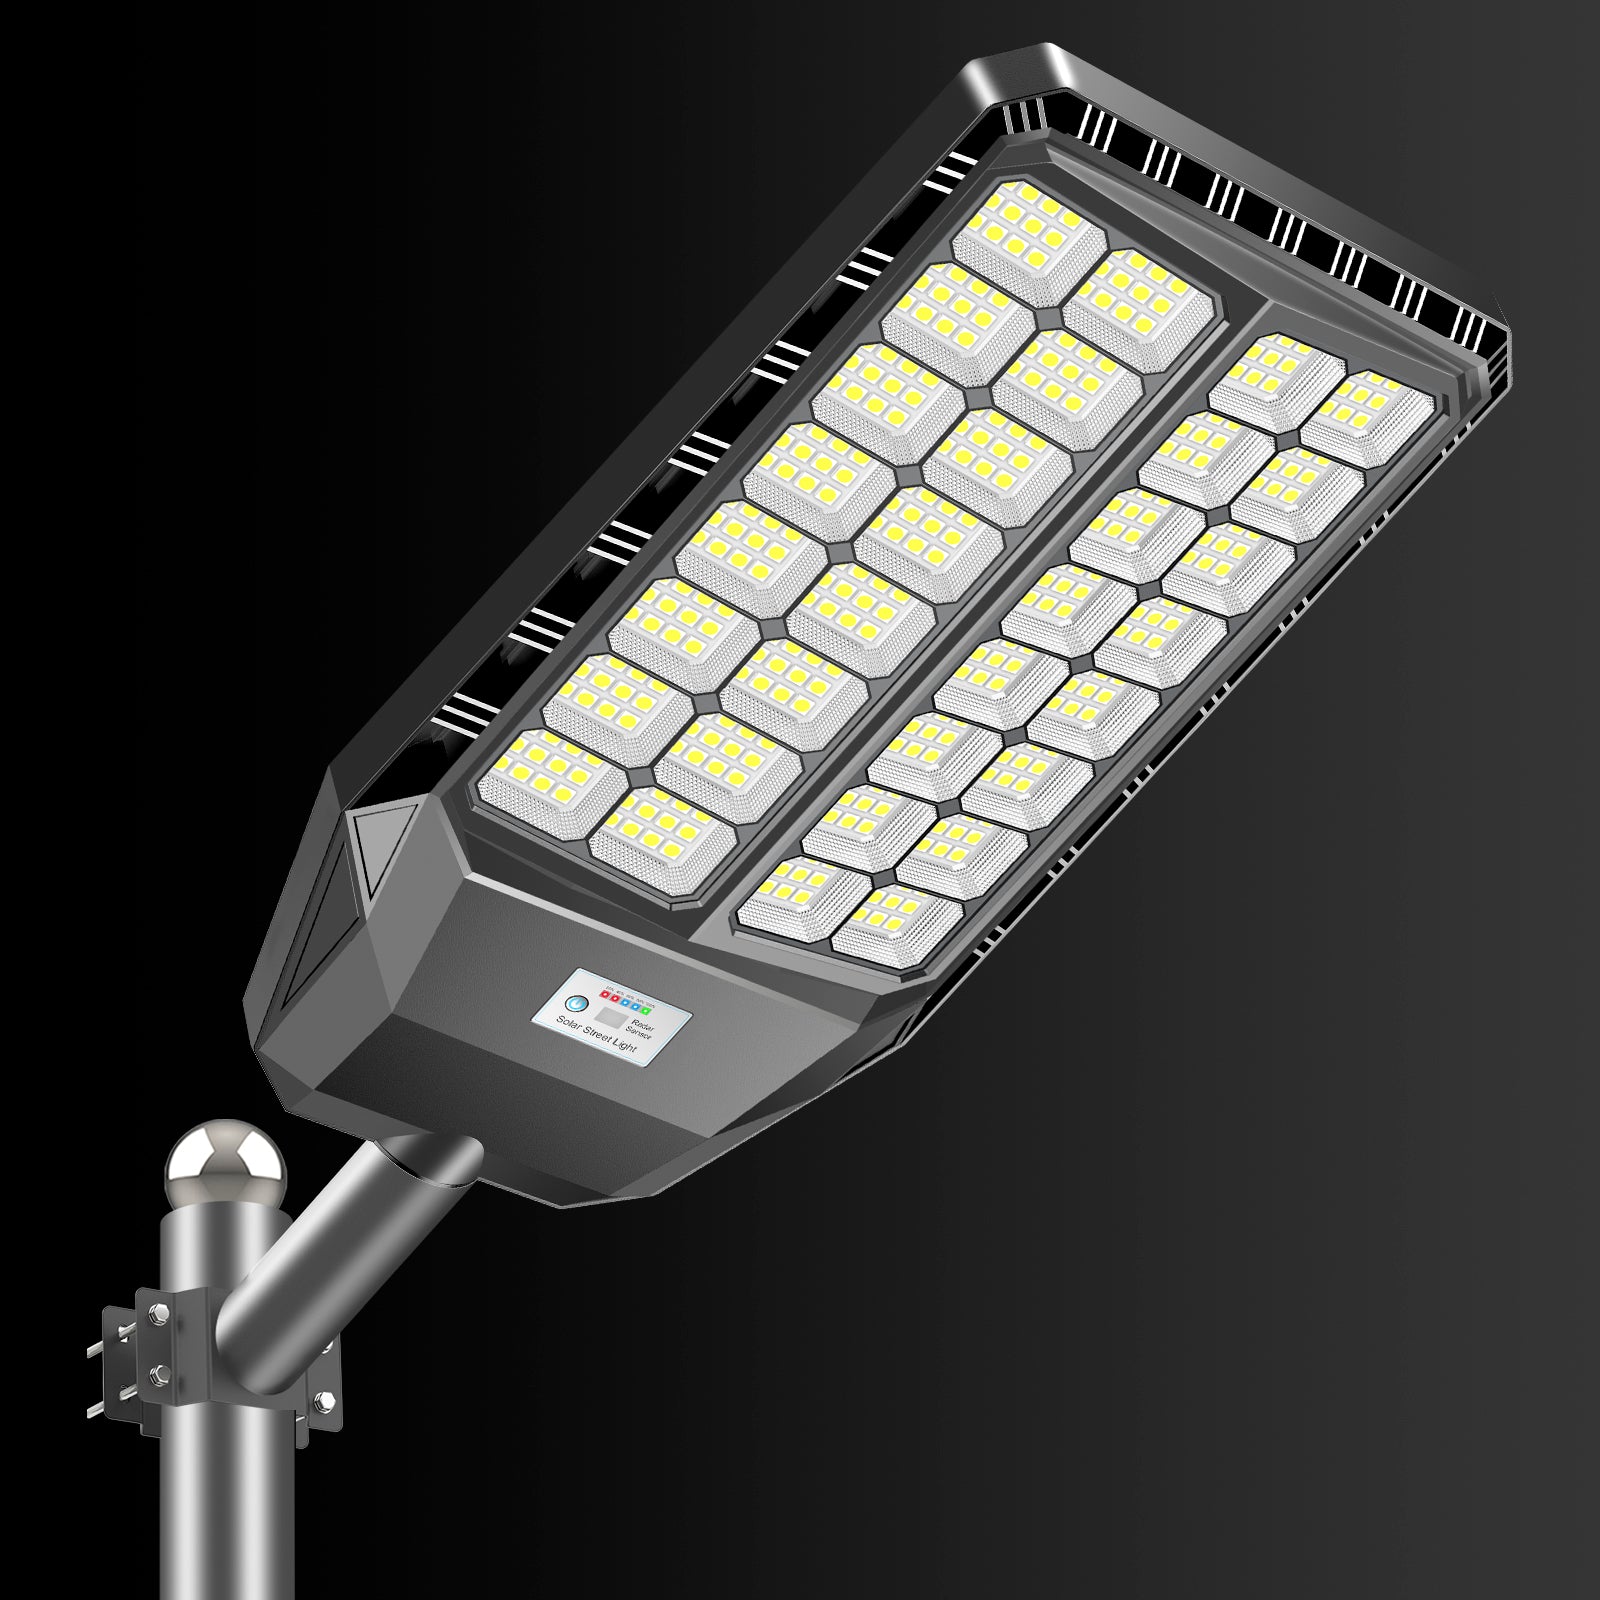
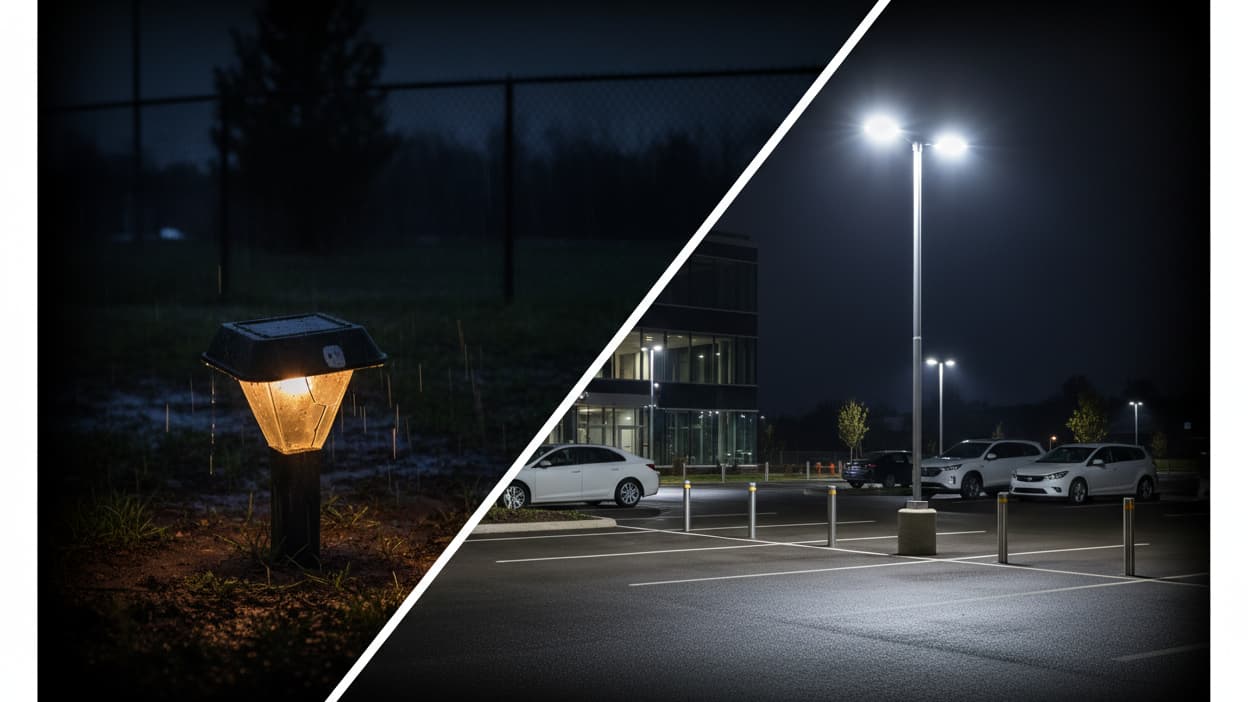
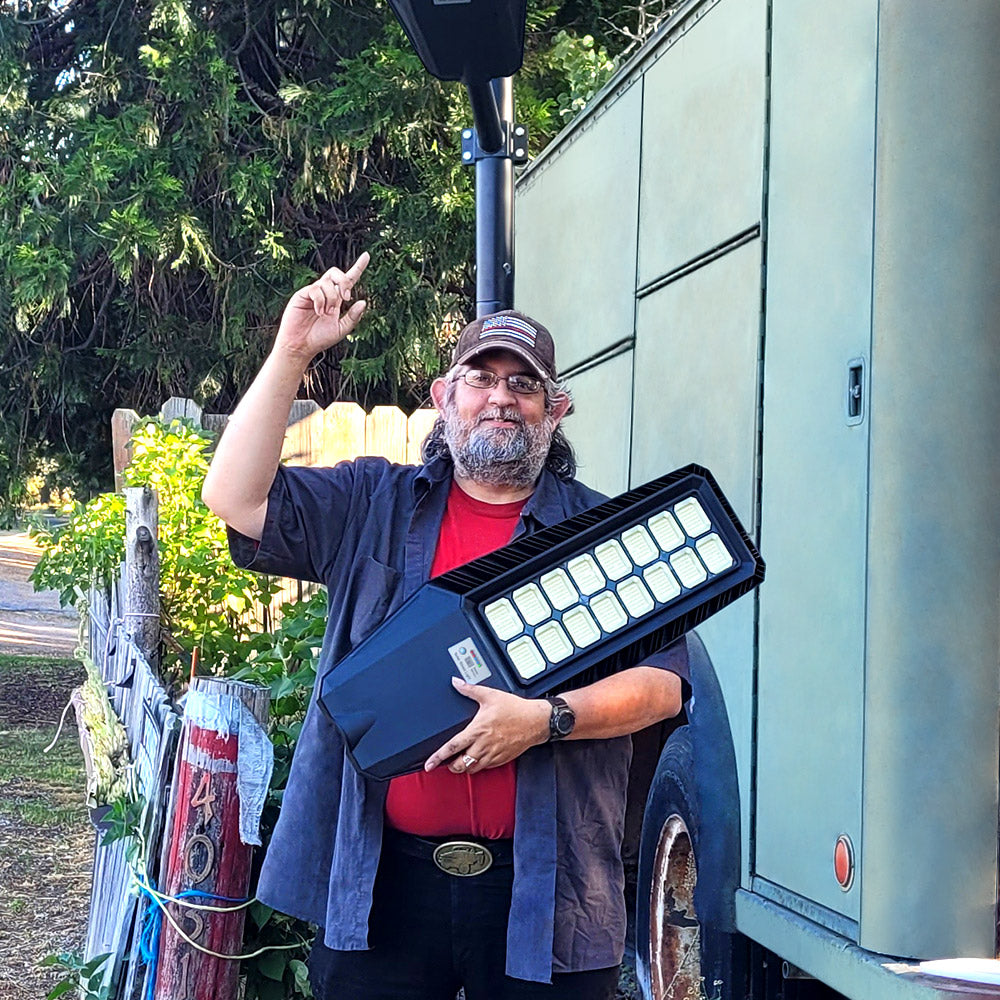
- Best for outdoor/covered bays: BM027 Solar Street Light ($169) — IP66-rated, no wiring needed for covered outdoor bays
Frequently Asked Questions
Q: How many lumens do I actually need for car detailing in a garage?
A: For serious paint correction and detailing work, aim for 100–150 lumens per square foot. A standard single-car bay (200 sq ft) needs 20,000–30,000 lumens minimum. A two-car bay (400 sq ft) needs 40,000–60,000 lumens. The 11-grid hexagon at 47,840 lumens covers a single bay well; the 14-grid at 73,920 lumens handles a full two-car setup.
Q: What color temperature is best for spotting paint defects and swirl marks?
A: 6000K–6500K (cool daylight) is the sweet spot for paint inspection. It's close to natural outdoor sunlight, which is what your eyes are calibrated to for color accuracy. Warmer temperatures (3000K–4000K) make surfaces look uniform and hide surface defects. If you want flexibility, the GP04's tunable range lets you switch between inspection mode and general work mode.
Q: Will hexagon lights work in a garage with a 8-foot ceiling?
A: Yes. Most hexagon grid systems are designed to mount flush or semi-flush to the ceiling, so ceiling height isn't a major constraint. The main consideration is that lower ceilings mean the light source is closer to your work surface, which can actually increase effective illumination. Just make sure your mounting hardware is rated for your ceiling type (drywall, wood, concrete).
Q: Can I install these myself, or do I need an electrician?
A: Most hexagon garage lights come with a standard 120V plug, so if you have a ceiling outlet or can run an extension cord safely, you can install them yourself in a couple of hours. If you want a hardwired installation (no visible cord), that's where an electrician is worth the call — but it's optional, not required.
Q: Are these lights bright enough to replace a dedicated inspection light?
A: For overhead and general inspection, yes — a properly configured hexagon grid eliminates most of the situations where you'd reach for a handheld inspection light. For very tight spaces (deep inside an engine bay, under a car on a low jack) you'll still want a small LED work light. But the number of times you need it drops dramatically with good overhead lighting.
Q: What's the difference between the 5-grid and 11-grid hexagon configurations?
A: The 5-grid is a smaller array — good for a single-car bay or a supplemental lighting zone. The 11-grid covers significantly more ceiling area and delivers nearly double the lumens, making it the better choice for a full single-car detailing setup or a tight two-car bay. Both use the same panels, so you can start with 5 and expand to 11 later if the system supports it.
Q: Do LED garage lights get hot? Is there a fire risk?
A: LED fixtures run much cooler than fluorescent or incandescent alternatives. They do generate some heat at the driver/heatsink, but surface temperatures are well within safe limits for garage environments. There's no meaningful fire risk from properly installed LED fixtures. Just make sure you're not blocking ventilation on the fixture housing.
Q: How long do these lights last?
A: Quality LED fixtures are rated for 50,000+ hours. At 4 hours of daily use, that's over 34 years of rated lifespan. In practice, you'll likely upgrade your garage before the lights fail. The bigger variable is the driver (the electronics that power the LEDs) — quality drivers are what separate long-lasting fixtures from ones that fail in 2–3 years.
Q: Can I use these lights for a detached garage or workshop without existing wiring?
A: If your detached garage has no electrical service, the BM027 Solar Street Light is worth considering for exterior or covered-bay lighting — it's completely self-powered with no wiring required. For interior lighting in an unwired space, you'd need to run electrical service first, which is a separate project. Solar-powered interior lighting isn't practical at the lumen levels needed for auto work.
Q: What's the return on investment for upgrading garage lighting?
A: It's hard to put a precise number on it, but consider: a single missed brake issue caught during inspection can save $500–$2,000 in repair costs (or worse, an accident). A paint defect caught before a ceramic coating application saves the cost of a full correction afterward. For anyone doing their own mechanical work or detailing, good lighting pays for itself quickly. The fixtures here range from $99–$169 — that's a one-time cost with a 30+ year lifespan.
Bottom Line
If you're doing real auto work — detailing, inspection, mechanical repairs — your garage lighting is either helping you or working against you. There's not much middle ground.
The good news: getting to professional-grade illumination doesn't require a professional-grade budget. The hexagon grid systems here deliver the kind of shadow-free, color-accurate light that used to be exclusive to commercial shops, at prices that make sense for a home garage.
Start with what fits your bay and your budget. The 5/11-grid at $99 is a solid entry point. The 14-grid bundle at $99 (with the free 5-grid) is the best value if you have the ceiling space. The GP04 at $139 is the right call if you want tunable color temperature or have a lower ceiling.
Any of them will make you wonder how you ever worked under your old lighting.
Shop Hexagon Lights — From $99 Shop GP04 Tunable Canopy — $139


Leave a comment
This site is protected by hCaptcha and the hCaptcha Privacy Policy and Terms of Service apply.