





Every property manager asks this question a slightly different way, but it always boils down to the same thing: "I've got a 100-car lot, how many poles do I actually need, and what's this going to cost me?" It's a fair question, and it's also one that a lot of solar lighting suppliers dodge, because the honest answer is "it depends" — but it depends on specific, calculable things, not vague hand-waving. Let's actually run the numbers instead of guessing.
A 100-car parking lot isn't a fixed size. Depending on your stall dimensions, drive aisle width, and layout efficiency, a 100-space lot typically runs somewhere between 30,000 and 35,000 square feet — call it 0.7 to 0.8 acres for standard 9x18 stalls with two-way traffic aisles. That range matters, because pole count is really a function of square footage and desired light levels, not a headcount of parking spaces.
The short answer, then the real math
For a typical 100-car lot at standard commercial brightness (around 1-2 foot-candles average, which is the range most municipal codes and insurance carriers expect for a retail or general-purpose lot), you're usually looking at 6 to 10 solar street light poles, depending on the wattage you pick and how you lay out the perimeter versus interior rows. Fewer, higher-output fixtures can cover the same area as more numerous lower-wattage ones — which is really a budget and pole-spacing decision, not a lighting-quality one, as long as you hit the same footcandle target.
Here's how that range gets calculated properly, instead of pulled out of thin air.
Step 1: know your actual square footage
Don't estimate this — pull it from your site plan or measure it. A rough shortcut: multiply the number of stalls by roughly 300-330 square feet per space when 90-degree parking with standard aisles is used (this accounts for the stall itself plus its share of the drive aisle and end islands). For 100 stalls, that lands you at roughly 30,000-33,000 square feet, which is the number we'll use going forward. If your lot uses angled parking or has unusual dead space, adjust up a bit — angled layouts are less space-efficient per car.
Step 2: pick your target light level
This is where a lot of buyers get it wrong by assuming "brighter is always better." Commercial parking lots generally fall into a few tiers based on use case and local code:
- Low-activity lots (church parking, small offices, secondary employee lots): 0.5-1.0 average foot-candles is usually sufficient and code-compliant.
- General retail and standard commercial lots: 1.0-2.0 average foot-candles is the common target, and it's what most municipalities default to when no specific code applies.
- High-security or high-traffic lots (large retail anchors, apartment complexes, transit lots): 2.0-3.0+ average foot-candles, sometimes with a documented minimum-to-maximum uniformity ratio required by the property's insurance carrier.
If you don't know which tier applies to your property, check with your local planning department or your insurance policy's lighting requirements before ordering anything — it's a five-minute phone call that can save you from under-lighting a lot and getting flagged during an inspection.
Step 3: match fixture output to spacing, not the other way around
Here's the part that trips people up. Pole spacing and fixture wattage are linked — you can't pick one without the other. A rough industry rule of thumb for pole-mounted area lighting at a standard 20-25 foot mounting height:
- A 60-80W fixture (roughly 9,600-12,800 lumens) comfortably covers a spacing radius of about 40-50 feet between poles for general commercial lighting levels.
- A 100W fixture (roughly 15,000-18,000 lumens) extends that comfortable spacing to about 55-70 feet.
- A 200W fixture (roughly 25,000-30,000+ lumens) can push spacing out to 80-100+ feet, which is where you start seeing real pole-count savings on bigger lots, since fewer total poles are needed to cover the same footprint.
For our example 30,000-32,000 sq ft lot, laid out as a rough rectangle (say, roughly 150 x 210 feet, which is a realistic shape for a 100-car lot with a center row), you'd typically place poles along the perimeter and down the center island. Using 100W fixtures with roughly 60-foot effective spacing, that comes out to about 8-9 poles to get even coverage without dark corners. Step up to 200W fixtures and you can often do the same lot with 6 poles, trading fixture cost for pole count.

Working example: two ways to light the same 100-car lot
Option A — more poles, lower wattage per pole. Nine poles using a 100W fixture like the HY100 gets you even, reliable coverage across the lot, with more redundancy (if one fixture underperforms on a cloudy stretch, you've got eight others carrying the load, and the dark spot is smaller and more localized).
Option B — fewer poles, higher wattage per pole. Six poles using a 200W fixture like the HY120 covers the same square footage with fewer total installation points — less trenching if you're running any wiring for accessory equipment, fewer footings to pour, and less long-term maintenance surface area (fewer poles to inspect, fewer possible points of failure).
Which one's "better" really comes down to your budget structure and whether you value more redundancy or lower installation labor. Let's put real prices on both.
Running the actual cost numbers
Fixture cost only, no installation labor, no poles or footings (which vary a lot by region and whether you're mounting on new poles or replacing heads on existing infrastructure):
- Option A (9 poles, 100W fixtures): the HY100 runs $1,399 per unit, so 9 units is $12,591 in fixture cost.
- Option B (6 poles, 200W fixtures): the HY120 runs $1,914 per unit, so 6 units is $11,484 in fixture cost.
Interesting, right? Option B actually comes out slightly cheaper on fixture cost alone in this example, and it needs three fewer footings, three fewer wiring/mounting points, and three fewer things to maintain over the fixture's lifespan. That's not a universal result — it depends entirely on the specific wattage tiers and unit prices you're comparing — but it's exactly why doing the actual math matters more than defaulting to "more lights must mean better coverage."

When more, smaller poles actually makes more sense
Fewer high-output poles isn't automatically the right call. A few situations where more, lower-wattage fixtures win out:
- Irregularly shaped lots with lots of corners, islands, or obstructions — more poles let you tuck lighting into awkward spaces that a handful of high-output poles would leave dark.
- Redundancy-sensitive sites — hospitals, 24-hour facilities, anything where a single fixture underperforming on a cloudy week can't be allowed to create a meaningfully dark zone.
- Phased budgets — if you're rolling out lighting over multiple fiscal years, it's easier to add poles incrementally at a lower per-unit cost than to justify a smaller number of expensive flagship fixtures all at once.
- Lower mounting heights — if your site can't support 20-25 foot poles (say, a low-clearance area near a building or under tree canopy), you'll need tighter spacing regardless of wattage, which pushes you toward more, smaller fixtures.
A middle path: mixing wattages by zone
One thing we don't see recommended enough: you don't have to use the same fixture across the whole property. A common, cost-effective approach for a 100-car lot is to put higher-output fixtures — something like the HY100C at $1,890 — along the main drive aisles and entrances where traffic and visibility matter most, and use a lower-cost option like the NT100A at $762 for the quieter perimeter rows and secondary parking areas. This zone-based approach often lands the total project cost lower than a uniform fixture choice while still hitting your brightness targets exactly where they matter most — near entrances, walkways, and high-traffic drive lanes.
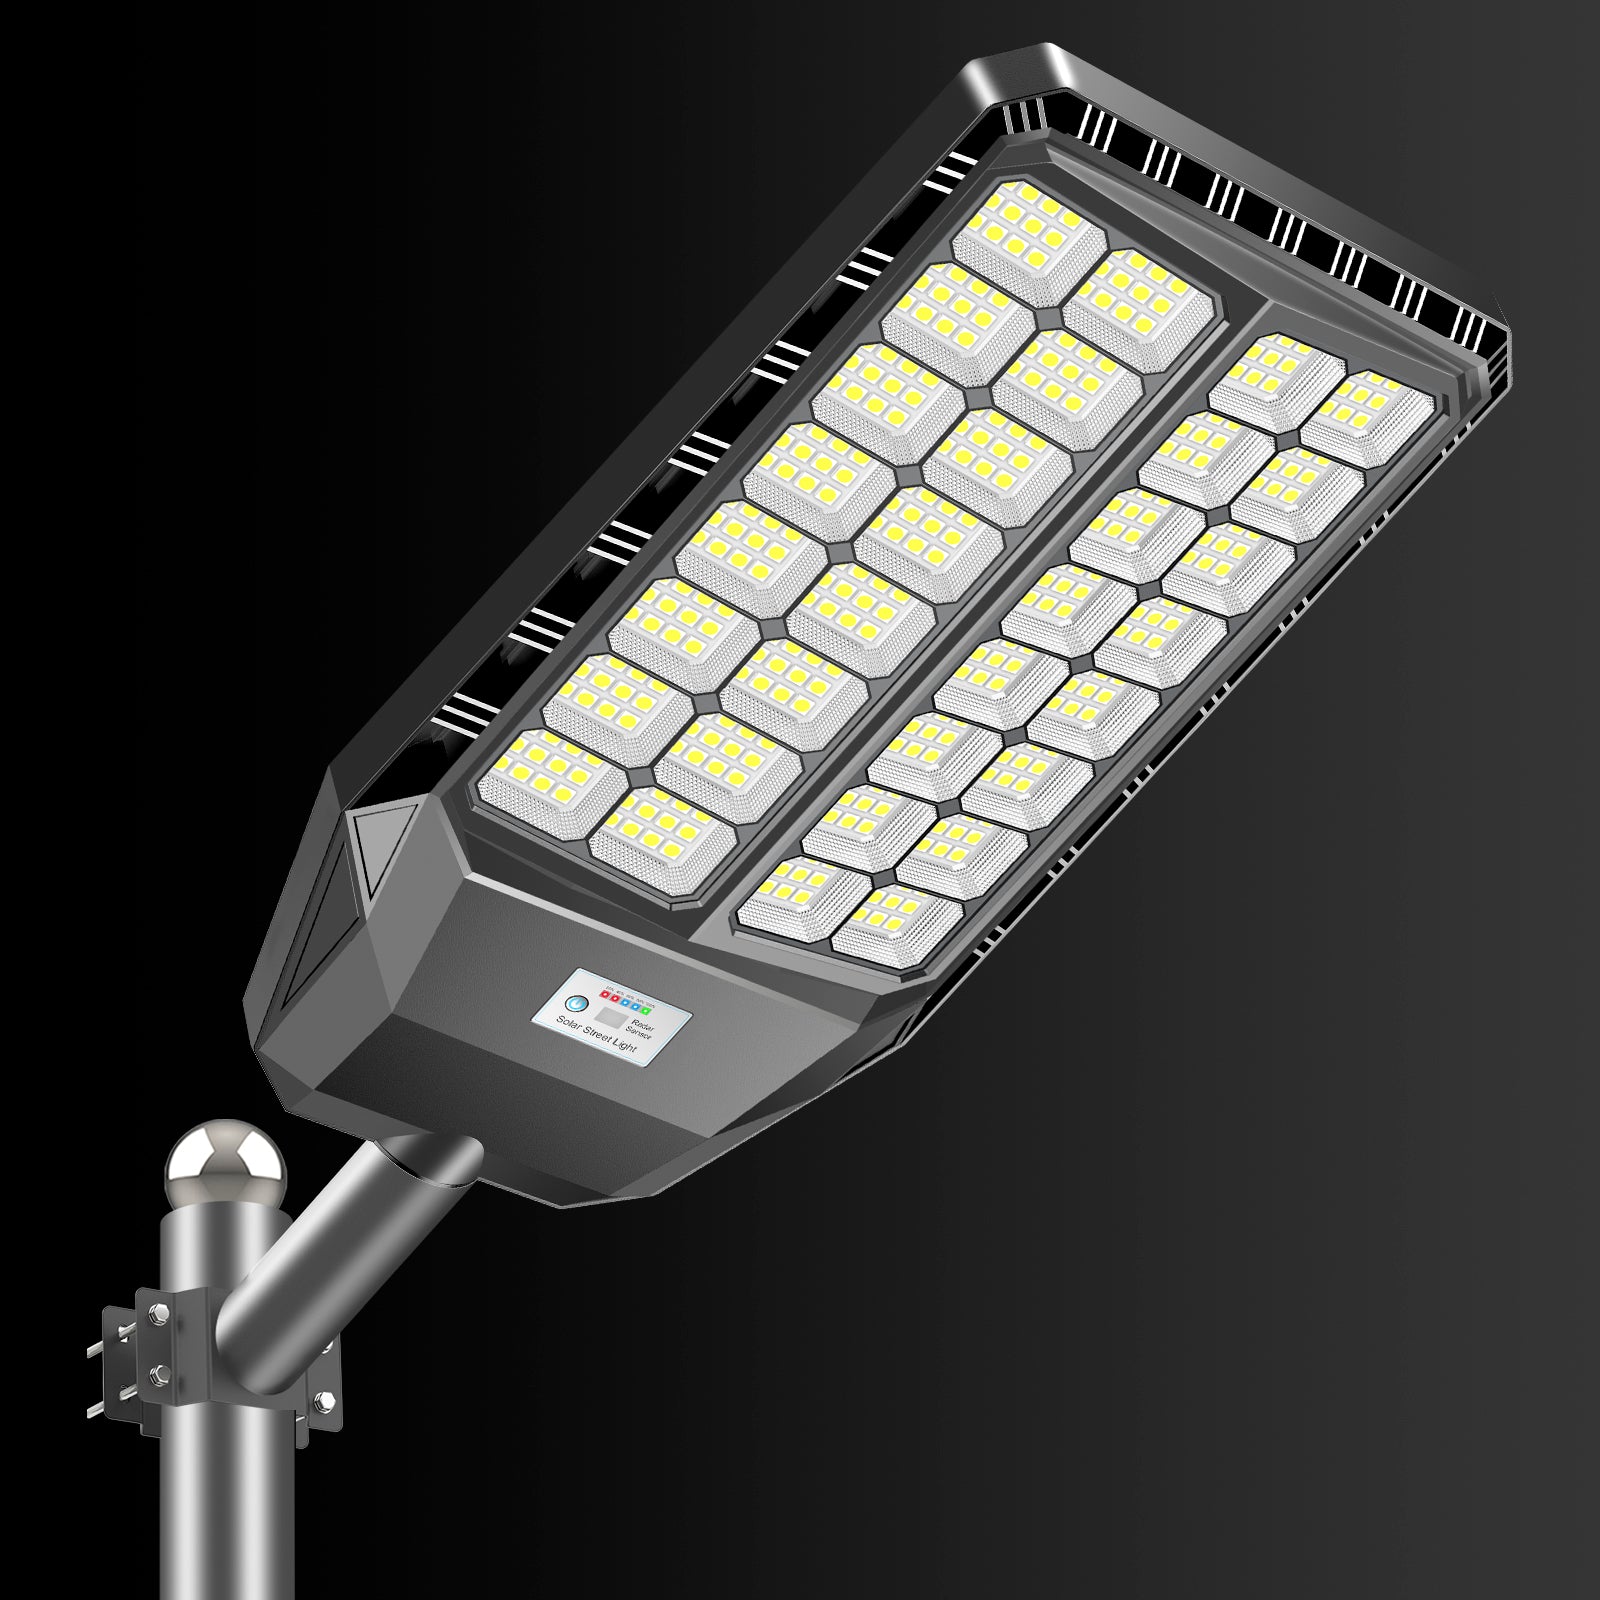
HY100 — 100W Commercial Solar Street Light, 18,000LM, 768Wh Battery with Monocrystalline Panel

Price: $1,399
A dependable general-purpose choice for the "more poles, standard wattage" approach — solid output at a reasonable price point, well suited to the interior rows of a mid-size lot.
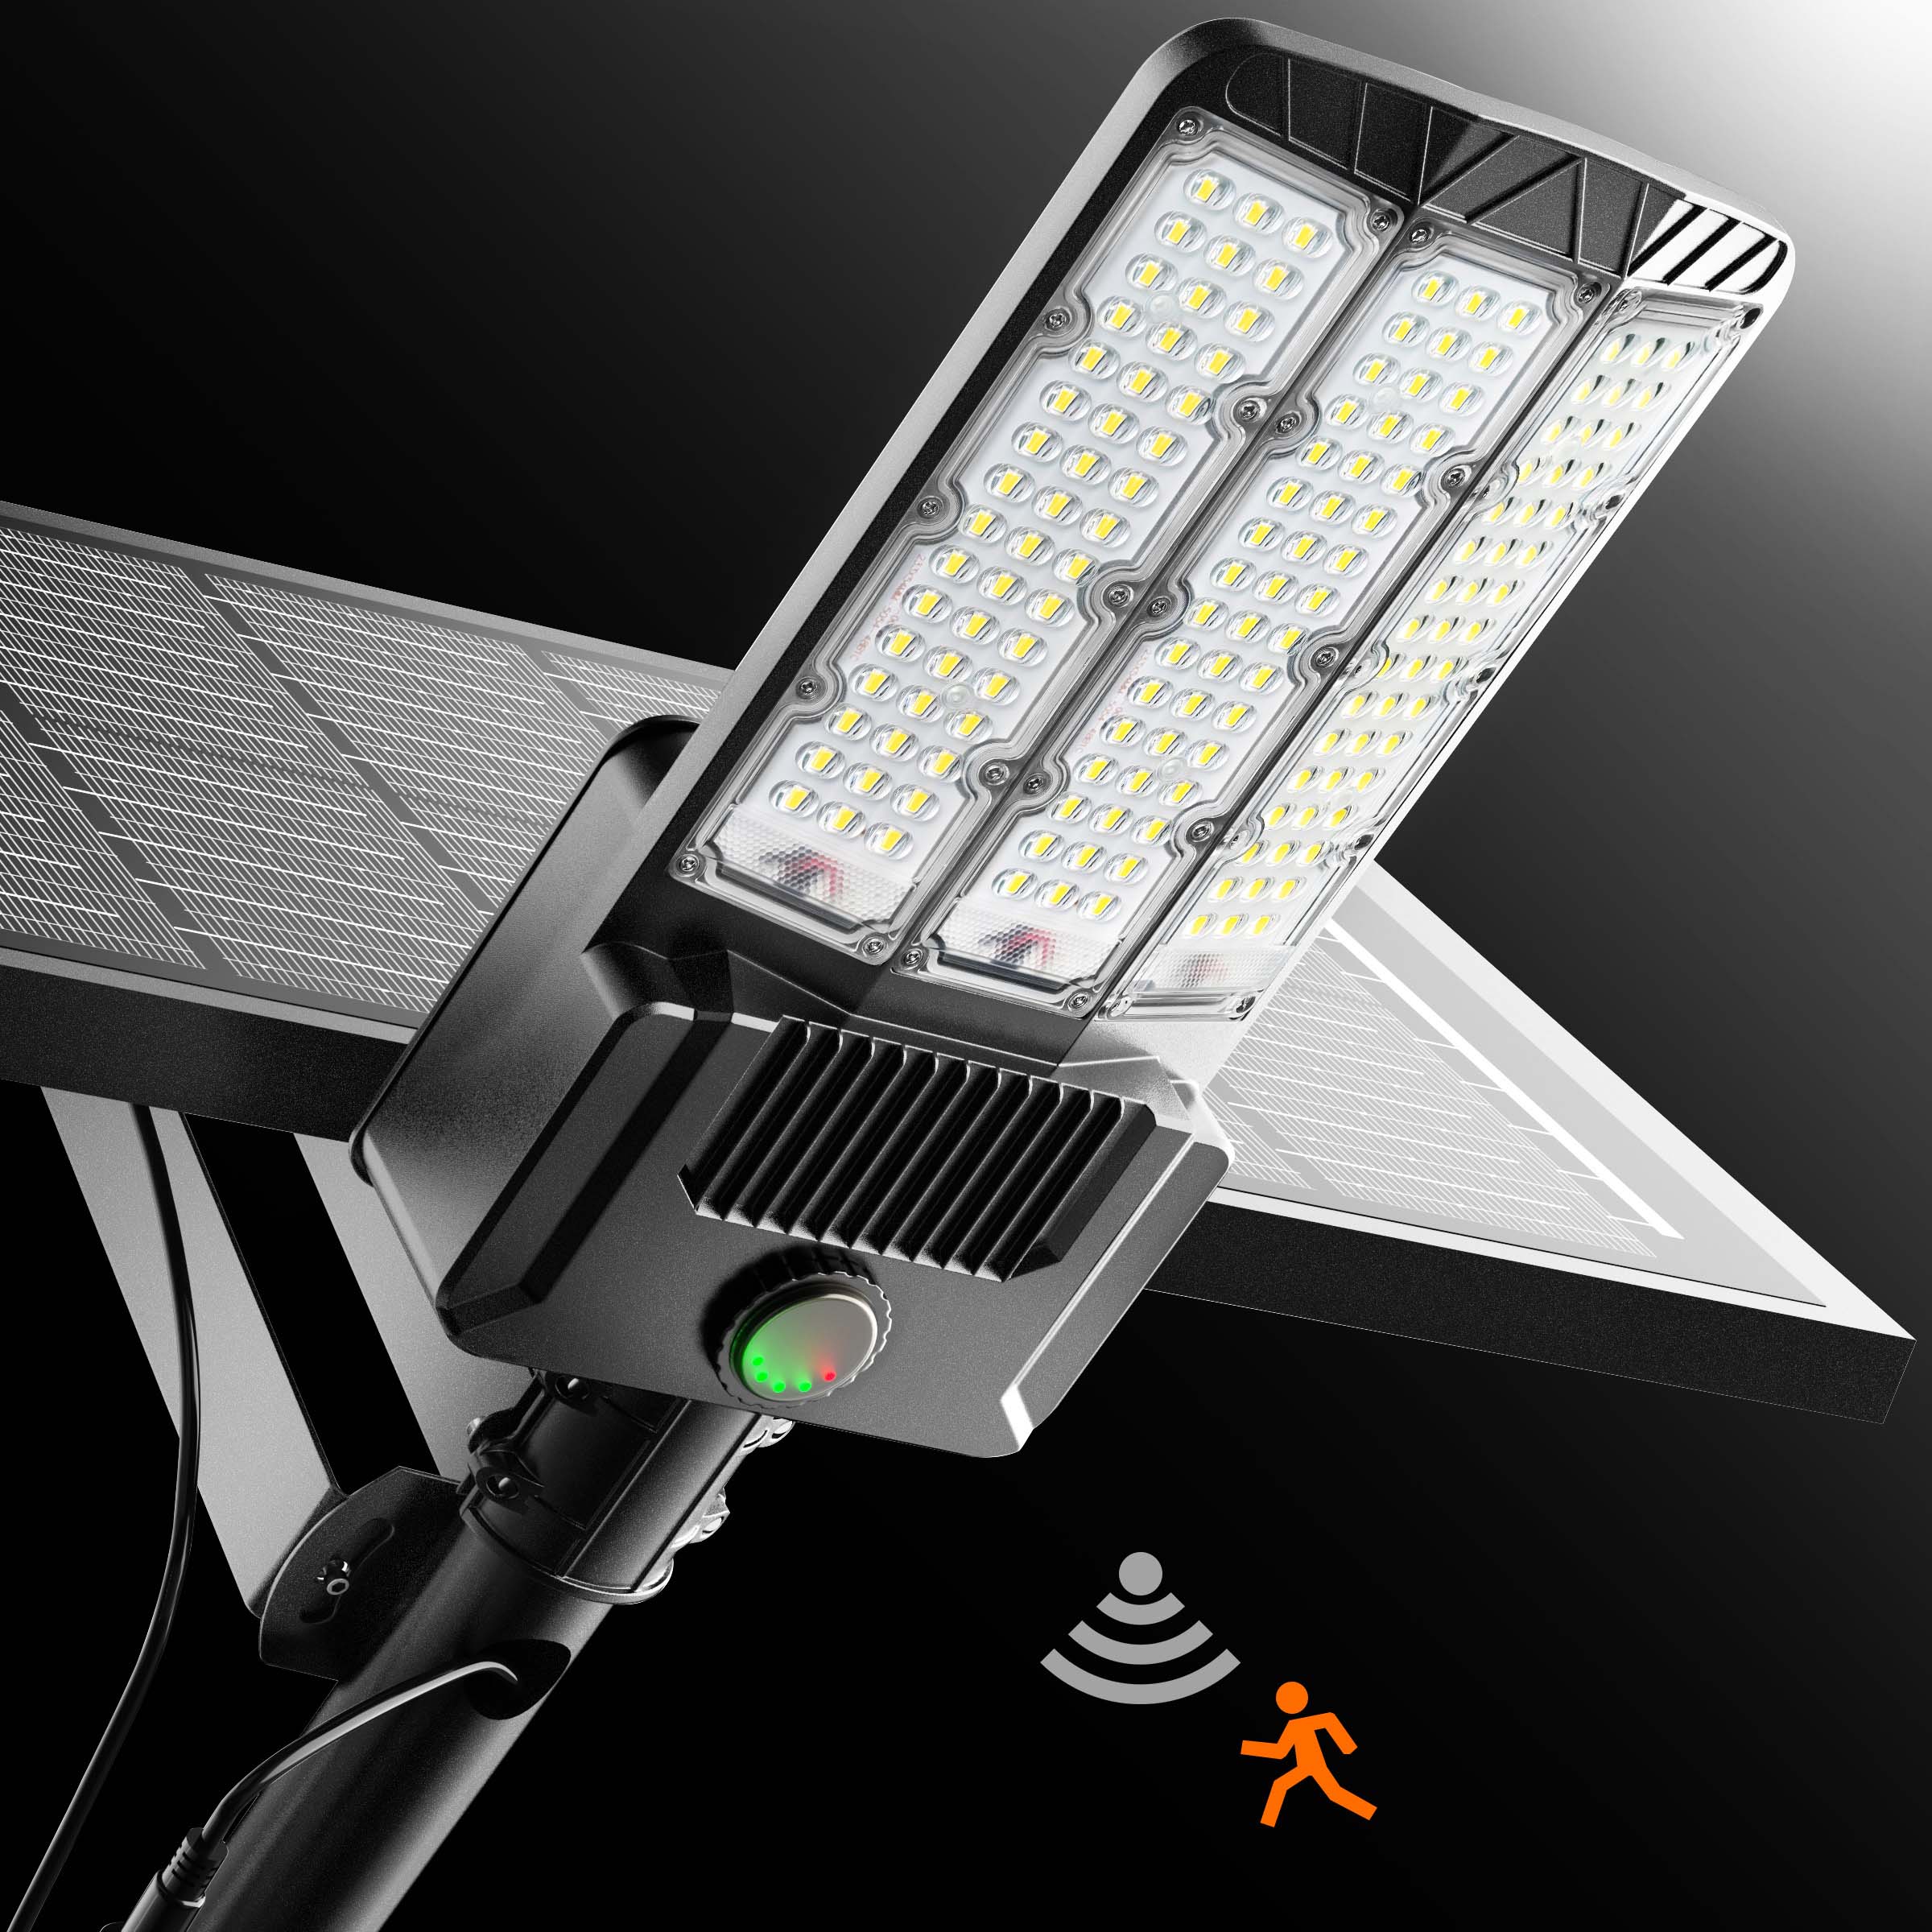
HY120 — 200W Commercial Solar Street Light, 1152Wh LiFePO4, Adjustable CCT with MPPT Control

Price: $1,914
The flagship option for the "fewer, bigger poles" strategy. Wide spacing tolerance, a big battery bank for consistent output through cloudy stretches, and enough lumen output to anchor main drive aisles and entrances on its own.
HY100C — 100W Commercial Solar Light, 960Wh LiFePO4, 10-Year Rated Solar Panel

Price: $1,890
Good pick for entrance zones and main aisles in a mixed-wattage layout — the oversized battery keeps output steady even during winter or extended cloud cover, exactly where you don't want a dim night.
NT100A — 100W High-Brightness Solar Street Light, 320Wh LiFePO4 with MPPT Controller

Price: $762
The budget-friendly option for perimeter rows and lower-priority zones in a mixed layout, without sacrificing the MPPT charging that keeps the battery healthy over years of daily use.
Don't forget uniformity, not just average brightness
Average foot-candles is only half the picture. Most codes and a lot of insurance carriers also care about the uniformity ratio — basically, how big the gap is between the brightest and dimmest spots in your lot. A lot that averages 1.5 foot-candles but has huge dark patches between poles will fail an inspection even though the average number looks fine. This is the single biggest reason to avoid just spacing poles as far apart as the wattage theoretically allows — leaving a little overlap between each fixture's coverage circle is what keeps your uniformity ratio in an acceptable range (commonly cited as no worse than about 4:1 to 6:1 max-to-min for general parking areas, though check your local code for the exact figure).
In practice, this usually means erring toward the tighter end of a fixture's spacing range rather than the maximum, especially near lot corners and entrances where headlight glare and shadows from parked vehicles can create localized dark spots that a simple grid calculation won't catch.
Why solar makes sense for lot-scale lighting in the first place
Before getting deeper into pole math, it's worth addressing the question a lot of property managers ask upfront: why solar instead of just running conduit and tying into the building's electrical panel? For a 100-car lot, the honest answer is usually cost and speed. Trenching across a parking lot to run conduit, pulling permits for electrical work, and tying new circuits back to a panel (which may need its own capacity upgrade) adds up fast — civil work alone on a lot this size commonly runs into the tens of thousands of dollars before a single fixture goes in the ground. Solar fixtures skip all of that. Each pole is a self-contained unit: panel, battery, controller, and light head all in one package, set on a footing with no trenching required.
There's also a resilience angle that doesn't get talked about enough. Grid-tied lots go dark during a power outage unless there's a backup generator specifically wired to the lighting circuit. Solar lots don't care — each pole runs independently off its own stored charge, so a grid outage at 9 p.m. doesn't leave your whole parking lot dark during exactly the kind of event when good lighting matters most.
What the IES actually recommends (and why it's a starting point, not gospel)
The Illuminating Engineering Society publishes recommended practice guidelines for parking facilities (commonly referenced as IES RP-20), and most municipal lighting codes borrow from it in some form. Broadly, IES guidance separates parking lots into activity levels — basic, enhanced, and security-focused — each with its own target average illuminance and uniformity ratio. The numbers we used earlier (0.5-3.0+ foot-candles depending on lot type) come from that general framework.
Here's the part worth remembering: these are recommended practices, not universal law. Your actual obligation is whatever your local municipal code says, and separately, whatever your property insurance policy requires (which is sometimes stricter than the local code, especially for retail properties or multi-family housing where a lighting-related liability claim is a real exposure). When the two disagree, meet whichever standard is higher — it's cheaper to over-light slightly than to fight an insurance claim over inadequate lighting after an incident.

A realistic procurement timeline for a 100-car lot
If you're planning this as an actual project rather than just running numbers for fun, here's roughly how it tends to play out for a property this size. Site assessment and layout planning — walking the lot, confirming square footage, checking for shade obstructions, and settling on target foot-candles — usually takes a week or two if you're doing it yourself, less if you're working with a lighting designer. Fixture selection and ordering is fast once you know your wattage tier and pole count, though lead times vary by supplier and season (spring and early summer tend to be the busiest ordering windows for commercial solar lighting, so ordering in fall or winter can mean shorter lead times). Installation for 6-10 poles, assuming footings need to be poured, typically runs one to two weeks depending on weather and crew size, plus curing time for concrete footings before poles go up.
One thing worth building into your timeline: order one or two extra units beyond your calculated pole count if your budget allows. It's a lot easier to have a spare on the shelf if a fixture gets damaged during installation (it happens more than people expect with lift trucks and tight site access) than to place a rush order for a single unit later.
Don't skip the site-specific factors
The math above gets you a solid starting estimate, but a few real-world factors can shift your final pole count meaningfully:
- Tree canopy and building shadows — anything that shades a panel for part of the day reduces that fixture's charging and may call for a higher-capacity battery or repositioning.
- Latitude and regional sun exposure — properties in the Pacific Northwest or Northeast, with more overcast days, benefit from sizing slightly larger battery banks per pole rather than trying to squeeze by on minimum capacity.
- Existing pole infrastructure — if you're retrofitting solar heads onto existing poles rather than installing new ones, your pole count and spacing are already fixed by whatever's currently in the ground, and the real decision becomes which wattage tier best fills that existing spacing.
- Local dark-sky or glare ordinances — some municipalities cap fixture output or require full cutoff optics, which can push you toward more, lower-wattage poles instead of fewer bright ones.
What maintenance looks like once the lot is lit
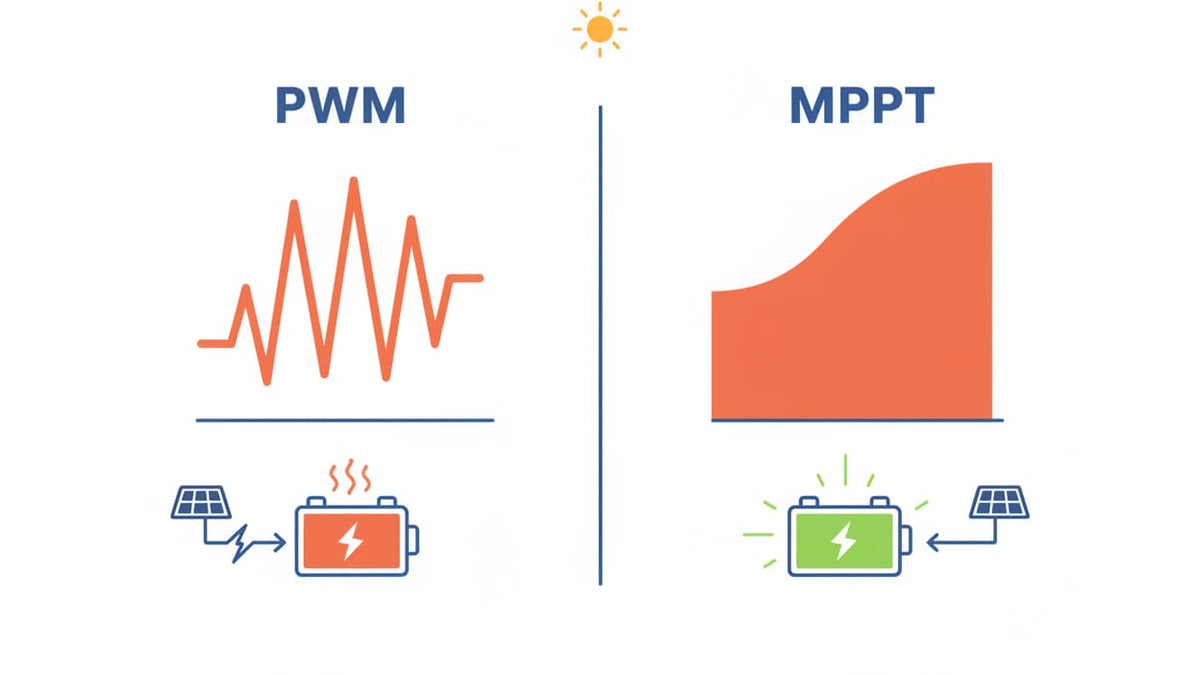
A common misconception is that solar fixtures need more upkeep than grid-tied lighting because of the battery and panel. In practice, it's usually less, not more. There's no bulb to replace (LEDs on quality commercial fixtures are rated for tens of thousands of hours), no wiring runs across the lot to develop faults, and no electrical panel circuit to troubleshoot. The realistic annual maintenance for a solar-lit lot is a quick visual check — clearing debris or dust off panel surfaces, especially after pollen season or a dry spell with dust accumulation, and confirming pole bases and mounting hardware haven't loosened. Fixtures with proper MPPT charge controllers and LiFePO4 batteries (which is what all four products above use) are built for years of unattended operation between that kind of basic check.
Budget-wise, that means your ongoing operating cost for a solar-lit lot is close to zero beyond that annual inspection, compared to a grid-tied lot's monthly electricity draw across 6-10 fixtures running dusk to dawn every night of the year — which, over a decade, is its own meaningful cost most property owners don't fully account for when comparing solar against wired lighting upfront.
A simple way to sanity-check your own lot
If you want to run this yourself before ordering anything: take your lot's square footage, divide by the effective coverage area of your chosen fixture (roughly π times the spacing radius squared, accounting for some overlap between adjacent poles), and that gives you a rough pole count. Then walk the actual lot and mark where poles would land — corners, main aisles, and entrances should always get priority placement even if the raw math suggests otherwise, since those are the areas people actually notice when it's dark.
A quick real-world scenario
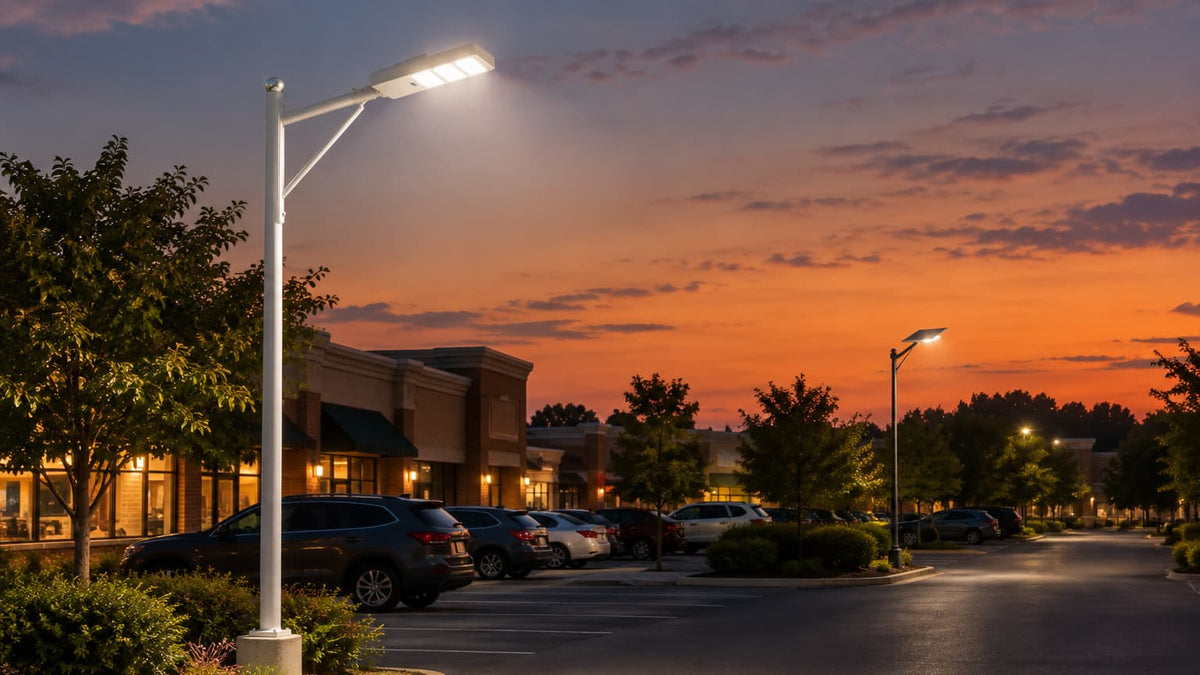
Picture a strip mall with a 100-space lot, roughly 150 by 210 feet, anchored by a grocery store on one end and a handful of smaller retail bays along the front. Foot traffic is heaviest near the grocery entrance and the main drive aisle connecting to the street, and drops off noticeably along the side rows near the smaller shops. A property manager in this situation doesn't need uniform maximum brightness across the whole lot — they need strong, reliable light exactly where people are walking to and from their cars after dark, with acceptable (not necessarily equal) coverage everywhere else.
A sensible layout here might put two HY120 units at the main entrance and drive aisle nearest the grocery store, two HY100C units flanking the mid-lot area, and two to three NT100A units along the quieter side rows near the smaller shops. That's seven poles total, a mixed-wattage approach that concentrates cost where the foot traffic and liability exposure are highest, while still keeping the whole lot above minimum code brightness. Total fixture cost in that scenario lands around $9,500-10,000 — noticeably less than uniformly outfitting all seven poles with the flagship HY120, while still meeting the lot's actual safety needs.
This is really the core idea behind planning pole count and wattage properly instead of just picking a number: you're not trying to hit some abstract "enough lights" target, you're trying to match light output to where people actually are and what a liability inspector or insurance adjuster would actually check first.

Frequently asked questions
How many solar street lights do I need for a 100-car parking lot?
For a typical 30,000-33,000 sq ft lot at standard commercial brightness, plan on roughly 6-10 poles depending on wattage. Fewer poles with 200W fixtures like the HY120, or more poles with 100W fixtures like the HY100 — both can hit the same lighting target, it's a spacing and budget tradeoff.
What's the ideal spacing between solar parking lot lights?
It depends on wattage and mounting height, but as a rule of thumb: 60-80W fixtures work well at 40-50 foot spacing, 100W fixtures at 55-70 foot spacing, and 200W fixtures at 80-100+ foot spacing, all at a standard 20-25 foot pole height.
Is it cheaper to use fewer high-wattage lights or more low-wattage ones?
It varies by specific product pricing, but in our own catalog, six 200W HY120 units actually come out slightly cheaper in fixture cost than nine 100W HY100 units for the same lot, while also needing fewer footings and less long-term maintenance. Always run the real numbers for the specific fixtures you're comparing.
What foot-candle level do I need for a commercial parking lot?
Most general retail and commercial lots target 1.0-2.0 average foot-candles. Lower-activity lots can get by with 0.5-1.0, while high-security or high-traffic lots often need 2.0-3.0+. Check local code or your insurance policy for any specific minimum.
Can I mix different wattage solar lights in the same parking lot?
Yes, and it's often the smartest approach — put higher-output fixtures at entrances and main drive aisles, and lower-cost fixtures along quieter perimeter rows, to hit your brightness targets where they matter most without overspending everywhere.
Do solar street lights work well in a large 100-car lot, or do I need grid power?
Solar fixtures with a properly sized battery and MPPT charge controller handle large commercial lots just fine — the units discussed here are specifically built for this scale. The main design decision is matching battery capacity to your regional sun exposure so the lot stays lit through cloudy stretches without relying on a grid connection at all.
How long does it take for solar lights to pay for themselves versus running electrical wiring?
It depends heavily on site conditions, but trenching and running conduit for grid power across a 100-car lot is often a five- or six-figure civil works cost before you've bought a single fixture. Solar avoids that entirely, so the fixture cost itself is frequently the whole project cost, which usually makes solar the faster payback option for lots without existing electrical infrastructure nearby.
What happens to lighting during a stretch of cloudy days?
Fixtures with larger battery banks — the HY120's 1152Wh or the HY100C's 960Wh, for example — are built to carry the lot through 3-4 consecutive overcast days at full output. Smaller-battery units may dim slightly sooner in extended cloud cover, which is worth factoring into your fixture choice if your region sees long stretches of grey weather.
Should I count parking stalls or square footage when planning pole count?
Square footage. Stall count is a useful shortcut to estimate square footage (roughly 300-330 sq ft per stall for standard 90-degree parking), but the actual lighting calculation is always based on area and target foot-candle level, not the number of cars the lot holds.
Bottom line
For a standard 100-car lot, you're realistically looking at 6-10 solar street light poles depending on wattage, and the "right" number is really a function of your lot's actual square footage, your target brightness, and how you want to balance pole count against per-fixture cost. Run the math for your specific site rather than copying someone else's pole count, and don't be afraid to mix wattages by zone — it's often the most cost-effective way to light a lot properly from corner to corner.
→ Shop the HY100 | Shop the HY120 | Shop the HY100C | Shop the NT100A

Leave a comment
This site is protected by hCaptcha and the hCaptcha Privacy Policy and Terms of Service apply.