


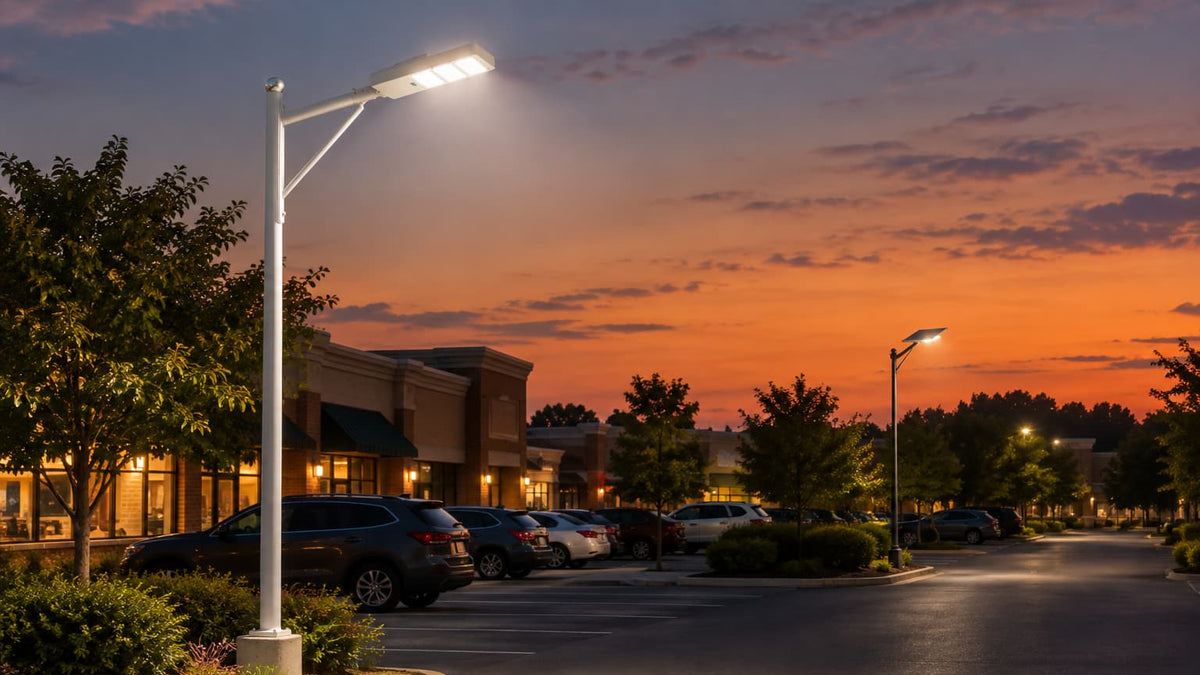
By the time the first real cold snap arrives, the sun is already leaving work early. A parking lot that stayed bright until morning in July may start to look different in December: the light comes on at dusk, runs strongly for a while, then seems to fade before dawn. It is tempting to blame the fixture. Often, though, the winter version of the problem is a whole chain of small changes: shorter days, a low sun angle, a panel that is shaded for longer, a battery that enters the night without a full charge, and a lighting schedule that still expects midsummer energy.
The good news is that solar street lighting does not have to be a summer-only idea. Winter performance gets much more predictable when you treat the system like a small off-grid energy system instead of a lamp with a solar sticker. That means looking at the site first, then the panel, battery, controls, and the way the light is being asked to operate. You may find the fix is a branch trim or a gentler dimming schedule, not a bigger light. Or you may discover the location genuinely needs a higher-capacity model sized for a winter design month.
This guide is for U.S. property owners, facility managers, HOAs, and small-town operators planning solar street lights for winter driveways, access roads, walkways, and parking lots. We will explain what limited sunlight actually changes, how to troubleshoot early shutoff without guessing, what to inspect after snow and storms, and how to choose a system with a more realistic winter energy margin. The goal is not to promise that every solar light will shine at full output through every storm. It is to help you make the light you install work harder, last longer, and fit the real conditions on your property.
Why winter is a different job for a solar street light
A solar street light has to collect enough energy during the day to cover its overnight lighting load and, ideally, carry a reserve into cloudy weather. In summer, the collection window is long and the sun tracks high. In winter, the day is shorter, the sun stays lower, and the useful window may be cut down further by buildings, trees, hills, or a panel that faces the wrong direction. Even if the fixture itself is unchanged, the daily energy budget is not.
Cold itself is not automatically the enemy people imagine. Many lithium iron phosphate batteries perform well in cold operating environments, and some Hykoont product descriptions list operation down to -20°C. But a battery's charging behavior has limits, and the exact safe charging temperature depends on the battery chemistry and its built-in protection. A cold battery that cannot accept a charge normally, a low state of charge after several gray days, or a controller protecting the pack can all affect what you see overnight. Check the product manual for the actual charging limits rather than assuming that a cold-weather operating rating means unlimited cold-weather charging.
There is also a human-factor difference: winter nights are longer, and dusk arrives earlier. If your light turns on at dusk and follows a fixed schedule, it has more hours to cover than it did in June. A system that was just adequate in summer can therefore run out of stored energy sooner, even if the panel and battery are functioning correctly. Understanding that seasonal shift is the first step toward a fix that lasts.

Start with the symptom, not the shopping cart
Before replacing a fixture, write down what the light actually does. Does it never turn on? Does it turn on at dusk but become dim early? Does it flicker, or does it shut off abruptly? Is one pole affected while nearby poles work normally? Does the problem happen after every cloudy stretch, or only after snow? A simple three- or four-night log, with weather notes and approximate on/off times, can separate a site problem from a component problem.
If one light fails while identical fixtures beside it remain bright, inspect that fixture's panel, wiring, battery, controller, and settings first. If every light on the north side of a property struggles while those on the open south side do well, think about shading and exposure. If all lights dim after a run of overcast days, the system may be doing exactly what its energy reserve allows. This is useful evidence, not a reason to shrug: it tells you whether to adjust placement, clean a panel, change the schedule, or revisit system sizing.
Do not open a sealed fixture or battery enclosure just to poke around. Follow the manufacturer's inspection and service instructions, isolate equipment where required, and use a qualified installer for electrical or structural work. A field log and a visual inspection from the ground are often enough to identify the next sensible step without turning troubleshooting into an unsafe repair.
1. Give the panel the best winter sun you can
In December, a panel can spend much of the day looking at a low sun. A location that seems sunny at noon in summer may be shaded by a roof edge, a deciduous tree's remaining branches, a nearby pole, or a hillside during the shorter winter charging window. Check the whole path of the sun, especially the morning and late-afternoon hours. A panel does not collect useful energy while it is shaded just because the fixture is installed outdoors.
For a new installation, have the installer assess true year-round exposure before setting the pole. In much of the continental United States, a south-facing exposure is a good starting point for winter collection, but the right orientation and tilt depend on latitude, site obstructions, and the product's mounting instructions. Do not guess an angle from a generic online diagram and apply it blindly. If the solar panel is separate from the lamp head, that flexibility can make it easier to position the panel toward open sky while aiming the light where people need it.
For an existing installation, photograph the panel at different times of day and compare its sun exposure with a nearby open area. Look for seasonal shadows that were absent in summer. A small change in pole or panel orientation, where the product allows it and the structure can safely support it, may do more than upgrading the lamp. Never loosen a high-mounted panel or luminaire in wind or without the right lift and fall protection.
2. Clear snow, frost, leaves, and winter grime
A thin layer of snow can block most of the sunlight reaching a panel. Frost, salt spray, dust, pollen residue, bird deposits, and road grime also reduce the light that gets through. After a snowfall, check the panel from a safe position. If it is covered, follow the product maker's cleaning advice. Use a soft brush or cloth and avoid metal scrapers, abrasive pads, harsh solvents, and forceful pressure that could scratch the panel or damage a seal.
Do not climb a pole or use a ladder in icy conditions to clean a street light. For pole-mounted equipment, maintenance belongs in a planned, safe service visit with proper access equipment. On accessible low-mounted panels, clean only if the manual allows it and the ground is stable. If snow slides off naturally, let it; if the panel is angled so snow remains trapped, that is useful feedback for future placement or tilt adjustments.
It is also worth doing a clean inspection after a storm. Look for branches resting against the pole, debris caught near the panel, shifted brackets, water inside a fixture, damaged wiring, or a panel that has rotated. A damaged panel or loose connection is different from normal low winter yield. Photograph anything unusual and arrange service instead of repeatedly resetting the light.

3. Match the lighting schedule to the season
When stored energy is limited, the controller's schedule matters. A light running at full output from dusk until dawn is spending energy during every hour, including the quietest part of the night when a driveway or parking area may have little activity. If the system supports programmable dimming, time-based output, or motion-triggered boost, a lower baseline with a brighter response when someone approaches can stretch the reserve without leaving the site dark.
Think in terms of the place and the people using it. A residential driveway may need dependable path visibility when someone returns late, but not necessarily maximum output at 2:00 a.m. An apartment lot may need a consistent background level with brighter coverage at entrances. A rural access road, loading area, or emergency egress route may have different safety requirements and cannot simply be dimmed because it is winter. Check applicable local codes, property requirements, and the lighting plan before changing levels.
Change one setting at a time and observe it over several nights, including a clear day and a cloudy day. If the light now stays on but the area is too dim, the schedule is not a complete solution; you may need more collection, more storage, or a different fixture layout. The point is to avoid wasting energy through an unnecessarily aggressive schedule while preserving the illumination the site genuinely needs.
Motion sensing can help in some locations, but it is not magic. A poorly aimed sensor may miss a person approaching from the side, trigger constantly in wind-blown vegetation, or fail in a high-traffic area where the light is nearly always needed. Ask the installer to confirm detection range, mounting height, timing, and the relationship between the sensor and the light output. For a public route, do not trade predictable visibility for a feature that has not been tested at night.
4. Size for the darkest month, not the best month
A common planning mistake is to choose a solar light based on a bright summer day and assume the same performance will carry through winter. A better design begins with the hardest month the light must cover. Consider the local winter sun, the number of cloudy days that are common at the site, overnight run time, required brightness, and how many consecutive low-charge days the system should tolerate. The result may call for a larger battery, more solar collection, lower scheduled output, fewer hours at full power, or a combination.
Ask the supplier or installer to explain the design assumptions in plain language: what winter solar resource was used, what nightly operating profile was assumed, how many autonomy days are included, and what output is expected at the end of a cloudy period. “Three days of cloudy-weather operation” in a product description is not the same as a site-specific guarantee. It depends on the starting charge, schedule, temperature, panel exposure, and definition of acceptable brightness. Treat the figure as product information to verify, not a promise that replaces engineering.
For a parking lot, avoid solving every dark corner by specifying one oversized fixture. Several correctly placed lights at suitable mounting heights can produce a more even result and reduce harsh bright spots beside black gaps. The solar array and battery should match the actual lighting plan, not just a headline lumen number. If you have a photometric layout, ask the installer to evaluate both illumination and winter energy use together.
5. Understand what the battery can and cannot do
The battery stores what the panel collects; it does not create energy. A larger battery can carry a longer reserve through cloudy weather, but it still needs enough sunlight and charging time to refill. If the panel is shaded or covered for days, even a high-capacity pack eventually reaches its limit. Likewise, a powerful lamp can consume its reserve quickly if it runs at maximum output for a long winter night.
Battery chemistry, cell quality, protection electronics, and the controller all affect reliability. LiFePO4 is popular in outdoor solar lighting because of its cycle-life and safety characteristics, but product names and capacities should be checked carefully. Read the actual listing and installation documentation for battery voltage, amp-hours or watt-hours, temperature limits, warranty, and replacement availability. When comparing products, watt-hours are often more useful than amp-hours by themselves because amp-hours without voltage do not tell you the total energy stored.
Watch for signs that point to a battery or control issue rather than simply low sun: a sudden change after years of normal operation, repeated abrupt shutdown despite several clear charging days, an unusually short runtime on a known-good exposure, or a fault indicator specified in the manual. A qualified technician can test the system and determine whether the battery, panel, controller, or connection needs attention. Avoid improvising a replacement battery that does not match the system's design.

6. Keep the panel separate from the lamp when the site needs it
Some solar street lights place the panel on the fixture; others use a separate panel connected to the lamp head. A separate panel can be useful when the best sun exposure and the best light-aiming position are not the same. For example, a pole may need to direct light across an entrance while the panel needs a clearer view of open sky. This flexibility matters on properties with buildings, tree lines, or narrow road corridors.
Separate components also mean the installation needs careful cable routing, secure brackets, weather protection, and a clear maintenance plan. A panel that is positioned well but shaded by a roof later in the day is still a poor design. A cable that is pinched, exposed, or pulled loose can interrupt charging. Ask the installer to show where the panel will face, how the cable is protected, and how the assembly will be inspected after wind or ice.
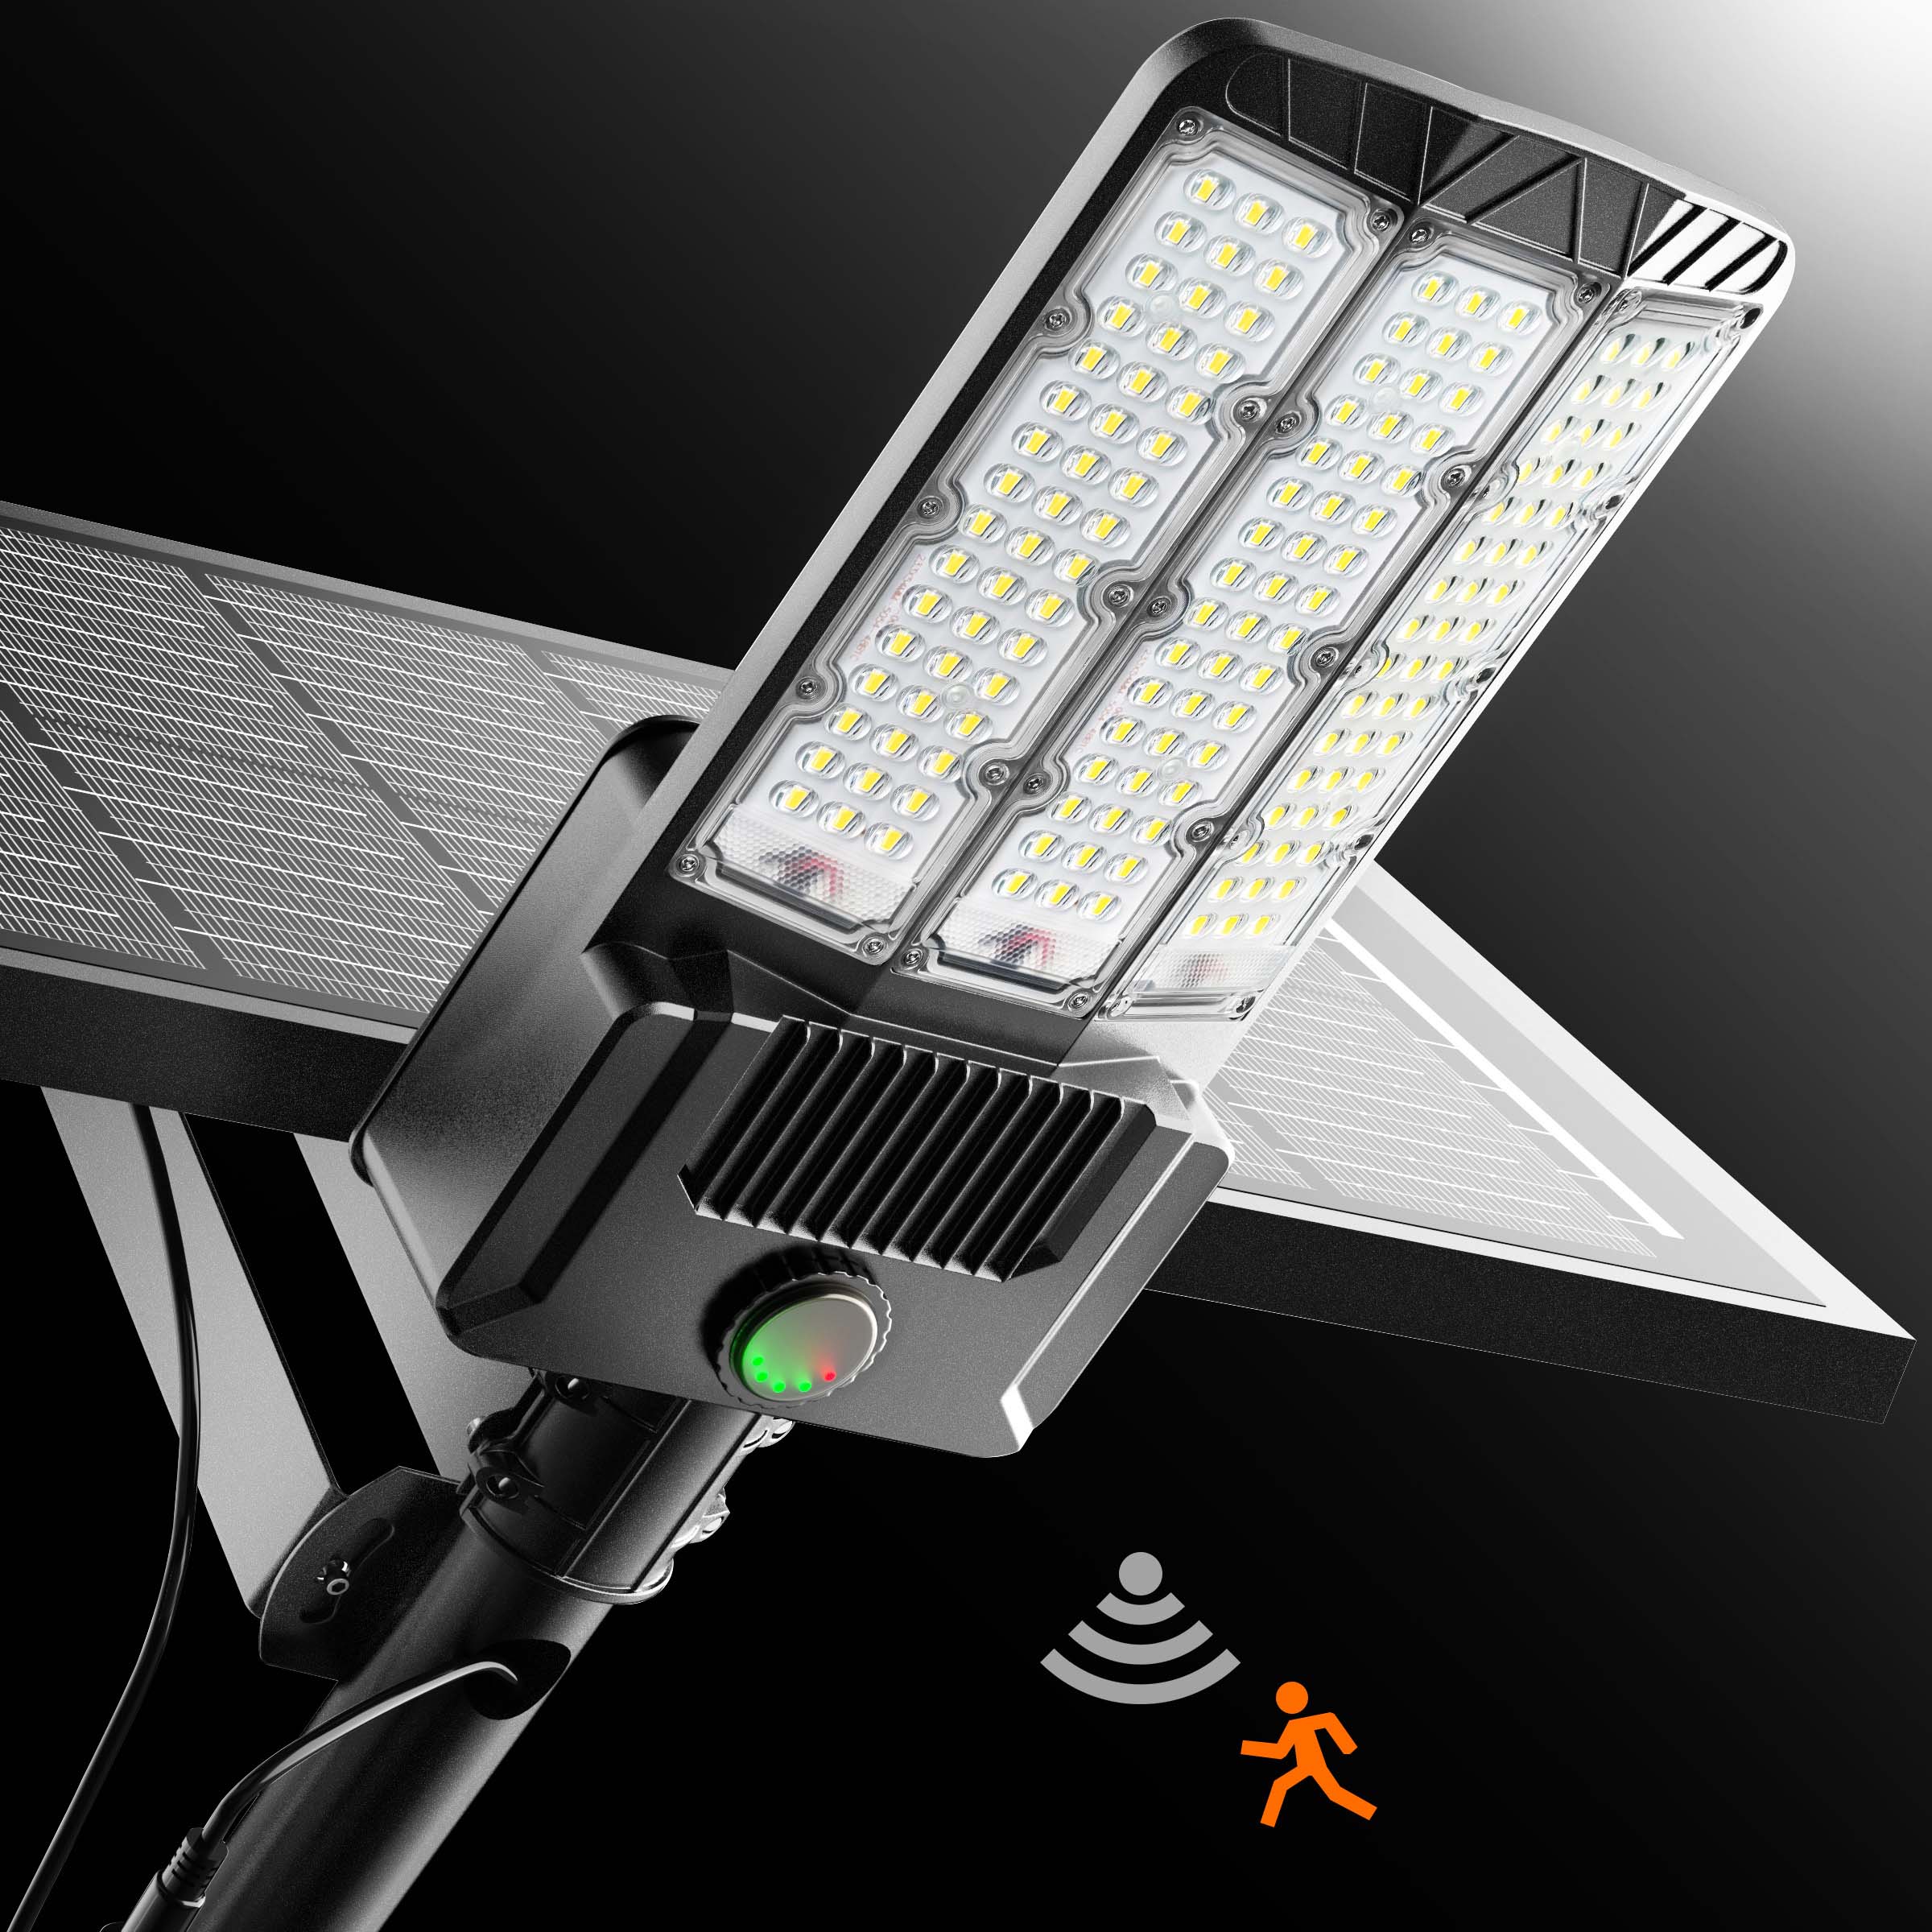
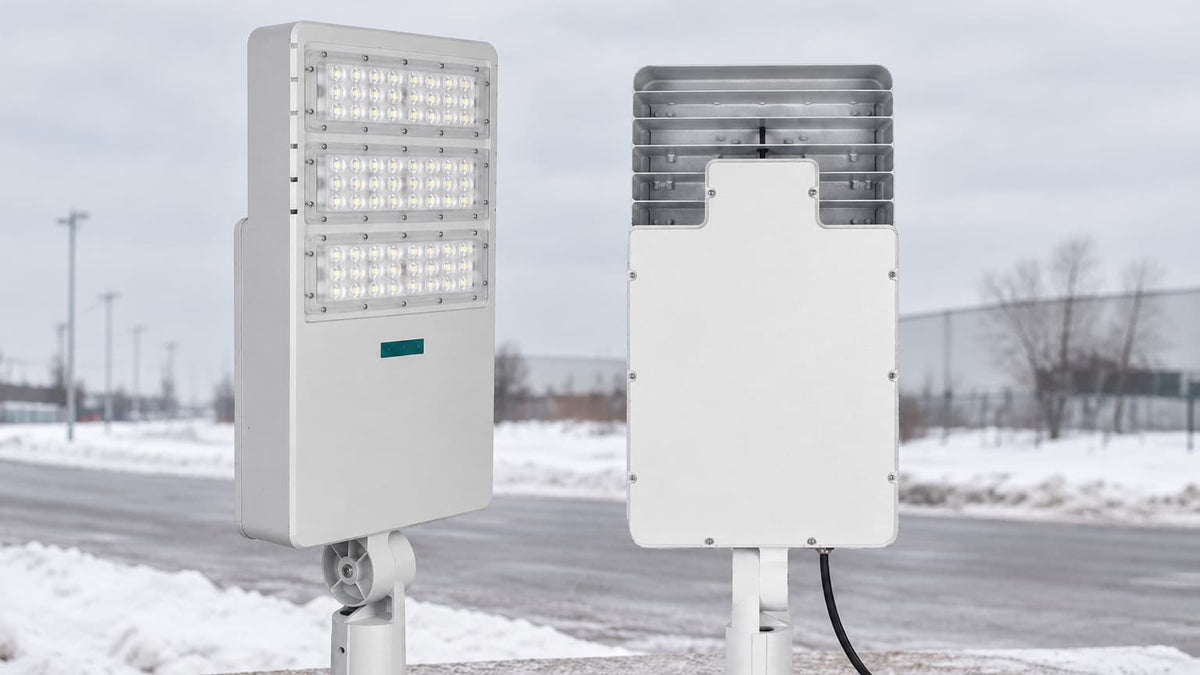
Hykoont's HY-series products shown below use product imagery with a distinct solar panel; keep that separate-panel layout in mind when planning where the fixture and panel can go. The actual mounting hardware and configuration can vary by model, so confirm the product page and installation guide before ordering or specifying a job.
7. Choose brightness for the task, not just the box
Lumens describe light output, but they do not tell the whole story about whether a street, path, or parking space will feel safe. Optics, mounting height, beam distribution, pole spacing, surrounding surfaces, and glare all matter. A high lumen count aimed poorly can leave the center of a lot painfully bright and the walking route dark. A lower output with useful distribution may serve a small driveway better than a commercial fixture mounted too high.
Ask what areas need light and what level of uniformity is expected. A pedestrian route, driveway turn, gate, loading dock, and parking row are not the same visual task. Use a site plan, estimate pole spacing, and consider trees and parked vehicles that cast shadows. If people need to recognize faces or read signs, color temperature and glare control also affect comfort. Adjustable color temperature may help match the site, but it does not create more battery energy.
Do not compare two products only by a “watt equivalent” in a title. In solar lighting, marketing watt numbers can be used inconsistently, while real-world outcomes depend on the panel, storage, LEDs, optics, and dimming profile working together. Look at the stated lumens, battery capacity, panel details, warranty, weather rating, and operating schedule as a set. Where product descriptions disagree with the title or with each other, ask the seller to confirm the exact configuration in writing before placing a large order.
8. A practical winter checklist for existing installations
Use this checklist after the first week of early sunsets, and again after a major storm. Start with the easy, visible items and keep notes. The point is to identify patterns, not to perform risky repairs at height.
- Record the date, weather, approximate dusk-on time, and when the light dims or turns off.
- Check whether the solar panel has a clear view of the winter sky, including morning and late afternoon.
- Look for snow, frost, leaves, dirt, road salt, or other material on the panel.
- Compare nearby lights to see whether the issue affects one fixture or an entire row.
- Confirm the controller's brightness and timing settings against the intended winter schedule.
- Look for visible storm damage, a shifted panel, loose external hardware, or an obstruction.
- Read the manual before cleaning, resetting, or changing a setting.
- Contact the installer if the enclosure, panel, wiring, pole, or battery appears damaged.
After each change, give the system time to show a pattern. One clear day after a week of clouds may not fully recharge a large battery. One cold night does not prove a design failure. A few observations are more useful than guessing from a single evening and replacing a product that may simply need a clear panel and a winter schedule.
9. Three Hykoont options to compare for winter planning
These three active product listings cover different scales, from a smaller commercial driveway or access lane to a larger road or lot. Their listed prices are USD catalog prices checked while preparing this article; prices, availability, and included components can change. Confirm the live product page, final configuration, shipping, and specifications before ordering. The products are comparison starting points, not a one-size-fits-all design recommendation.
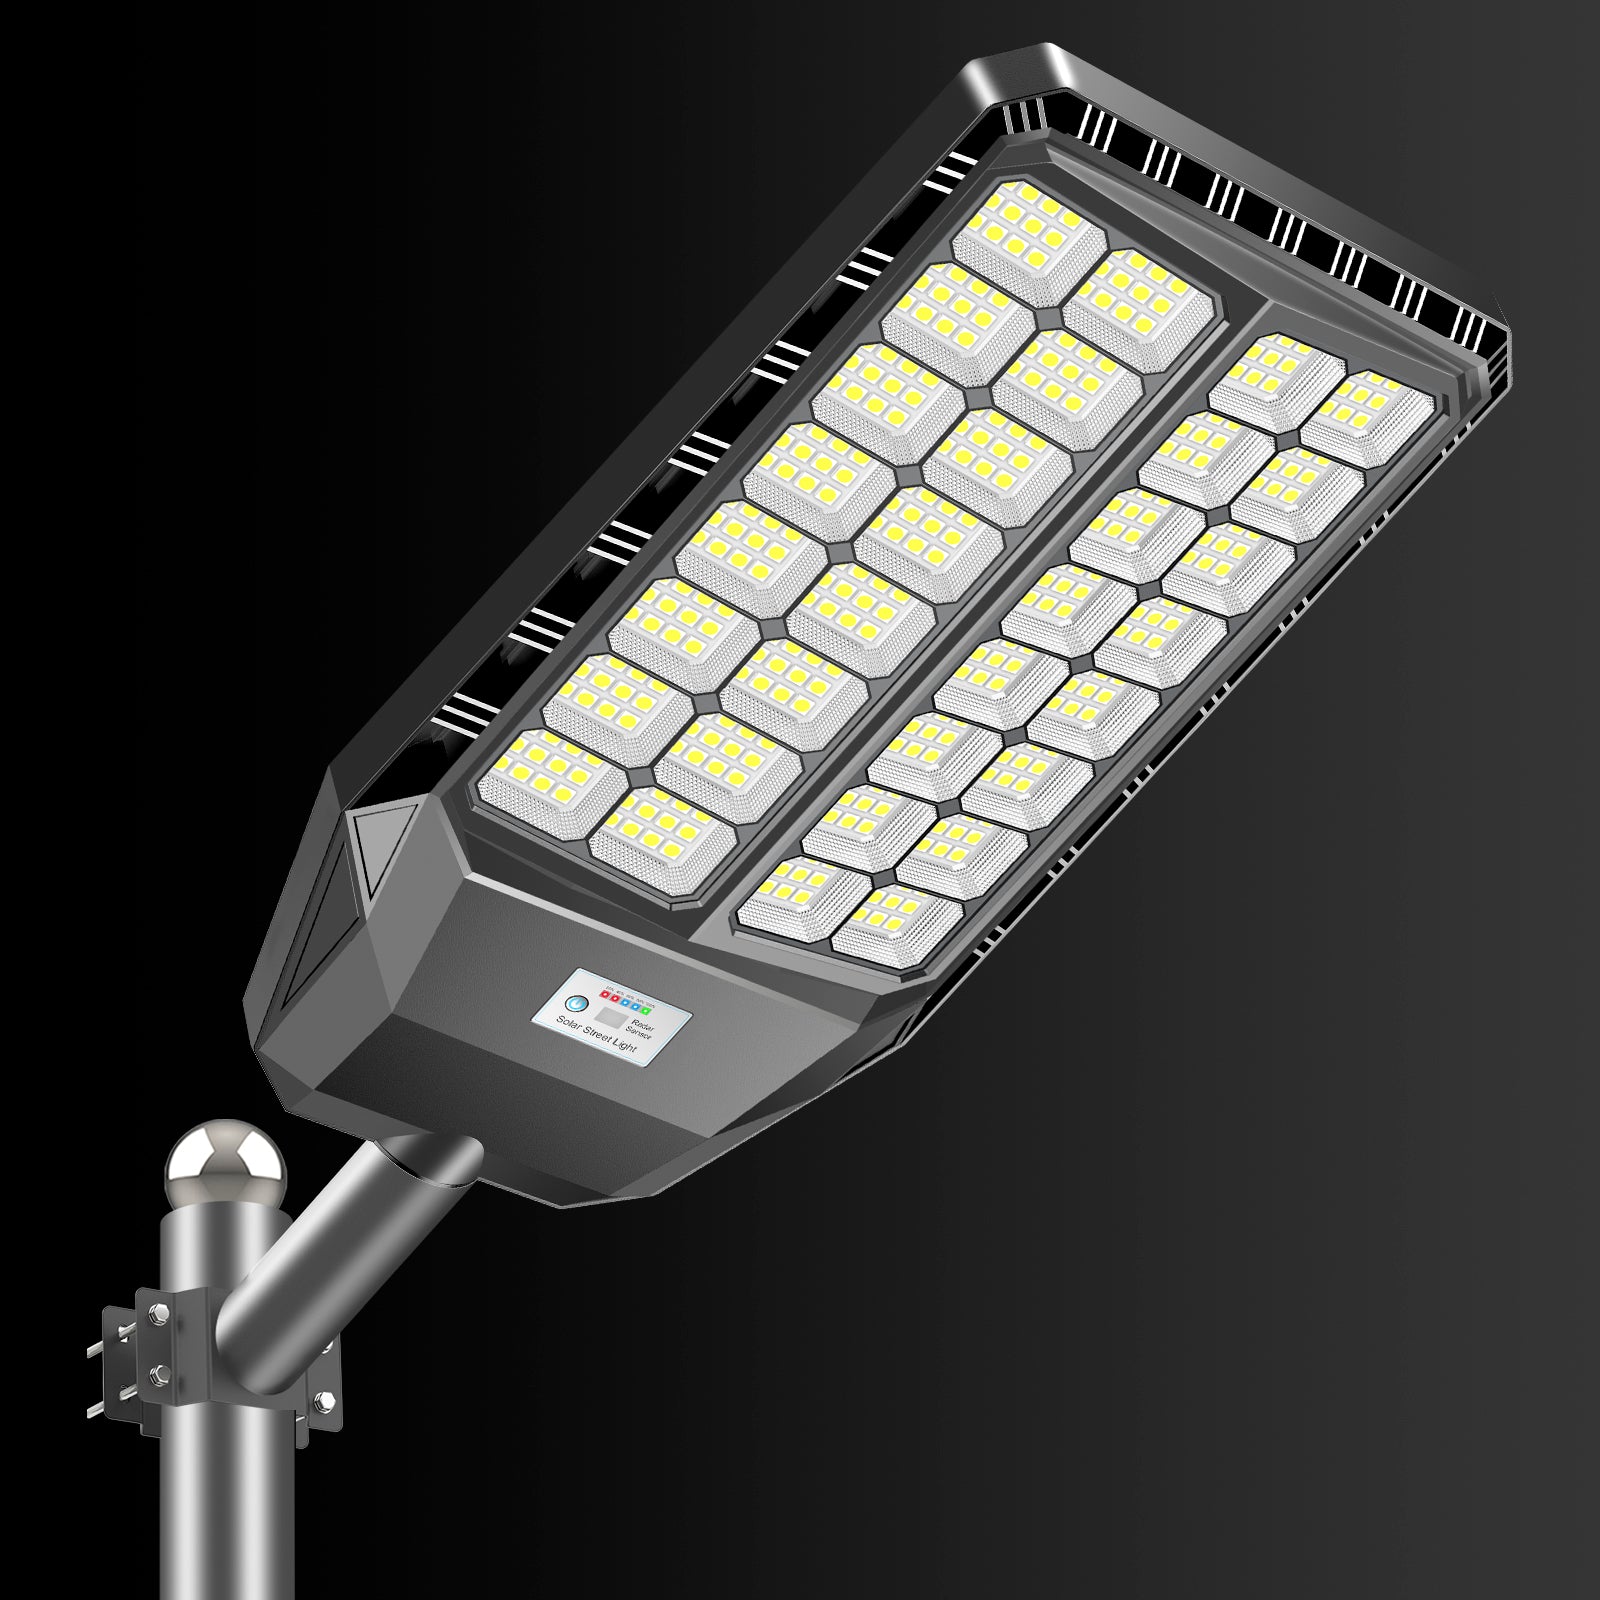
HY050 50W Commercial Solar Street Light 480WH 9000LM Output — listed at $696
The HY050 is the most approachable price point of the three and may be worth comparing for a smaller driveway, private road, or defined outdoor zone where the required coverage is modest. Its current product title lists a 480Wh battery and 9,000 lumens. The product description also mentions MPPT charging, adjustable color temperature, time-controlled lighting modes, and operation through cloudy weather. Because some title and description details on this listing do not line up exactly, confirm the delivered configuration and the panel rating with Hykoont before using it in a specification.
For winter planning, focus less on the “50W” label by itself and more on the complete energy budget: the panel's verified rating, the battery capacity, the nightly dimming profile, and the mounting position. If you are lighting a short residential approach rather than a wide commercial lot, a thoughtfully aimed unit with an appropriate schedule may be a better fit than a high-output fixture you cannot keep charged.
See the HY050 listing and current price

HY080 80W Solar Street Light with Adjustable CCT and 538WH LiFePO4 Battery — listed at $999
The HY080 listing is a mid-range option for a wider driveway, small parking area, or access road where more output and battery reserve may be useful. Its product title specifies a 538Wh LiFePO4 battery and adjustable color temperature. The description lists smart control, MPPT charging, an IP65 rating, and a maximum of three days of operation in cloudy weather. Use that cloudy-weather statement as a point to confirm with the seller, not as a guaranteed runtime under every schedule or climate.
Before purchase, verify the exact solar-panel specification: the listing title and the detailed description differ on some component ratings. Ask which panel and battery configuration ships with the selected product, whether the listed price includes the panel and mounting hardware you need, and what operating schedule supports the expected winter runtime. Those questions are especially important when buying several fixtures for the same site.
Compare the HY080 product details at the current listing price

HY120 200W Commercial Solar Street Light 1152WH with Adjustable CCT MPPT Control — listed at $1,914
The HY120 is the largest investment in this comparison and is positioned for larger spaces, roads, or commercial sites. Its product title lists a 1,152Wh battery and MPPT control. The description specifies a 200W monocrystalline solar panel, a 21,600-lumen output, adjustable color temperatures, an IP65 rating, and a suggested mounting height of 12–14 meters with a 25–30-meter coverage range. These are product listing details, not a substitute for a site photometric plan or a winter energy calculation.
For a facility that needs broader coverage, the higher capacity may provide more room to plan a conservative winter schedule, but a larger fixture is not automatically the right answer for every pole. Confirm pole compatibility, panel exposure, structural loading, spacing, local requirements, and expected output after cloudy days. For a multi-fixture project, get the seller or installer to review the whole layout rather than treating each light as an isolated purchase.
Review the HY120 specifications and current price

Whichever model you compare, use the same questions for each quote: What exact panel and battery are included? What is the expected overnight profile in the site's darkest month? What happens after consecutive cloudy days? Is dimming programmable, and can output be boosted when motion is detected? What is covered by the warranty, and how are replacement batteries or controllers sourced? Consistent questions make a price comparison much more useful than a spreadsheet of lumen claims.
10. What not to do when a winter light looks dim
Do not assume that turning the fixture off and on will restore its battery. A reset cannot add sunlight to a shaded panel. Do not cover the sensor or panel to “test” it unless the manual specifically describes a safe test. Do not wire in a random battery, add a third-party panel, or change voltage because another product appears similar. Solar lighting systems are designed around compatible components and controller limits.
Do not overstate what a single sunny afternoon can prove. A battery that has been depleted by several dark days may need more than a short charging window to recover. Conversely, a light that continues to fail after several clear days and a clean, unshaded panel deserves a proper technical check. Keep the observations and tell the service provider the model, serial or order details, weather history, settings, and exact behavior.
And do not solve a safety problem by dimming a critical route without review. Where lighting is required for safe access, emergency egress, work operations, or a public right-of-way, coordinate with the responsible property manager or local authority. Energy efficiency matters, but the light must still do its job.
11. A simple way to plan a winter-ready installation
Start with a sketch of the property. Mark entrances, turns, pedestrian routes, parking areas, gates, loading points, existing poles, trees, and buildings. Add the locations that get the least winter sun. Then note which parts need all-night illumination and which can use a lower background level with a brighter response when occupied. This makes the conversation with an installer concrete.
Next, choose a realistic operating profile. State the expected hours per night, the level of light needed during quiet hours, and the number of cloudy days the system should bridge. Ask for the assumptions behind any autonomy claim. If the site is in a region with long cloudy spells, dense tree cover, or snow that often remains on panels, the system design needs to account for it. A strong product in the wrong location is still a poor installation.
Finally, plan maintenance before the first winter. Decide who checks panels after storms, who records dimming or shutoff, how high-mounted units can be safely accessed, and who handles warranty service. Put the product manual, configuration details, and installer contact in a place the property manager can find. A five-minute seasonal inspection plan is cheaper than discovering a loose panel after a dark week.
The bottom line: winter brightness starts in daylight
When a solar street light fades early in winter, begin with the energy path: clear sky to clean panel, panel to compatible controller, controller to a healthy battery, and battery to a schedule that matches the job. Short days and cloudy weather are real constraints, but they do not make troubleshooting a mystery. A better panel position, safe snow and grime removal, a practical dimming profile, or properly sized storage can all make a meaningful difference.
If you are choosing a new solar street light, size for your darkest month and verify the exact system configuration before you buy. Compare battery watt-hours, panel rating, controller behavior, mounting flexibility, expected runtime, warranty, and the coverage the site actually needs. Hykoont's HY050, HY080, and HY120 listings offer three price and capacity points to investigate, from $696 to $1,914 at the time this article was prepared. Check their product pages for current pricing and ask for confirmation wherever the listing details differ.
The best winter setup is not necessarily the brightest fixture in the catalog. It is the one that sees enough sun, stores enough energy, and uses that energy thoughtfully to keep the parts of your property that matter visible through the longest nights of the year.
Frequently asked questions
Why do solar street lights get dimmer in winter?
Winter brings shorter days, a lower sun angle, and often more cloud, snow, frost, or shade on the panel. The battery may start the night with less stored energy while the light is expected to run for more hours. A dimmer late-night output can reflect that reduced energy budget, though a sudden or unusually severe change should also prompt an inspection for damage, a dirty panel, a loose connection, or a failing component.
How can I keep a solar street light bright with limited sunlight?
Keep the panel clear and unshaded, orient it for the best available winter sun according to the installation guide, and use the controller's schedule efficiently. If the light supports adjustable output, a lower overnight baseline with a tested motion boost may extend runtime. For a new installation, have the system sized for the site's winter conditions and required hours rather than summer performance alone.
Should I brush snow off a solar panel?
If snow is blocking the panel, it can prevent charging. Follow the manufacturer's cleaning directions and only work from a safe, stable location. Never climb an icy pole or ladder to reach a fixture. For high-mounted panels, arrange a safe maintenance visit instead of risking a fall or damaging the panel with a hard tool.
Does cold weather ruin a solar street light battery?
Not necessarily. The allowed operating and charging temperatures depend on the battery and its protection system. A product may operate in cold conditions while still having limits on charging a very cold battery. Check the exact manual and specifications, and do not assume that an operating temperature range automatically covers every charging condition.
Will a bigger battery solve early shutoff?
It may add reserve, but it cannot compensate indefinitely for a shaded or snow-covered panel, repeated cloudy weather, or an overly demanding lighting schedule. Diagnose the whole system first. A larger battery works best when the panel can recharge it and the controller is configured for the required overnight output.
Can I leave my solar street light at full brightness all night?
Some systems may support it under favorable conditions, but winter nights can use more energy than the panel has collected. Check the product's specified operating profile and the requirements of the site. If the system offers dimming, test a schedule that preserves the necessary visibility while reducing output during low-activity hours. Do not reduce required lighting without appropriate review.
How many cloudy days can the Hykoont lights handle?
Some Hykoont descriptions state up to three days of operation in cloudy weather for specific models. Actual runtime depends on initial battery charge, panel exposure, temperature, output settings, and the length and density of the cloudy period. Confirm the current listing and ask how the stated figure was measured for the configuration you plan to buy.
Which of the HY050, HY080, and HY120 should I choose?
Choose based on the area to be lit, pole height and spacing, expected overnight hours, winter sun exposure, and required reserve, not just the model number or lumen count. The HY050 is listed at $696, the HY080 at $999, and the HY120 at $1,914 in the checked catalog. Ask the seller to confirm exact component specifications, especially where title and detailed listing information differ, and have a qualified installer review a larger site.
Do solar street lights need maintenance in winter?
They benefit from periodic visual checks. Look for snow or grime on panels, new shade, shifted hardware, storm debris, or visible damage. Follow the manual for cleaning and service, and use proper access equipment for pole-mounted fixtures. A brief inspection after a major storm and a simple record of overnight performance can help catch a problem before it becomes a longer outage.
Are solar street lights a good choice for a snowy U.S. climate?
They can work when the system is designed for local winter sun, the panel can be kept clear, the battery and controls suit the climate, and the operating profile is realistic. Heavy snow, long cloudy stretches, deep shade, and high all-night output make the design more demanding. Ask for site-specific winter assumptions and compare those with the property's lighting needs before committing.

Leave a comment
This site is protected by hCaptcha and the hCaptcha Privacy Policy and Terms of Service apply.