


Here's the situation a lot of horse property owners run into: you've got a beautiful arena — maybe a quarter mile from the barn, maybe further — and you want to ride after work when the sun goes down. The problem is there's no power out there. Running electrical conduit to a remote arena can cost anywhere from $5,000 to $25,000+ depending on distance, terrain, and local labor rates. That's before you buy a single light fixture.
Solar has changed this math completely. A well-designed solar lighting setup for a standard 100x200 foot arena can be installed for under $2,000 — no trenching, no permits for electrical work, no monthly utility bill. But "solar lights" covers a huge range of products, from $30 Amazon junk that dies in six months to commercial-grade systems that run reliably for a decade.
This guide is about the latter. We'll walk through what actually matters when lighting a horse arena off-grid, which products are worth the investment, and how to plan a layout that gives you consistent, safe illumination across the whole arena floor.
Why Horse Arenas Are Uniquely Challenging to Light
Before we get into products, it's worth understanding why arena lighting is harder than, say, lighting a parking lot or a driveway.
The Coverage Problem
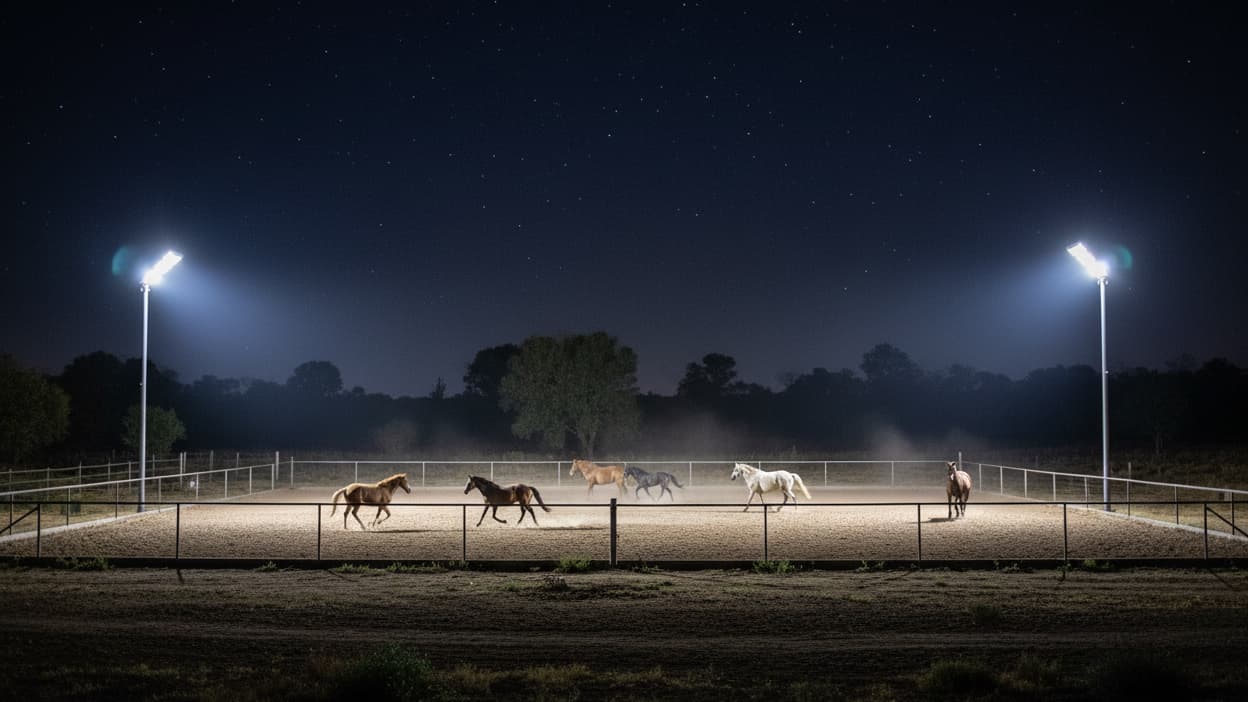
A standard outdoor arena is 100x200 feet — 20,000 square feet. An indoor arena is often larger. That's a lot of ground to cover evenly. Horses and riders need consistent light across the entire surface, not just bright spots near the fixtures with dark zones in between. Uneven lighting creates shadows that can spook horses and make it genuinely dangerous to ride.
The Height Problem
To get even coverage across a large arena, you need fixtures mounted high — ideally 18 to 25 feet. At that height, the light spreads wide enough to eliminate harsh shadows. Lower mounting means more fixtures to cover the same area, or you accept dark spots.
The Weather Problem
Arena lighting takes a beating. Dust, rain, humidity, temperature swings from desert heat to mountain cold — fixtures need to be rated for real outdoor conditions, not just "weather resistant" in the marketing copy. IP65 or IP66 is the minimum you should accept for any fixture that's going to be outside year-round.
The Solar Reliability Problem
This is the big one. Solar lights work great when the sun is shining. But what about a week of overcast weather in November? Or a cloudy stretch in the Pacific Northwest? Cheap solar lights with small batteries will leave you in the dark after 2-3 cloudy days. Commercial-grade systems with LiFePO4 batteries and MPPT controllers are designed to handle this — but you need to know what to look for.

The Solar Lighting Basics You Actually Need to Know
You don't need to become a solar engineer, but understanding a few key specs will save you from buying the wrong thing.
Battery Chemistry: LiFePO4 vs Standard Lithium
Most budget solar lights use standard lithium-ion batteries — the same chemistry as your phone. They're cheap, but they degrade fast, especially in temperature extremes. After 2-3 years, capacity drops significantly.
LiFePO4 (lithium iron phosphate) batteries are different. They're rated for 2,000+ charge cycles (vs 300-500 for standard lithium), handle cold weather much better, and don't have the thermal runaway risk of standard lithium. For a permanent installation on a horse property, LiFePO4 is worth the premium.
MPPT vs PWM Controllers
The charge controller manages how solar energy gets stored in the battery. PWM (Pulse Width Modulation) is the older, cheaper technology — it's fine for small systems but wastes 20-30% of available solar energy. MPPT (Maximum Power Point Tracking) is more efficient, extracting up to 30% more energy from the same panel. On cloudy days, that efficiency difference is the margin between your lights working and not working.
Lumen Output vs Wattage
Wattage tells you how much power a light consumes. Lumens tell you how much light it actually produces. A high-quality LED at 100W might produce 14,000 lumens. A cheap LED at 100W might produce 8,000. Always look at lumens, not just wattage, when comparing solar lights.
For arena lighting, you're targeting roughly 2-3 foot-candles at ground level for basic visibility, and 5-10 foot-candles for competitive riding or training. That translates to roughly 40,000-100,000 total lumens for a standard 100x200 arena, depending on mounting height and fixture placement.

The Right Products for Remote Arena Lighting
Let's get specific. Here are the products that make sense for a horse arena application, with real specs and honest assessments.
For the Arena Perimeter: Hykoont SZ300 Commercial Solar Street Light

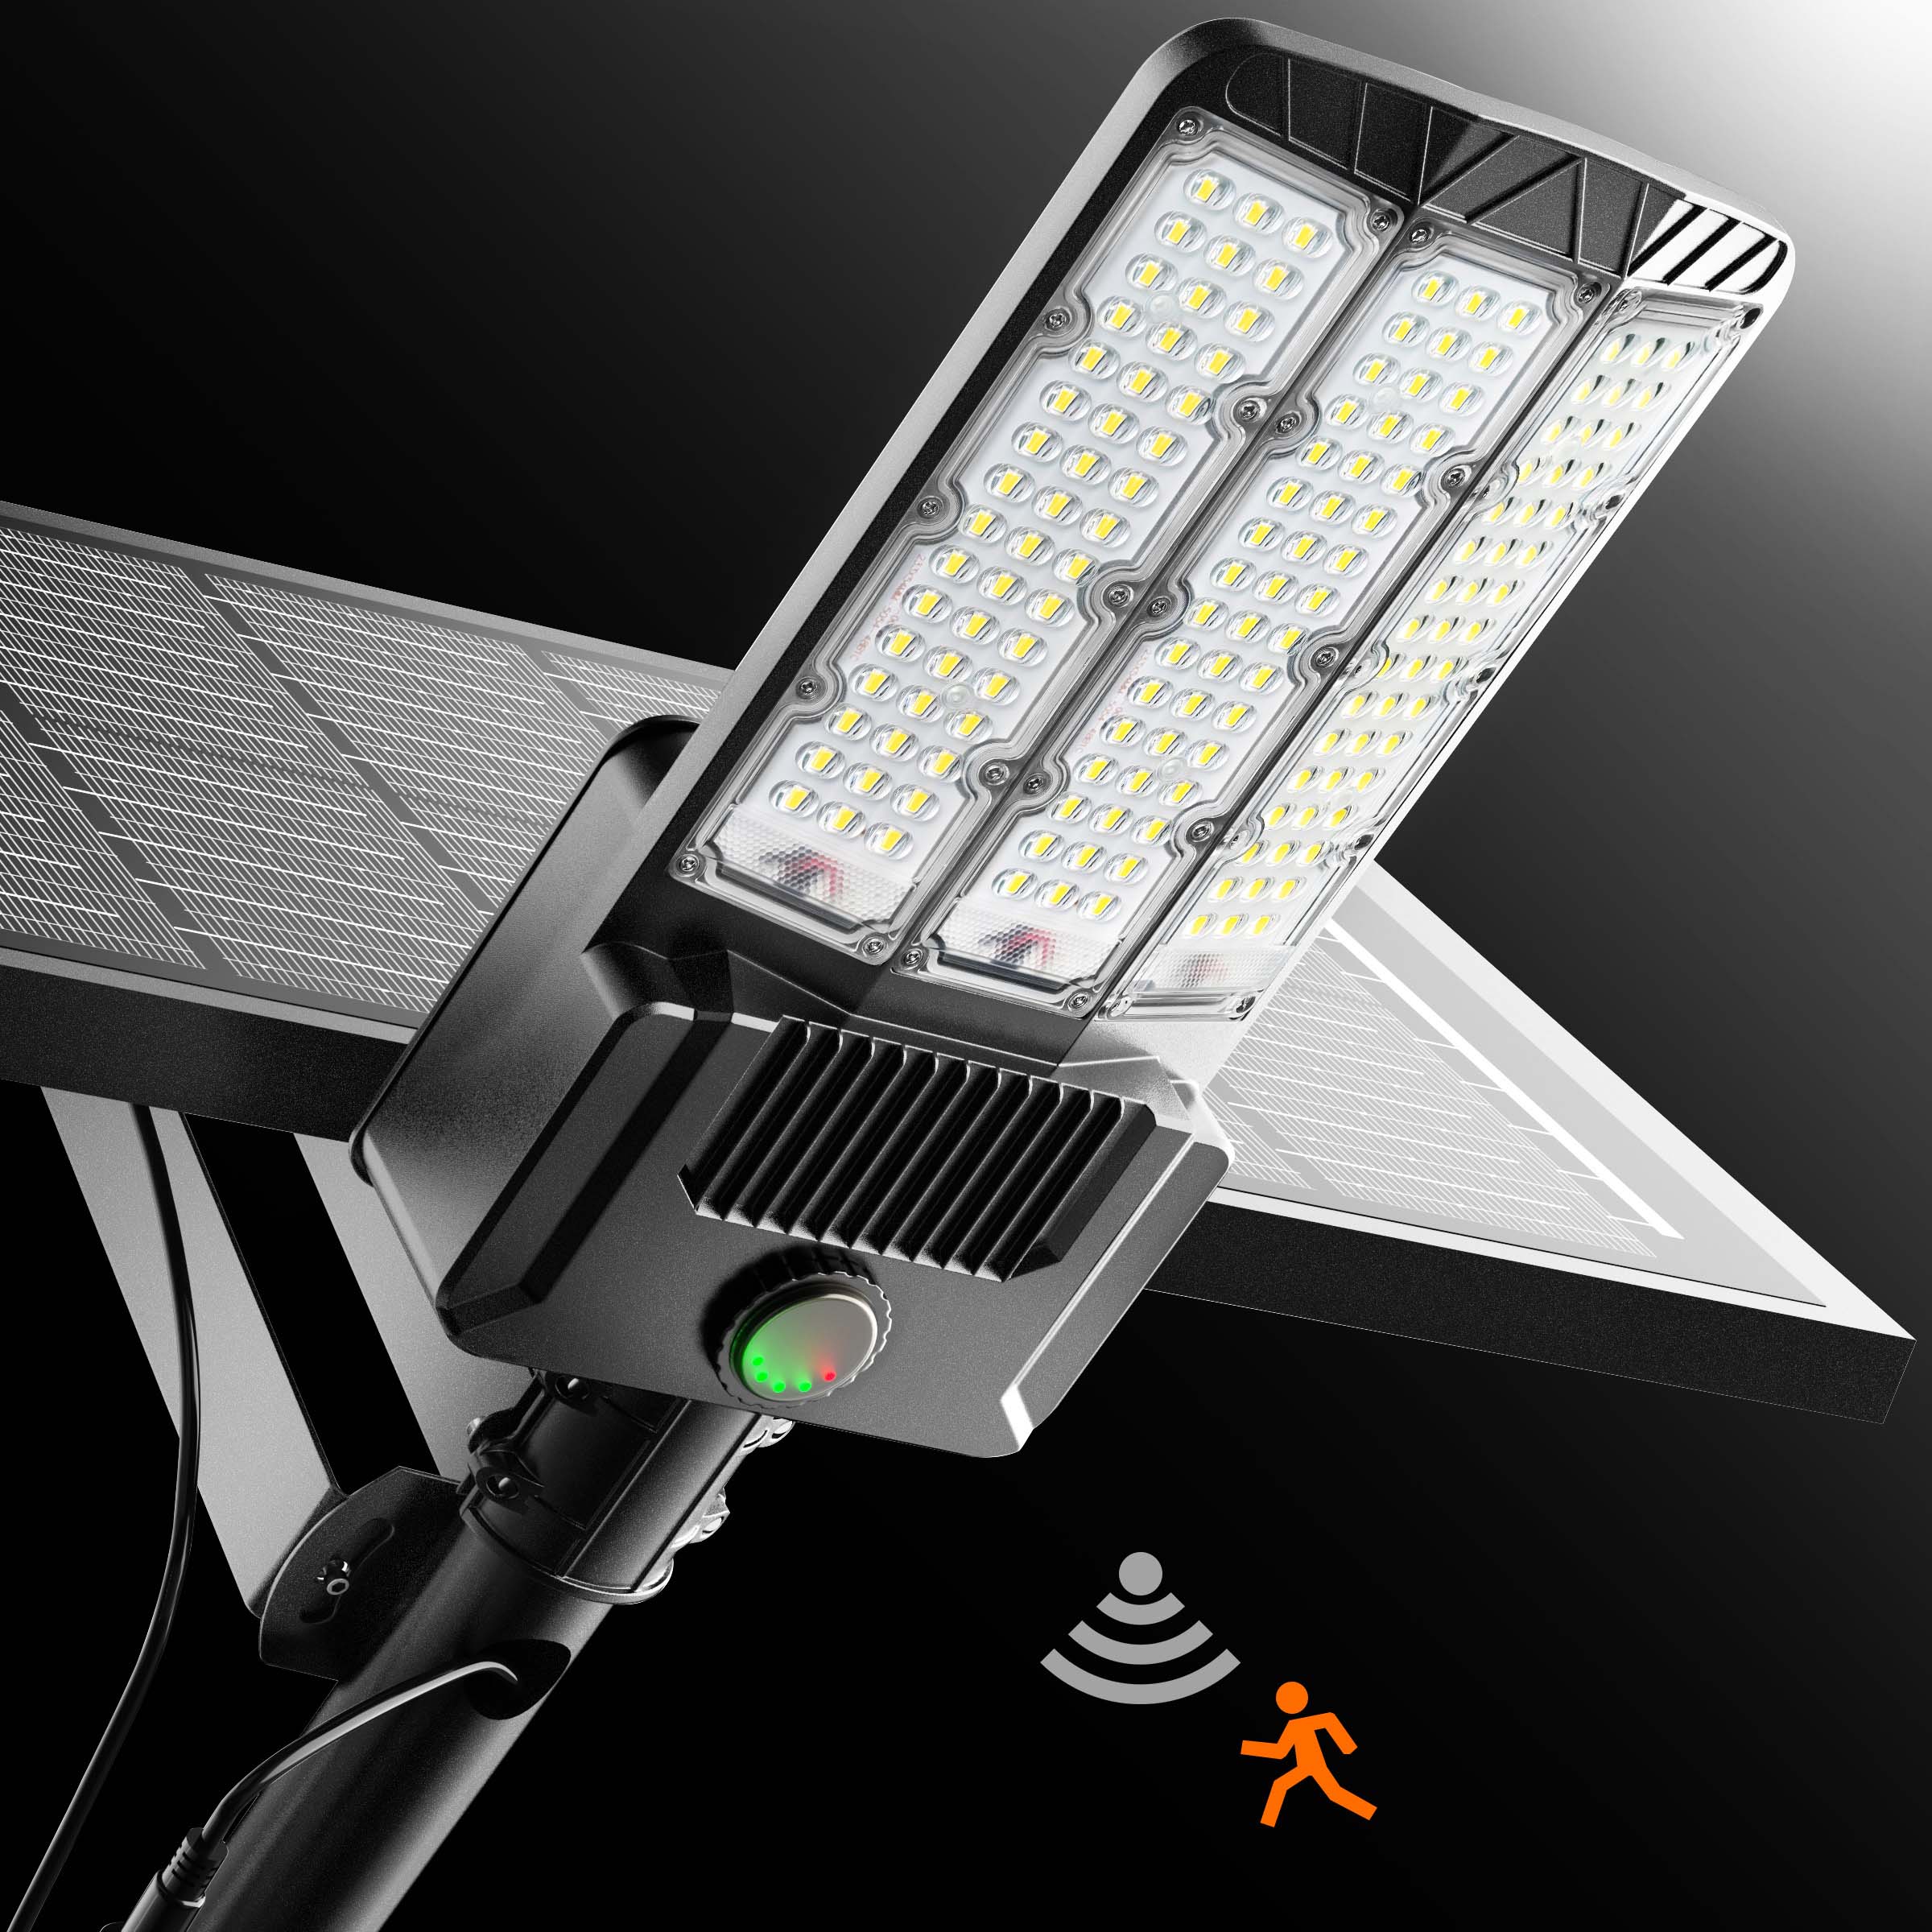
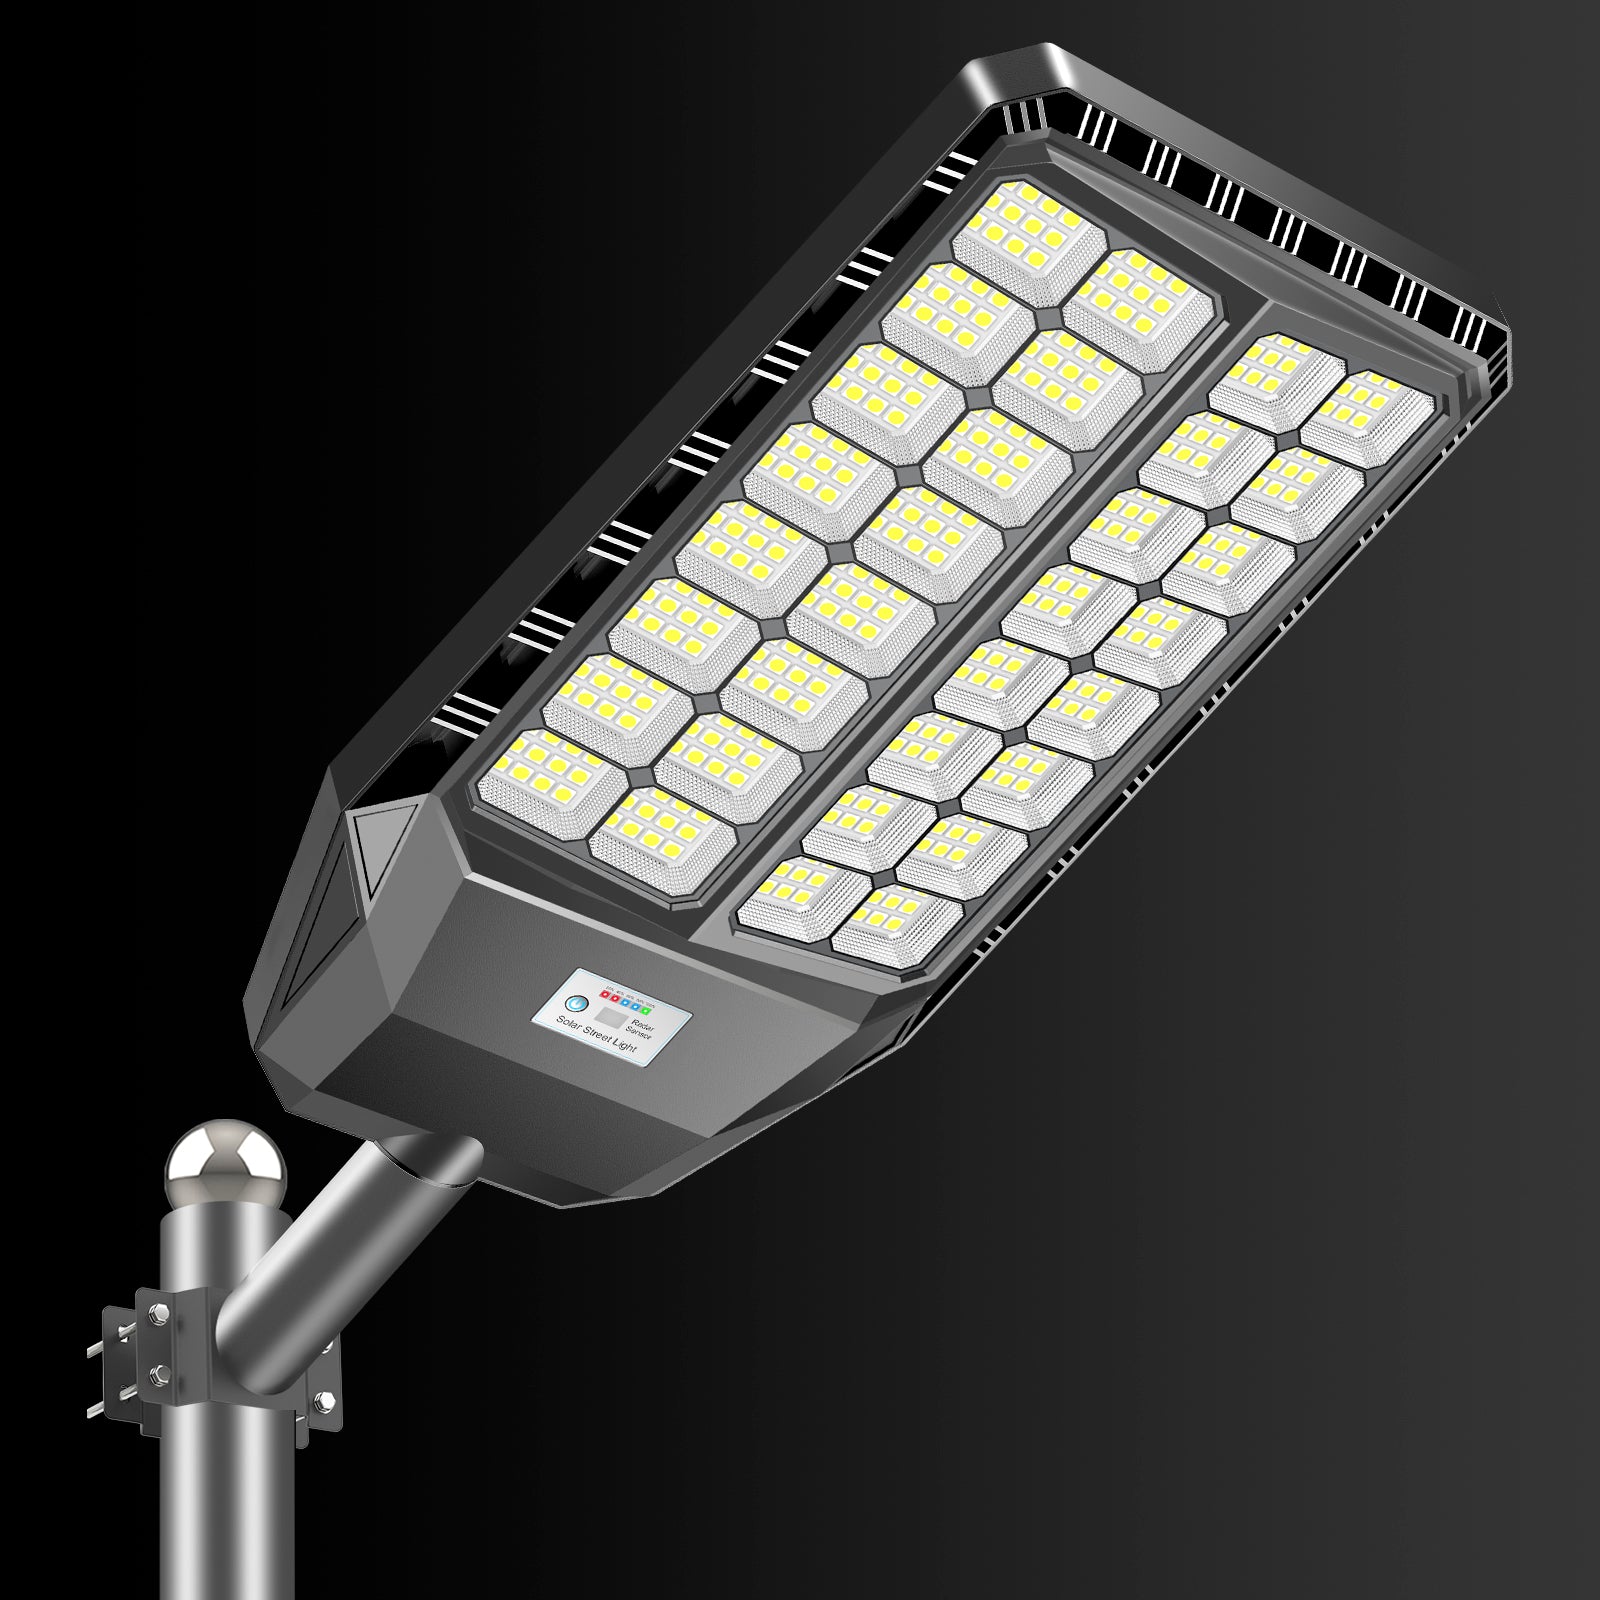
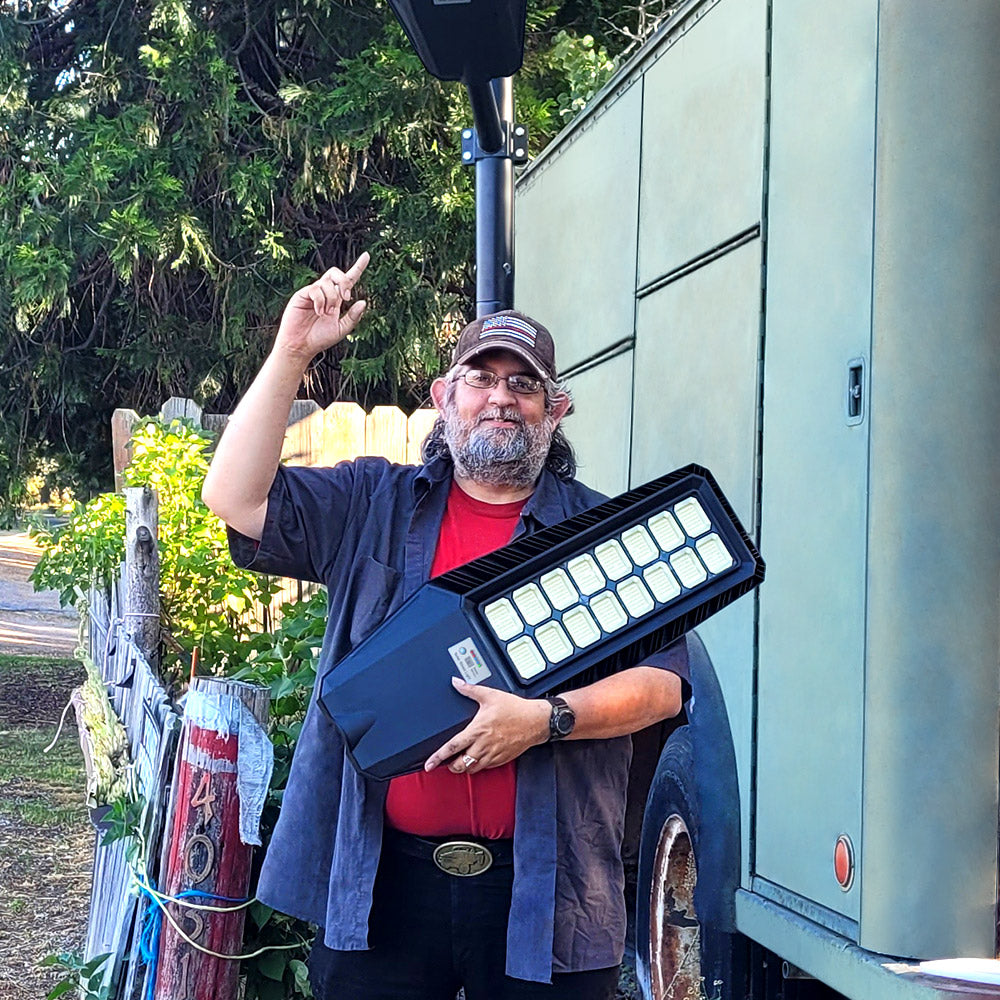
The SZ300 is Hykoont's commercial-grade solar street light, and it's the workhorse of this setup. Here's what makes it right for arena perimeter lighting:
- Output: 60,000 lumens — that's serious light, equivalent to a 400W metal halide fixture
- Solar panel: 400W monocrystalline (higher efficiency than polycrystalline)
- Battery: 50Ah — enough reserve for multiple cloudy days
- IP Rating: IP66 — dust-tight and protected against powerful water jets
- Color temp: 6500K–7000K (daylight, good for visibility and color accuracy)
- Lifespan: 60,000 hours
- Warranty: 3 years
- Price: $145.00 (1-pack) | $293.00 (2-pack)
At 60,000 lumens per fixture, two SZ300 units positioned at opposite corners of a 100x200 arena will give you solid baseline coverage across the entire surface. For competitive-level lighting, you'd want 4 units — one at each corner.
 👉 Shop SZ300 Commercial Solar Street Light — From $145.00
For Budget-Conscious Builds: Hykoont BM024 160W Solar Street Light (2-Pack)

If the SZ300 is more than your budget allows right now, the BM024 is a solid entry point. It won't light a full arena on its own, but it's a good starting point for smaller spaces or phased installations.
- Output: 21,600 lumens per fixture
- Wattage: 160W
- Battery: 6V 24AH
- Runtime: 16–24 hours after a full charge
- Charge time: 6–8 hours of direct sun
- IP Rating: IP66
- Modes: Dusk-to-dawn, motion sensor, timing
- Lifespan: 50,000 hours
- Warranty: 3 years
- Price: $199.00 for a 2-pack ($99.50/fixture)
The 2-pack pricing makes this one of the better value options in the lineup. For a smaller arena (60x120 or similar), four BM024 units — two 2-packs — at $398 total gives you 86,400 lumens across the space. That's workable for casual evening riding.
👉 Shop BM024 160W Solar Street Light 2-Pack — $199.00
For Maximum Reliability: Hykoont NT100A with LiFePO4 + MPPT

If you're in a region with frequent cloudy weather — Pacific Northwest, upper Midwest, New England — the NT100A is worth the premium. It's the only fixture in this lineup with both LiFePO4 battery chemistry and an MPPT controller, which means it's engineered specifically for reliability in low-sun conditions.
- Solar panel: 80W monocrystalline
- Battery: 320WH LiFePO4 (12.8V) — 5-year battery lifespan
- Controller: MPPT (30% more efficient than PWM)
- Output: 7,200+ lumens
- LEDs: 192 chips (SMD 3030)
- Beam angle: 70° × 140°
- Runtime: 1–4 hours at 100% brightness; 3–4 hours at 30–70%
- Installation height: 6–8 meters (20–26 feet)
- Coverage: Up to 30-meter area per fixture
- Certifications: RoHS, CE, ISO-9001
- Warranty: 3 years
- Price: $762.00
The NT100A is a different category of product — it's a true commercial installation, not a plug-and-play solar light. The LiFePO4 battery is rated for 2,000+ charge cycles, which at daily use works out to over 5 years of battery life before any degradation. For a permanent arena installation in a challenging climate, that longevity matters.
👉 Shop NT100A LiFePO4 Solar Street Light — $762.00
Arena Lighting Layout: How Many Fixtures Do You Actually Need?
This is the question everyone asks, and the honest answer is: it depends on your arena size, mounting height, and how bright you need it. Here's a practical framework.
Standard 100x200 Foot Arena
This is the most common outdoor arena size in the US. Total area: 20,000 sq ft.
Minimum viable setup (casual riding):
- 2× SZ300 at opposite long-side midpoints, mounted 20+ feet high
- Total lumens: 120,000
- Estimated cost: $293.00 (2-pack SZ300)
- Result: ~6 foot-candles average — adequate for walking and light trotting
Recommended setup (regular evening riding):
- 4× SZ300 at four corners, mounted 20+ feet high
- Total lumens: 240,000
- Estimated cost: ~$580.00 (two 2-packs)
- Result: ~12 foot-candles average — comfortable for all gaits including canter
Competition/training setup:
- 6× SZ300 (4 corners + 2 midpoints on long sides)
- Total lumens: 360,000
- Estimated cost: ~$870.00
- Result: ~18 foot-candles — suitable for jumping, pattern work, and lessons
Smaller Arena (60x120 Foot)
Common for backyard arenas and smaller properties.
- 2× SZ300 at opposite corners: ~$293.00, solid coverage for casual use
- 4× BM024 (two 2-packs): ~$398.00, 86,400 lumens, good for regular riding
Round Pen (60-Foot Diameter)
A single SZ300 mounted at the center on a tall pole, or two BM024 units on opposite sides, will cover a round pen adequately. The BM024 2-pack at $199 is the most cost-effective solution here.

Mounting: The Part Everyone Underestimates
The fixture is only half the equation. How you mount it determines whether you get even coverage or a patchwork of bright spots and shadows.
Height Matters More Than You Think
At 12 feet, a 60,000-lumen fixture creates a bright circle roughly 30 feet in diameter. At 20 feet, that same fixture spreads to cover 50+ feet. The higher you mount, the more even the coverage — and the fewer fixtures you need.
For a horse arena, aim for a minimum of 18 feet. Twenty to twenty-five feet is ideal. This usually means either:
- Mounting on existing fence posts or arena walls (if they're tall enough)
- Installing dedicated light poles
- Mounting on the barn or an adjacent structure if it's close enough
Pole Options
If you're going the dedicated pole route, you have a few options:
- Telescoping steel poles: Available in 13ft, 16ft, and 20ft configurations. These are what the TW Series and SZ300 bundle packages are designed around. They anchor in a concrete footing and are the most permanent solution.
- T-posts with extension arms: A cheaper DIY option, but limited to lower heights and less stable in wind.
- Existing structures: If your arena has corner posts or a covered section, mounting directly to the structure is often the cleanest solution.

Solar Panel Orientation
All-in-one solar lights (where the panel is integrated into the fixture) need to face south in the Northern Hemisphere to maximize sun exposure. When mounting on a pole, make sure the fixture can be oriented so the panel faces south — most commercial solar street lights have adjustable mounting brackets for exactly this reason.
Avoid mounting in locations where the panel will be shaded by trees, buildings, or arena structures during peak sun hours (10am–2pm). Even partial shading can cut charging efficiency by 50% or more.
Real-World Scenarios: What Setup Works for Your Property
Scenario 1: Ranch in West Texas, 100x200 Arena, Sunny Climate
Situation: 300+ sunny days per year, arena is 400 feet from the barn, no power infrastructure nearby.
Recommendation: 4× SZ300 at four corners, mounted on 20-foot poles. Total cost: ~$580 for fixtures. With 300+ sunny days, battery reserves will rarely be stressed. The IP66 rating handles the dust and occasional severe thunderstorm.
Expected performance: Full-brightness operation every night, year-round. The 50Ah battery on each SZ300 provides enough reserve for 2-3 consecutive cloudy days.
Scenario 2: Small Farm in Oregon, 60x120 Arena, Frequent Overcast
Situation: Pacific Northwest climate with 150+ cloudy days per year. Budget is tight.
Recommendation: 2× NT100A with LiFePO4 batteries, mounted at 20+ feet on opposite long sides. Yes, it's more expensive upfront ($1,524 for two units), but the MPPT controller and LiFePO4 chemistry are specifically designed for low-sun reliability. Cheaper fixtures will leave you in the dark during Oregon winters.
Alternative if budget is the constraint: 4× BM024 (two 2-packs at $398 total) with the understanding that you may have reduced brightness during extended cloudy stretches. Add a third 2-pack later if needed.
Scenario 3: Boarding Facility in Kentucky, Multiple Arenas
Situation: Two arenas, one 100x200 and one 60x120. Need reliable lighting for boarders who ride evenings. Mixed climate.
Recommendation: SZ300 for the main arena (4 units, ~$580), BM024 2-packs for the smaller arena (2 packs, $398). Total investment: ~$978 for both arenas. Compare that to $15,000–$40,000 to run power to both locations.

Lighting Modes: Dusk-to-Dawn vs Motion Sensor vs Timer
Most commercial solar street lights offer multiple operating modes. For arena lighting, here's how to think about each:
Dusk-to-Dawn: Light stays on at full brightness from sunset to sunrise. Maximum visibility, maximum battery drain. Best for arenas with consistent evening use.
Motion Sensor Mode: Light dims to 30% when no motion is detected, jumps to 100% when someone enters the arena. Extends battery life significantly — useful if you're not riding every night. The BM024 and SZ300 both support this mode.
Timer Mode: Set the light to run at full brightness for a specific number of hours after dusk (2, 4, 6, or 8 hours), then dim or shut off. If you know you're always done riding by 10pm, a 4-hour timer from sunset is the most battery-efficient option.
For most horse property owners, motion sensor mode is the practical choice — it gives you full brightness when you're in the arena and conserves battery when you're not, which extends your reserve for cloudy days.
Installation: What You Can DIY and What You Shouldn't
One of the big advantages of solar arena lighting is that most of it is genuinely DIY-friendly. Here's the breakdown:
You can DIY:
- Mounting fixtures to existing structures (fence posts, barn walls, arena panels)
- Setting poles in concrete footings (standard post-setting process)
- Adjusting panel angle and fixture direction
- Programming lighting modes via remote control
Consider professional help for:
- Installing poles taller than 16 feet (requires proper anchoring and potentially a lift)
- Any situation where the fixture is near power lines
- Large commercial installations with multiple poles and complex layouts
The SZ300 and BM024 both come with mounting hardware and straightforward installation instructions. Most horse property owners with basic DIY skills can have a 4-fixture setup installed in a day.

Cost Comparison: Solar vs Running Power
Let's put some real numbers on this decision.
Running power to a remote arena (typical US costs):
- Trenching and conduit: $8–$15 per linear foot
- 400 feet of trench: $3,200–$6,000
- Electrical panel, wiring, fixtures: $3,000–$8,000
- Electrician labor: $2,000–$5,000
- Total: $8,200–$19,000+ (before ongoing electricity costs)
Solar setup for a 100x200 arena:
- 4× SZ300: ~$580
- 4× 20-foot poles (if needed): ~$400–$600
- Concrete and hardware: ~$100
- Total: ~$1,100–$1,300. Zero ongoing electricity cost.
The payback period on solar vs grid power is measured in months, not years. And if you ever sell the property, solar arena lighting is a feature — not a sunk cost.
👉 Start Your Solar Arena Build — Shop SZ300 From $145.00
Frequently Asked Questions
Q: Will solar lights work in winter when days are short?
Yes, but with caveats. In northern states (above 40° latitude), winter days can be as short as 8–9 hours, and overcast weather reduces charging efficiency. The NT100A with its MPPT controller and LiFePO4 battery is specifically designed for this scenario. For the SZ300 and BM024 in northern climates, using motion sensor or timer mode (rather than dusk-to-dawn) helps conserve battery during short winter days. In southern states (Texas, Arizona, California), winter solar performance is generally excellent.
Q: How long do the batteries last before they need replacement?
Standard lithium batteries in most solar lights last 2–4 years with daily cycling. The NT100A uses LiFePO4 chemistry rated for 2,000+ cycles — at one cycle per day, that's over 5 years before any significant degradation. The SZ300's 50Ah battery is also designed for extended lifespan. Most manufacturers offer 3-year warranties on the complete system.
Q: Can I use these lights in a covered arena?
Covered arenas present a challenge for solar because the panel needs direct sun exposure. If your covered arena has open sides, you can mount the fixture on the exterior wall with the panel facing south and run the light head inside. Alternatively, the NT100A supports a separate panel installation — you can mount the panel on the roof and run a cable to the light head inside. For fully enclosed arenas, grid power or a separate solar panel array with battery storage is a better solution.
Q: What's the difference between the SZ300 and the TW Series?
The SZ300 is Hykoont's commercial-grade solar street light with a die-cast aluminum housing, 60,000 lumens, and IP66 rating — it's the higher-output option for larger spaces. The TW Series (TW016, TW030) are also commercial-grade but designed with a slightly different form factor and mounting system. Both series are built for permanent outdoor installation. The SZ300 is currently available as a standalone fixture; TW Series bundle packages with poles are available for larger project orders.
Q: How do I keep horses from being spooked by the lights turning on?
Motion sensor mode can startle horses if the light jumps from 0% to 100% suddenly. Most commercial solar lights, including the BM024 and SZ300, allow you to set a minimum brightness level in motion sensor mode — so the light stays at 30% dim rather than completely off, and ramps up when motion is detected. This gradual transition is much less likely to spook horses. Alternatively, dusk-to-dawn mode keeps the light at consistent brightness all night, which horses adapt to quickly.
Q: Do I need a permit to install solar arena lights?
In most US jurisdictions, installing solar-powered outdoor lights on your own property does not require an electrical permit because there's no connection to the grid. However, if you're installing poles over a certain height (typically 10–12 feet), some counties require a building permit for the pole structure itself. Check with your local building department before starting. This is still dramatically simpler than the permits required for grid-connected electrical work.
Q: What happens during a week of cloudy weather?
This depends on your fixture and operating mode. The SZ300 with its 50Ah battery, running in motion sensor mode, can typically maintain reduced-brightness operation for 3–5 days without sun. The NT100A with LiFePO4 and MPPT is designed to handle extended low-sun periods better than standard lithium systems. For regions with frequent extended overcast (Pacific Northwest, upper Midwest in winter), the NT100A is the more reliable choice. For sunny climates, the SZ300 and BM024 handle occasional cloudy stretches without issue.
Q: Can I add more lights later if I need more brightness?
Absolutely. Solar lights are completely modular — each fixture is independent with its own panel and battery. You can start with 2 fixtures and add more as your budget allows or as your needs change. There's no rewiring or system redesign required. This is one of the biggest practical advantages of solar over grid-connected lighting.
Q: What color temperature is best for horse arenas?
6500K (daylight) is the standard recommendation for outdoor arenas. It provides the best visibility and color accuracy, which matters for reading the arena surface and seeing obstacles clearly. Some riders prefer 5000K (neutral white) for a slightly warmer feel, but 6500K is the more common choice for functional arena lighting. Both the SZ300 and BM024 are rated at 6500K.
Q: How do I aim the fixtures for best coverage?
For corner-mounted fixtures on a rectangular arena, aim each light toward the center of the opposite half of the arena — not straight down. This cross-lighting pattern minimizes shadows and provides more even coverage than pointing lights straight down. Most commercial solar street lights have adjustable mounting brackets that let you set the angle precisely after installation.
The Bottom Line
Lighting a remote horse arena without power used to mean either a massive electrical project or riding in the dark. Solar has genuinely changed that. Commercial-grade fixtures like the SZ300 deliver the kind of output that was only possible with grid power five years ago — at a fraction of the installation cost.
The key is buying the right product for your climate and use case. In sunny climates, the SZ300 is the best value per lumen for arena lighting. In challenging climates with frequent overcast, the NT100A's LiFePO4 battery and MPPT controller are worth the premium. And if you're starting small or working with a tight budget, the BM024 2-pack gives you a solid foundation to build on.
Whatever you choose, the math is clear: solar arena lighting pays for itself in months compared to running grid power, and it gives you the flexibility to expand, relocate, or upgrade without touching an electrical panel.
Ready to Light Your Arena?
Browse our solar lighting lineup built for remote and off-grid installations:
- SZ300 Commercial Solar Street Light — From $145.00 — Best overall for arena perimeter lighting
- BM024 160W Solar Street Light 2-Pack — $199.00 — Best value for smaller arenas and budget builds
- NT100A LiFePO4 Solar Street Light — $762.00 — Best for cloudy climates and maximum reliability
Questions about your specific arena layout? Contact our team — we're happy to help with fixture count and placement recommendations.

Leave a comment
This site is protected by hCaptcha and the hCaptcha Privacy Policy and Terms of Service apply.