


Why Proper Solar Light Installation Matters More Than You Think
You've just unboxed your new solar lights, excited to brighten up your driveway or backyard. But here's the thing—most people make critical mistakes during installation that cut their light's performance by up to 60%. I've seen it happen countless times.
The difference between a solar light that barely glows and one that illuminates your entire yard? It's all in how you install it. Let me walk you through everything you need to know.
Understanding Your Solar Light System Before Installation
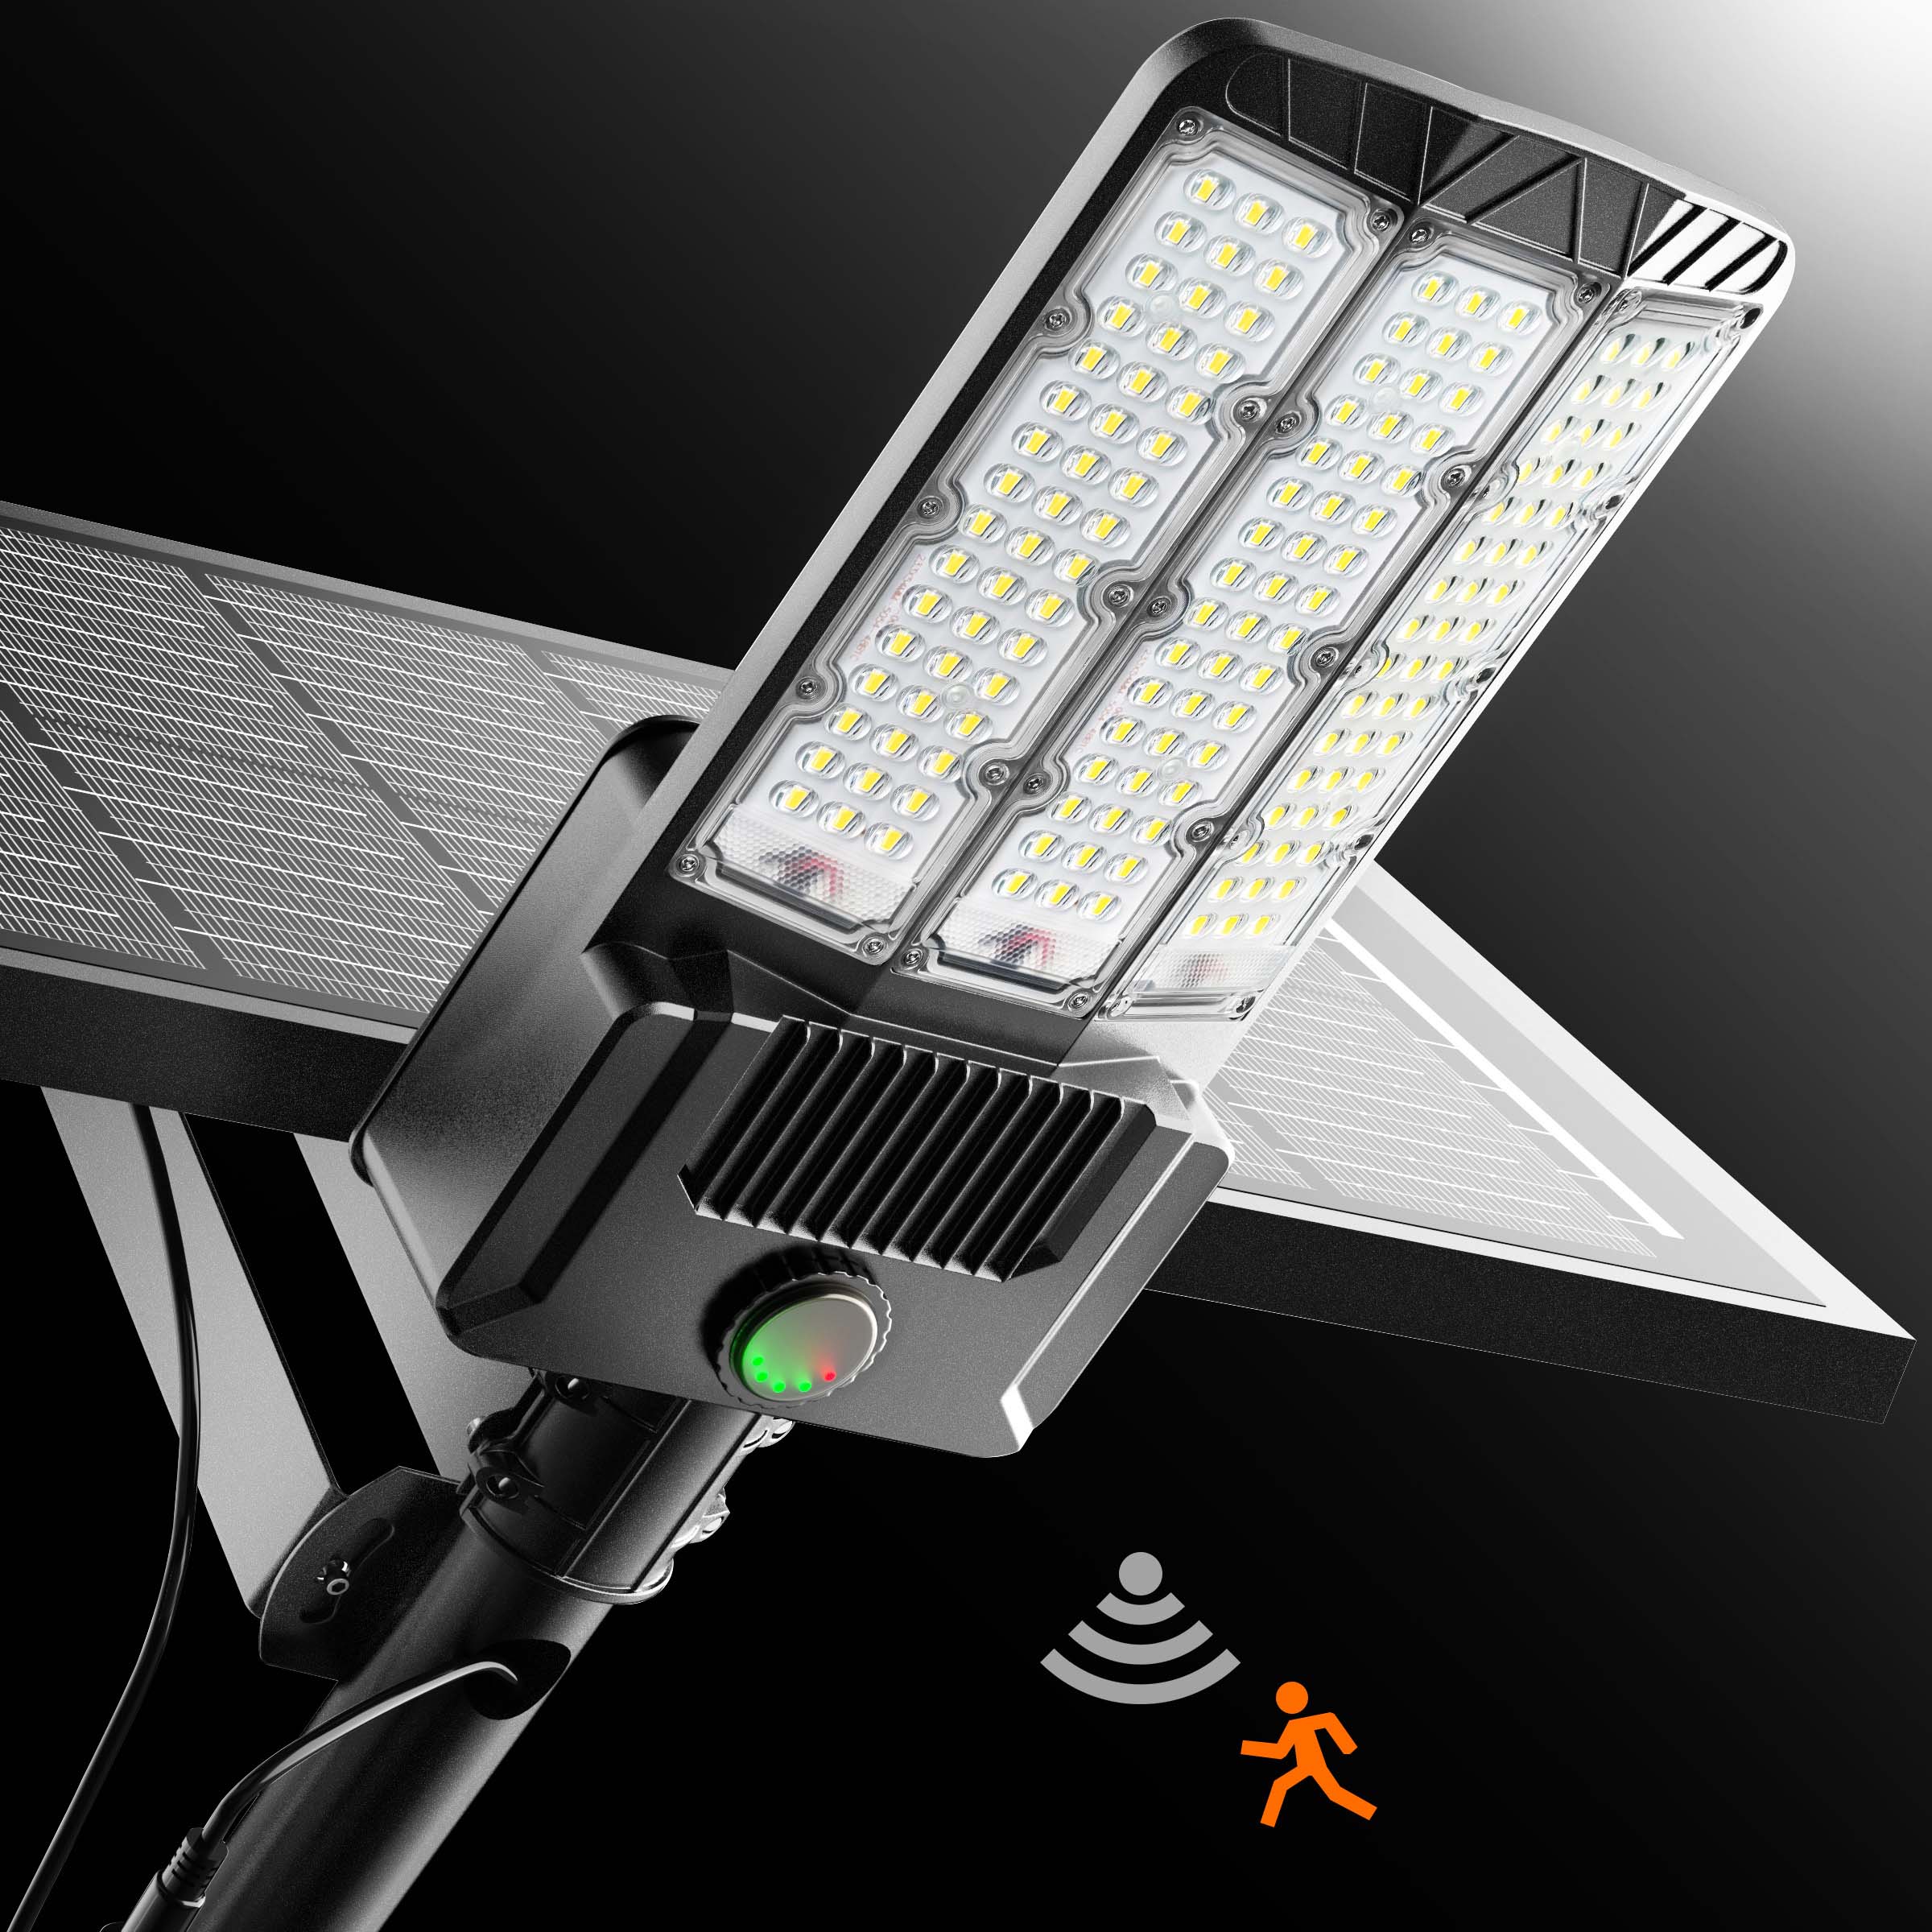
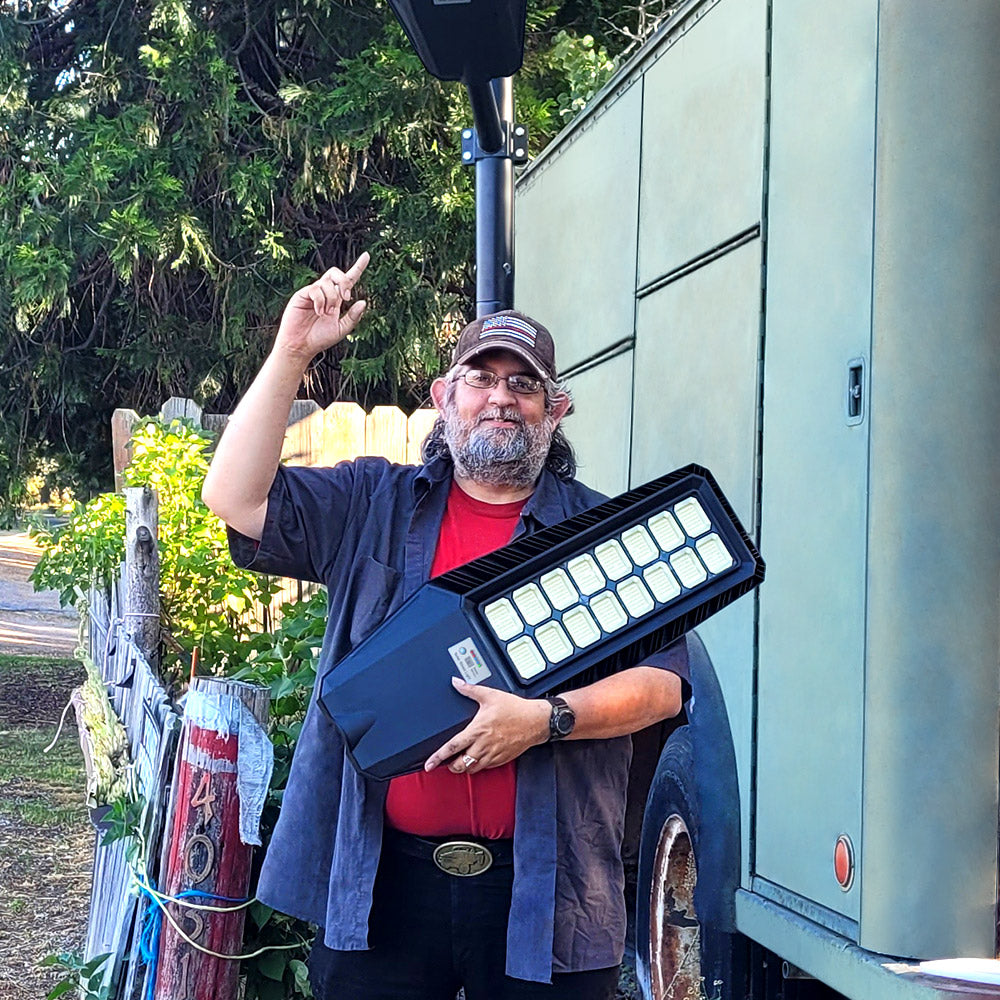
Before we grab any tools, let's talk about what makes these lights tick. Modern solar street lights and flood lights aren't just simple fixtures—they're sophisticated systems with solar panels, batteries, LED chips, and smart controllers working together.
Take something like the Hykoont TW024 Solar Street Light ($119-$509). This isn't your basic garden light. It's packing serious technology that needs proper setup to perform at its best.

The key components you're working with:
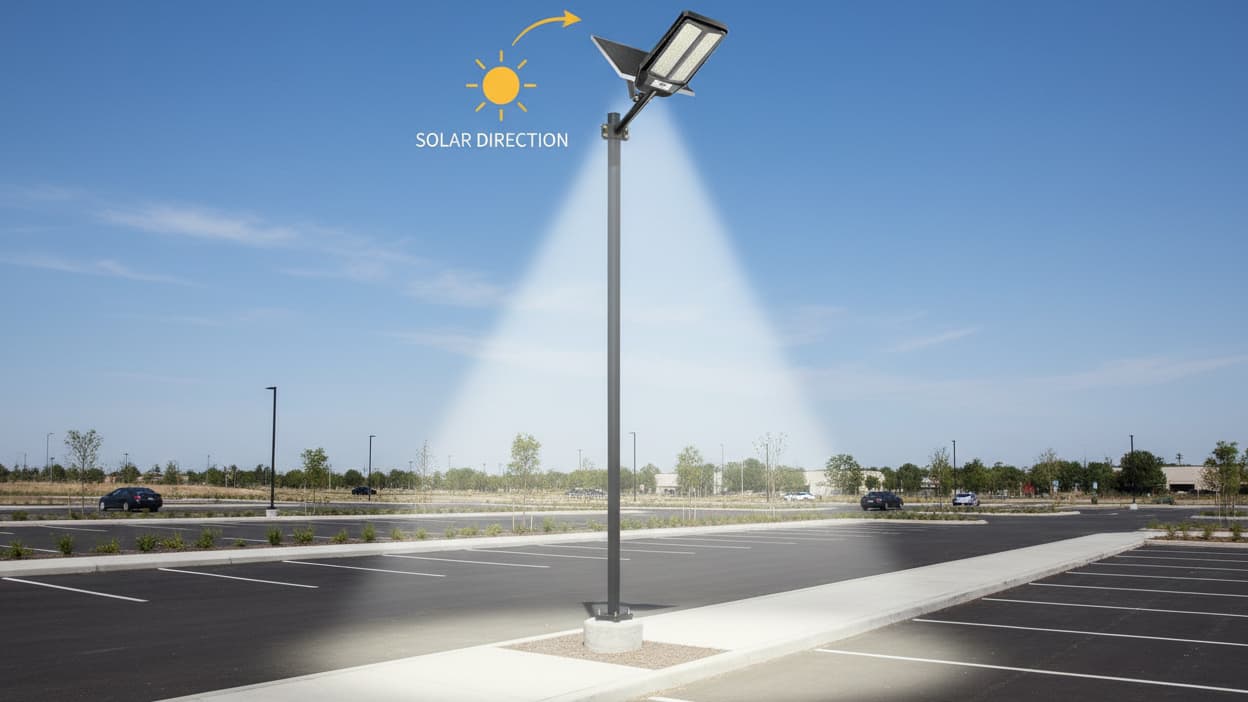
- Monocrystalline solar panels - These convert sunlight to electricity, and their angle matters tremendously
- Lithium batteries - Store energy for nighttime use, need proper temperature conditions
- LED arrays - Provide the actual illumination, with specific beam angles
- Motion sensors and controllers - Manage brightness levels and battery life
Step 1: Choosing the Perfect Location (This Makes or Breaks Everything)
Here's where most installations go wrong. People pick spots based on where they want light, not where the solar panel can actually charge properly. You need both.
Sun Exposure Requirements
Your solar panel needs direct, unobstructed sunlight for at least 6-8 hours daily. Not partial sun. Not dappled shade. Direct sunlight. In the United States, this means:
- South-facing orientation - Ideal for maximum sun exposure throughout the day
- Clear of trees and buildings - Even winter shadows from bare branches reduce charging by 40%
- Away from other light sources - Street lights or porch lights can confuse the dusk sensor
For commercial applications, the HY100 100W Commercial Solar Street Light ($1,399) with its 768WH battery capacity can handle slightly less optimal conditions, but why compromise?
Coverage Area Planning
Different lights serve different purposes. A flood light spreads wide, while street lights focus on pathways. Measure your area first:
- Driveways - Need lights every 20-30 feet for continuous coverage
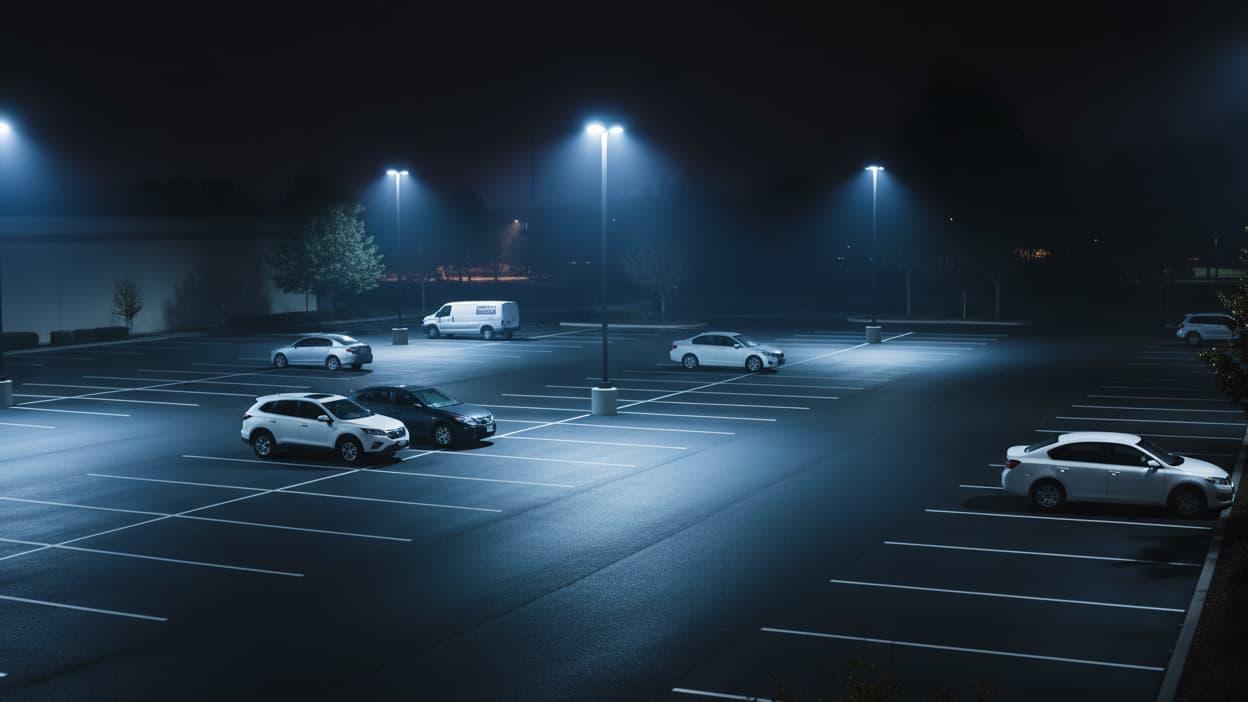
- Parking lots - Require higher mounting (15-20 feet) with wider spacing
- Pathways - Work best with lights every 10-15 feet at lower heights
- Security perimeters - Benefit from overlapping coverage zones
Step 2: Gathering Your Installation Tools and Materials
Don't start until you have everything ready. Nothing's worse than being halfway up a ladder and realizing you forgot the mounting bracket.
Essential Tools
- Power drill with masonry and wood bits
- Socket wrench set
- Level (a good one, not a phone app)
- Measuring tape
- Ladder (appropriate height for your installation)
- Pencil or marker
- Safety glasses and gloves
Mounting Hardware
Most quality solar lights come with mounting hardware, but verify you have:
- Mounting pole or wall bracket
- Stainless steel bolts and screws
- Wall anchors (for masonry or concrete)
- Pole mounting clamps
- Weatherproof sealant
Step 3: Pole Installation for Street Lights (The Foundation of Good Lighting)
If you're installing street-style lights like the Hykoont TW040 Solar Street Light ($179-$339), the pole is your foundation. Get this wrong, and everything else suffers.

Pole Height Selection
Height determines coverage area and light intensity at ground level:
- 10-12 feet - Residential driveways and small pathways
- 15-18 feet - Commercial parking areas and wide streets
- 20-25 feet - Large parking lots and roadways
Foundation Installation
For permanent installations:
- Dig a hole 2-3 feet deep, 12-18 inches diameter
- Add 4-6 inches of gravel for drainage
- Set pole in center, use level to ensure vertical alignment
- Pour concrete mix, checking level repeatedly as it sets
- Allow 48-72 hours for concrete to cure before mounting lights
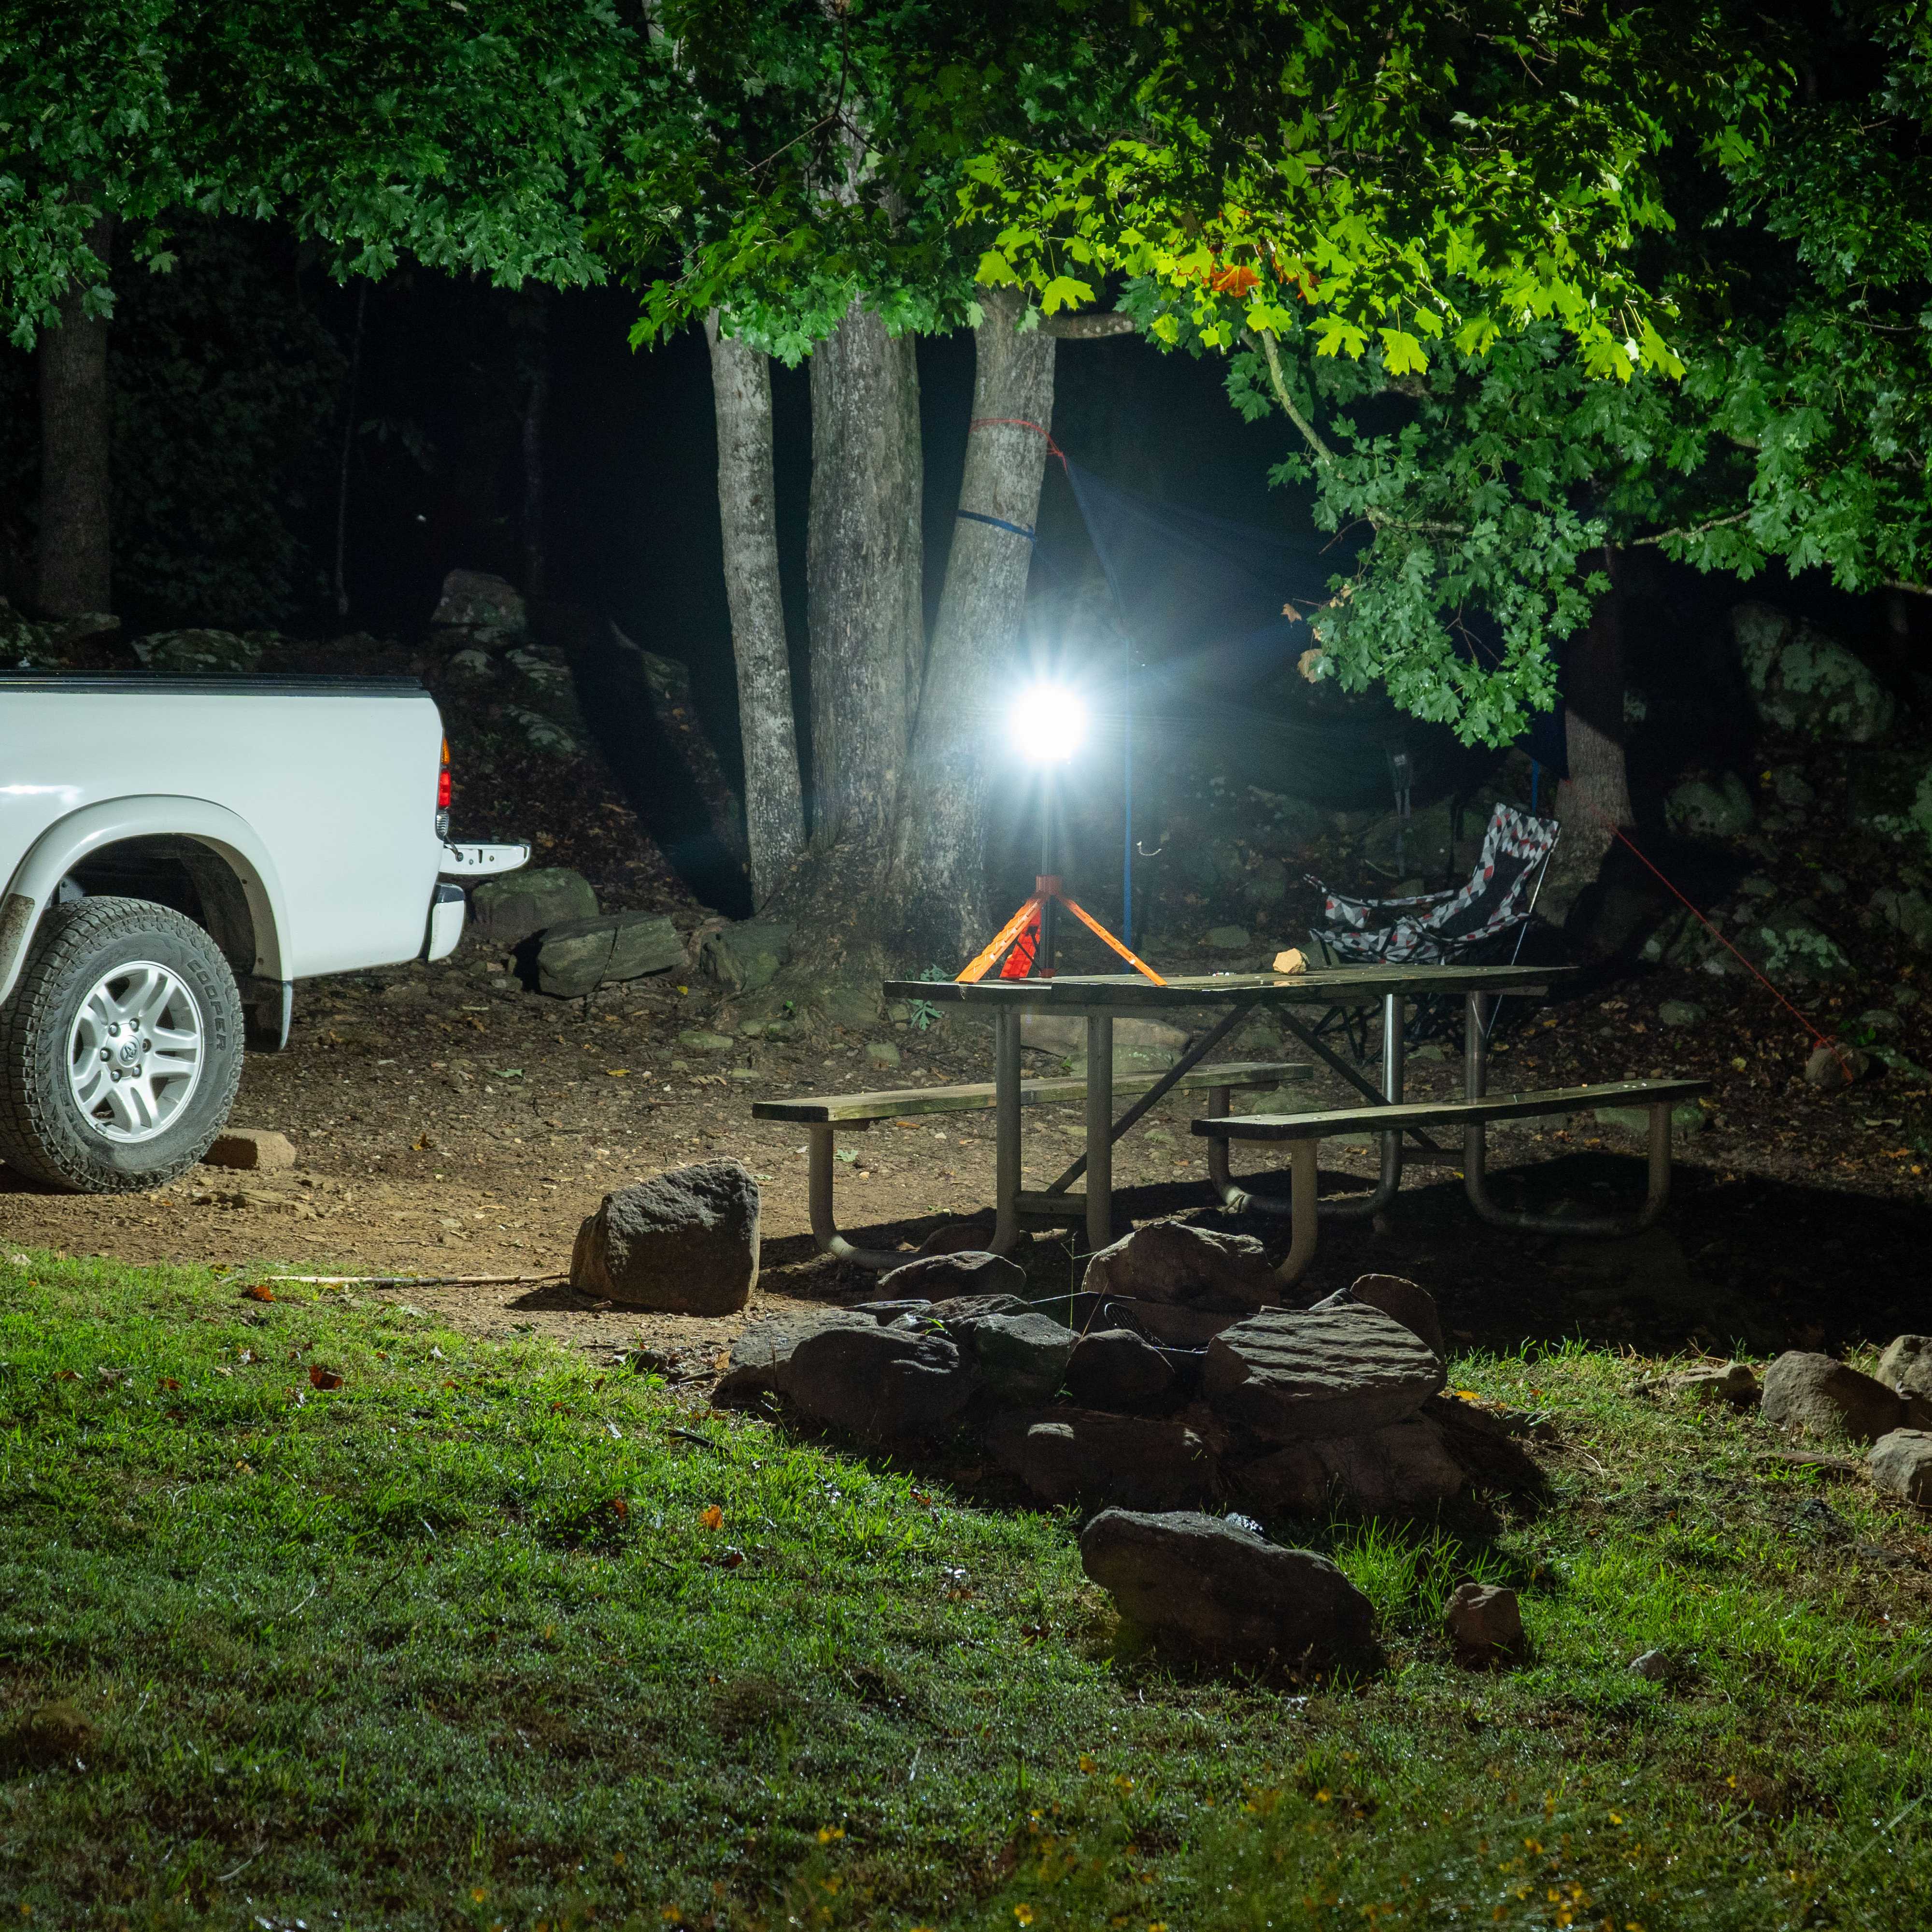
For temporary or adjustable setups, use a heavy-duty base plate with ground anchors.
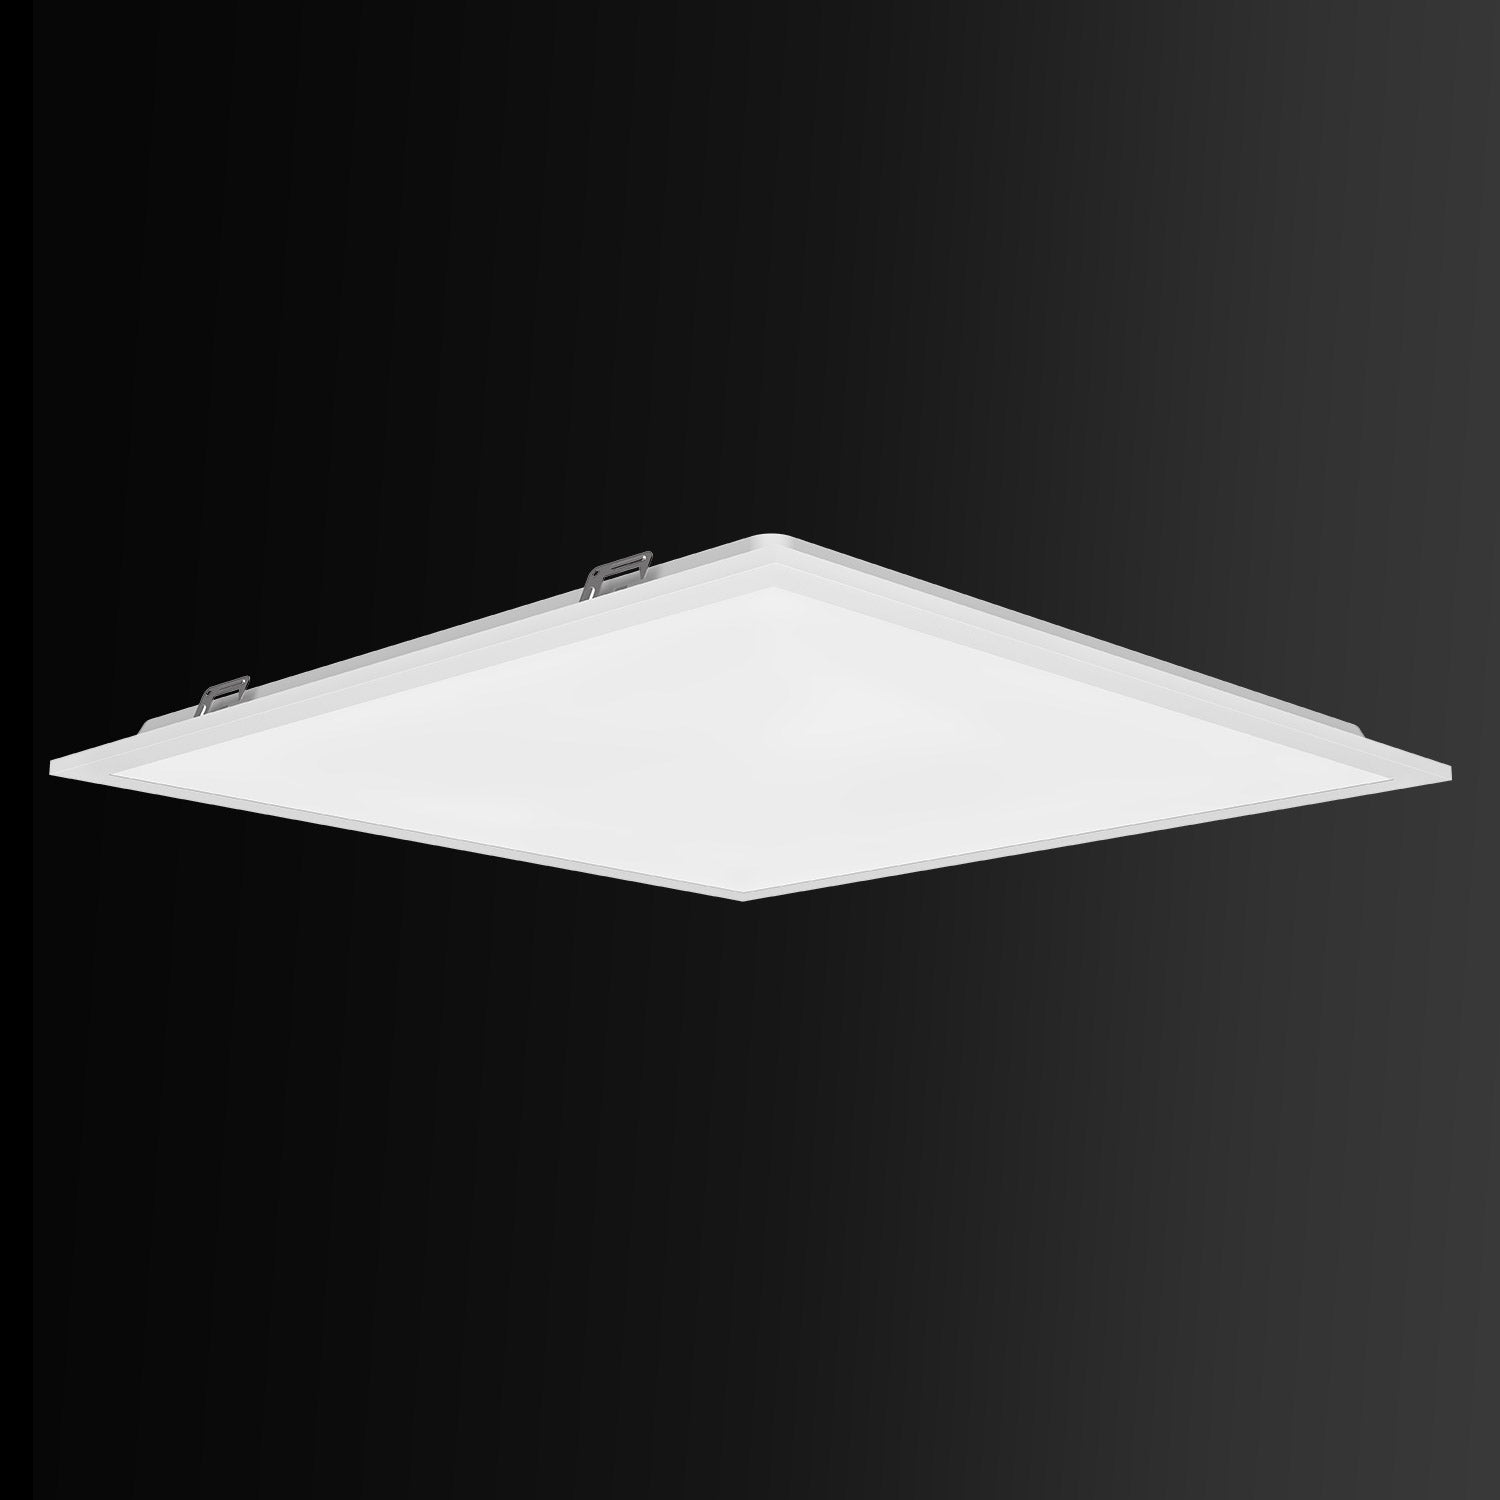
Step 4: Wall Mounting Installation (For Flood Lights and Security Lighting)
Wall-mounted solar flood lights offer flexibility and easier installation. The process differs based on your wall material.
Mounting on Wood Surfaces
- Locate wall studs using a stud finder
- Mark mounting holes with pencil
- Pre-drill pilot holes slightly smaller than your screws
- Attach mounting bracket with lag bolts
- Verify bracket is level before tightening completely
Mounting on Brick or Concrete
- Mark mounting positions with pencil
- Use masonry bit to drill holes for anchors
- Insert wall anchors, tapping gently with hammer
- Position bracket and insert bolts
- Tighten gradually, alternating between bolts
Step 5: Solar Panel Positioning (The Secret to Maximum Charging)
This step separates okay performance from exceptional performance. The solar panel angle and direction directly impact how much energy your light stores.
Optimal Angle Calculation
In the United States, your ideal solar panel angle equals your latitude. But here's a practical guide:
- Northern states (40-50° latitude) - Angle panels at 40-45 degrees
- Central states (30-40° latitude) - Angle panels at 30-35 degrees
- Southern states (25-30° latitude) - Angle panels at 25-30 degrees
The HY100C 100W Commercial Solar Light ($1,890) features adjustable panel angles, making it perfect for optimizing based on your specific location.

Seasonal Adjustments
For maximum year-round performance:
- Summer - Decrease angle by 15 degrees (sun is higher)
- Winter - Increase angle by 15 degrees (sun is lower)
Or set it at your latitude and leave it—you'll get about 90% optimal performance year-round.
Step 6: Securing the Light Fixture
Now comes the satisfying part—actually mounting your light.
Pole-Mounted Lights
- Slide light fixture onto pole top
- Align mounting holes with pole brackets
- Insert bolts and hand-tighten first
- Use level to ensure light head is horizontal
- Tighten bolts in star pattern for even pressure
- Double-check all connections are secure
Wall-Mounted Lights
- Hook light onto mounting bracket
- Adjust angle for desired coverage area
- Tighten adjustment screws
- Test motion sensor range if applicable
Step 7: Initial Setup and Configuration
Your light is mounted, but we're not done yet. Proper configuration ensures optimal performance.
First Charge Cycle
This is critical—don't skip it:
- Keep light switched OFF for first 2-3 sunny days
- Allow battery to fully charge before first use
- This conditions the battery for longer lifespan
Mode Selection
Most modern solar lights offer multiple operating modes:
- Full brightness mode - Constant high output, shorter runtime
- Motion sensor mode - Dim until motion detected, then full brightness
- Time-controlled mode - Different brightness levels at different times
- Smart mode - Adjusts based on battery level and ambient conditions
The YK080 Pro 80W Solar Street Light ($365) includes adaptive lighting with MPPT control for intelligent power management.
Step 8: Testing and Adjustment
After installation, thorough testing prevents future headaches.
Coverage Testing
- Wait until full darkness
- Walk the entire coverage area
- Note any dark spots or over-lit areas
- Adjust light angle or add additional fixtures as needed
Motion Sensor Calibration
If your light has motion detection:
- Test sensor range from multiple angles
- Adjust sensitivity settings if available
- Ensure sensor isn't triggered by trees or traffic
- Verify detection zone covers desired area
Common Installation Mistakes (And How to Avoid Them)
I've seen these errors cost people hundreds in wasted equipment and electricity:
Mistake #1: Installing in Shaded Areas
Even partial shade reduces charging efficiency dramatically. That tree that's bare now? It'll have leaves in spring. Plan for year-round conditions.
Mistake #2: Incorrect Panel Angle
A flat panel might look sleek, but it's losing 30-40% charging potential. Angle matters more than you think.
Mistake #3: Mounting Too Low
Low mounting reduces coverage area and makes lights vulnerable to vandalism or accidental damage. Follow manufacturer height recommendations.
Mistake #4: Ignoring Obstructions
That utility pole 50 feet away? It'll cast a shadow on your panel for 2 hours every afternoon. Map out shadow patterns before finalizing placement.
Mistake #5: Skipping the Initial Charge
Using your light immediately might seem fine, but it reduces battery lifespan by up to 30%. Patience pays off.
Maximizing Performance: Pro Tips from the Field
Want to squeeze every lumen out of your investment? Here's what the pros do:
Seasonal Maintenance
- Monthly - Wipe solar panels with damp cloth to remove dust and debris
- Quarterly - Check all mounting bolts and tighten if needed
- Bi-annually - Inspect seals and gaskets for weather damage
- Annually - Test battery performance and consider replacement if degraded
Winter Performance Optimization
Cold weather and shorter days challenge solar lights:
- Increase panel angle by 10-15 degrees for lower sun position
- Clear snow from panels immediately after storms
- Consider switching to motion-sensor mode to conserve battery
- Expect 20-30% reduced runtime—this is normal
Summer Performance Optimization
- Decrease panel angle slightly for higher sun position
- Clean panels more frequently due to dust and pollen
- Take advantage of longer days by using full-brightness modes
- Check that heat isn't affecting battery performance
Choosing the Right Solar Light for Your Application
Not all solar lights are created equal. Match your light to your needs:
For Residential Driveways and Pathways
The Hykoont TW016 Solar Street Light ($79.99) offers excellent value with lens optical design for focused pathway illumination. It's perfect for homeowners wanting reliable lighting without breaking the bank.

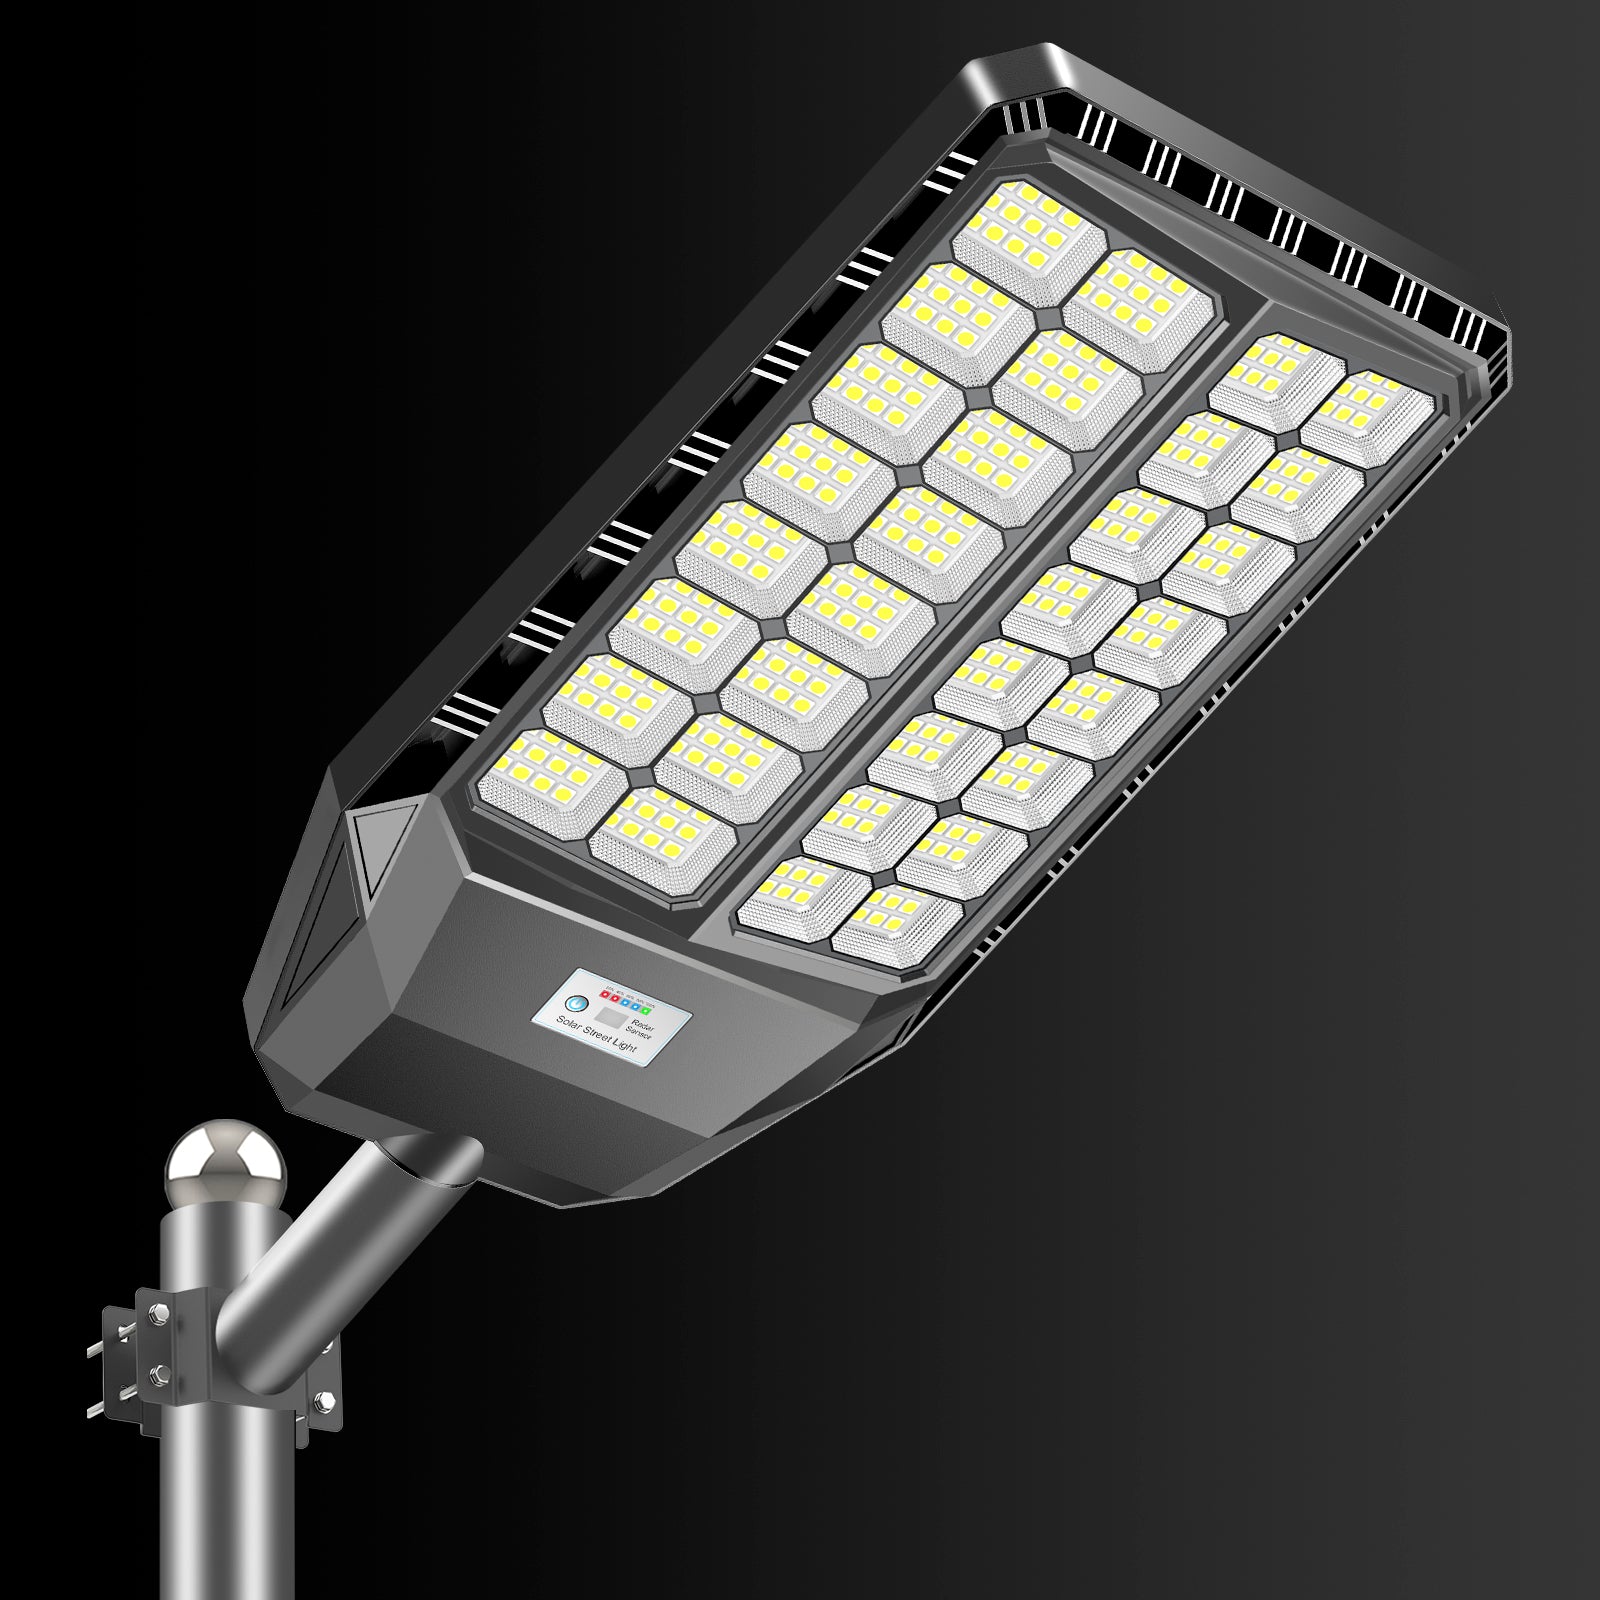
For Commercial Parking and Large Areas
The Hykoont SZ300 Commercial Solar Street Light ($145-$293) delivers 60,000 lumens with die-cast aluminum construction. This is serious commercial-grade equipment built for demanding applications.

For Security and Flood Lighting
When you need wide coverage with motion detection, the HYKOONT XC100 100W Solar Flood Light ($85) provides exceptional value with adjustable mounting and powerful illumination.
For Premium Commercial Applications
The Hykoont BD006 Solar Street Commercial Light ($199) combines mono solar panel efficiency with high-lumen output and durable alloy construction. It's the choice for businesses that demand reliability.

Troubleshooting Common Installation Issues
Light Won't Turn On
- Check if battery protection mode is engaged (needs full charge first)
- Verify solar panel isn't covered or shaded
- Ensure on/off switch is in correct position
- Test in complete darkness (some sensors are very sensitive)
Dim or Weak Light Output
- Clean solar panel thoroughly
- Check battery charge level
- Verify panel angle is optimized
- Consider if location gets adequate sun exposure
Light Turns On During Day
- Dusk sensor may be shaded or dirty
- Nearby lights might be confusing the sensor
- Sensor may need recalibration (check manual)
Short Runtime (Light Dies Early)
- Battery may not be fully charging (check panel position)
- Cold weather reduces battery capacity temporarily
- Battery may be aging and need replacement
- Light mode may be too bright for battery capacity
Advanced Installation Techniques
Multiple Light Coordination
When installing several lights:
- Maintain consistent mounting heights for uniform appearance
- Overlap coverage zones by 10-15% for no dark spots
- Stagger activation times if possible to reduce power surge
- Use same color temperature for cohesive lighting
Smart Integration Options
Modern solar lights can integrate with smart home systems:
- Remote control via smartphone apps
- Scheduling for different brightness levels
- Integration with security systems
- Performance monitoring and alerts
Cost-Benefit Analysis: Is Professional Installation Worth It?
DIY installation saves money but requires time and tools. Here's the breakdown:
DIY Installation
- Cost: $0-$100 in tools (if you don't have them)
- Time: 2-4 hours per light
- Skill level: Moderate (basic tools and ladder work)
- Pros: Save $200-$500 per light, learn the system intimately
- Cons: Risk of improper installation, no warranty on labor
Professional Installation
- Cost: $200-$500 per light
- Time: 1-2 hours per light
- Pros: Guaranteed proper installation, labor warranty, optimal positioning
- Cons: Higher upfront cost
For most homeowners, DIY makes sense. For commercial installations or multiple lights, professional installation often pays for itself in optimized performance.
Environmental Considerations and Sustainability
Solar lights aren't just about saving money—they're about environmental responsibility:
- Zero operating emissions - No carbon footprint during use
- Reduced grid demand - Less strain on electrical infrastructure
- Long lifespan - Quality lights last 5-10 years with minimal maintenance
- Recyclable components - Solar panels and batteries can be recycled
A single solar street light prevents approximately 1,500 pounds of CO2 emissions annually compared to traditional lighting.
Frequently Asked Questions
How long do solar lights take to charge fully?
Most solar lights need 6-8 hours of direct sunlight for a full charge. The first charge should be 2-3 days with the light switched off to condition the battery properly. Cloudy days will extend charging time significantly.
Can solar lights work in winter or cloudy climates?
Yes, but with reduced performance. Solar lights charge even on cloudy days, just at 10-25% efficiency. In winter, expect 20-30% shorter runtime due to reduced sunlight hours and colder temperatures affecting battery performance. Choose lights with larger battery capacity for year-round reliability.
What's the ideal mounting height for solar street lights?
For residential applications, 10-12 feet provides good coverage for driveways and pathways. Commercial parking areas work best with 15-18 foot mounting heights. The general rule: mount height should be 3-4 times the desired coverage radius.
How do I know if my solar panel is getting enough sun?
Monitor your light's performance over several days. If it runs all night at full brightness, you're getting adequate sun. If it dims after a few hours, your panel needs better sun exposure. Use a sun path calculator app to identify optimal placement and avoid seasonal shadows.
Can I install solar lights myself or do I need an electrician?
Solar lights don't require electrical wiring, so no electrician is needed. Anyone comfortable with basic tools and ladder work can install them. The main skills needed are drilling, using a level, and following instructions. Professional installation is recommended for very high mounting or commercial applications.
How often should I clean my solar panels?
Clean panels monthly in dusty environments, quarterly in normal conditions. Use a soft damp cloth—no harsh chemicals needed. Dirty panels can reduce charging efficiency by 20-40%, significantly impacting performance.
What's the lifespan of solar light batteries?
Quality lithium batteries typically last 3-5 years with proper care. Battery lifespan depends on charge cycles, temperature extremes, and depth of discharge. Signs of battery degradation include shorter runtime and dimmer light output.
Do solar lights work under street lights or porch lights?
Nearby artificial lights can confuse the dusk-to-dawn sensor, causing the solar light to stay off. Install solar lights at least 10-15 feet away from other light sources, or choose models with adjustable sensitivity settings.
How many solar lights do I need for my driveway?
For standard residential driveways, place lights every 20-30 feet on alternating sides for optimal coverage. A typical two-car driveway (20 feet wide, 50 feet long) needs 3-4 lights. Wider or longer driveways require proportionally more fixtures.
Can I adjust the brightness of my solar light?
Many modern solar lights offer multiple brightness modes or dimming functions. Check your model's manual for mode selection—typically controlled by a button or remote. Some advanced models like the YK080 Pro feature adaptive lighting that automatically adjusts brightness based on battery level and time of night.
Final Thoughts: Installation Is Just the Beginning
Proper installation sets the foundation for years of reliable, cost-free lighting. But remember—solar lights are a system, not a set-it-and-forget-it solution. Regular maintenance, seasonal adjustments, and attention to performance will keep your lights operating at peak efficiency.
The investment you make in quality solar lighting pays dividends in reduced electricity costs, enhanced security, and environmental benefits. Whether you're lighting a residential pathway or a commercial parking lot, the principles remain the same: maximize sun exposure, optimize panel angle, and choose quality equipment.
Ready to transform your outdoor lighting? Explore the Hykoont BC020C 150W Solar Street Light ($79-$159) for an affordable entry point, or step up to commercial-grade solutions for demanding applications.

The sun is free. The technology is proven. The installation is straightforward. What are you waiting for?
Start your solar lighting project today and join thousands of satisfied customers who've made the switch to sustainable, reliable outdoor lighting.

Leave a comment
This site is protected by hCaptcha and the hCaptcha Privacy Policy and Terms of Service apply.