






Primary keyword: commercial solar street lights for parking lots and private roads
Long-tail keyword: how to calculate solar street light ROI and payback period for a commercial parking lot
If someone hands you a solar street light quote and says, “It pays for itself in two years,” the useful next question is not “What is the wattage?” It is: What exactly is included in that payback calculation?
Commercial lighting ROI is rarely decided by the lamp alone. The real number depends on the trench you do not have to dig, the electrician you do not have to send back, the electricity bill you stop receiving, the battery you eventually replace, and the number of nights the site stays safely lit when the utility power is having a bad day.
This guide gives you a practical way to calculate that number for a parking lot, private road, warehouse yard, RV park, apartment community, farm entrance, or other commercial property in the United States. It also includes a free, copy-and-paste calculator, realistic cost categories, worked examples, and a current selection of Hykoont commercial solar street lights with listed prices.
Prices and product availability were checked for this article and can change. Treat the figures below as a planning model, then confirm the live product page and your local installation quote before ordering.
The short version: solar street light ROI is a comparison, not a slogan
To calculate the real return on investment, compare two complete projects:
- Grid-connected lighting: fixtures, poles, trenching, conduit, wiring, utility connection, electrical labor, inspections, electricity, maintenance, and eventual replacement.
- Solar lighting: solar fixtures, poles or brackets, foundations, installation labor, any lift or equipment rental, batteries or battery-related service, maintenance, and replacements.
The basic calculation is:
Net solar investment = solar equipment + installation + site work + permits + contingency
Annual solar savings = avoided grid electricity + avoided utility connection costs + avoided grid-light maintenance − solar maintenance − solar replacement reserve
Simple payback period = net solar investment ÷ annual solar savings
For a more useful long-term view:
ROI over a chosen period = (total avoided grid cost − total solar cost) ÷ total solar cost × 100
That last formula is simple, but it is where many optimistic estimates quietly leave out battery replacement, service calls, financing, or the cost of bringing utility power to a remote corner of the property.

Free commercial solar street light ROI calculator
You can use the worksheet below in a spreadsheet. Put one number in each input cell, keep the assumptions visible, and compare the solar project with the grid project over the same number of years.
| Input | What to enter | Example |
|---|---|---|
| Number of light locations | How many poles or fixtures you need | 12 |
| Grid project cost per location | Fixture, pole, trenching, wiring, labor, utility work | $2,400 |
| Solar project cost per location | Solar light, pole, foundation, labor, equipment | $1,650 |
| Grid electricity cost per light per year | kWh × commercial electricity rate | $132 |
| Grid maintenance per light per year | Service calls, lamp or driver replacements, lift rental | $85 |
| Solar maintenance per light per year | Inspection, cleaning, tightening, service allowance | $30 |
| Solar replacement reserve per light per year | Battery, controller, or fixture reserve | $70 |
| Grid connection or annual fixed charges | New service, meter, demand or account charges | $1,000 per year |
| Analysis period | Use the same period for both options | 10 years |
Then use these spreadsheet formulas:
- Grid initial cost: number of locations × grid project cost per location.
- Solar initial cost: number of locations × solar project cost per location.
- Annual grid operating cost: number of locations × (grid electricity per light + grid maintenance per light) + grid connection charges.
- Annual solar operating cost: number of locations × (solar maintenance per light + solar replacement reserve per light).
- Annual net savings: annual grid operating cost − annual solar operating cost.
- Simple payback: (solar initial cost − grid initial cost savings) ÷ annual net savings. If the solar initial cost is lower than the grid initial cost, the project starts with an installation-cost advantage rather than waiting for a payback.
- Ten-year net benefit: grid initial cost + 10-year grid operating cost − solar initial cost − 10-year solar operating cost.
- Ten-year ROI: ten-year net benefit ÷ solar project cost × 100.
For Google Sheets or Excel, a compact version could look like this:
Grid_Total = Grid_Initial + (Years * Grid_Annual_Operating_Cost)
Solar_Total = Solar_Initial + (Years * Solar_Annual_Operating_Cost)
Net_Benefit = Grid_Total - Solar_Total
ROI = Net_Benefit / Solar_Initial
Payback_Years = (Solar_Initial - Grid_Initial) / (Grid_Annual_Operating_Cost - Solar_Annual_Operating_Cost)
If the payback result is negative, do not panic and do not change the formula. It usually means the solar installation costs less than the grid alternative before operating savings are even counted. In that case, report the upfront advantage separately, then report the additional operating savings.
Step 1: define what the lights are actually replacing
The easiest way to make solar ROI look impressive is to compare a solar fixture with the price of a grid fixture sitting on a pallet. That is not a project comparison. A commercial buyer should compare the entire installed system.
Ask your electrician or civil contractor for a line-item estimate for the grid option. Include the distance to the nearest suitable power source. A parking lot beside an existing electrical room may have a very different grid cost from a storage yard 700 feet behind a building. A private road crossing a property may need trenching, conduit, pull boxes, traffic control, directional boring, or restoration of asphalt and landscaping.
Grid lighting may also create recurring charges that do not show up in a fixture quote. There could be a new meter, service upgrade, utility inspection, demand-related charges, or a monthly account fee. These are not universal, so enter the actual figures from your utility and contractor instead of using a generic national average.
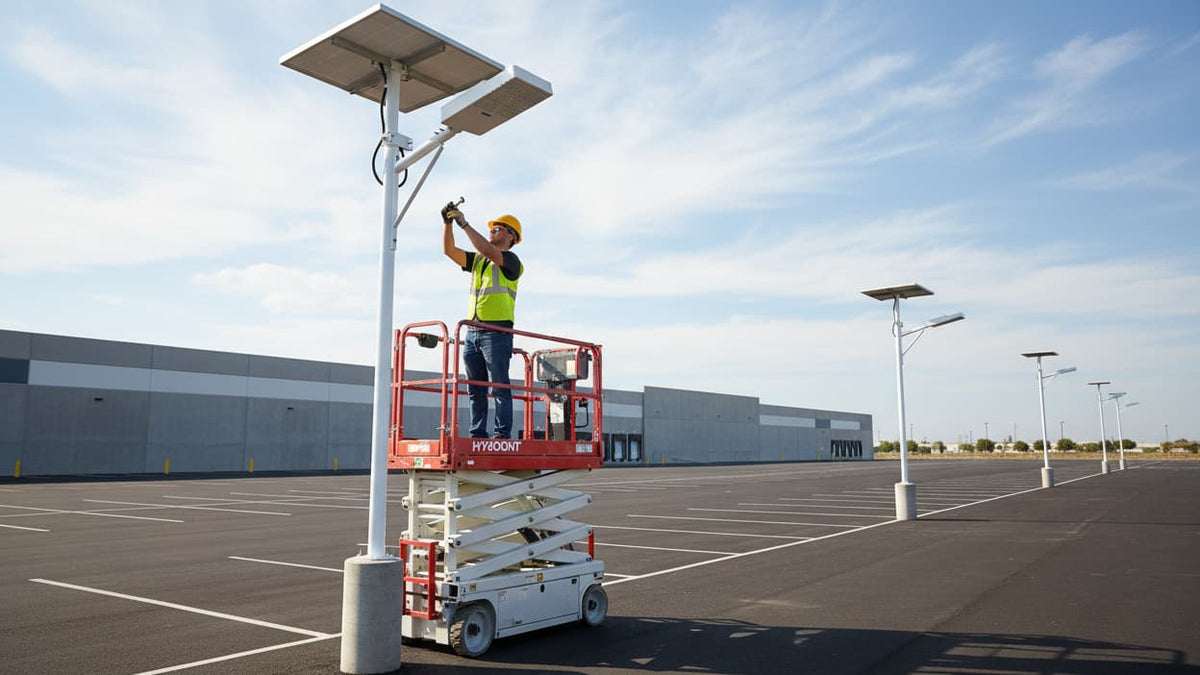
On the solar side, include poles and foundations if you are starting from an empty site. Solar lighting does not mean “no construction.” It usually means a different kind of construction: set the pole, mount the fixture, aim the light, and avoid the electrical trench. If you already have suitable poles, brackets, or foundations, the solar project may be much less expensive. If you need tall poles, engineered foundations, traffic control, or a lift, include those items.

Step 2: calculate the grid lighting baseline
Electricity is only one line in the grid baseline, but it is the line most people remember. To estimate it, use the fixture’s real input wattage, operating hours, and local electricity rate.
Annual kWh per light = watts ÷ 1,000 × hours per night × 365
For example, a 100-watt fixture operating for 12 hours each night uses approximately 438 kWh per year before controls and losses are considered. At $0.16 per kWh, that is about $70 per year for energy. A commercial site with 40 fixtures would spend about $2,800 per year on that energy alone. Your actual result may be higher or lower, especially if the fixture runs at different output levels, uses a photocell schedule, or is billed under a rate with additional charges.
Then add maintenance. A grid light may need a lift for a failed driver, a photocell, wiring repair, or a complete fixture replacement. The correct number is not necessarily “one repair every year.” A better approach is to ask: over five or ten years, what does this type of site normally spend on service calls and equipment rental? Divide that expected cost by the number of years.
For a new project, also ask whether the grid design needs emergency power, lighting controls, extra distribution equipment, or a service upgrade. These may be justified for the property, but they belong in the comparison.
Step 3: build the complete solar cost
A commercial solar street light quote should be read as a system price, not just a lamp price. The equipment may include the fixture, solar panel, battery, controller, mounting hardware, and remote. It may not include the pole, concrete, shipping, lift rental, installation, engineering, or local permits.
Use this checklist when you request a quote:
- Fixture and solar panel configuration.
- Battery type, capacity, expected service life, and replacement cost.
- Controller or MPPT equipment, if included.
- Mounting arm, bracket, pole, foundation, and anchor hardware.
- Freight, delivery, and any residential or commercial lift-gate requirements.
- Installation labor and commissioning.
- Photometric design, aiming, and any local engineering review.
- Permits, inspections, traffic control, and surface restoration.
- Contingency for rocky soil, long trench-free conduit runs, or difficult access.
Solar maintenance is not zero. Panels may need cleaning in dusty, agricultural, coastal, or pollen-heavy environments. Mounting hardware deserves inspection. Batteries and controllers are wear items. A good ROI model does not pretend these costs disappear; it assigns them a reasonable reserve.
Step 4: treat battery replacement honestly
Battery replacement is the line that turns a glossy payback claim into a useful one. Do not hide it in a footnote. Put it in the model.
The timing depends on battery chemistry, depth of discharge, temperature, charging conditions, operating schedule, and product design. Your supplier should provide a realistic service-life expectation for the actual configuration you are buying. If the expected replacement cost is $350 per location in year six, you can model it directly in year six or create an annual reserve.
An annual reserve is easier for a first-pass calculator:
Annual replacement reserve = expected replacement cost ÷ expected replacement interval
That is not accounting magic. It is simply a way to stop the model from forgetting a large future bill. For a more precise financial model, place the replacement in the year you expect it to happen and discount future costs using your company’s chosen rate.

Step 5: compare the right kind of light for the site
ROI is only meaningful if the light does the job. A cheap fixture that leaves a loading zone dark is not a high-return project. It is an expensive reason to buy a second lighting system.
Start with the site use case:
- Parking lots: look at uniformity, glare, pole spacing, pedestrian routes, and the areas between parked cars.
- Private roads: consider road width, curves, intersections, gates, and the distance between mounting locations.
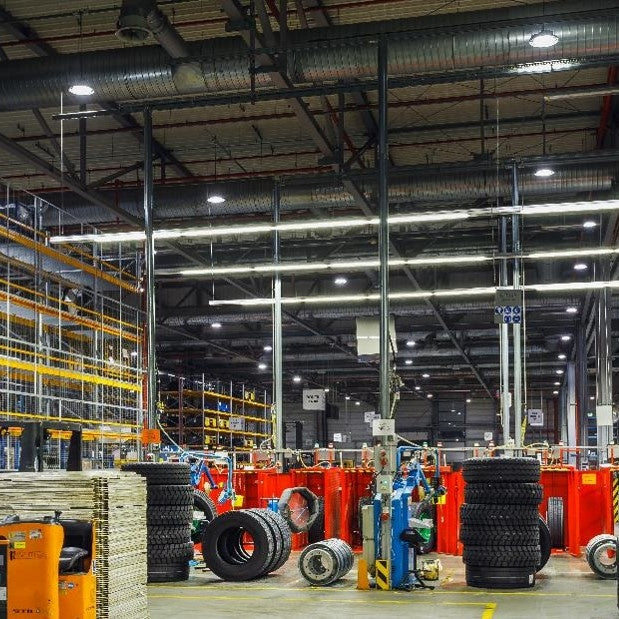
- Warehouse and distribution yards: prioritize wide coverage, dependable overnight operation, truck maneuvering, and mounting height.
- Apartment and multifamily properties: consider resident comfort, security, dark-sky concerns, and lower-output schedules during quiet hours.
- Farms, ranches, and remote facilities: focus on access, service distance, winter weather, and whether utility power is expensive to extend.
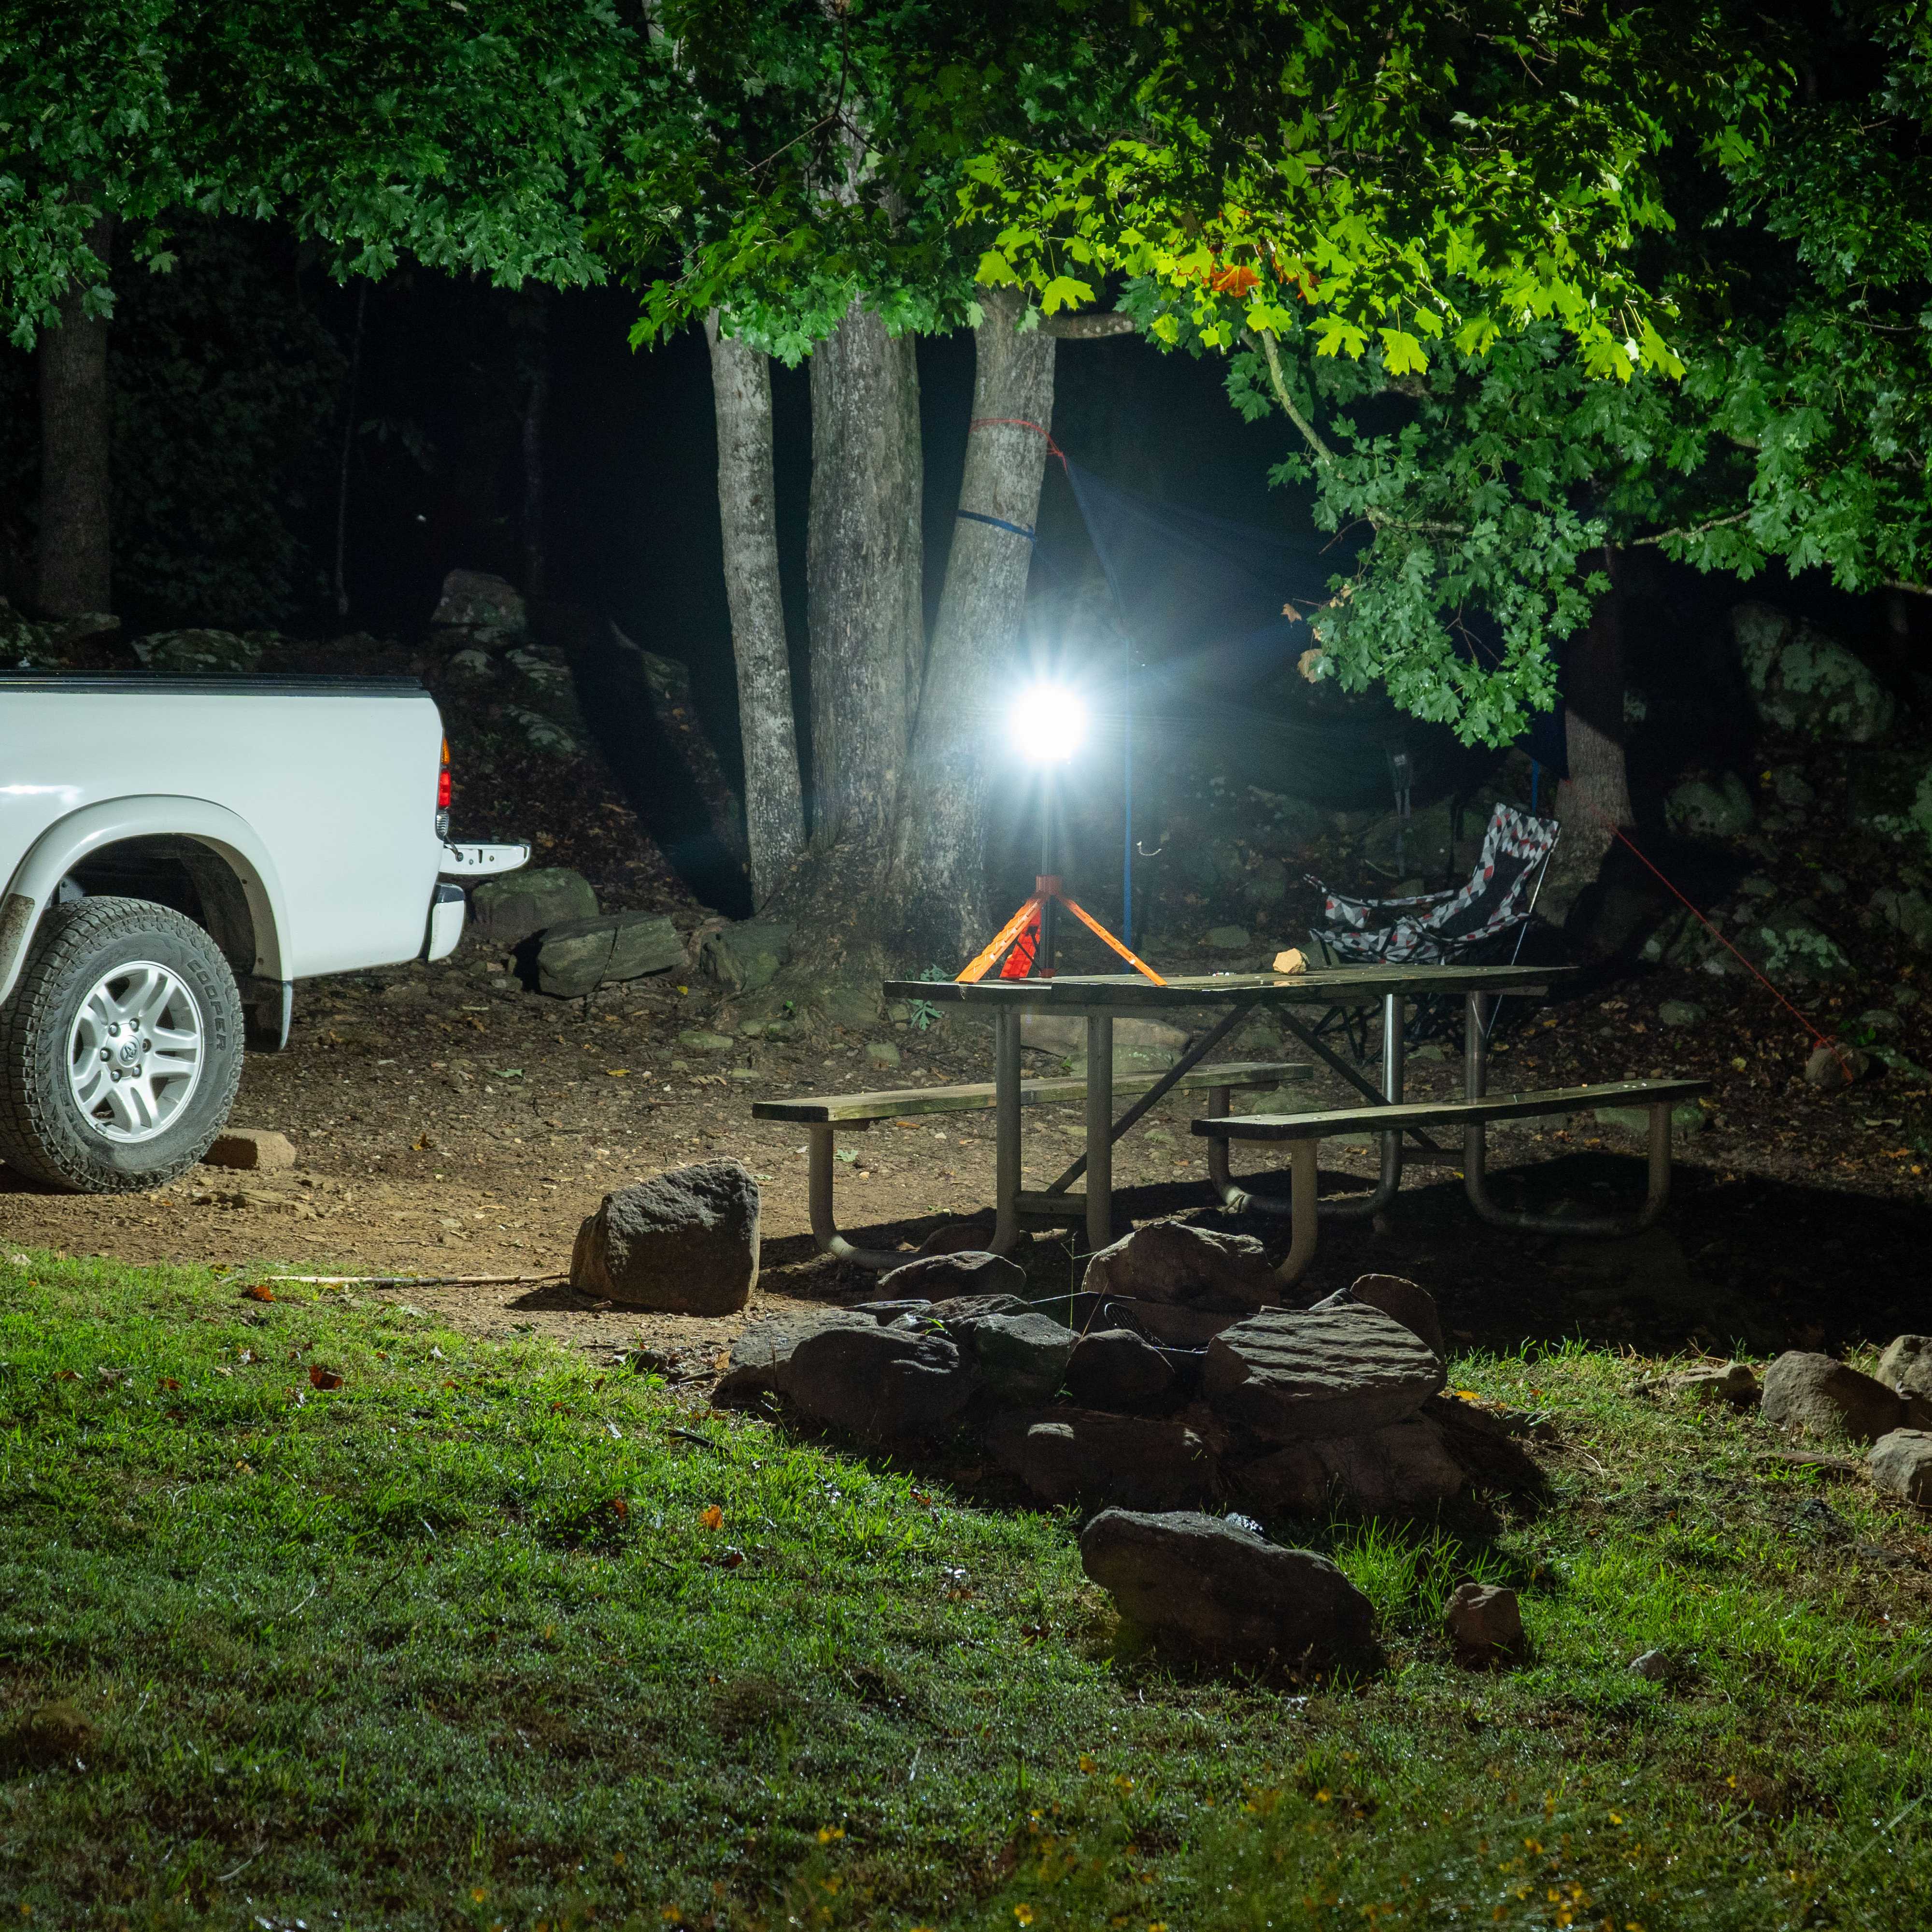
- Construction and temporary sites: include how quickly the equipment can be installed, moved, and reused.
Wattage is not a complete design specification. Compare usable light, optical distribution, mounting height, beam pattern, controls, battery reserve, and the expected nighttime schedule. Ask for a photometric layout when the project affects safety, traffic, or a large commercial site.
Current product price examples for a commercial comparison
The products below are active in the store at the time of writing. The price shown is the current listed product price or range, not an installed project price. Shipping, poles, foundations, labor, and permits may be separate. Use the product price as the equipment line in your calculator, then add your site costs.

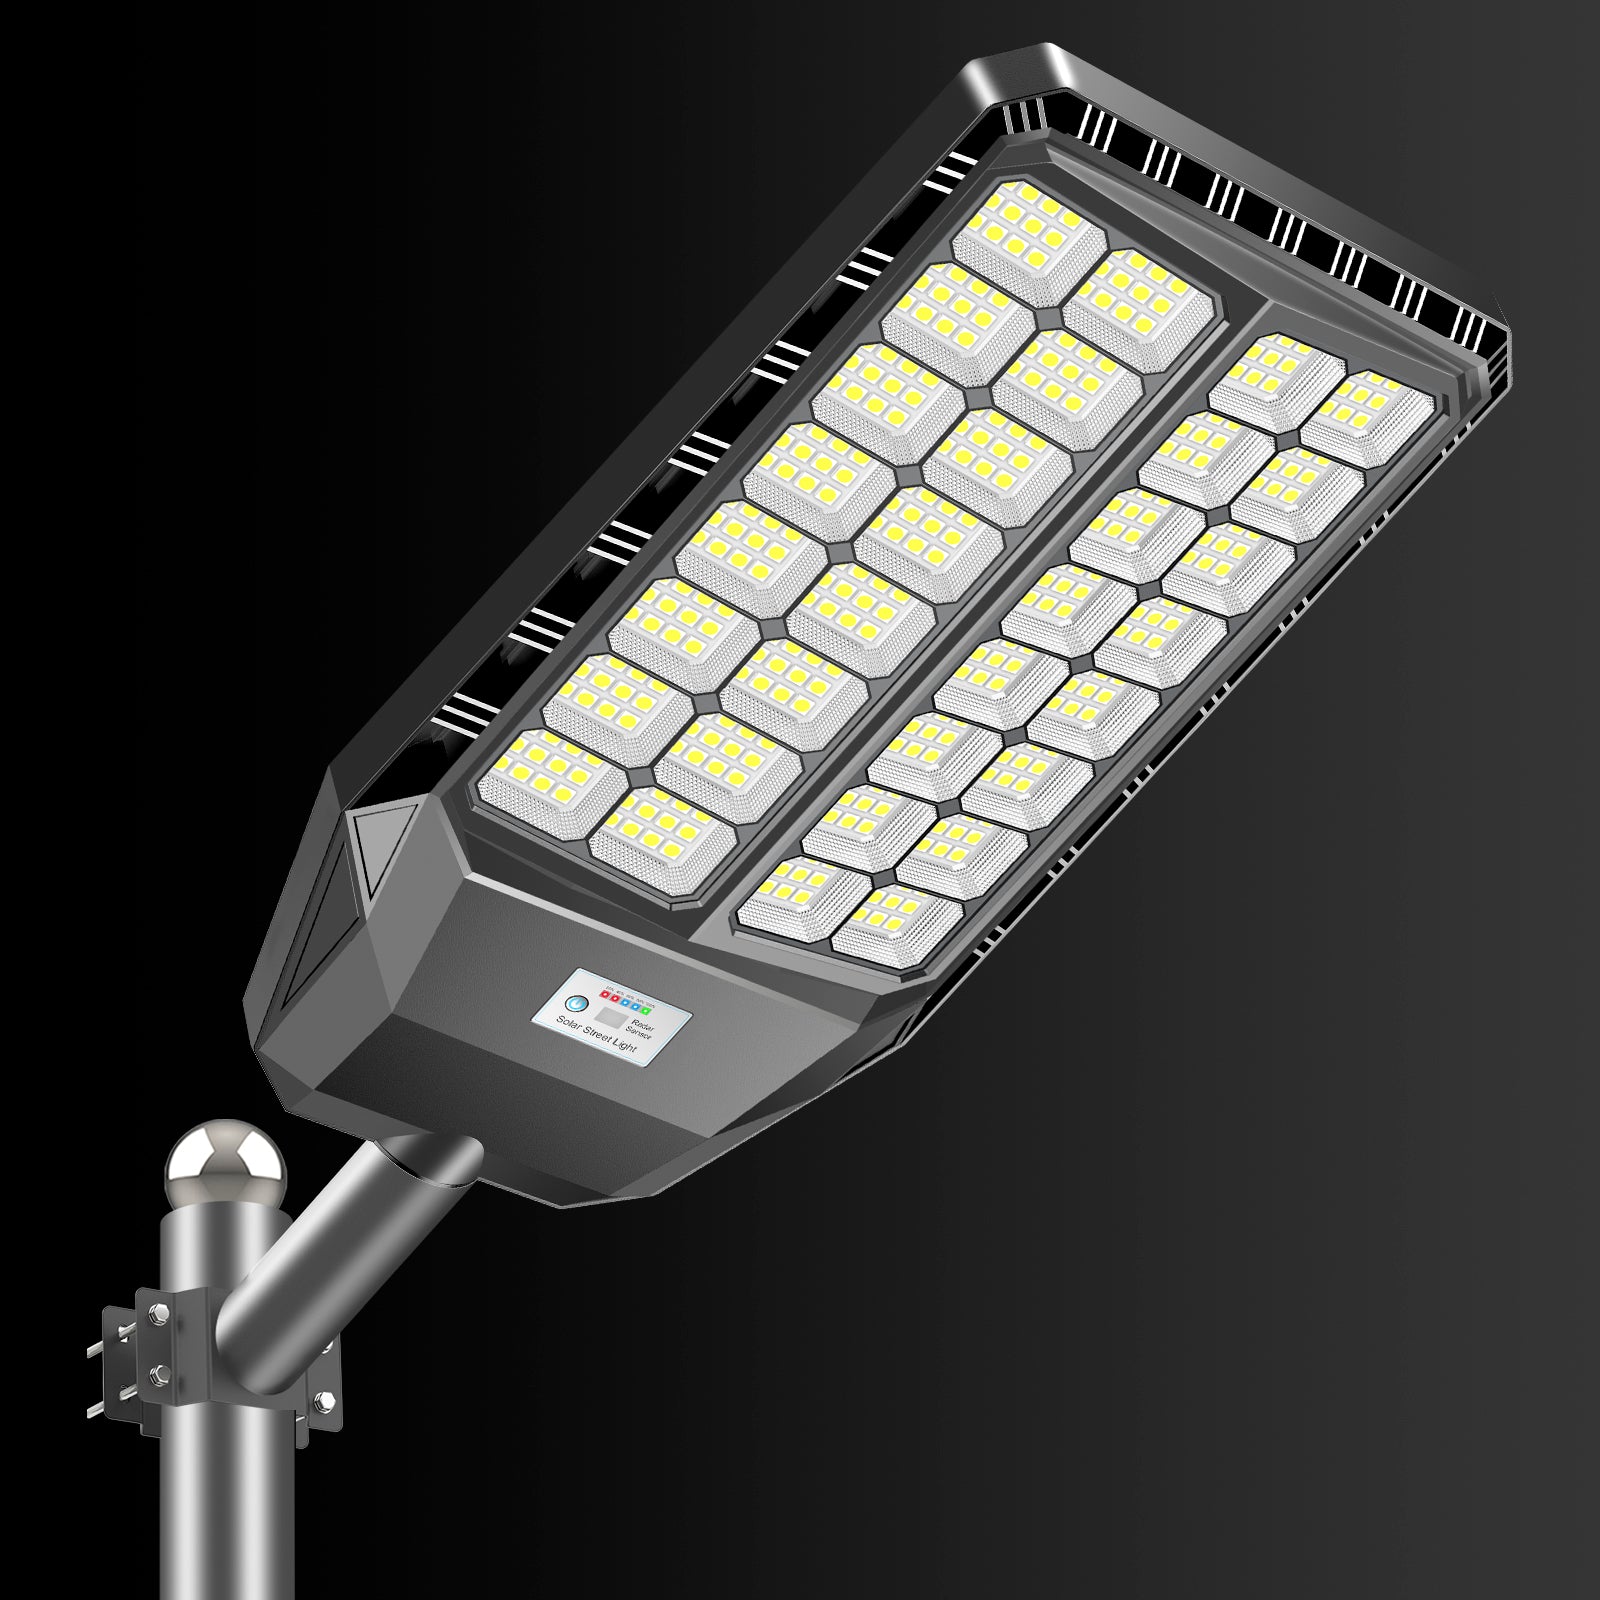
The ZD490 is a useful reference point for a more substantial commercial installation because the listed product range is well above the small residential fixture category. If your project needs a larger panel or a higher-capacity configuration, use the exact selected variant in the model rather than using the low end of the range.

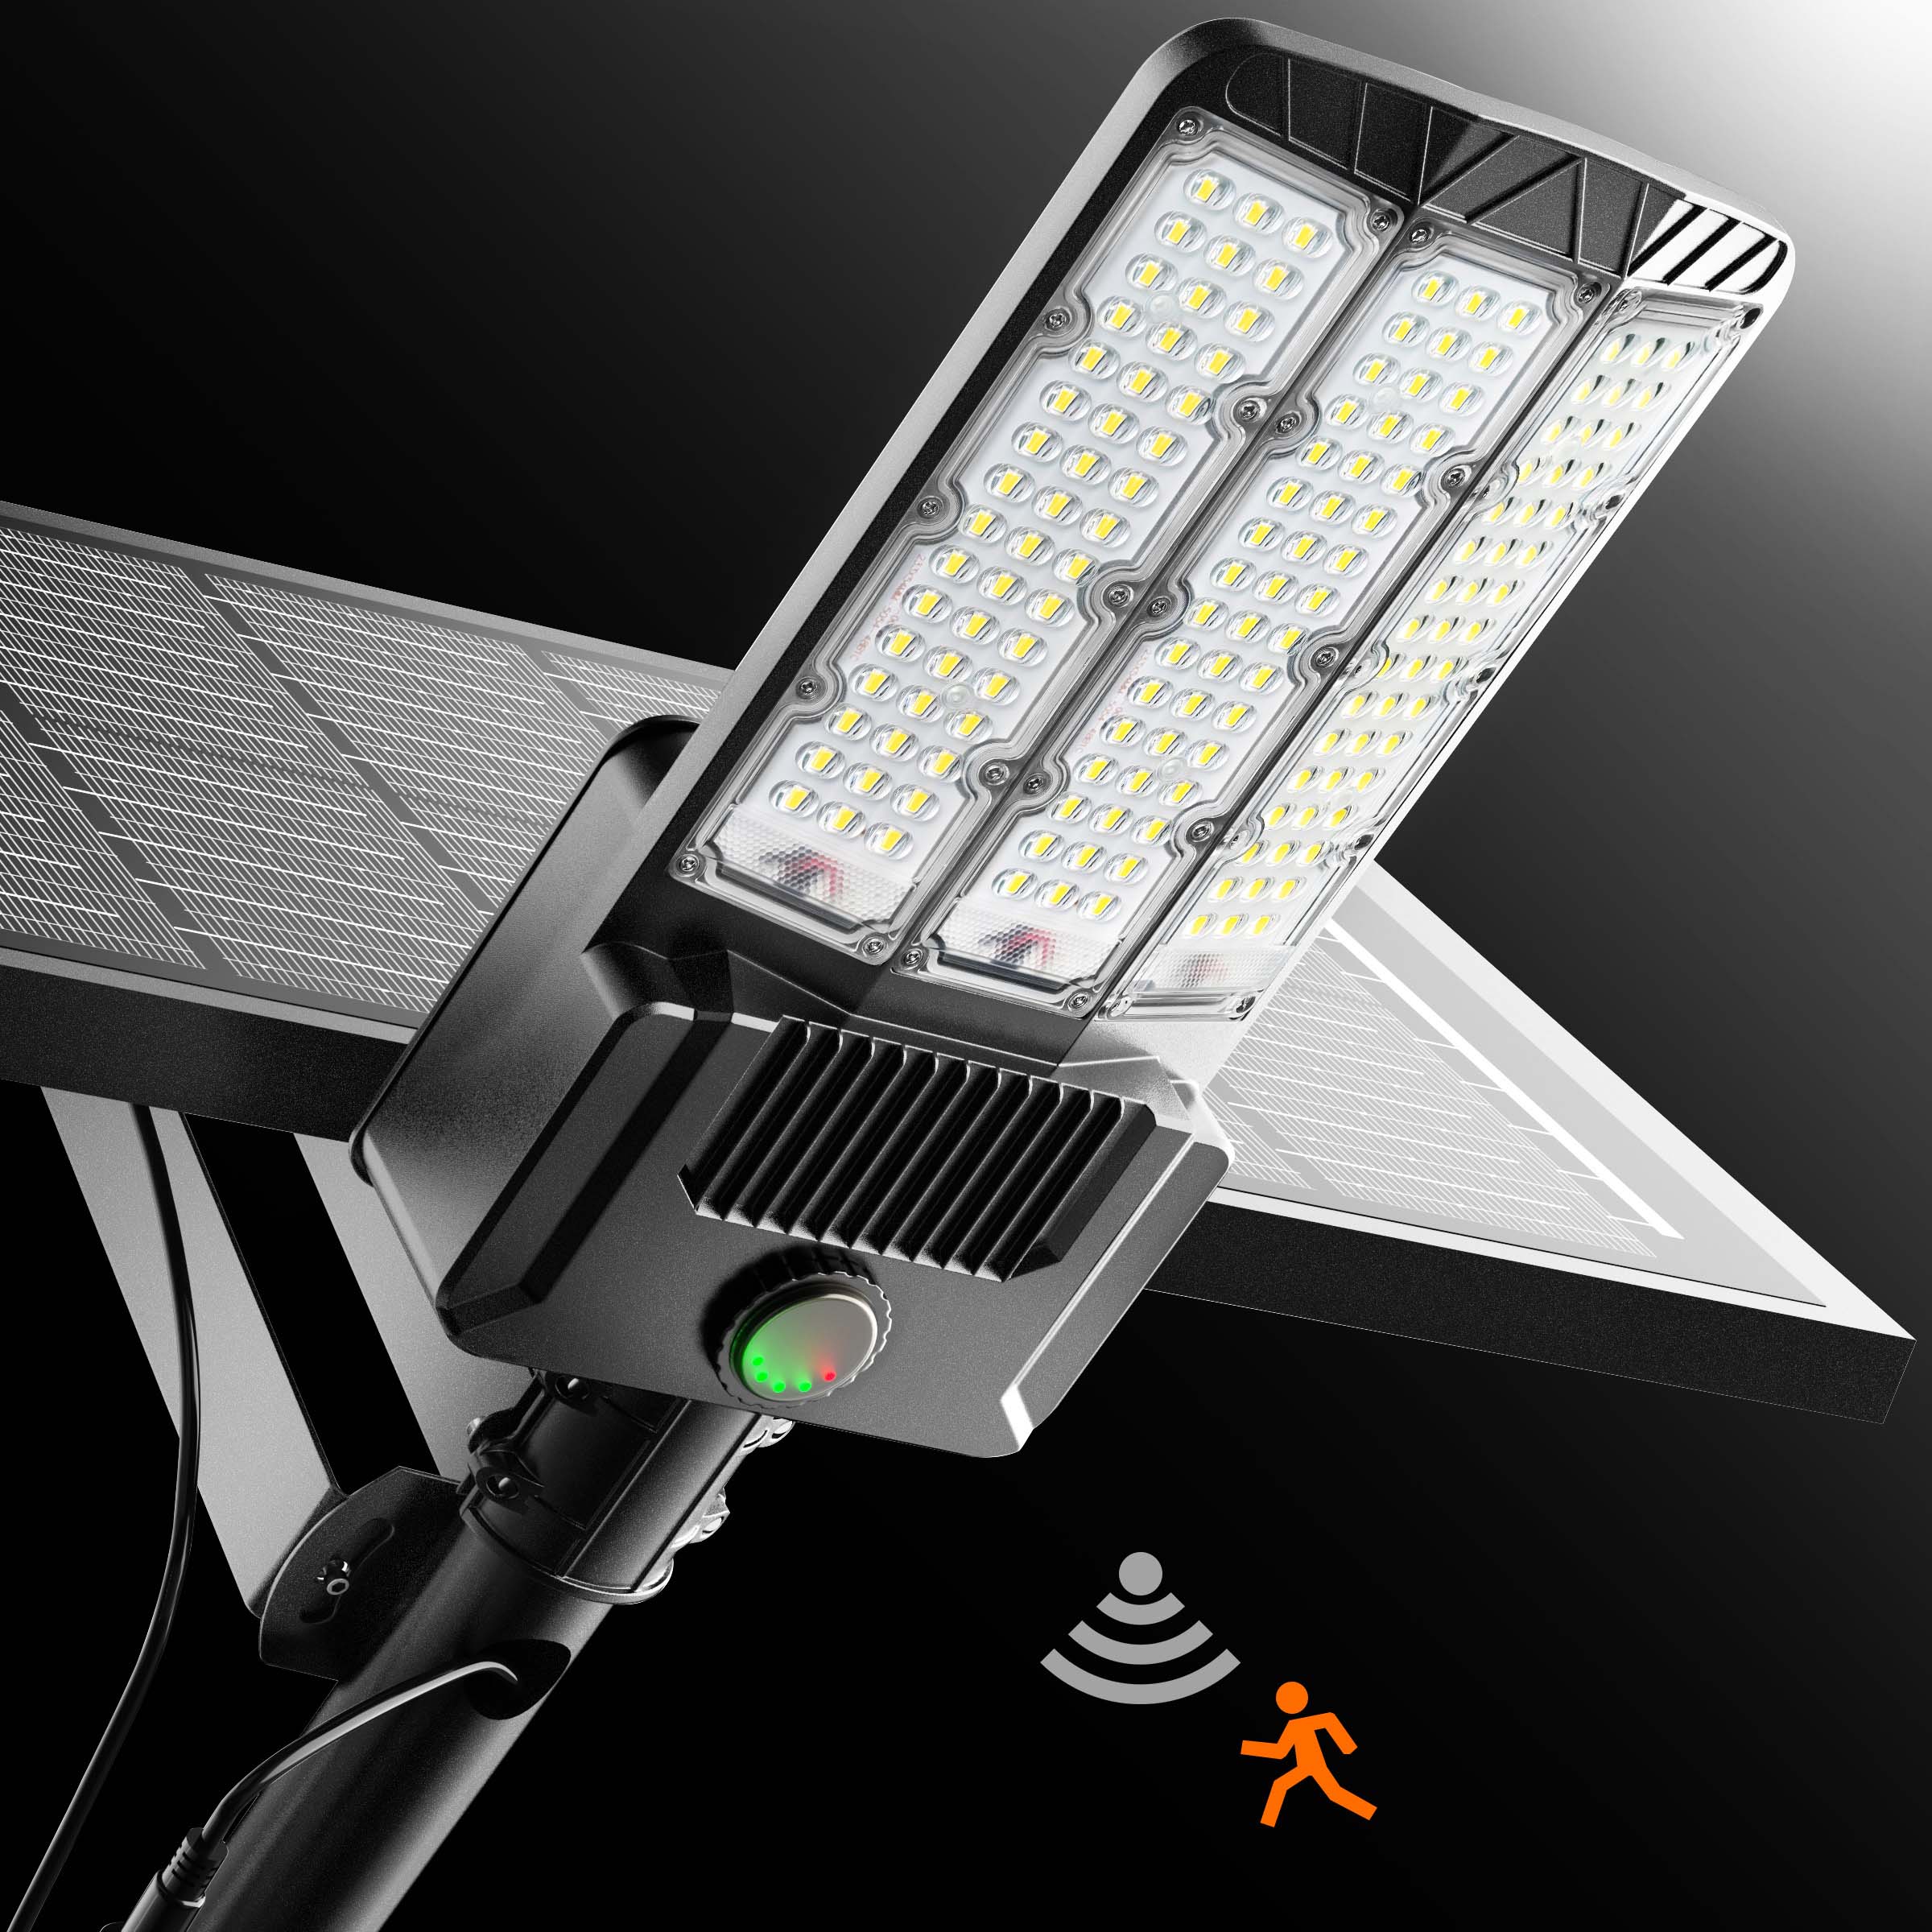
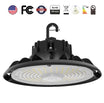
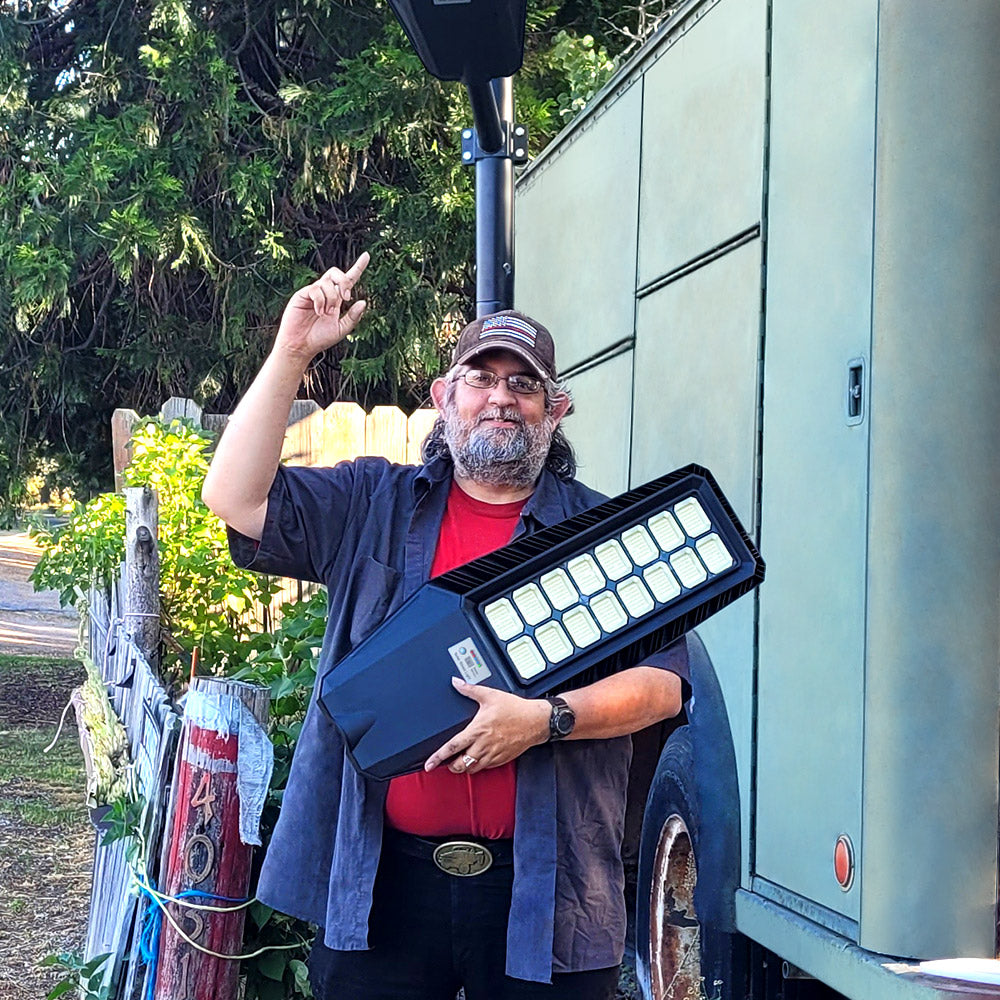
The HY100 is listed with a 100W output, 18,000 lumens, a 768Wh battery, and a monocrystalline solar panel in the product title. Those details make it a sensible candidate for a comparison involving a commercial parking area, private access road, or yard, subject to a proper lighting layout. Enter $1,399 as the equipment price for the listed product, not as the total installed cost.

The HY120 is the higher-equipment-cost example in this group, listed with a 200W output, 1,152Wh battery, adjustable CCT, and MPPT control. It may be a better fit when the lighting requirement, coverage area, or operating reserve justifies more equipment. It is also a good reminder that ROI is not about buying the cheapest fixture. It is about buying the lowest-cost system that meets the actual brief.

The HY080 is listed at $999 and includes adjustable CCT and a 538Wh LiFePO4 battery in the product title. For an apartment drive, private road, or smaller commercial yard, adjustable brightness can matter as much as headline wattage because a well-planned schedule can balance visibility, energy use, and neighbor comfort.

The SZ300/SZ400 listing gives you a lower equipment-price reference, with a listed range of $129–$359 and a product title describing 60,000–85,000 lumens and die-cast aluminum construction. Because the price range covers configurations, verify the exact variant, output, battery, and mounting details before using it in a final bid. A low product price does not remove the need for foundations, installation, or a lighting design.
Worked example: a 12-light commercial parking lot
Here is a deliberately transparent example. It is not a promise of savings for every property. It is a model you can replace with your own numbers.
Assume a business needs 12 lights along a parking lot and private access road. A grid design costs $2,400 per location when the contractor includes poles, trenching, conduit, wiring, and labor. The comparable solar project costs $1,650 per location for fixtures, mounting, poles, foundations, and installation. The solar project therefore costs $19,800, while the grid project costs $28,800. Solar starts with a $9,000 installation advantage.
Now assume the grid lights use $132 of electricity per location per year and $85 of maintenance per location per year. The grid account also has $1,000 in annual fixed or service-related charges for this example. That puts the annual grid operating cost at:
12 × ($132 + $85) + $1,000 = $3,604 per year
Assume solar maintenance is $30 per location per year and the battery or controller replacement reserve is $70 per location per year:
12 × ($30 + $70) = $1,200 per year
The modeled annual operating savings are therefore $2,404. Because solar also costs $9,000 less to install in this example, the project has an upfront advantage before the annual savings begin. Over ten years:
- Grid total: $28,800 + ($3,604 × 10) = $64,840.
- Solar total: $19,800 + ($1,200 × 10) = $31,800.
- Modeled ten-year net benefit: $33,040.
- Simple ten-year ROI on the solar initial cost: approximately 167%.
That result is attractive, but it is only as good as the assumptions. If grid trenching is easy and the utility connection already exists, the grid initial cost might be much lower. If the solar site needs expensive foundations, winter snow removal, a lift, or more frequent service, the solar operating cost could be higher. A serious proposal shows both the base case and a conservative case.
Use a conservative case, not just a best case
Run the calculator three times:
- Base case: your contractor’s best current estimate and the product’s listed configuration.
- Conservative case: higher installation cost, lower solar production or operating reserve, a shorter battery interval, and a higher maintenance allowance.
- Utility-price case: current electricity pricing with a separate scenario for a higher future rate, without presenting that future rate as guaranteed.
If solar only wins in the best case, the project needs better site data or a better equipment match. If it wins in the conservative case, you have a stronger business case. This is especially useful when you are presenting the project to a property owner, board, CFO, or facilities manager who will ask what happens when a battery needs replacement sooner than expected.
What incentives can and cannot do to your ROI model
Incentives may change the after-incentive cost, but they should not be used as a substitute for a complete project estimate. Eligibility can depend on location, ownership, tax status, equipment, labor, placed-in-service date, and current rules. Utility rebates and local programs also change.
Keep two numbers in your worksheet:
- Pre-incentive ROI: the project’s economics before rebates or tax treatment.
- After-incentive ROI: the same model after a qualified professional confirms the applicable benefit.
Do not assume a tax credit applies just because a product uses solar power. Ask your tax adviser and local program administrator to confirm eligibility. That keeps your capital plan useful even if a program closes, changes, or does not apply to your business.
Five mistakes that make commercial solar ROI look better than it is
1. Comparing a solar fixture with a grid fixture
The grid option may need trenching, conduit, service work, and restoration. Leave those out and the comparison is tilted before it starts.
2. Treating installation as free
Someone still has to set the pole, pour or install the foundation, mount the system, aim the fixture, and commission the controls. Get a real labor allowance.
3. Ignoring replacement reserves
A battery is not a permanent asset. Put a planned reserve in the model even if the supplier expects a long service life.
4. Using the cheapest variant in a price range
A product listing with multiple configurations may show a range. Use the price of the exact configuration you need, including the battery, output, and mounting arrangement.
5. Buying by lumens alone
Light must land where people and vehicles need it. Ask about distribution, spacing, mounting height, glare, uniformity, and operating schedule. More lumens can be the wrong answer if the beam pattern wastes light outside the site.
How to choose between a low-cost and commercial-grade system
Use a low-cost configuration when the location is small, access is easy, the lighting requirement is modest, and replacing a unit is straightforward. Use a more commercial-grade configuration when the site is remote, the light affects safety or security, the operating schedule is demanding, the poles are tall, or a service call requires a lift and traffic control.
The expensive system may have a better ROI when it avoids a second installation, reduces service visits, improves usable coverage, or keeps the site operational through poor weather. The cheaper system may have a better ROI when the site is uncomplicated and the performance requirement is genuinely lower. The calculator should reveal that tradeoff instead of a headline percentage.
For a larger project, ask for a sample configuration before purchasing all locations. Install one or two lights, observe the site after dark, review the charging and operating schedule, and confirm the mounting hardware. A small pilot can prevent a large order that needs to be moved or replaced.
Three practical ways to improve your payback
First, design the grid alternative honestly. This does not mean inflating it. It means including the actual route, service, trenching, restoration, and maintenance. Solar often becomes more compelling when the nearest power source is inconvenient.
Second, right-size the operating schedule. A commercial property may need full output at opening, closing, shift changes, or peak traffic, but not necessarily at the same output all night. Use adjustable brightness or controls where appropriate, while keeping the required safety level.
Third, plan access before buying. A fixture that is easy to reach with a bucket truck may be a different ROI choice from one installed above a busy road or behind a locked gate. Include service access, cleaning, and battery replacement in the design stage.
When solar street lights are a poor ROI choice
Solar is not automatically the winner. It may be a poor fit when the site has heavy shade, a very short winter solar window, extreme snow or dust exposure that is difficult to maintain, or a lighting requirement that needs stable high output with little room for seasonal variation. A grid connection may also be the better choice when suitable power is already beside every pole and the electrical installation is inexpensive.
The answer should come from the site, not from a blanket claim that solar is always cheaper. If the solar model needs oversized equipment to compensate for shade or winter conditions, compare that cost with a grid design. If the solar system still wins with conservative assumptions, you have a decision you can defend.
A buyer’s checklist before you approve the project
- Have we compared complete installed grid and solar projects?
- Do we know the exact product variant, price, battery, panel, and mounting hardware?
- Have we mapped pole locations and verified light coverage after dark?
- What happens after several cloudy or snowy days?
- What is the expected battery and controller replacement cost?
- Who will clean, inspect, and service the lights?
- Are permits, foundations, traffic control, freight, and lift rental included?
- Have we run a conservative case as well as a base case?
- Are incentives confirmed by the relevant program and tax professional?
- Can we pilot one or two locations before ordering the whole site?
For a quick equipment comparison, start with the ZD490 commercial solar lighting solution, review the HY100 100W commercial solar street light, and compare it with the higher-capacity HY120 200W commercial solar street light. Use the live product pages to confirm the exact configuration and current price before you place an order.
FAQs about commercial solar street light ROI
1. What is a good payback period for commercial solar street lights?
There is no universal pass/fail number. A project with difficult trenching, remote access, or high utility charges may have a short payback, while a site beside an existing electrical service may not. Many buyers use a target such as five to ten years, then test whether the project still works with conservative maintenance and replacement assumptions. Your property’s budget, expected ownership period, and lighting risk matter as much as the percentage.
2. Do solar street lights really save money compared with grid lighting?
They can, especially when extending grid power requires trenching, conduit, new service, or long cable runs. The result depends on equipment, installation, electricity, maintenance, battery replacement, weather, and site access. Compare total installed and operating costs rather than the lamp prices alone.
3. How do I calculate the electricity savings?
Estimate annual grid kWh with watts divided by 1,000, multiplied by operating hours per night and 365 days. Multiply that result by your commercial electricity rate, then add any relevant fixed or demand-related charges. Use the actual fixture schedule if the light dims or turns off during part of the night.
4. What solar street light costs do people forget?
The commonly missed items are poles, foundations, freight, lifts, installation, permits, engineering, cleaning, battery replacement, controller replacement, and access for future service. The commonly missed grid items are trenching, conduit, service upgrades, restoration, meters, and recurring utility charges.
5. Should I use the lowest listed product price in my ROI model?
Only if that is the exact configuration you plan to buy. If a product page lists several variants, use the selected variant’s price and specifications. A lower-priced configuration may have different output, battery capacity, panel size, or mounting hardware.
6. What size solar street light do I need for a parking lot?
That depends on the lot layout, pole spacing, mounting height, required light level, beam pattern, local code, and whether the lot is for customers, employees, trucks, or pedestrians. Start with a lighting layout instead of choosing by wattage alone. A pilot installation can help confirm the result before a full rollout.
7. Do solar street lights work during cloudy or snowy weather?
They can continue operating using stored energy, but performance depends on the battery, panel exposure, weather, operating schedule, and controls. Ask for the expected autonomy and seasonal assumptions for the specific configuration. Include a conservative weather case in your ROI model.
8. Are solar street lights maintenance-free?
No. They remove or reduce some grid-related work, but panels, mounting hardware, batteries, controllers, and fixtures still need inspection and eventual service. A realistic maintenance allowance makes the ROI calculation more credible.
9. Can I claim a tax credit or utility rebate?
Possibly, but eligibility is specific to the program, project, ownership, location, equipment, and timing. Do not count an incentive as guaranteed until the relevant administrator and your tax professional confirm it. Show pre-incentive and after-incentive results separately.
10. What is the simplest way to compare two solar street light options?
Use the same site, pole locations, operating schedule, analysis period, maintenance allowance, replacement reserve, and installation assumptions for both. Change only the equipment and performance inputs. Then compare total cost, usable coverage, service risk, and ten-year net benefit, not just the upfront price.
Final takeaway
The real ROI of commercial solar street lights is not the number printed in a product description. It is the difference between two complete ways of lighting the property, measured over the years you expect to own and operate the system.
Start with the grid baseline. Add every solar project cost. Reserve for batteries and service. Use the exact product variant and price. Test a conservative case. Then check the light on the actual site after dark.
If the numbers still work, solar street lighting can do more than lower an electricity bill. It can make a remote area practical to light, avoid disruptive trenching, and give a commercial property a clearer operating plan. That is the kind of ROI worth presenting to a decision-maker.
Ready to price your project? Review the HY100, compare the HY080, or request a configuration for the HY120. Take the live equipment price, add your site costs, and run the calculator before you commit.


Leave a comment
This site is protected by hCaptcha and the hCaptcha Privacy Policy and Terms of Service apply.