


Outdoor lighting systems play an irreplaceable role in enhancing residential aesthetics, security, and functionality. However, when outdoor lights suddenly stop working, it often causes frustration for homeowners. Whether it's solar-powered, wired, or battery-operated fixtures, this comprehensive professional troubleshooting guide will help you quickly diagnose problems and restore lighting functionality.
1. Power Supply System Inspection: The Primary Step in Troubleshooting
Power issues are one of the most common causes of outdoor fixture failure. Different power supply methods require targeted inspection approaches.
1.1 Wired Lighting System Fault Diagnosis
- Circuit Connection Check: Use a multimeter to test voltage output, confirming whether 220V/110V voltage reaches the fixture terminals. Check if connections inside the junction box are loose, oxidized, or corroded.
- Circuit Breaker Status: Check if the corresponding circuit breaker in the electrical panel has tripped. If it trips frequently, there may be a short circuit or overload issue requiring professional electrician inspection.
- GFCI Protection Device: Outdoor circuits typically have Ground Fault Circuit Interrupters (GFCI). Press the test button then reset to ensure the protection device is functioning properly.
- Cable Integrity: Check if underground or wall cables are damaged due to construction, animal chewing, or aging. Use a cable detector to locate fault points.
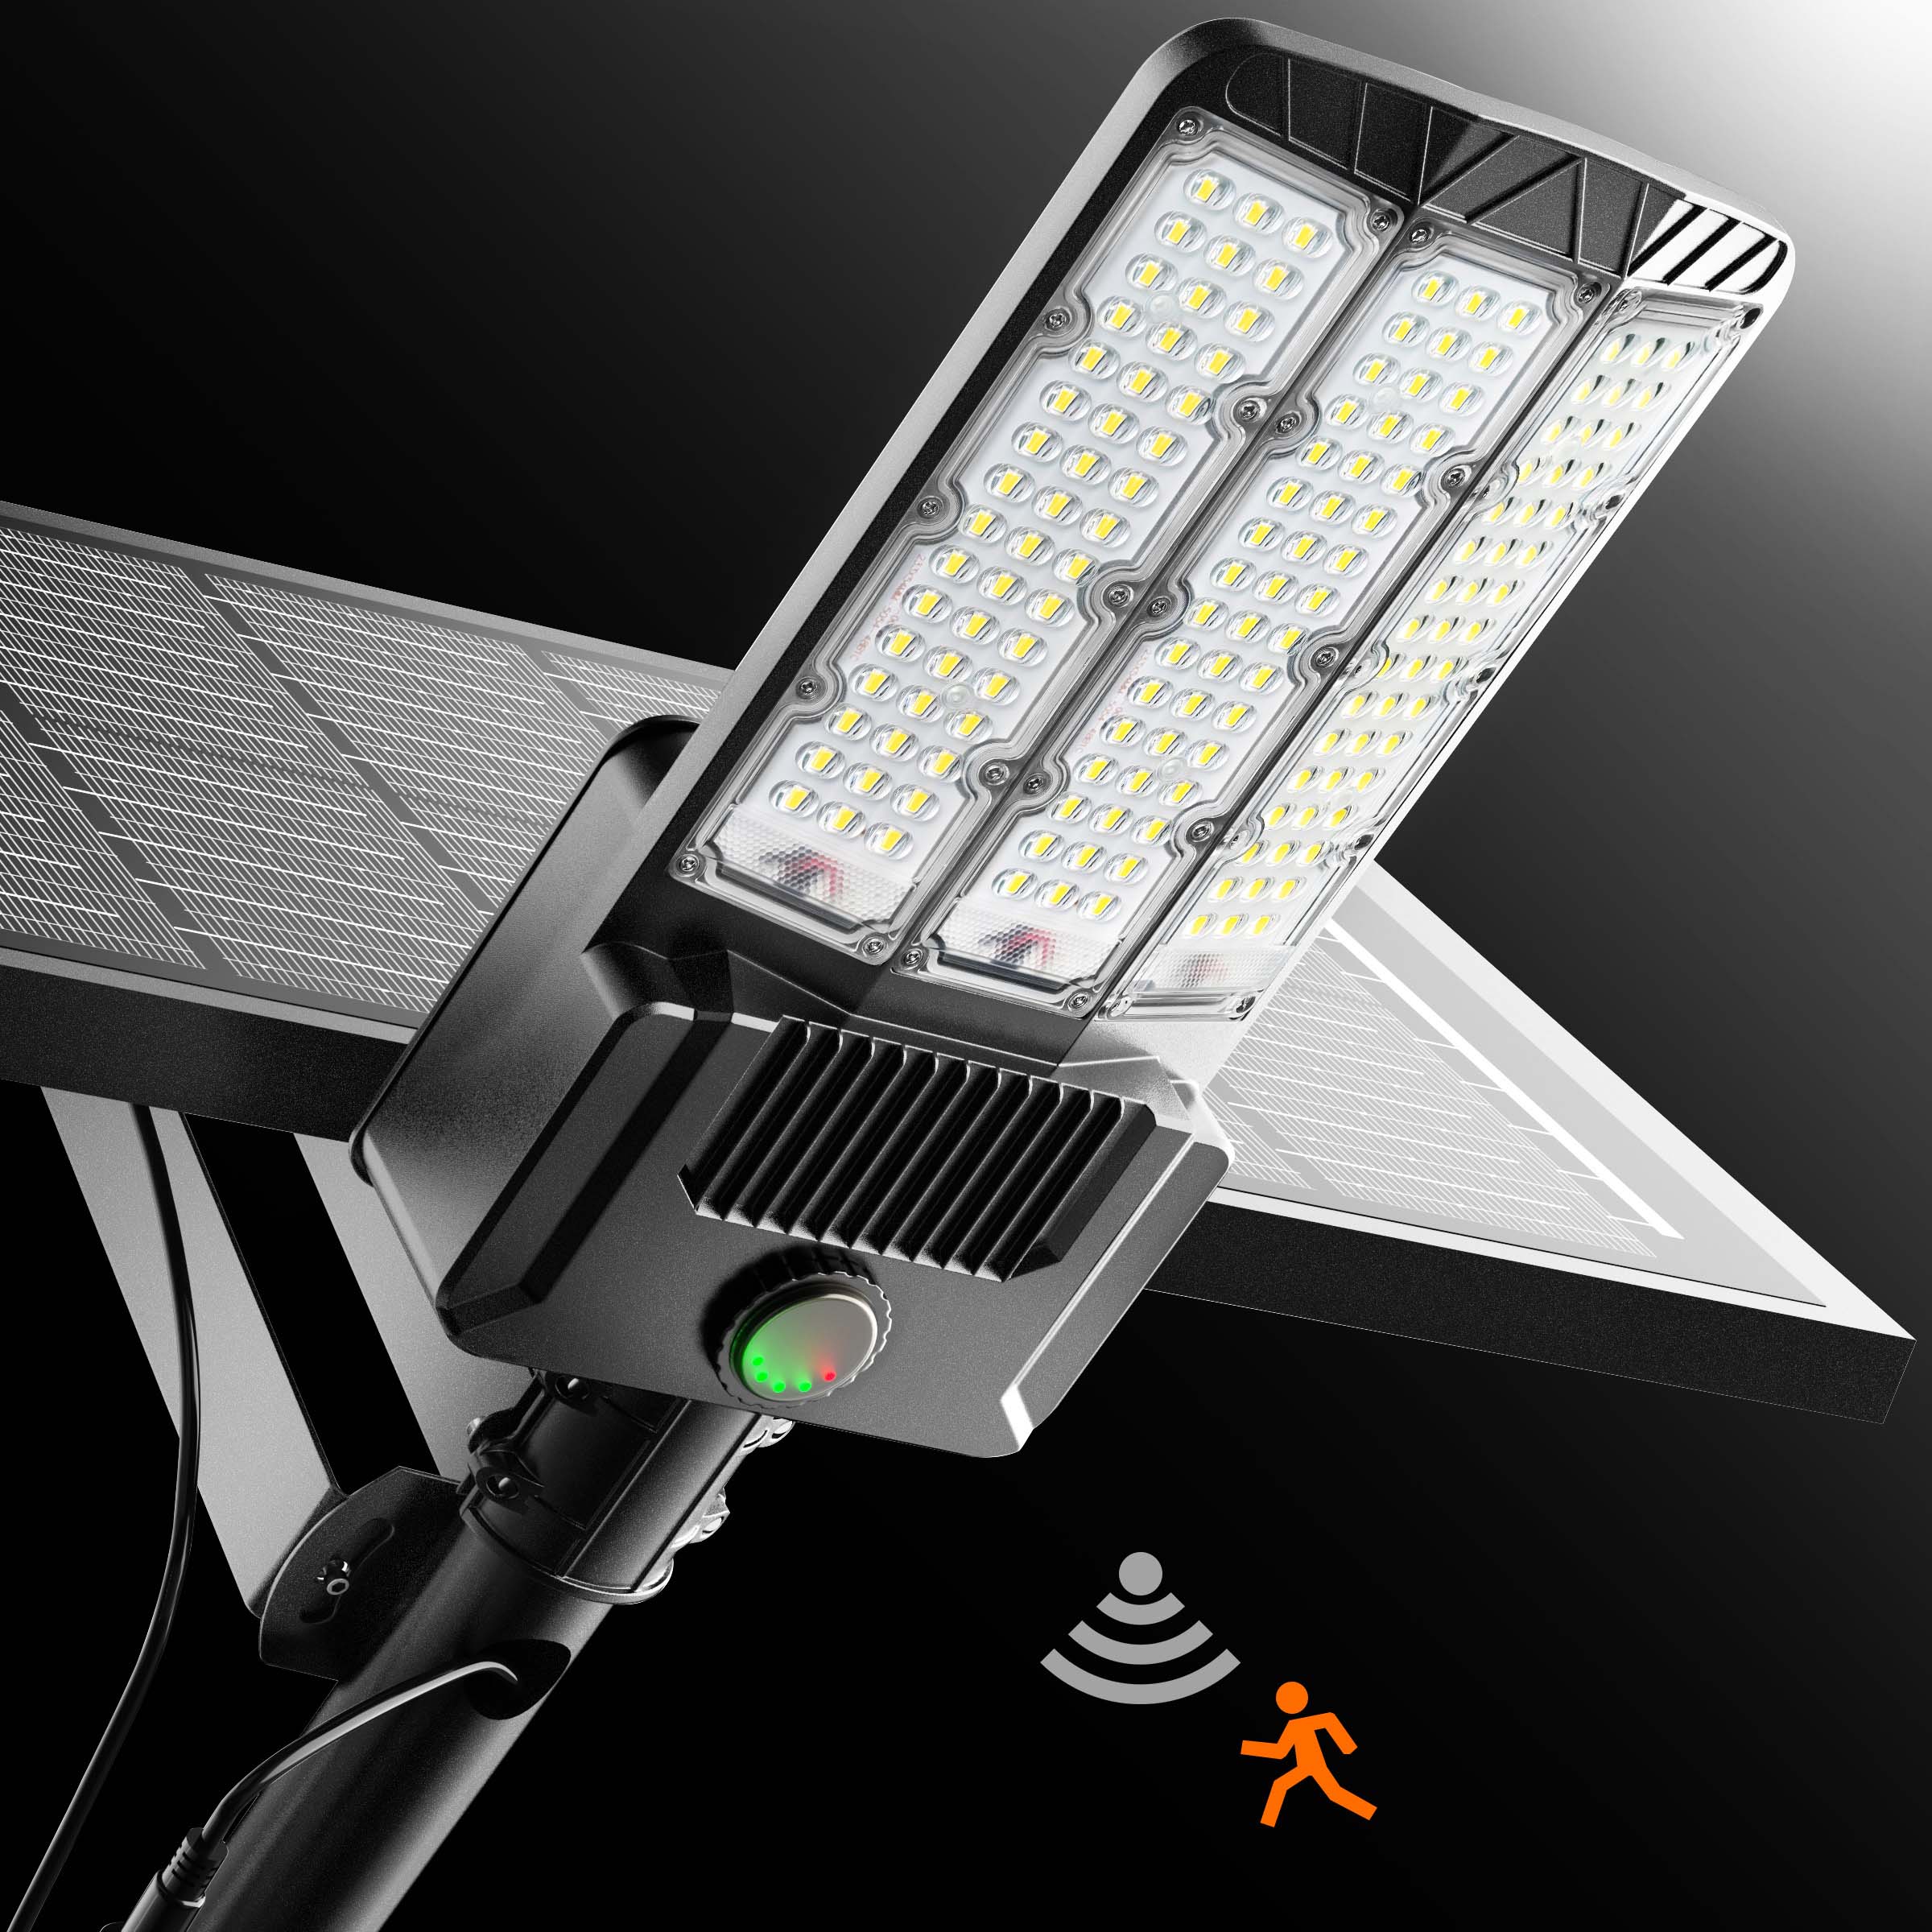
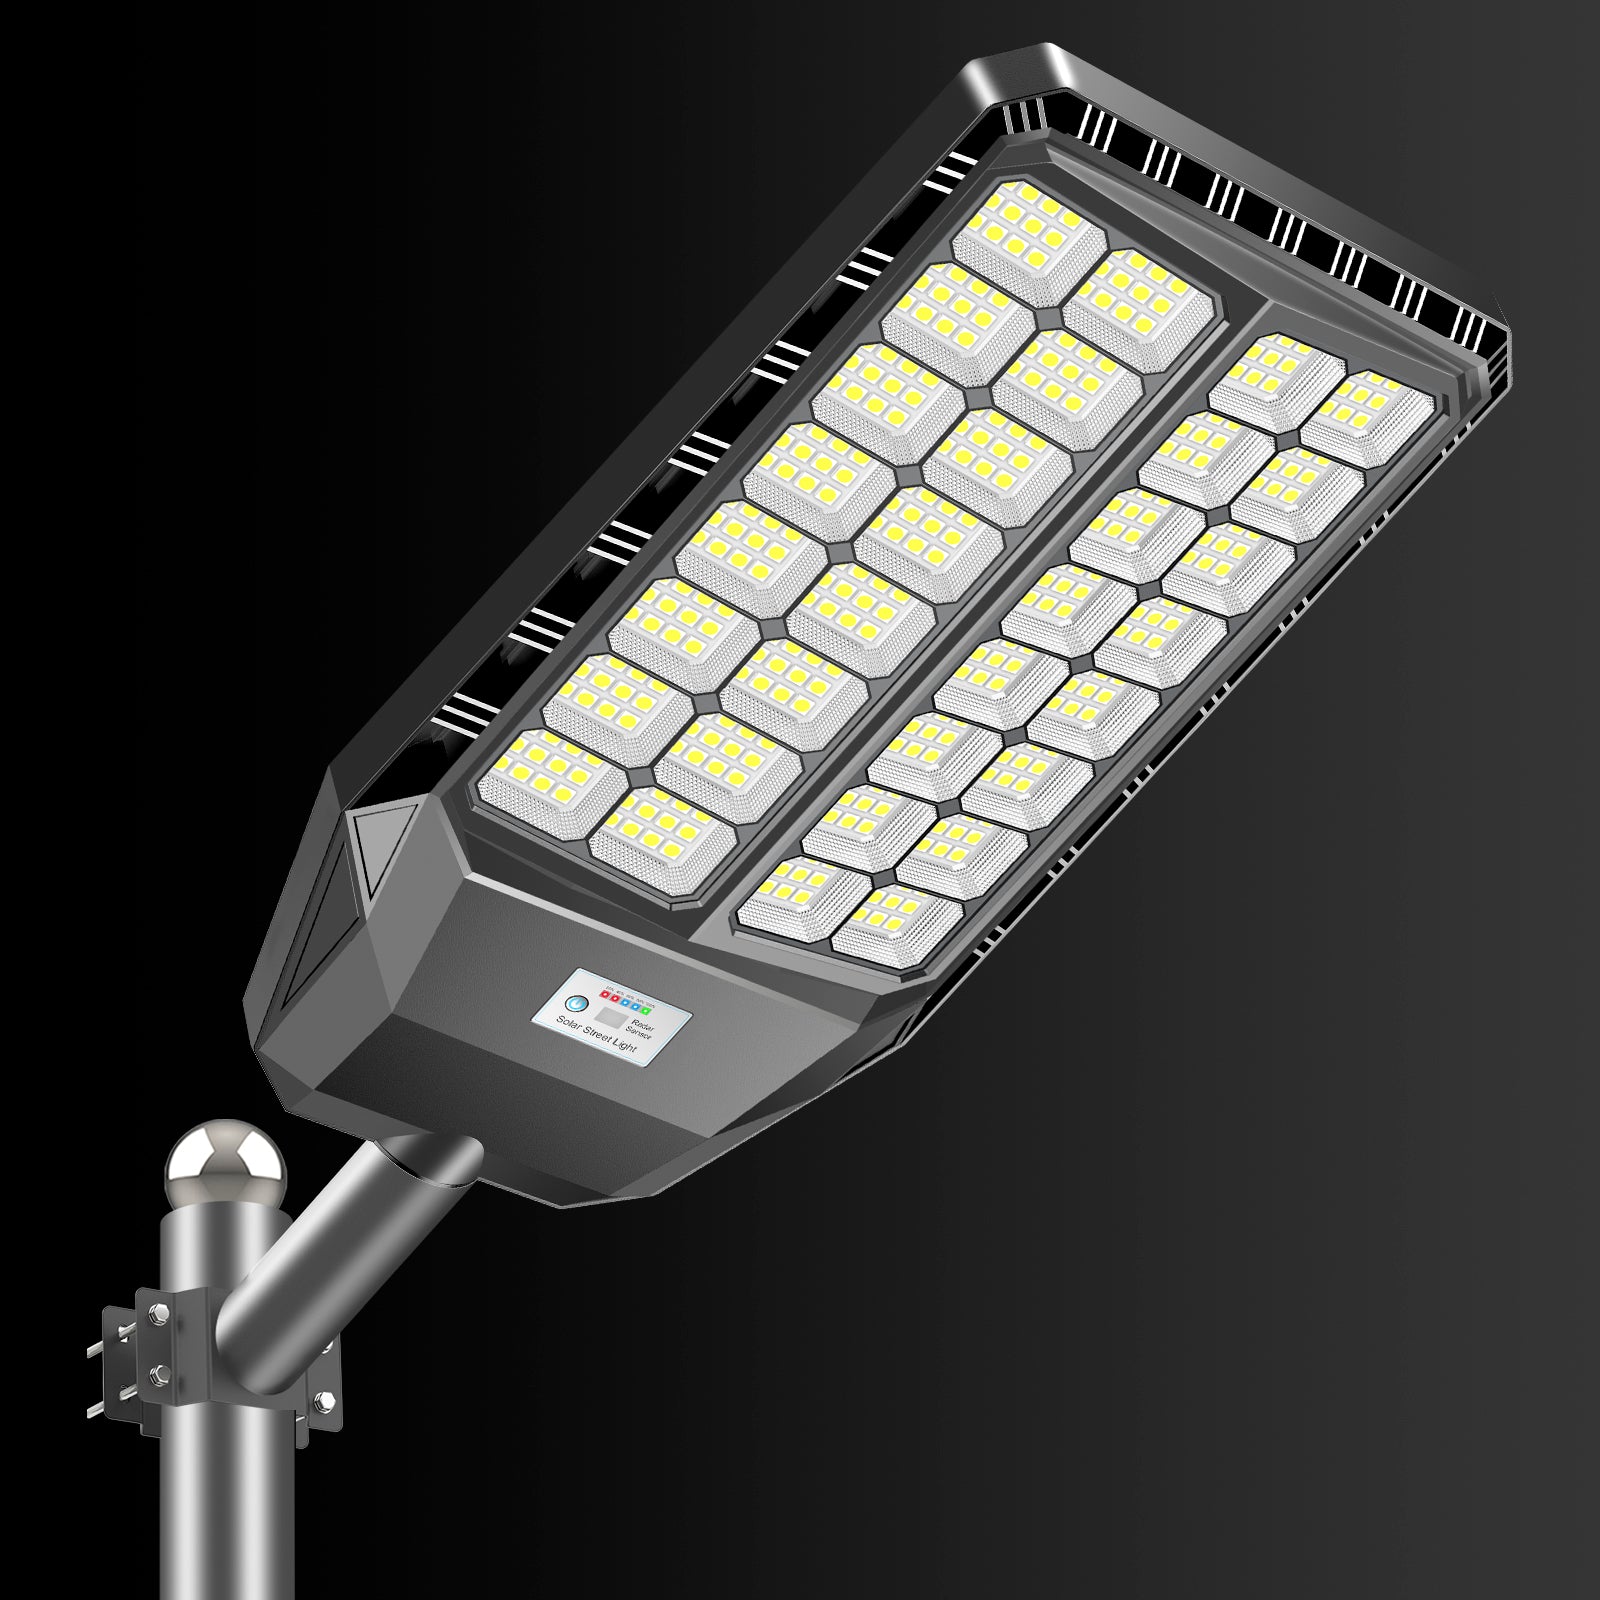
1.2 Solar Lighting System Optimization
- Photovoltaic Panel Efficiency Assessment: Solar panels need at least 6-8 hours of direct sunlight daily. Check for obstructions from tree canopy, buildings, or snow. Use a lux meter to measure light intensity, ensuring minimum charging requirements are met (typically ≥30,000 lux).
- Battery Health Testing: Solar lights typically use Nickel-Metal Hydride (NiMH) or lithium-ion batteries. Battery lifespan is generally 1-3 years; replacement is needed when capacity degrades to below 80% of original value.
- Charge Controller Inspection: Confirm charge controller LED indicator status to determine if the charging circuit is functioning normally.
- Seasonal Adjustments: Winter has shorter daylight hours; you may need to adjust fixture position or increase solar panel area to ensure sufficient power.
1.3 Battery-Powered System Maintenance
- Battery Polarity & Contact: Confirm batteries are installed with correct polarity and spring contacts are corrosion-free. Use fine sandpaper to clean oxidized contacts.
- Battery Voltage Testing: Use a multimeter to measure battery voltage. AA alkaline batteries have a standard voltage of 1.5V; replace when below 1.2V.
- Rechargeable Battery Management: NiMH or NiCd batteries need periodic complete discharge before recharging to avoid memory effect and extend service life.

2. Optical Component Cleaning & Maintenance
Environmental pollutants significantly reduce lighting efficiency; regular cleaning is key to maintaining optimal performance.
2.1 Deep Solar Panel Cleaning
- Cleaning Frequency: Recommended every 2 weeks; increase to weekly in dusty or industrial environments.
- Professional Cleaning Methods: Use isopropyl alcohol (IPA) or specialized photovoltaic panel cleaner with microfiber cloth. Avoid abrasive cleaners that can scratch anti-reflective coatings.
- Efficiency Improvement: Cleaned solar panels can improve conversion efficiency by 15-25%.
2.2 Light Sensor Calibration
- Sensor Position Optimization: Ensure light-dependent resistors (LDR) or photodiodes aren't obstructed by lamp shades or decorations.
- Sensitivity Adjustment: Some premium fixtures have sensitivity adjustment knobs for fine-tuning based on ambient light conditions (typically between 10-100 lux).
- Interference Source Elimination: Nearby street lights, billboards, or vehicle headlights may interfere with sensor judgment. Adjust installation angle or add light shields when necessary.
2.3 Lens & Reflector Maintenance
- Lens Cleaning: Use glass cleaner to remove water spots, insect debris, and oil stains. For frosted or textured lenses, use a soft brush with cleaner.
- Reflector Restoration: Aluminum reflectors lose reflectivity when oxidized. Use aluminum polish to restore shine or replace reflector components.
3. Professional Light Source Component Diagnosis
3.1 Traditional Bulb Failure Analysis
- Incandescent/Halogen Bulbs: Check if filament is broken (visible through glass). Confirm socket contact is good with no burn marks.
- Compact Fluorescent Lamps (CFL): Fluorescent tubes last approximately 8,000-15,000 hours. Frequent switching shortens lifespan. Check if ballast emits buzzing or burning smell.
- Wattage Matching: Using bulbs exceeding fixture rated wattage causes overheating and circuit damage. Strictly follow nameplate maximum wattage when selecting bulbs.
3.2 LED Lighting System Deep Inspection
- LED Driver Testing: LED beads rarely fail; most failures originate from the driver power supply. Use a multimeter to measure driver output voltage and current against specifications (typically DC 12V/24V or constant current output).
- Thermal Management Assessment: LED chips are temperature-sensitive; poor heat dissipation causes light decay and shortened lifespan. Check if heat sinks are dusty or thermal paste is dry.
- Light Decay Phenomenon: After 30,000 hours of LED use, luminous flux may degrade to 70% of initial value. If brightness noticeably decreases but doesn't completely extinguish, consider complete replacement.
- Color Temperature Drift: Inferior LEDs may experience color temperature changes (bluish or yellowish), typically indicating phosphor layer aging.
4. Smart Sensor System Debugging
4.1 Photocell System Precision Calibration
- Threshold Testing: Use a lux meter to measure ambient illumination at trigger points. Standard photocell switches typically activate at 5-10 lux and deactivate at 50-100 lux.
- Delay Settings: Some fixtures have delay functions to avoid frequent switching from temporary light changes like cloud cover. Check if delay parameters are reasonable (typically 30-120 seconds).
- Manual Override Test: Completely cover the sensor with opaque material and observe if the fixture lights within 30 seconds. If no response, the sensor or control circuit may be damaged.
4.2 Motion Sensor System Optimization
- PIR Sensor Principles: Passive Infrared (PIR) sensors identify moving objects by detecting temperature changes. Effective detection range is typically 3-12 meters with 90-180 degree detection angles.
- Sensitivity & Delay Adjustment: Adjust sensitivity based on installation environment (avoid false triggers from small animals) and delay time (typically adjustable from 10 seconds to 10 minutes).
- Installation Height & Angle: Optimal installation height is 2-2.5 meters, tilted downward 10-15 degrees. Too high reduces sensitivity; too low is easily obstructed.
- Environmental Interference: Air conditioning vents, heaters, and other heat sources can cause false triggers. Adjust sensor orientation away from these areas.
- Microwave Radar Sensors: Premium products use microwave radar technology with strong penetration but higher cost. Can penetrate glass and thin walls, suitable for complex environments.

5. Environmental Factor Impact & Protection
5.1 Professional Waterproofing & Moisture Protection
- IP Rating Interpretation: Outdoor fixtures should achieve IP65 or higher (water jet protection). Coastal or rainy regions recommend IP67 (immersion protection) or IP68 (continuous immersion protection).
- Seal Inspection: Silicone seal aging causes water ingress. Inspect and replace seals annually, using specialized silicone to enhance sealing.
- Drainage Hole Design: Some fixtures have drainage holes at the bottom; ensure they're not blocked. Condensation accumulation corrodes circuit boards.
- Emergency Treatment: Upon discovering water ingress, immediately disconnect power, disassemble fixture, and dry with a blow dryer on low heat (avoid high heat damaging plastic parts). Clean circuit boards with anhydrous alcohol then thoroughly dry.
5.2 Extreme Temperature Response Strategies
- Low Temperature Impact: Lithium battery capacity drops 30-50% below -10°C. Choose cold-resistant batteries (like lithium iron phosphate) or use insulation measures.
- High Temperature Protection: Summer surface temperatures can exceed 60°C, accelerating plastic aging and electronic component failure. Choose heat-resistant materials (like PC or aluminum alloy housings).
- Thermal Expansion/Contraction: In regions with large temperature variations, fixture connections may loosen due to thermal expansion/contraction. Use elastic sealing materials and anti-loosening screws.
5.3 Wind & Vibration Resistance Reinforcement
- Installation Firmness: Use expansion anchors or chemical anchors for fixing; pull-out resistance should be ≥5 times fixture weight.
- Flexible Connections: When using steel cables or chains for pole or pendant fixtures, add shock-absorbing springs to avoid wind vibration damage.
- Typhoon Regions: Coastal areas should choose products with wind resistance rating ≥12, temporarily removing fixtures during typhoon season when necessary.

6. Electrical System Deep Inspection
6.1 Wired System Professional Testing
- Insulation Resistance Testing: Use a megohmmeter to measure line-to-ground insulation resistance, should be ≥0.5MΩ. Below this value indicates leakage risk.
- Grounding System Check: Metal fixtures must be reliably grounded with grounding resistance <4Ω. Use a ground resistance tester for periodic inspection.
- Cable Current Capacity: Confirm cable cross-section meets load requirements. 1.5mm² copper wire safe current capacity is approximately 15A, 2.5mm² approximately 25A.
- Terminal Maintenance: Use conductive grease to prevent copper-aluminum contact corrosion, periodically tighten screws (refer to product manual for recommended torque values).
6.2 Low Voltage System Troubleshooting
- Transformer Testing: 12V/24V low voltage systems use transformers for voltage reduction. Measure input/output voltage and check for overheating or abnormal sounds.
- Voltage Drop Calculation: Long-distance low voltage transmission causes voltage drop. For 12V systems exceeding 10 meters, recommend 2.5mm² or larger cable, or use segmented power supply.
- Connector Quality: Waterproof connectors should use IP67-rated products to avoid poor contact causing arcing and burning.
6.3 Solar/Battery System Circuit Analysis
- Diode Protection: Check if reverse charge protection diode is broken. Use multimeter diode mode to test; forward voltage drop should be 0.3-0.7V.
- PCB Inspection: Observe if circuit board shows burning, bulging, or broken traces. Use magnifying glass to check solder joint quality.
- Capacitor Aging: Electrolytic capacitor lifespan is approximately 5-10 years; must replace when bulging or leaking. Use ESR meter to test equivalent series resistance.
7. Product Lifecycle Management
7.1 Service Life Assessment
- LED Fixtures: Theoretical lifespan 50,000 hours (approximately 5.7 years continuous use), but environmental factors typically result in 3-5 years actual lifespan.
- Solar Lights: Photovoltaic panel lifespan 20-25 years, but batteries and controllers need replacement every 2-3 years.
- Traditional Fixtures: Metal halide lamp lifespan 6,000-15,000 hours, high-pressure sodium lamps 24,000 hours.
7.2 Upgrade & Replacement Recommendations
- Energy Efficiency Improvement: Upgrading traditional fixtures to LED can reduce energy consumption by 60-80%. Calculate investment payback period (typically 1-3 years).
- Smart Transformation: Add Wi-Fi/Zigbee modules for remote control, scheduled switching, and energy monitoring.
- Light Quality Optimization: Choose products with high Color Rendering Index (CRI≥80) and appropriate color temperature (2700-4000K) to enhance lighting comfort.
- Maintenance Cost Comparison: For frequently repaired old fixtures, complete replacement may be more economical. Compare 5-year Total Cost of Ownership (TCO) for decision-making.
8. System Reset & Advanced Configuration
8.1 Smart Fixture Reset Procedures
- Hardware Reset: Typically requires 5-10 consecutive power cycles or long-pressing reset button for 10 seconds. Refer to product manual for specific operations.
- Software Reset: Restore factory settings via mobile app or remote control to clear incorrect configurations.
- Firmware Upgrade: Some smart fixtures support OTA upgrades to fix known bugs and add new features.
8.2 Timing & Scene Programming
- Astronomical Clock: Automatically calculates sunrise/sunset times based on geographic location for precise control.
- Group Control: Group multiple fixtures for zone lighting and scene switching.
- Integration Settings: Integrate with access control and surveillance systems for unified security lighting.
Preventive Maintenance Plan
Daily Maintenance Checklist (Monthly)
- Clean solar panels, lenses, and sensors
- Inspect fixture appearance and tighten loose screws
- Test switch and sensor functionality
- Record abnormal phenomena (flickering, dimming, etc.)
Quarterly Maintenance Items
- Measure battery voltage and capacity
- Check seals and waterproof performance
- Clear drainage holes and ventilation openings
- Test backup lighting systems
Annual Deep Maintenance
- Replace solar light batteries
- Test insulation resistance and ground resistance
- Replace aged seals and gaskets
- Comprehensively clean internal circuits and cooling systems
- Record maintenance history and establish equipment files
Post-Severe Weather Inspection
- After typhoons/heavy rain: Check for water ingress, loosening, and damage
- After thunderstorms: Test circuits and check surge protectors
- After ice/snow: Remove snow accumulation and check low-temperature effects
- After dust storms: Deep clean optical components
Strategic Value of Outdoor Lighting
Professional outdoor lighting systems not only enhance architectural aesthetic value but also play critical roles in:
- Security Protection: Adequate lighting can reduce intrusion risk by over 60% and decrease accidents like falls.
- Energy Conservation: LED and solar technology can reduce energy consumption and carbon emissions by 80%.
- Asset Appreciation: Quality lighting systems can increase property value by 3-5%.
- Smart Management: IoT lighting enables remote monitoring, reducing operational costs by 30-50%.

Professional Recommendations & Conclusion
The root causes of outdoor lighting failures are often the result of multiple overlapping factors. Systematic diagnostic methods include:
- Simple to Complex: First check simple factors like power and switches, then delve into circuits and sensors.
- Professional Tools: Equip basic testing equipment like multimeters, lux meters, and insulation testers.
- Safety First: Always disconnect power when working with 220V circuits; engage certified electricians when necessary.
- Prevention Priority: Establish regular maintenance schedules to extend equipment lifespan and reduce failure rates.
- Record Tracking: Establish equipment ledgers recording fault and repair history to provide data support for upgrade decisions.

Through this guide's systematic troubleshooting methods, over 90% of outdoor lighting failures can be self-resolved. For complex electrical issues or situations requiring high-altitude work, seek assistance from professional lighting engineers or electricians.
To learn more about outdoor lighting solutions, visit our outdoor lighting collection, or consult our lighting expert team for customized recommendations.
What challenges have you encountered in outdoor lighting maintenance? Share your experiences in the comments to help more users solve lighting problems!


Leave a comment
This site is protected by hCaptcha and the hCaptcha Privacy Policy and Terms of Service apply.